Odoo16’s “Expenses” module makes it simple to manage employee spending for business requirements. For a variety of expenses, including travel, meals, and office supplies, employees can submit their cost claims directly through the system. Before reimbursement, the module’s support for the approval workflow enables designated managers to evaluate and approve expense reports. Employees can quickly submit and track their expenditures with Odoo 16 user-friendly interface, which streamlines organizations’ entire expense management process.
Let’s check the creation and management of Expenses and Expense reports
Expenses
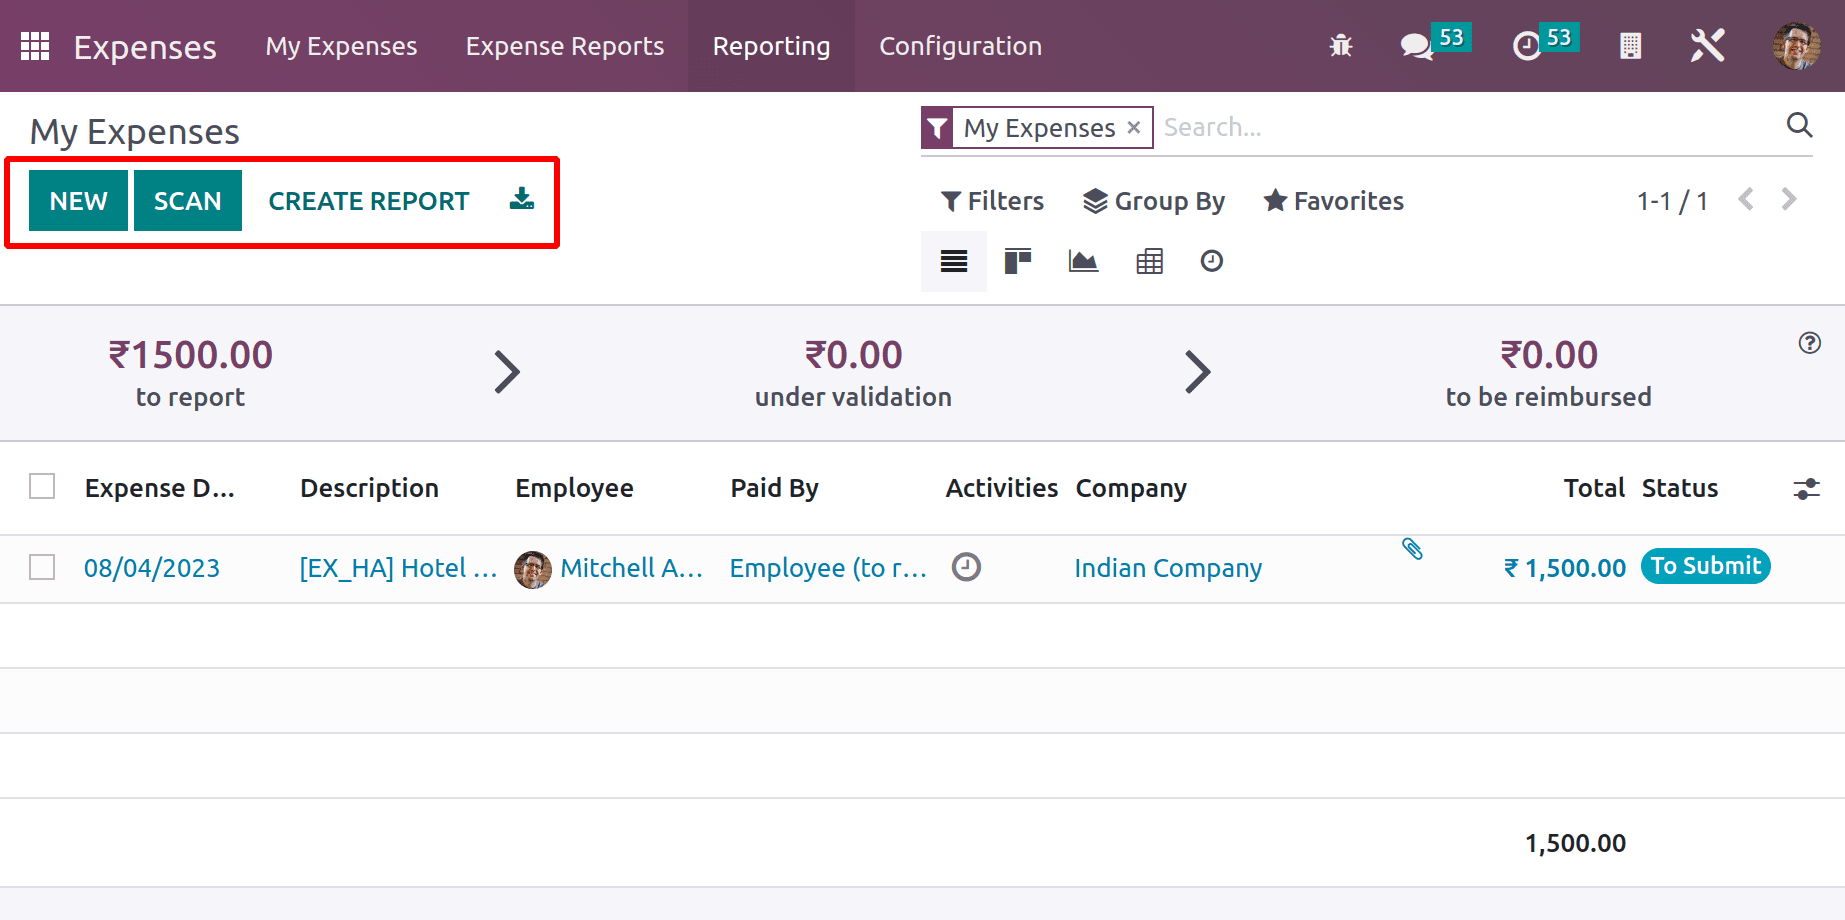
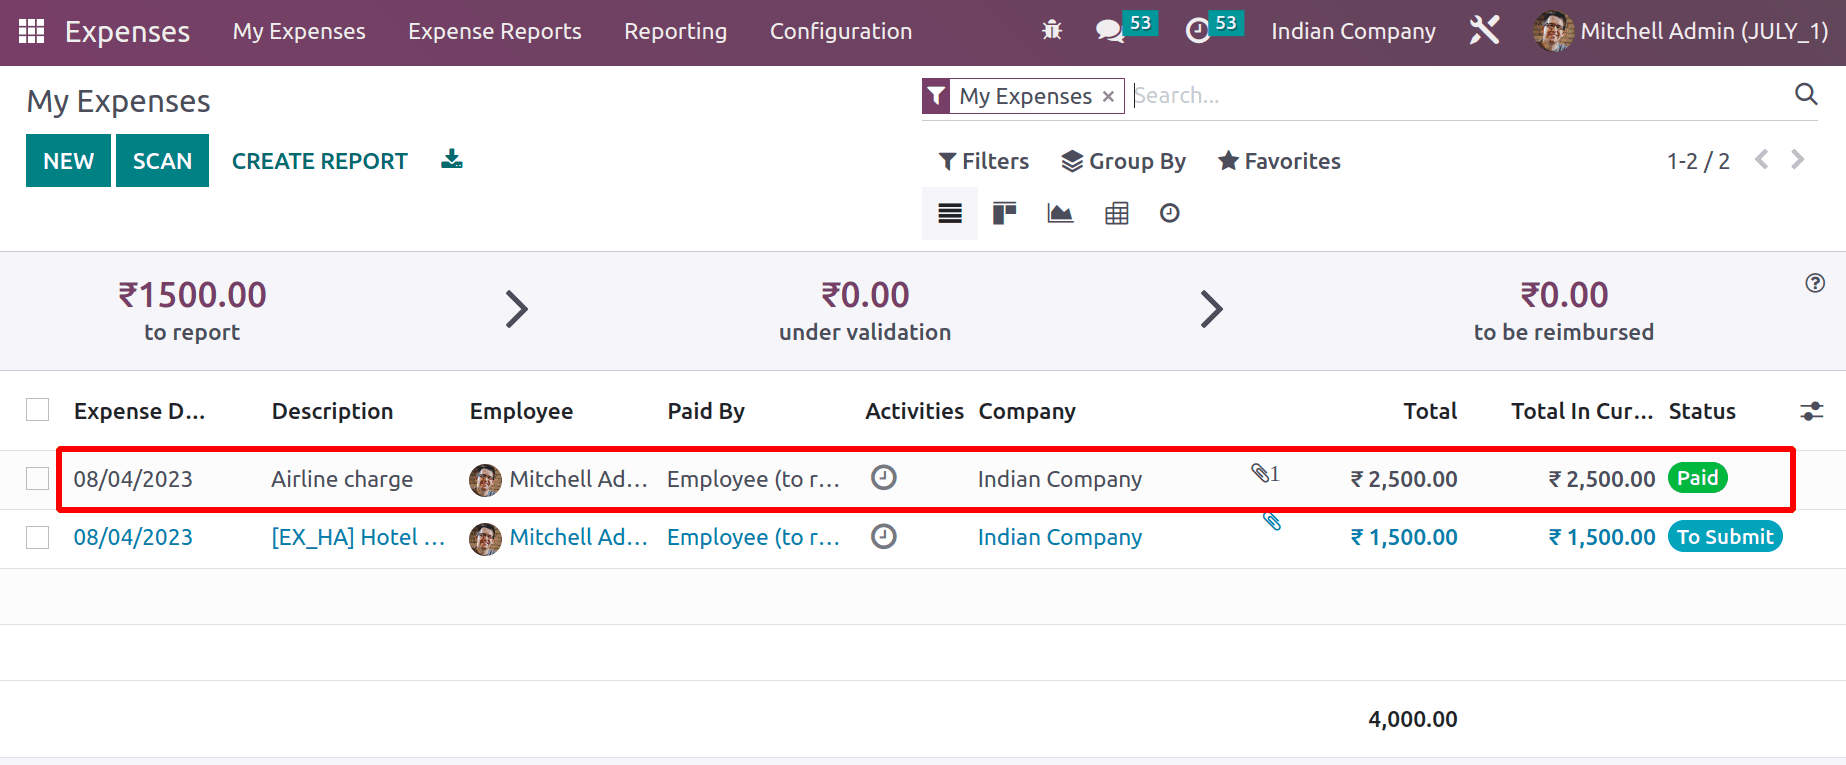
Here is the expense overview of the company. The overview currently shows the expenses of the logged employee. The overview shows a NEW button and a SCAN button to add new expenses. It is also possible to create a new report and can download the expenses to the system from the opened window.
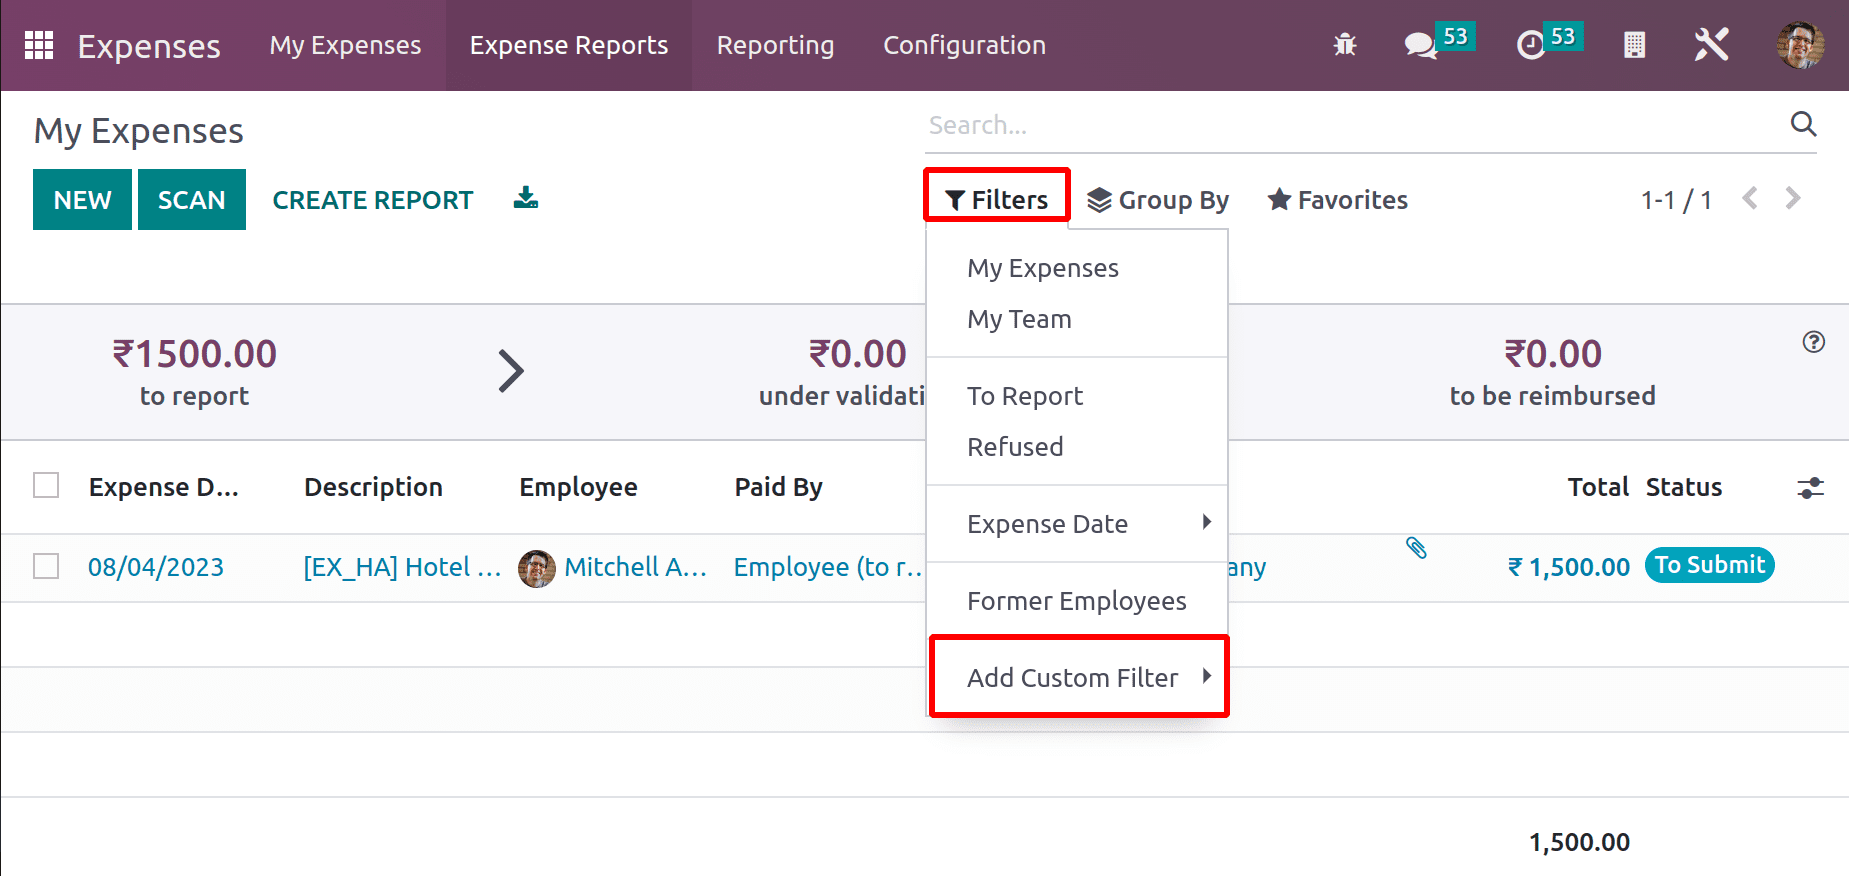
Filter, Group By, and Favorite options are available in this overview. Using the filter button, users have the choice to filter the expenses based on My Expenses, My Team, To Report, and Refused. Here, the My Expenses means the expenses of the login employee. My Team filter is applied, which shows the expenses created for all the team members of the login employee. The ‘To Report’ filter gives all expense details that have not been submitted yet. To view all the expenses refused by the manager, add the filter Refused. It is also possible to filter the expenses based on Expense created date and Former Employees. Adding any custom filter is also possible.
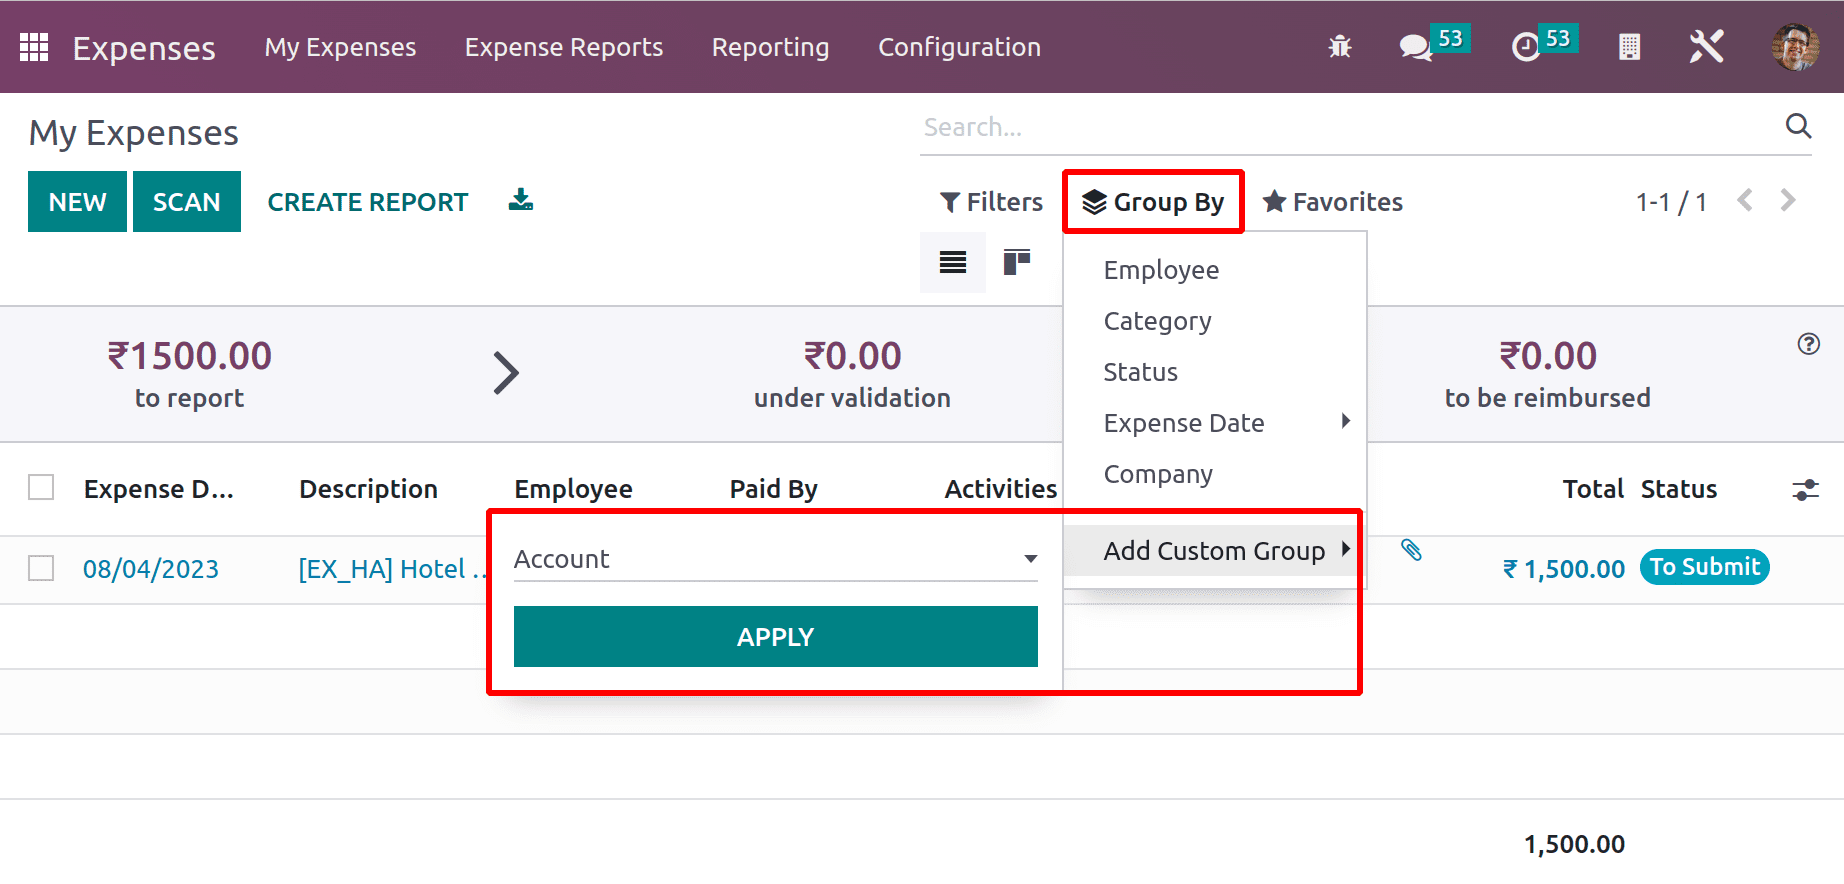
The next one is Group By. Expenses can be grouped based on Employee, Category, Status, Expense Date, and Company. Also, custom Grouping is available.
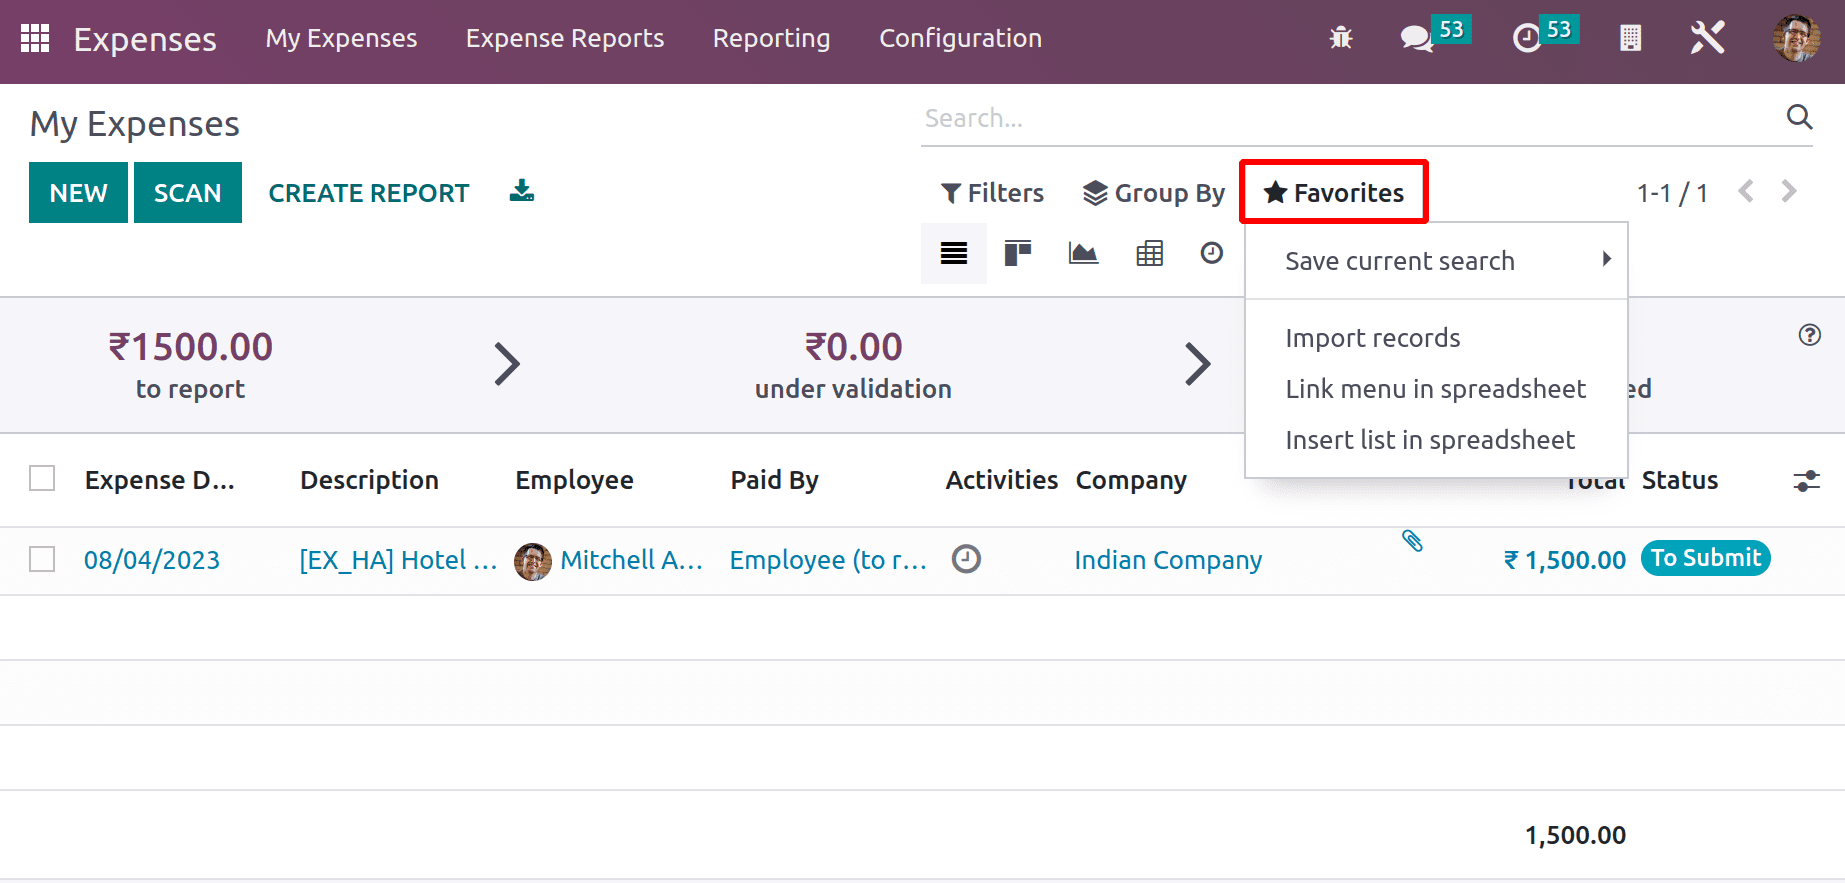
Using the Favorite option, the user can save the search. Expenses can be imported to the module by using the Import Records option. It’s also possible to link the expenses with the DOCUMENT module from there.
Instead of the ListView, different views like Kanban View, Graph View, Pivot View, and Activity View are shown there. Users can choose the view with just one click. Searching is allowed there.
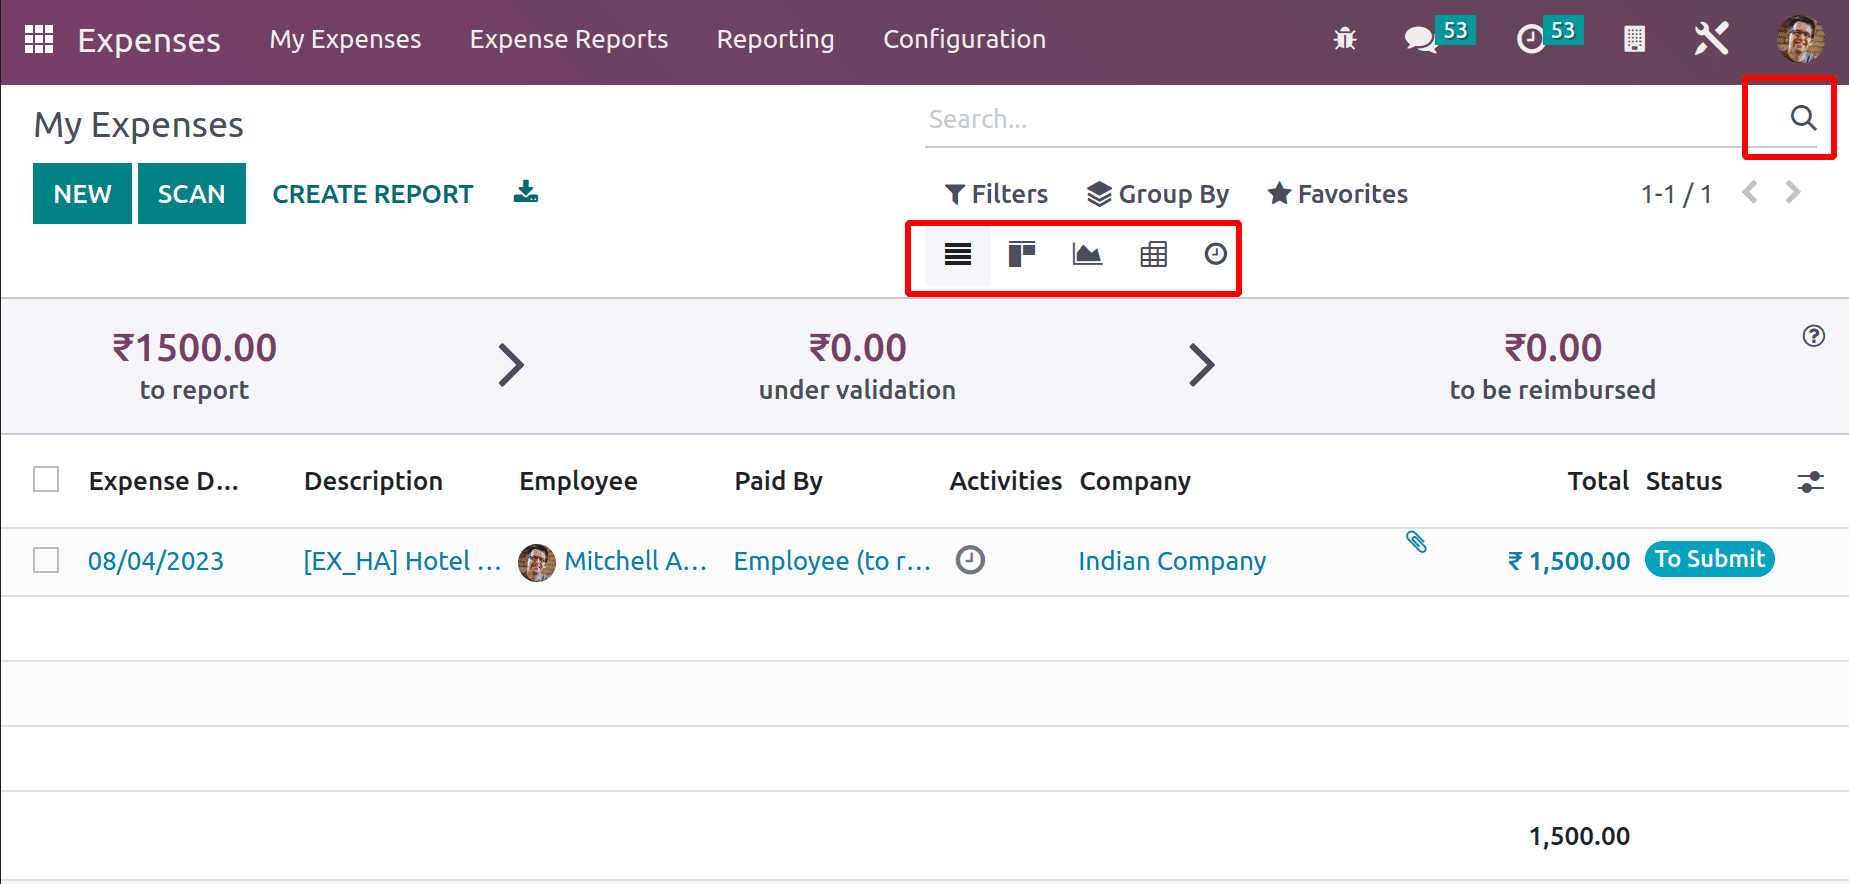
The Dashboard contains an expense panel with three sections, one is ‘To report’, the second is ‘Under validation’ and the third one is ‘To be reimbursed’. Let’s check each one.
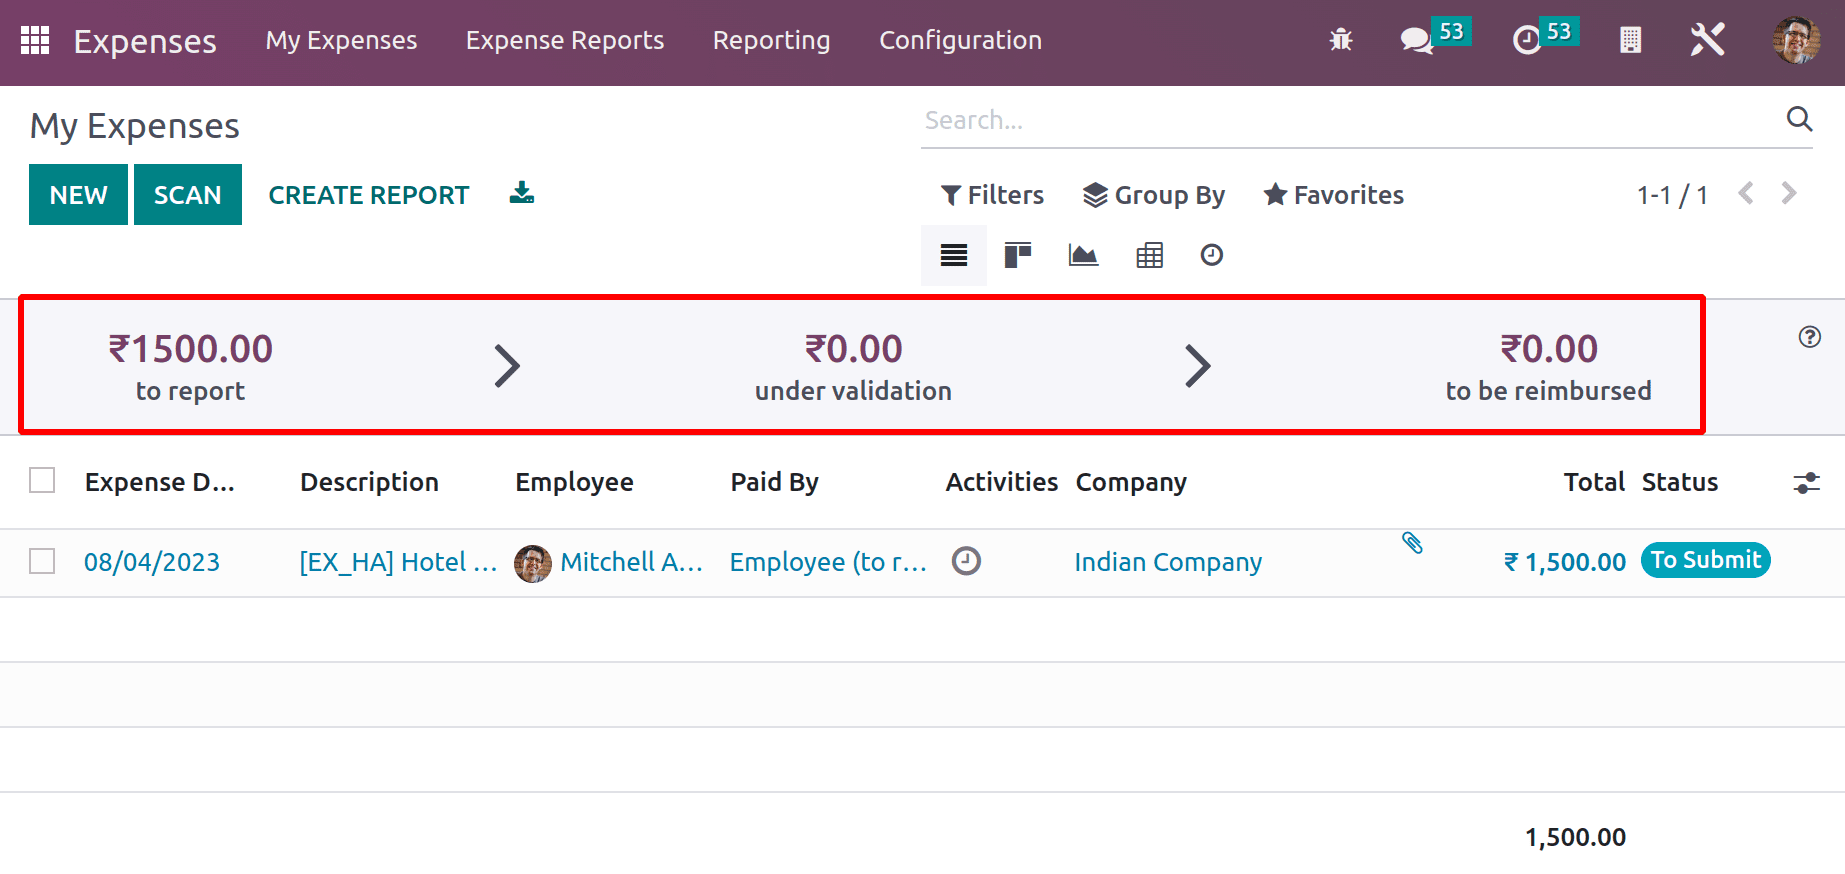
Currently, there is an expense of Mitchell Admin in the amount of 1500, which is in the To Submit stage. That’s why there is a To report amount of 1500.
Let’s create another expense by clicking the New button to check the status.
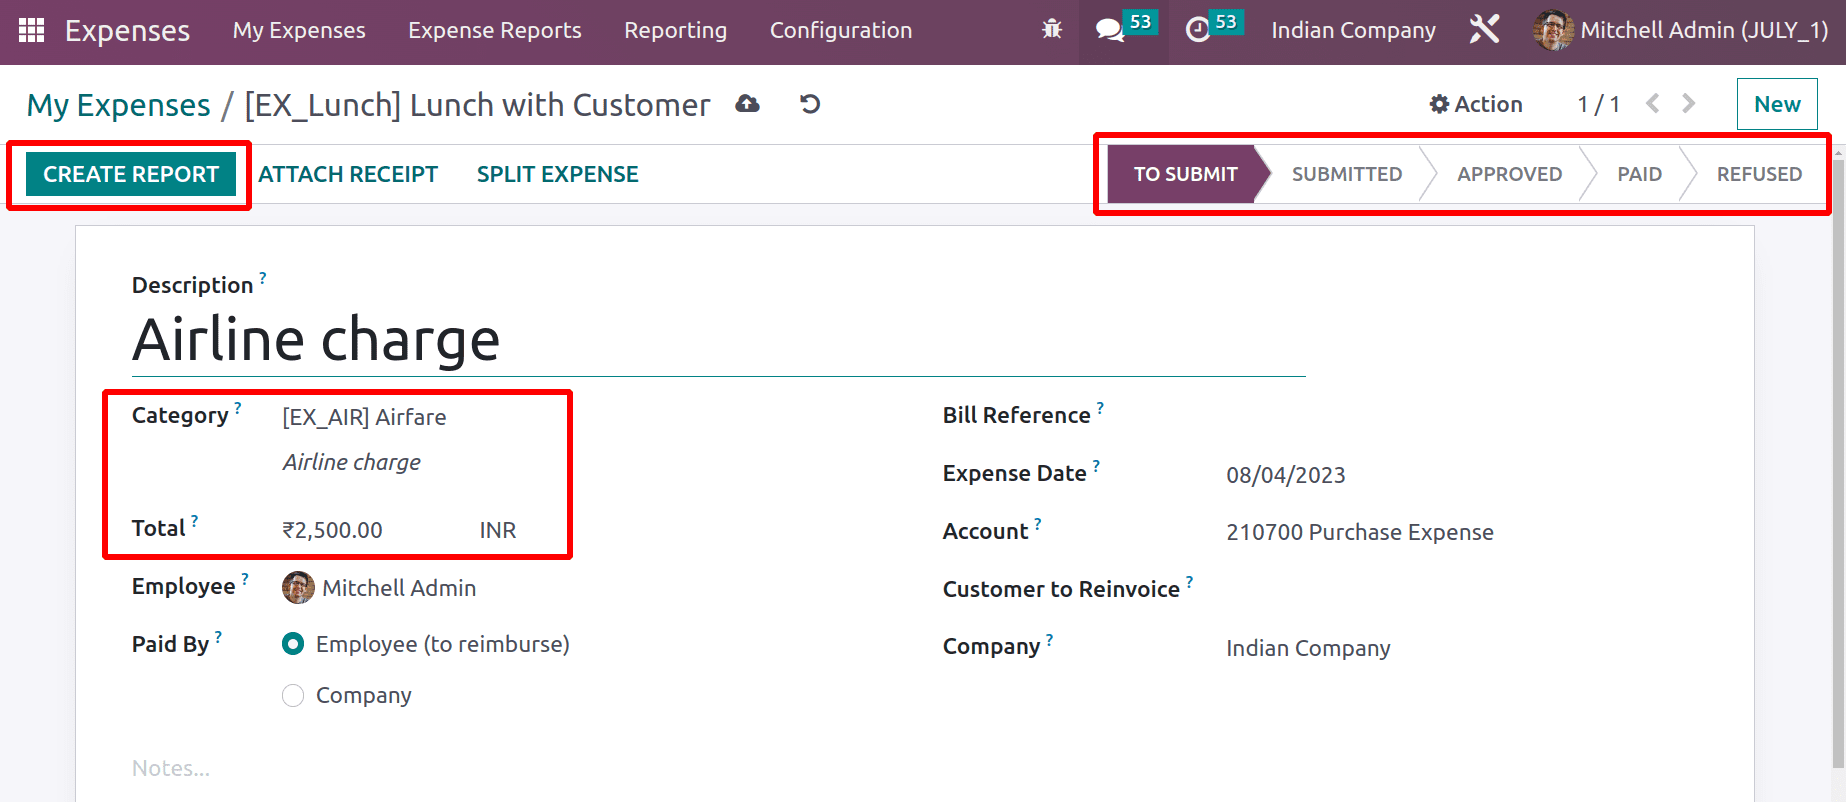
Here the expense is created for the same employee, Mitchell Admin. The category chosen is Airfare with a total amount of 2500 INR. Which is an airline charge. The expense is in TO SUBMIT status.
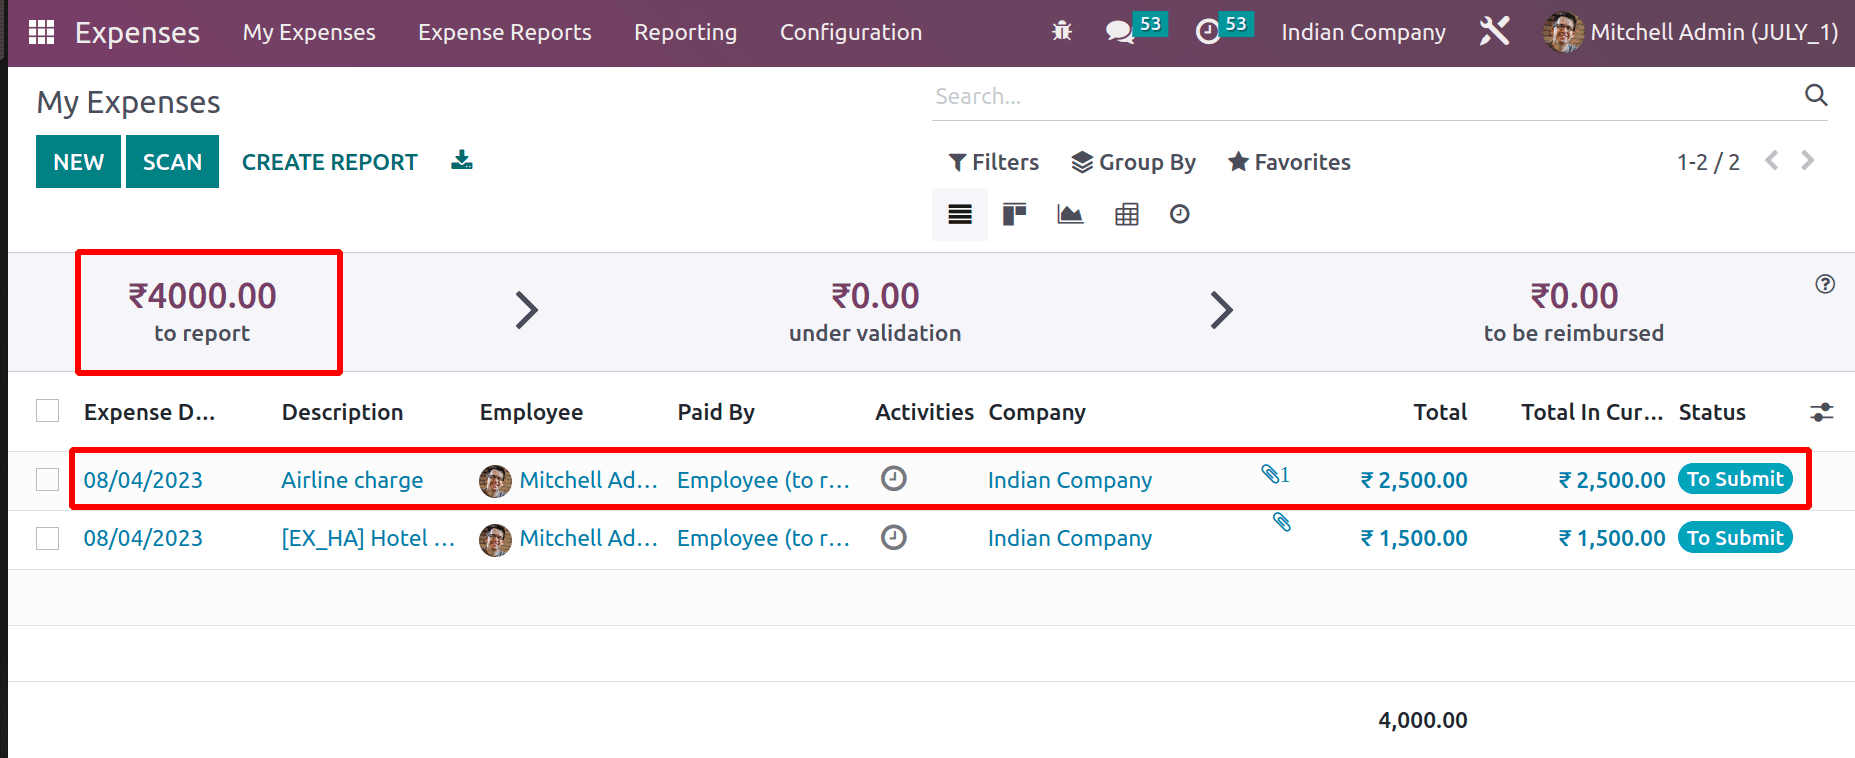
Go back and check the overview again. The newly created expense is updated there. To Report value is changed. Before creating this expense, the reported value was 1500 INR. But this time, the report was increased to 4000 INR, so the currently created expense value of 2500 INR is added to the previous value.
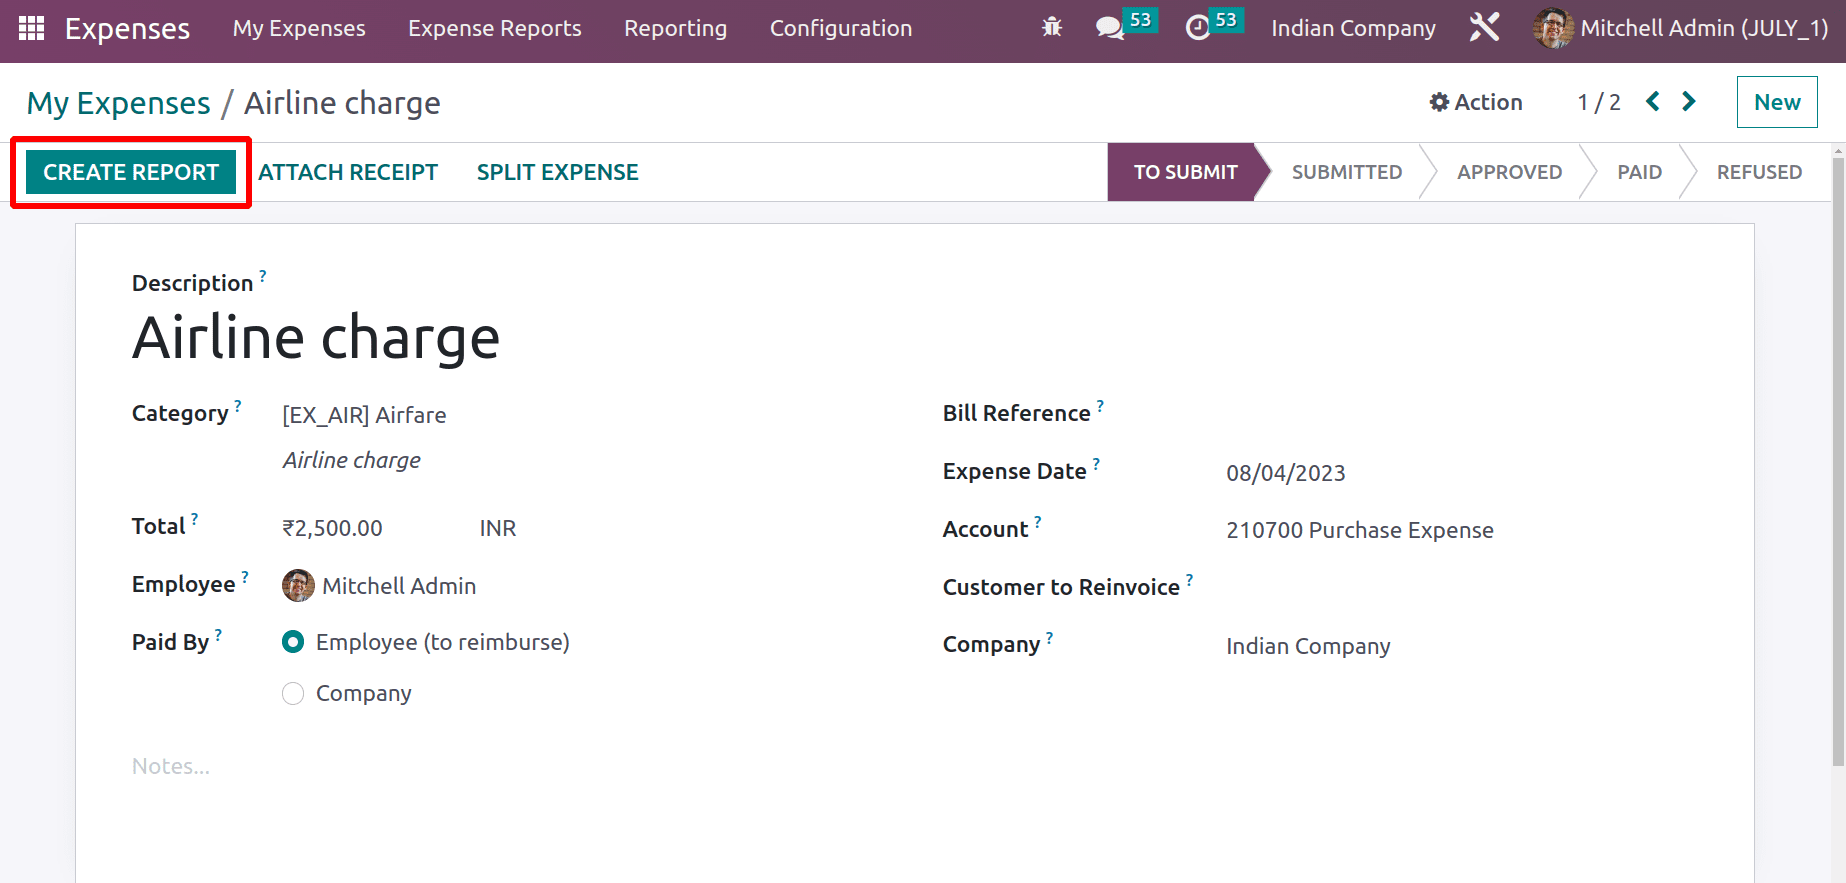
Open the expense again. To create the expense report, the user can click on the Create Report button.
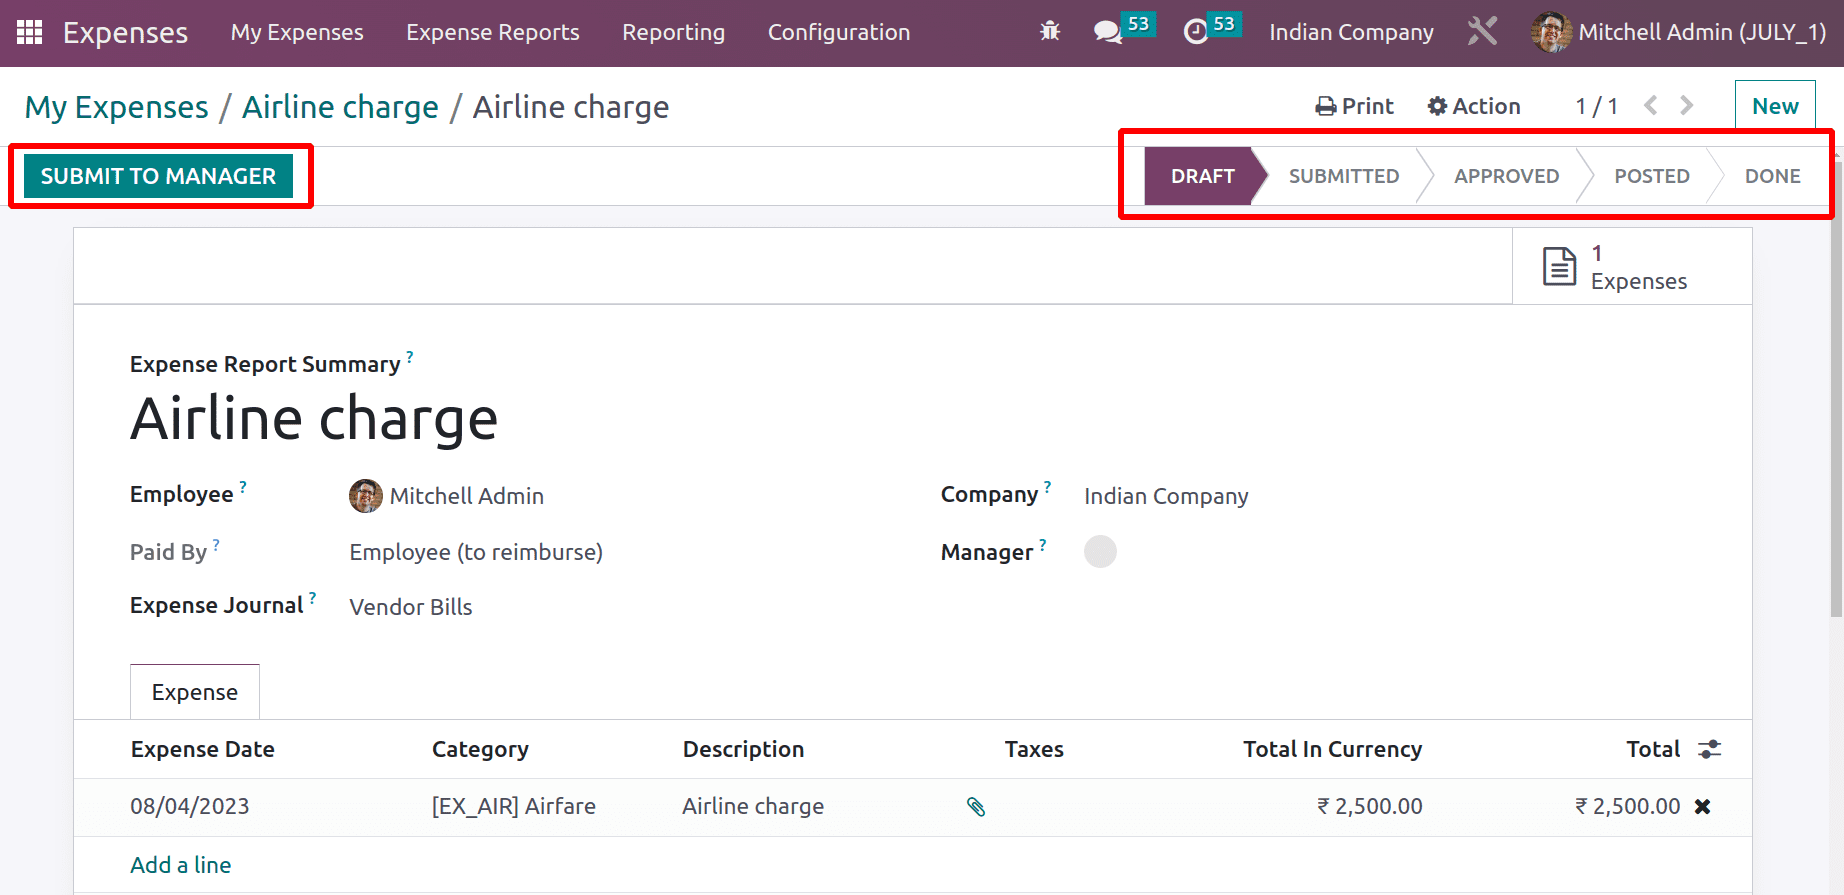
The expense report is created now. The report is in the DRAFT stage now. So the employee needs to submit the report to the manager. So click on the SUBMIT TO MANAGER button.
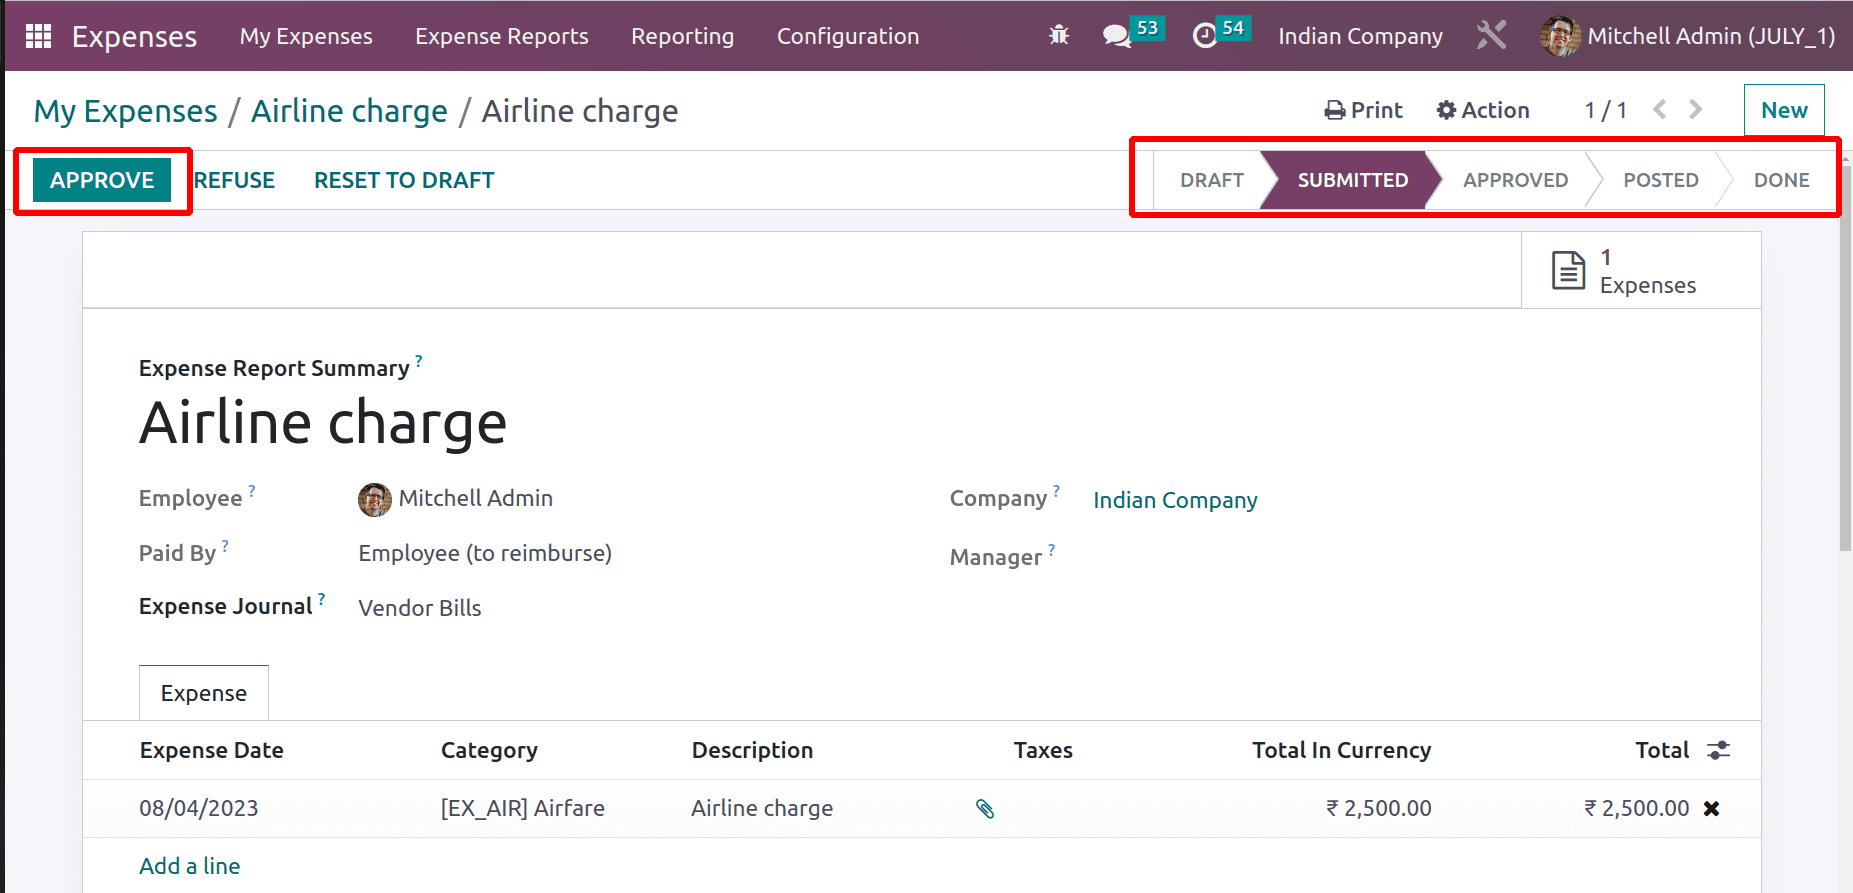
Then the report status will change to the SUBMITTED stage. The manager can approve the report. Before clicking the Approve button, let’s go back and check the overview.
The Overview shows some differences. The reported value was reduced to 1500 again. Here, the under-validation shows an amount of 2500 INR, which is the created expense value.
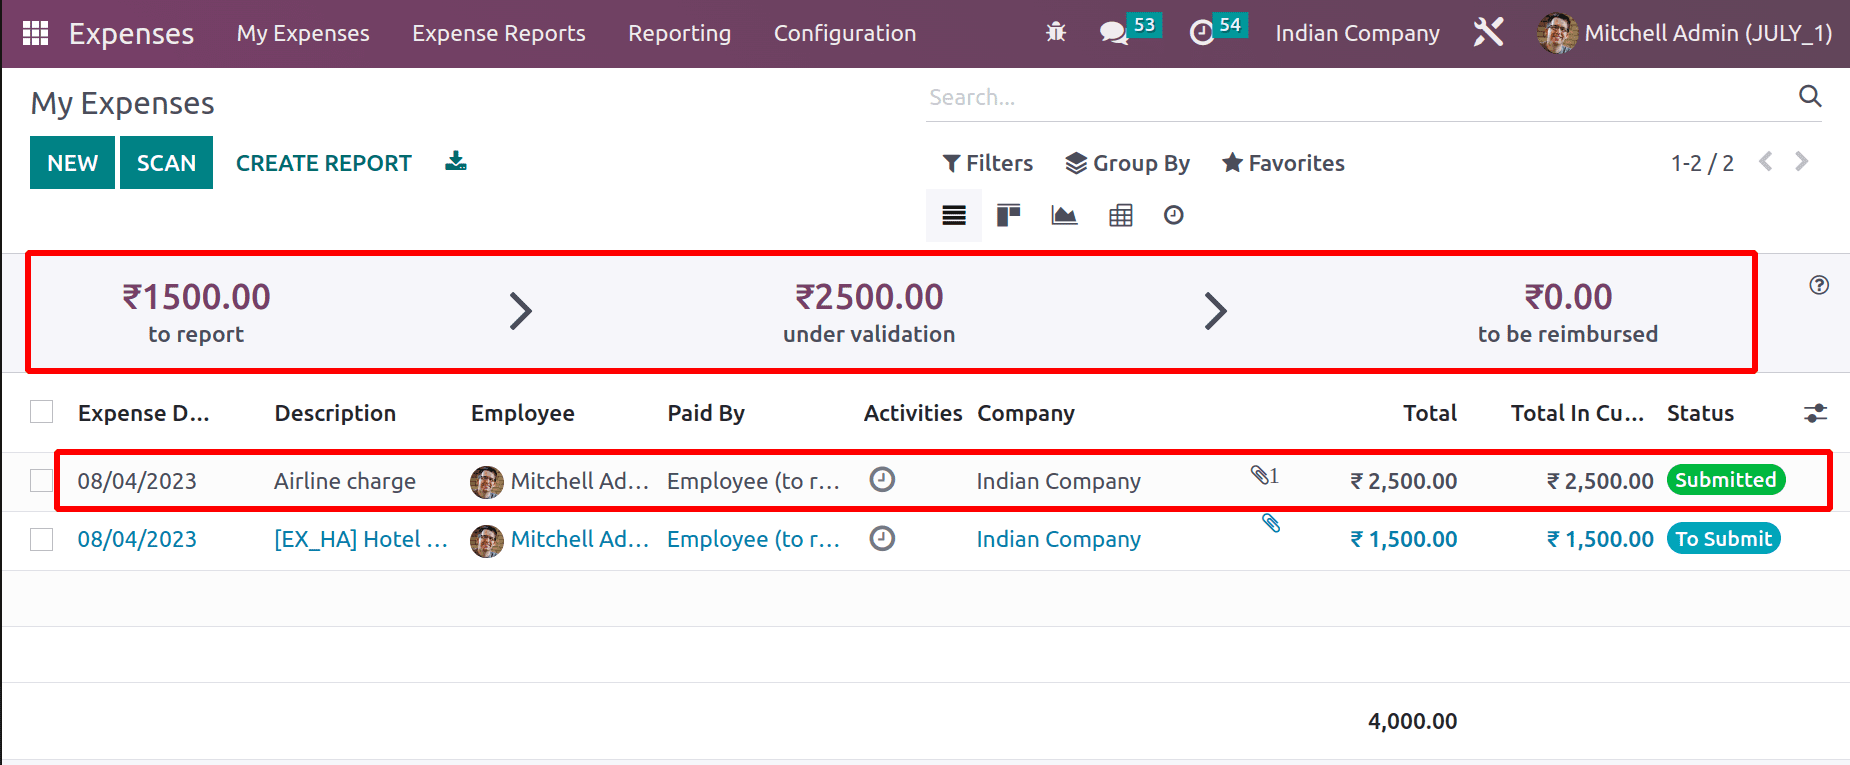
Here, the expense is in Submitted status. So the amount of 2500 INR is under validation.
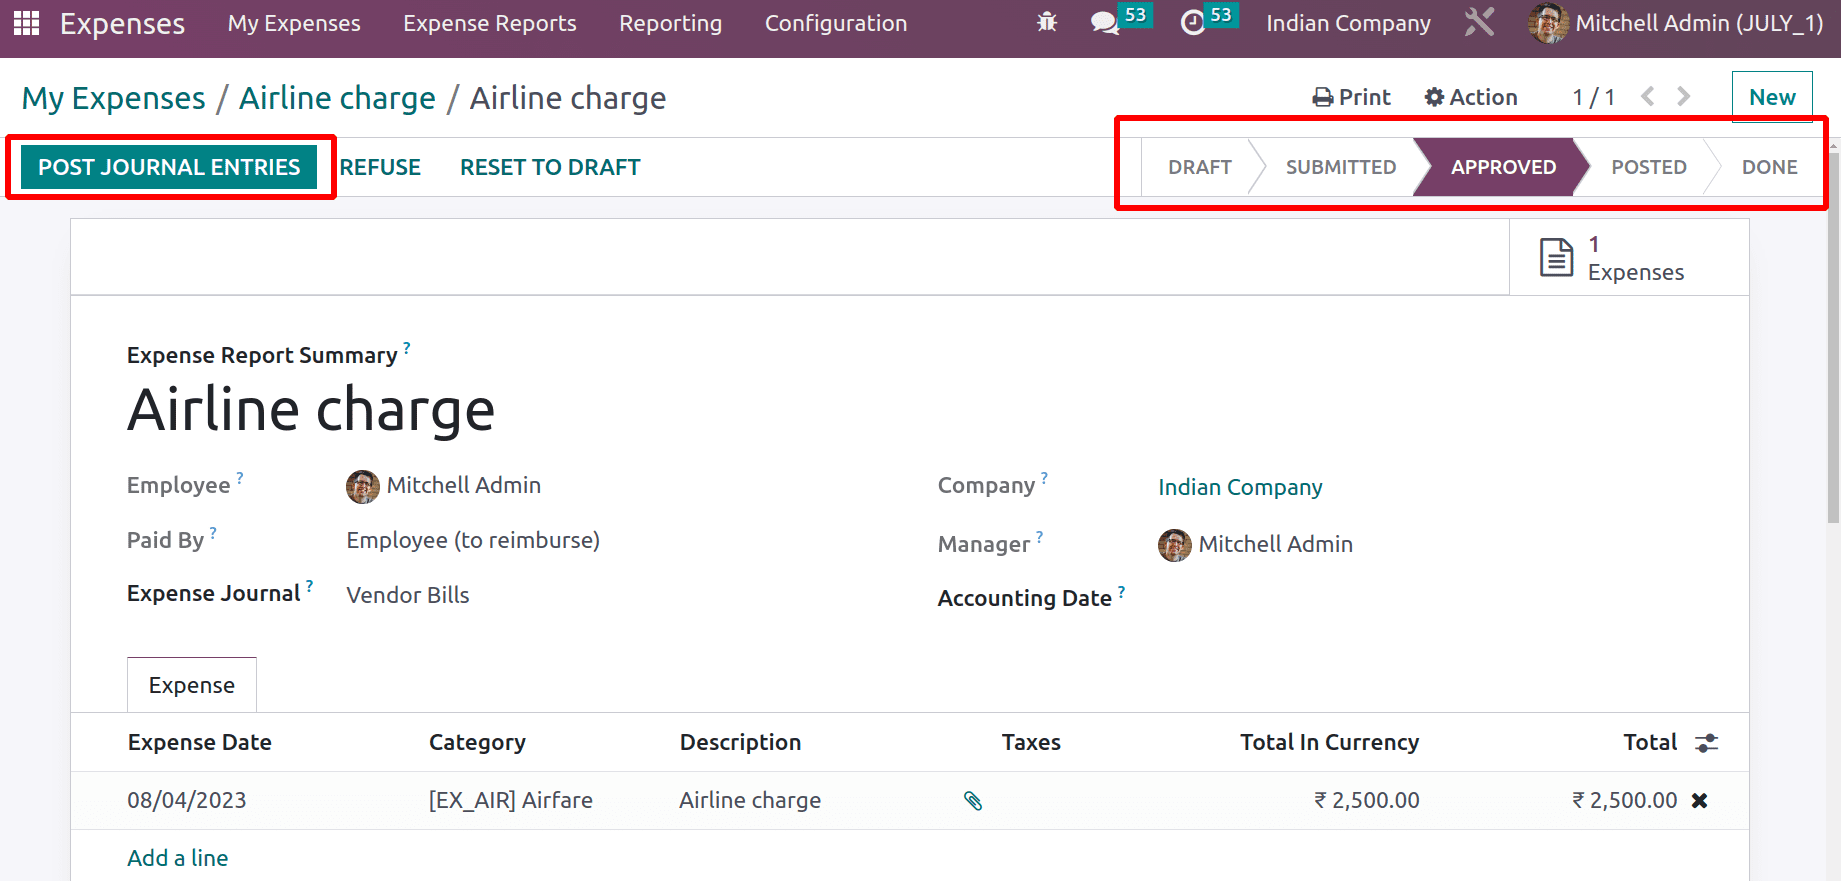
Open the expense report again and click the APPROVE button. Then the status of the report changed to the APPROVED stage. The expense report entry can be posted now. For that, the user can click on the POST JOURNAL ENTRIES button. Before that, check the overview again.
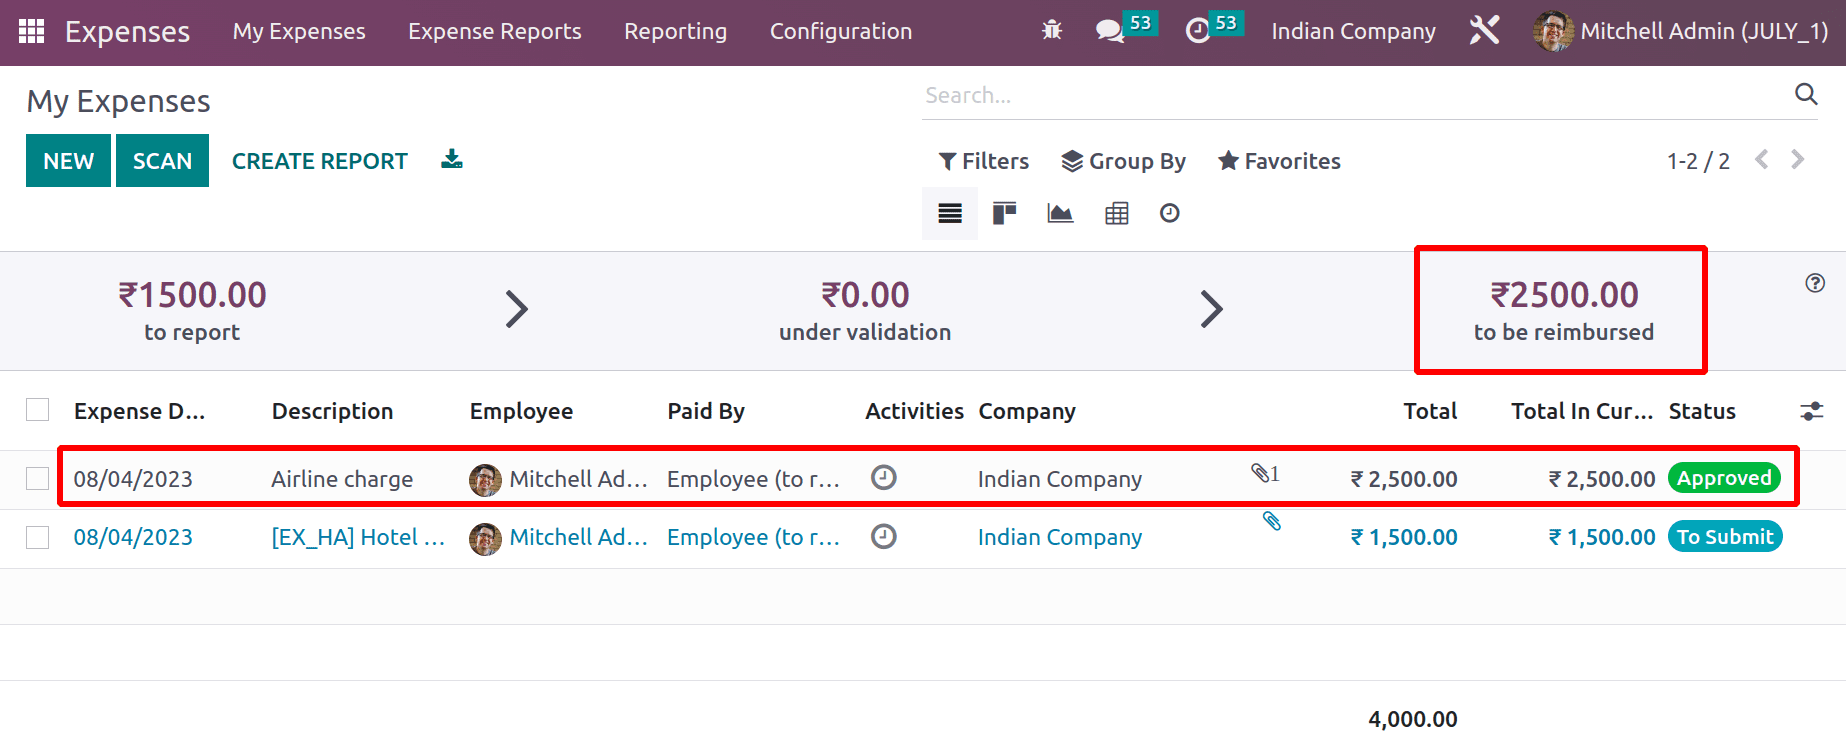
The expense value of 2500 INR is to be reimbursed now. The expense status changed to Approved.
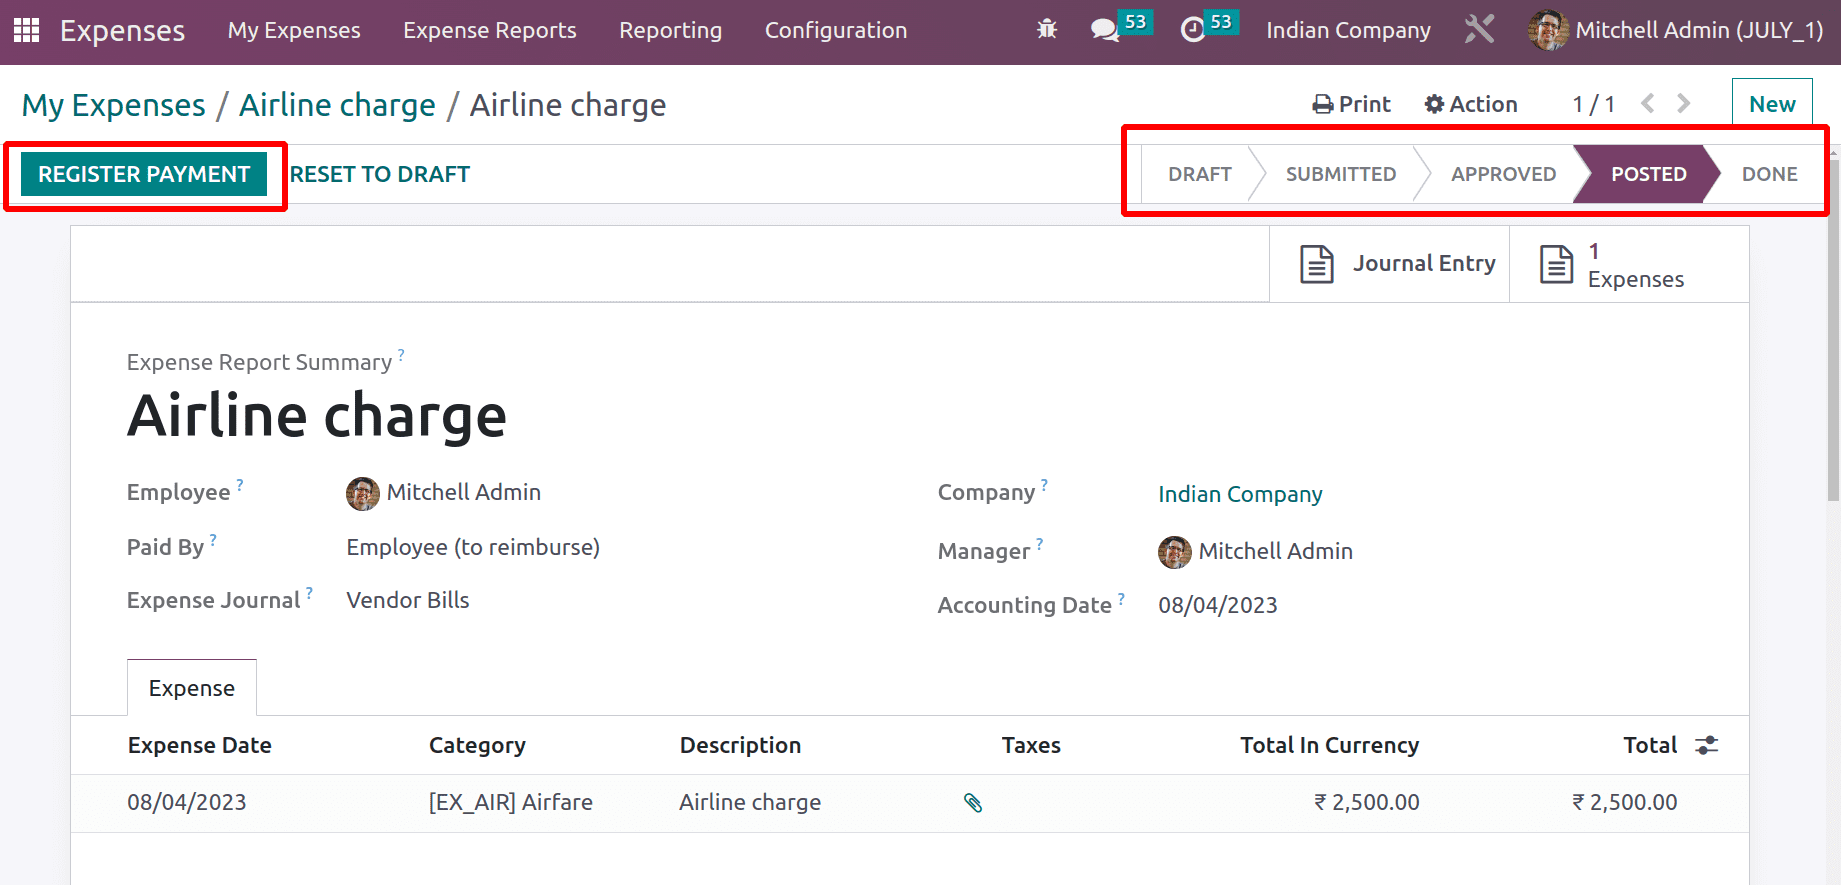
When the entries were posted, the expense report changed its stage to POSTED. Two smart tabs named Journal Entry and Expense are created there. Then it’s possible to register the payment to the employee.
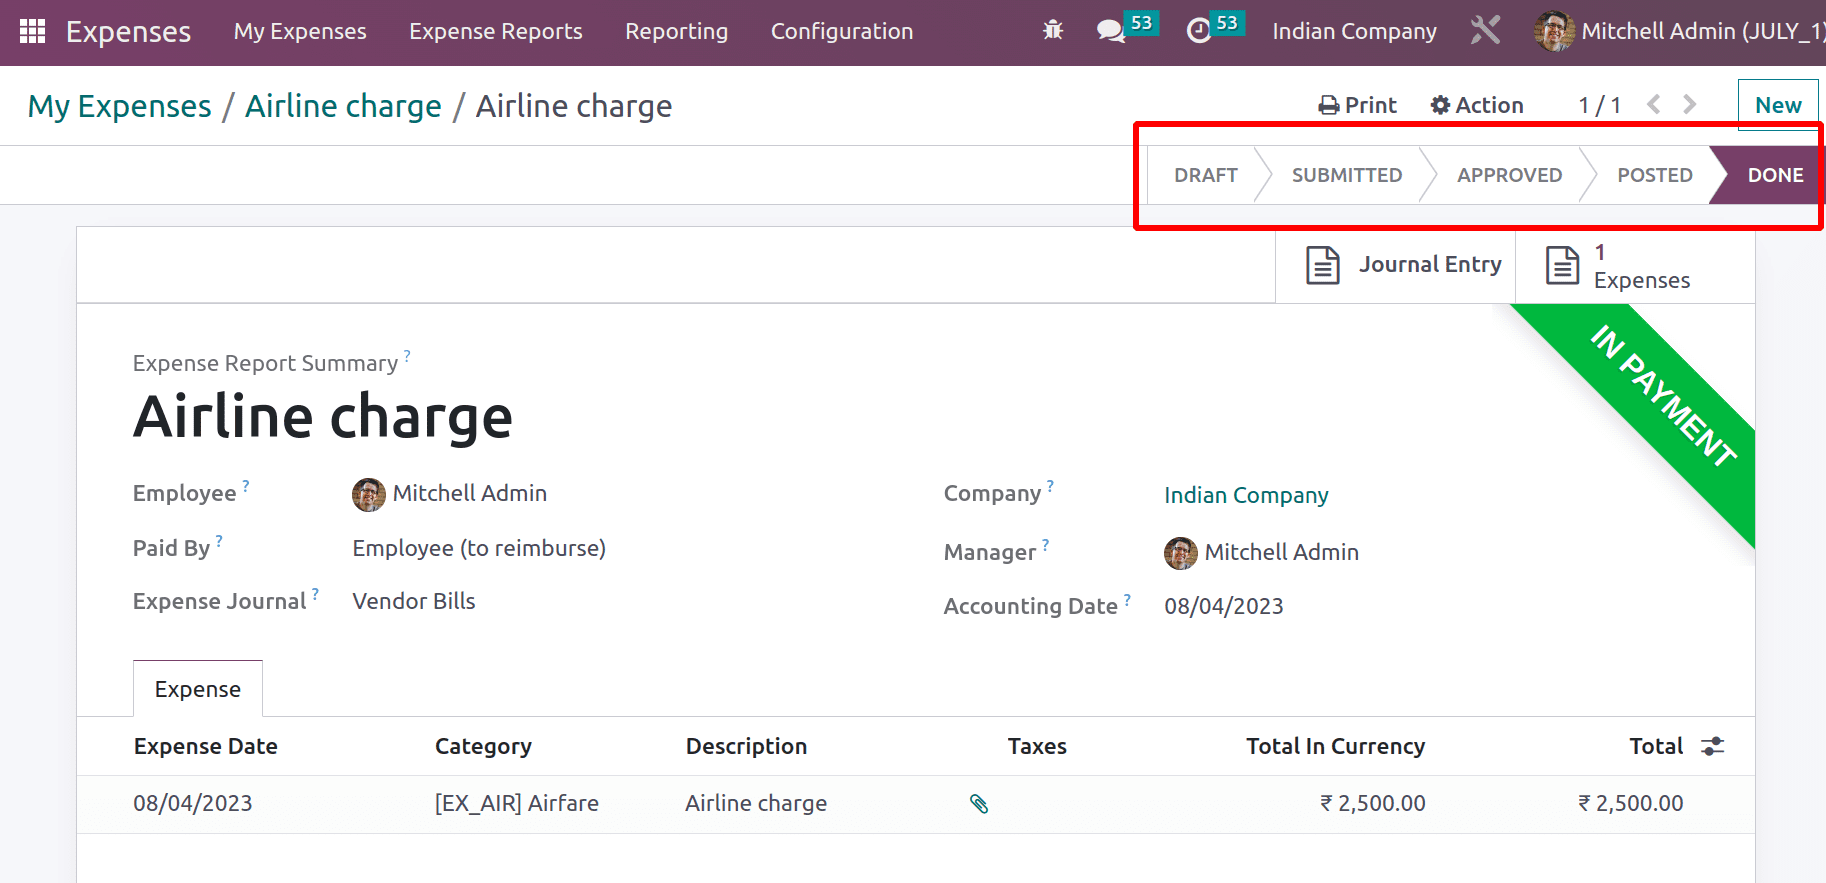
The expense is then paid to the employee, so the ribbon IN PAYMENT is shown there. The expense status is in the Done stage.
The overview shows that the expense amount is reimbursed to the employee, which is why the expense amount is removed from the to be reimbursed. The expense shows Paid status.
When the filter My Expense is removed, it shows all the expenses created in the company for many employees. The total expense amount can be shown here.
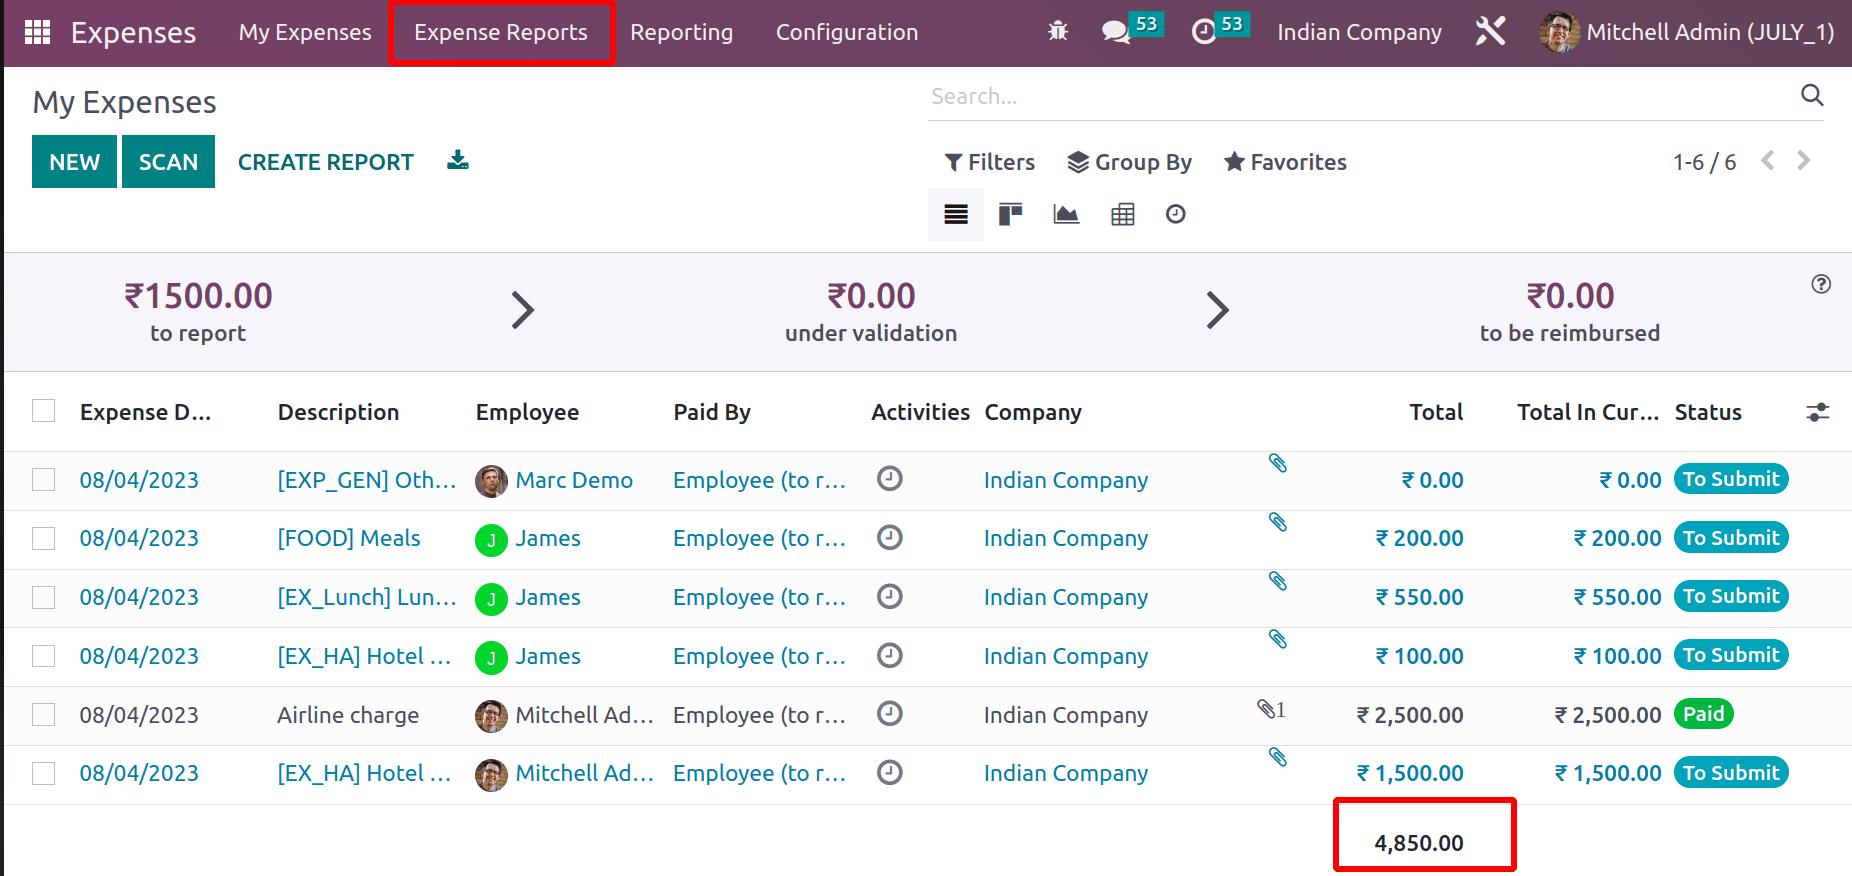
EXPENSE REPORT
An expense report contains a detailed report of expenses. A report may contain one or more created expenses together.
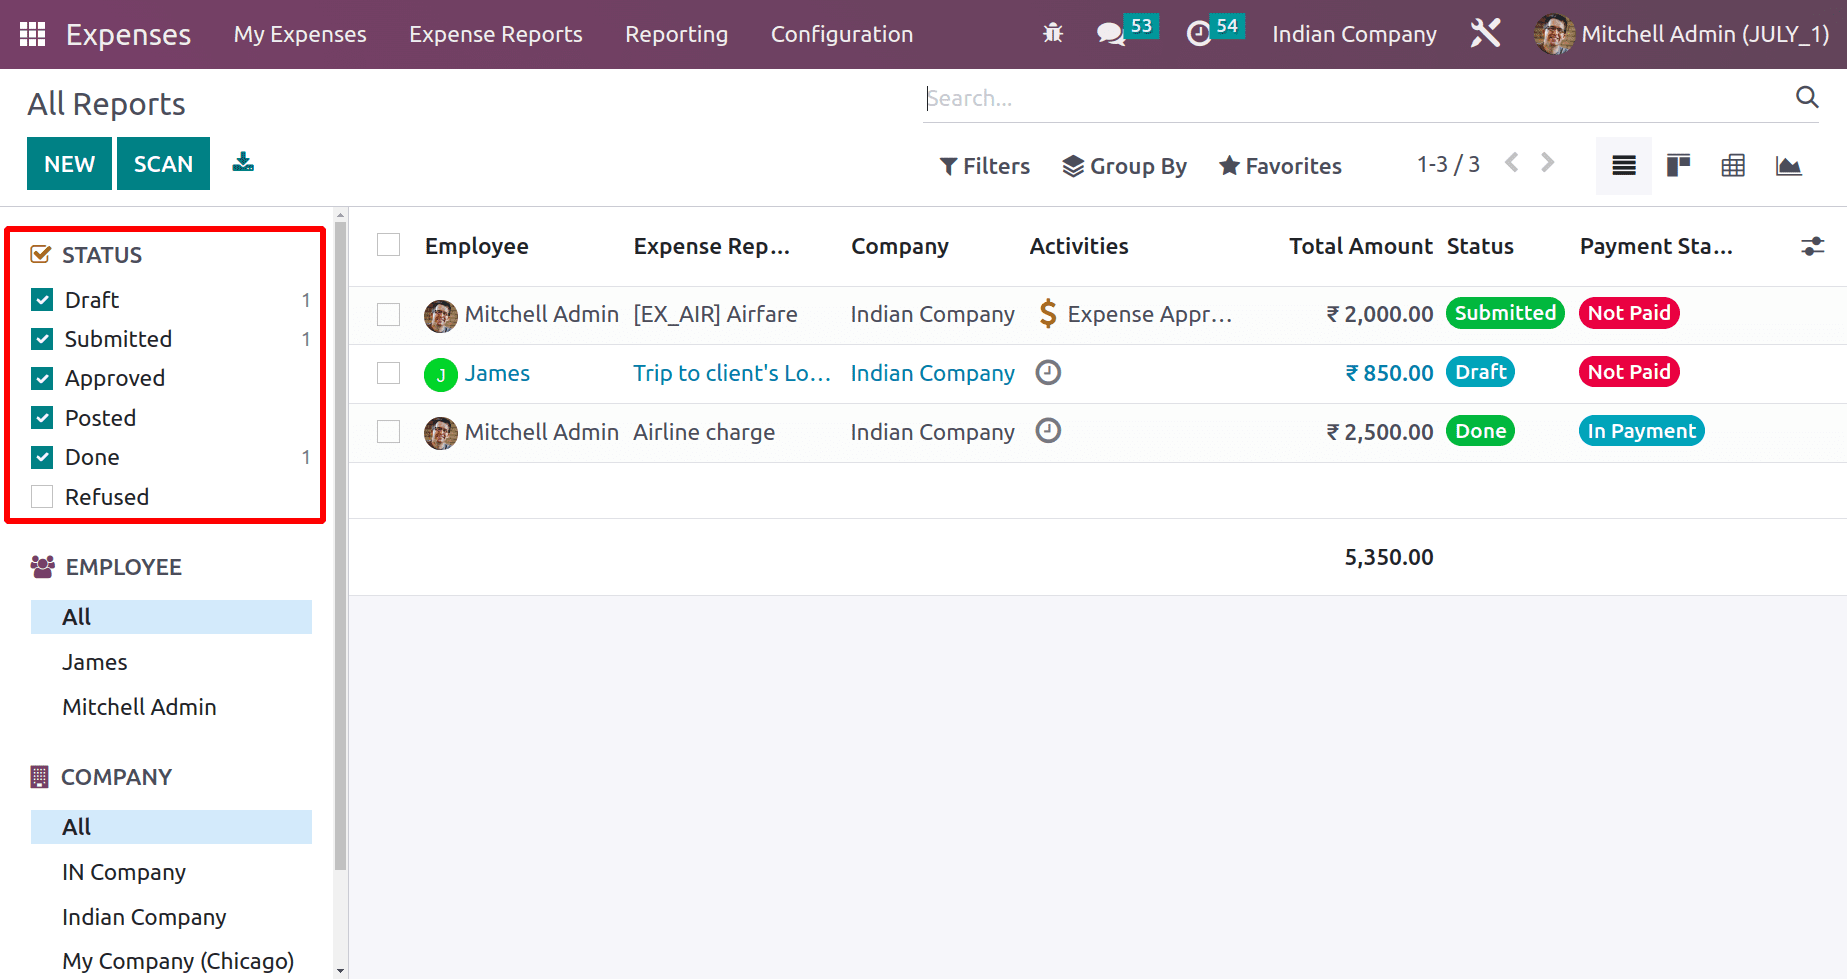
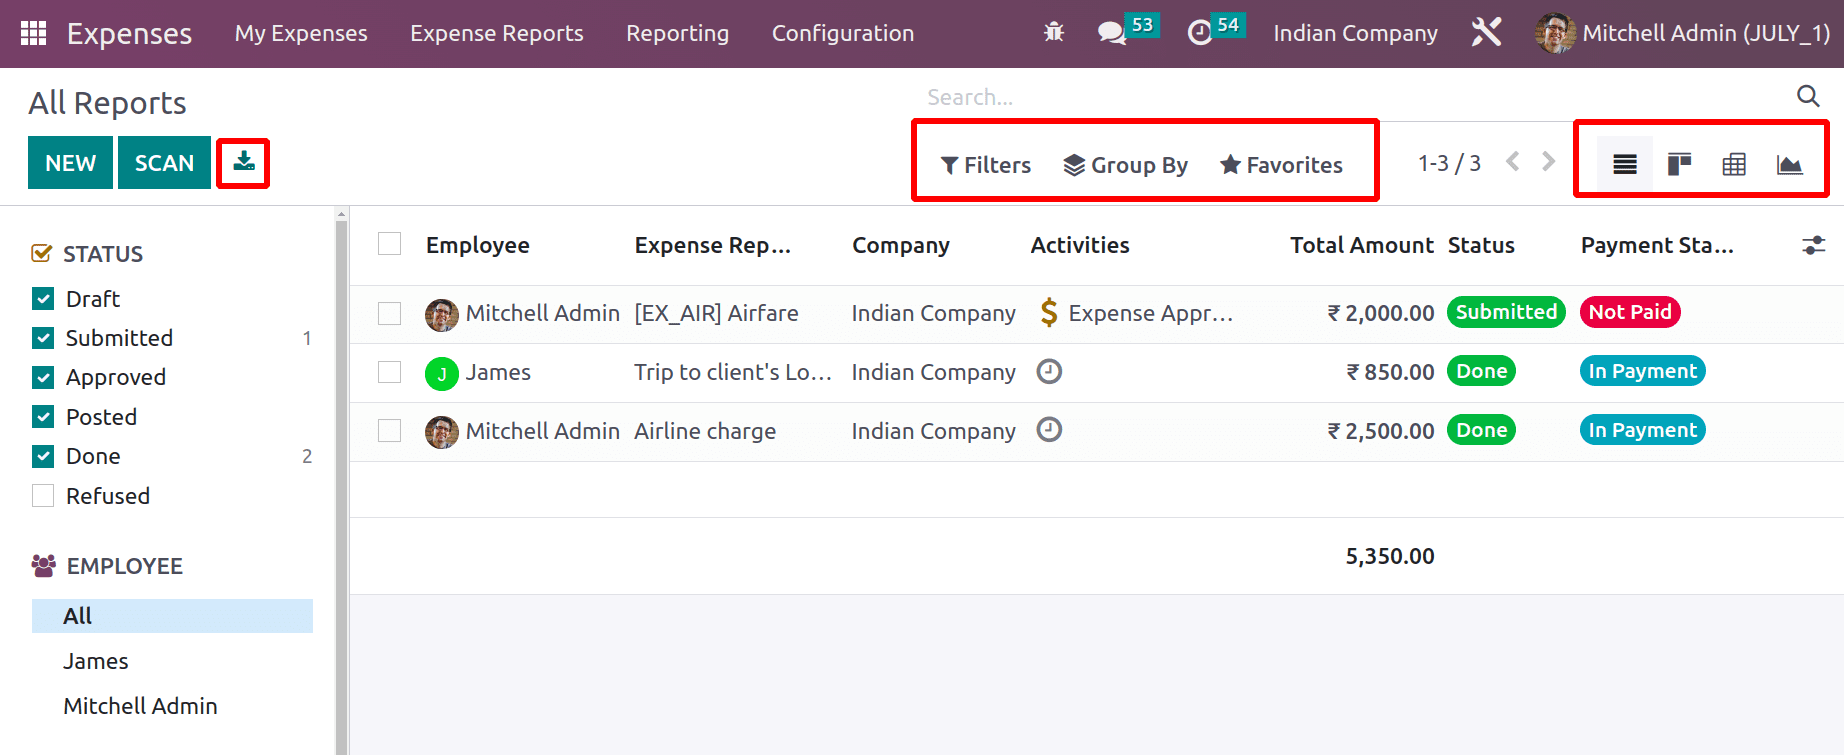
The EXPENSE REPORT tabs show all the expense reports created inside the company. To view that, click on it. The left side of the window shows the status. The expense report has different stages. Draft, Submitted, Approved, Posted, Done, and Refused are the stages. Which also shows the number of reports in particular stages. If the checkbox is enabled, the reports in that particular stage is visible there. Currently, there is only one report that is in the Done stage.

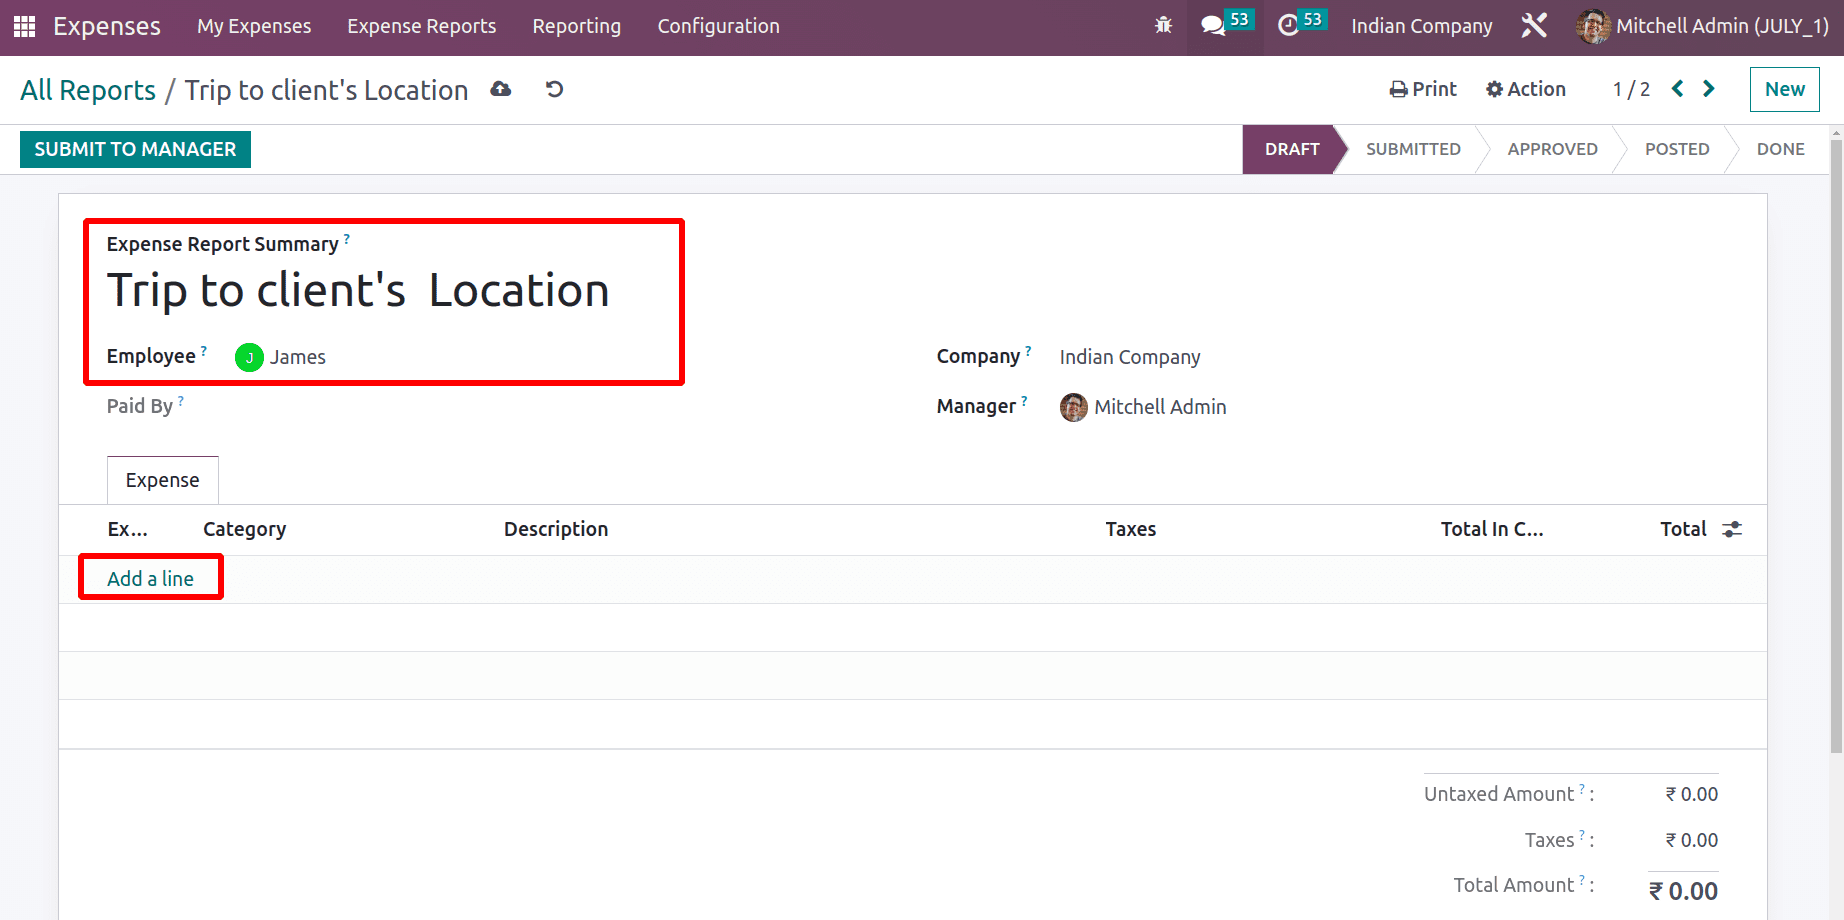
Let’s create a new report by clicking the NEW button. The expense report is named Trip to Clients’ Location, which is for the expenses of an employee named James. It’s possible to add expenses to the report by clicking the Add a line inside the Expense tab.
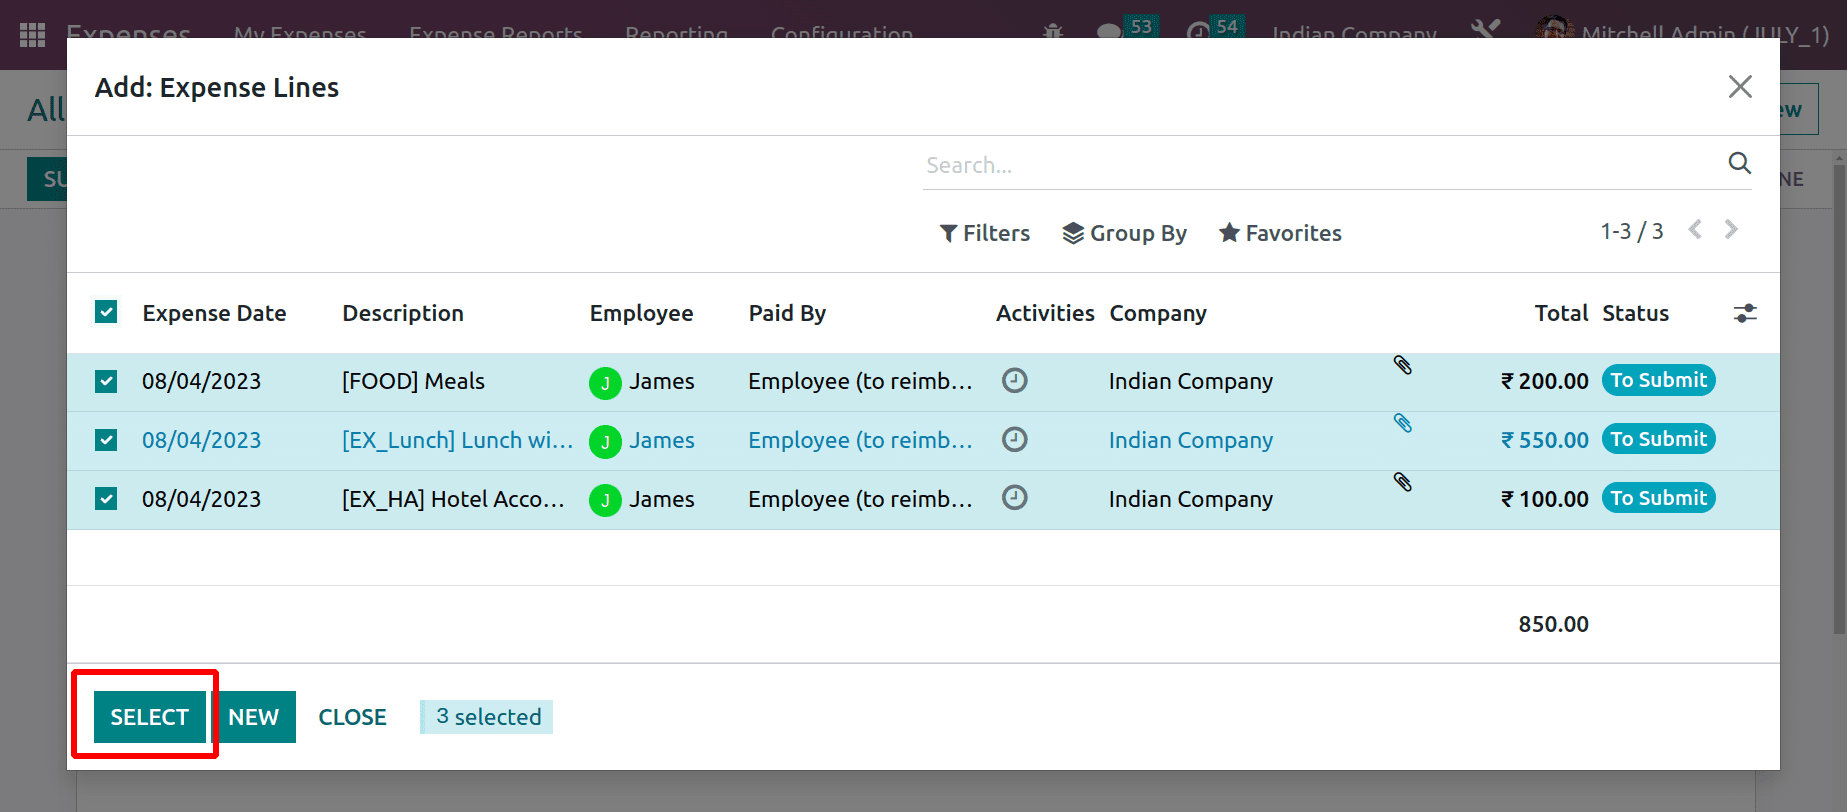
It’s possible to add all the expenses of the particular employee, but the expenses must be in the TO SUBMIT stage. It’s also possible to create a new expense by clicking the NEW button.
Now the report is in the draft stage.
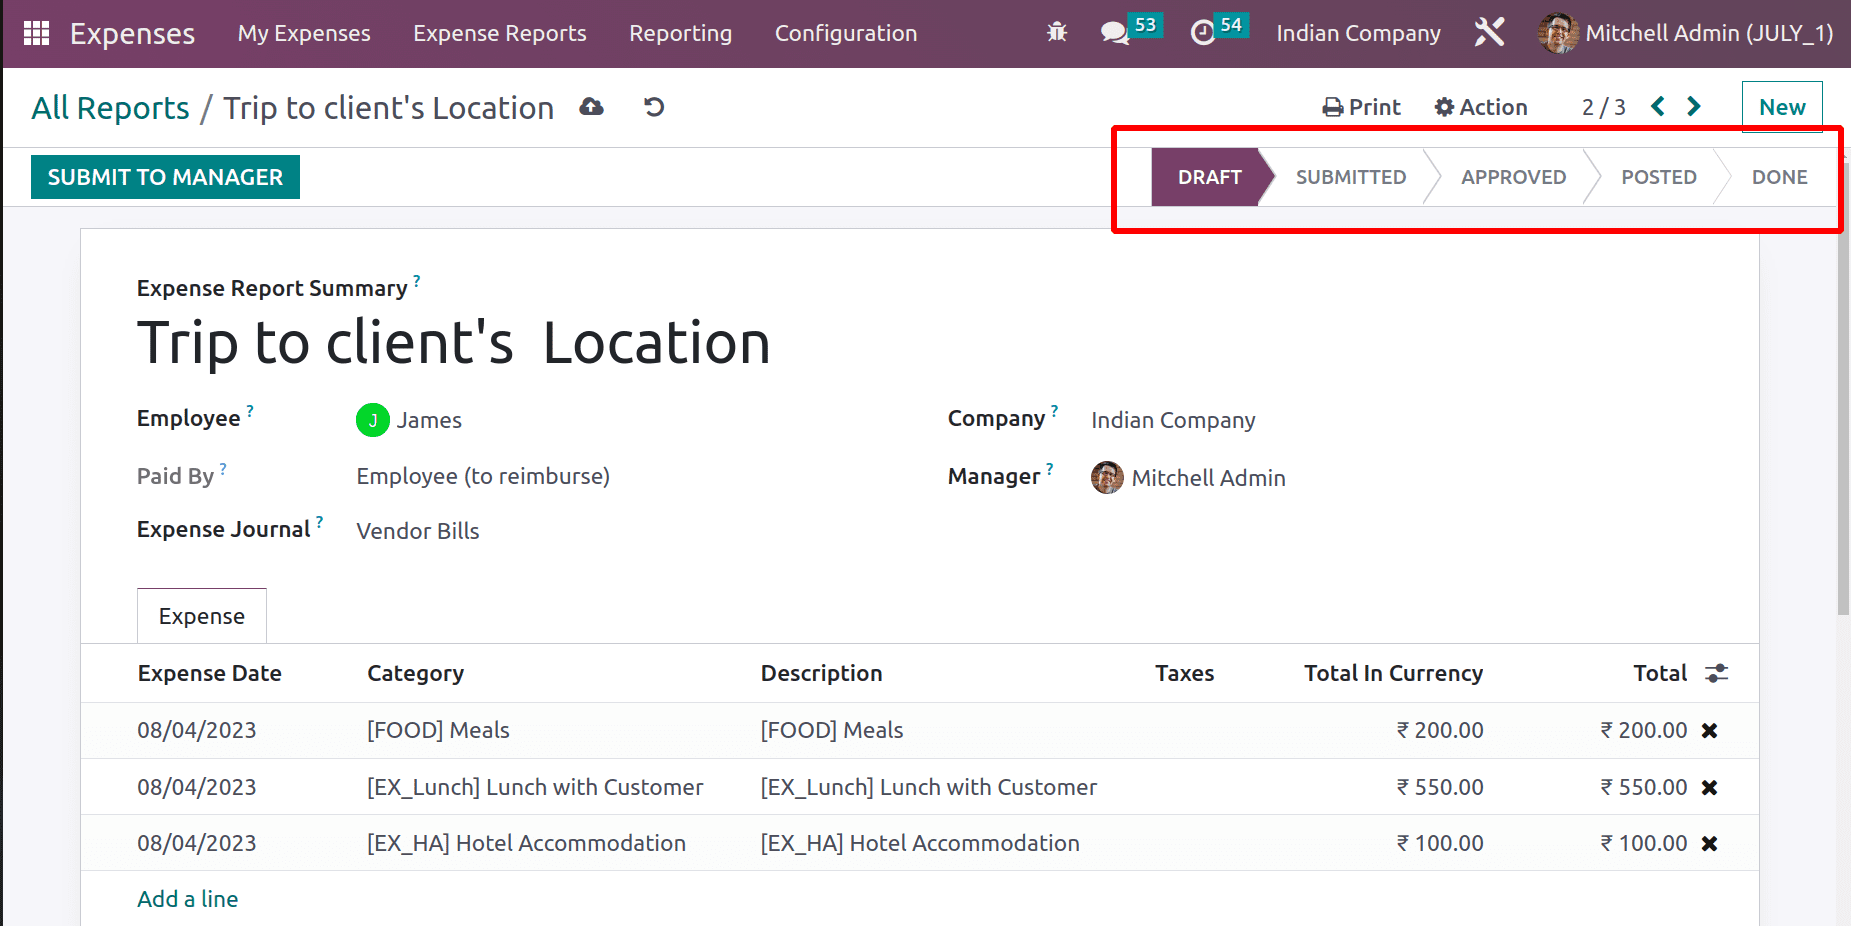
Now the reports show how many records are in each stage. Now the reports one is in Draft, one is submitted, and another one is in the Done stage.
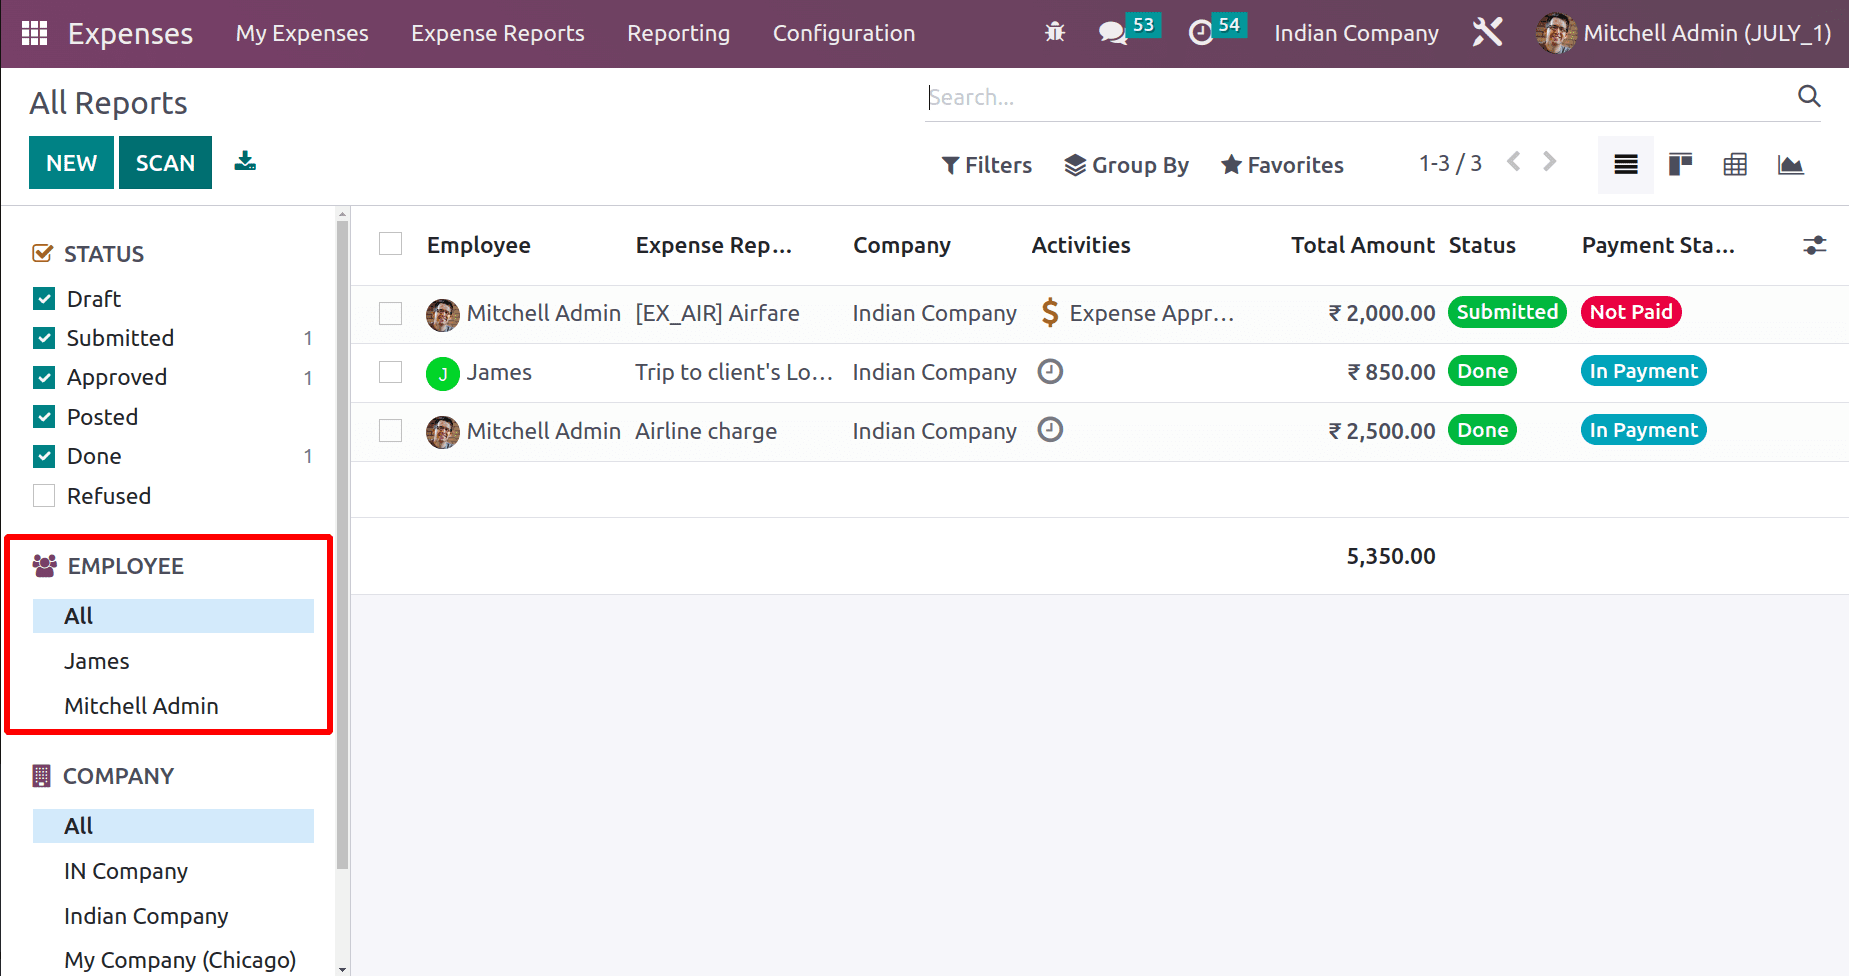
From the left side, it’s also possible to filter the reports based on the employee. Currently, the reports of all employees are shown there. The expenses of all the branches of the companies can be viewed there if multi-company is enabled.
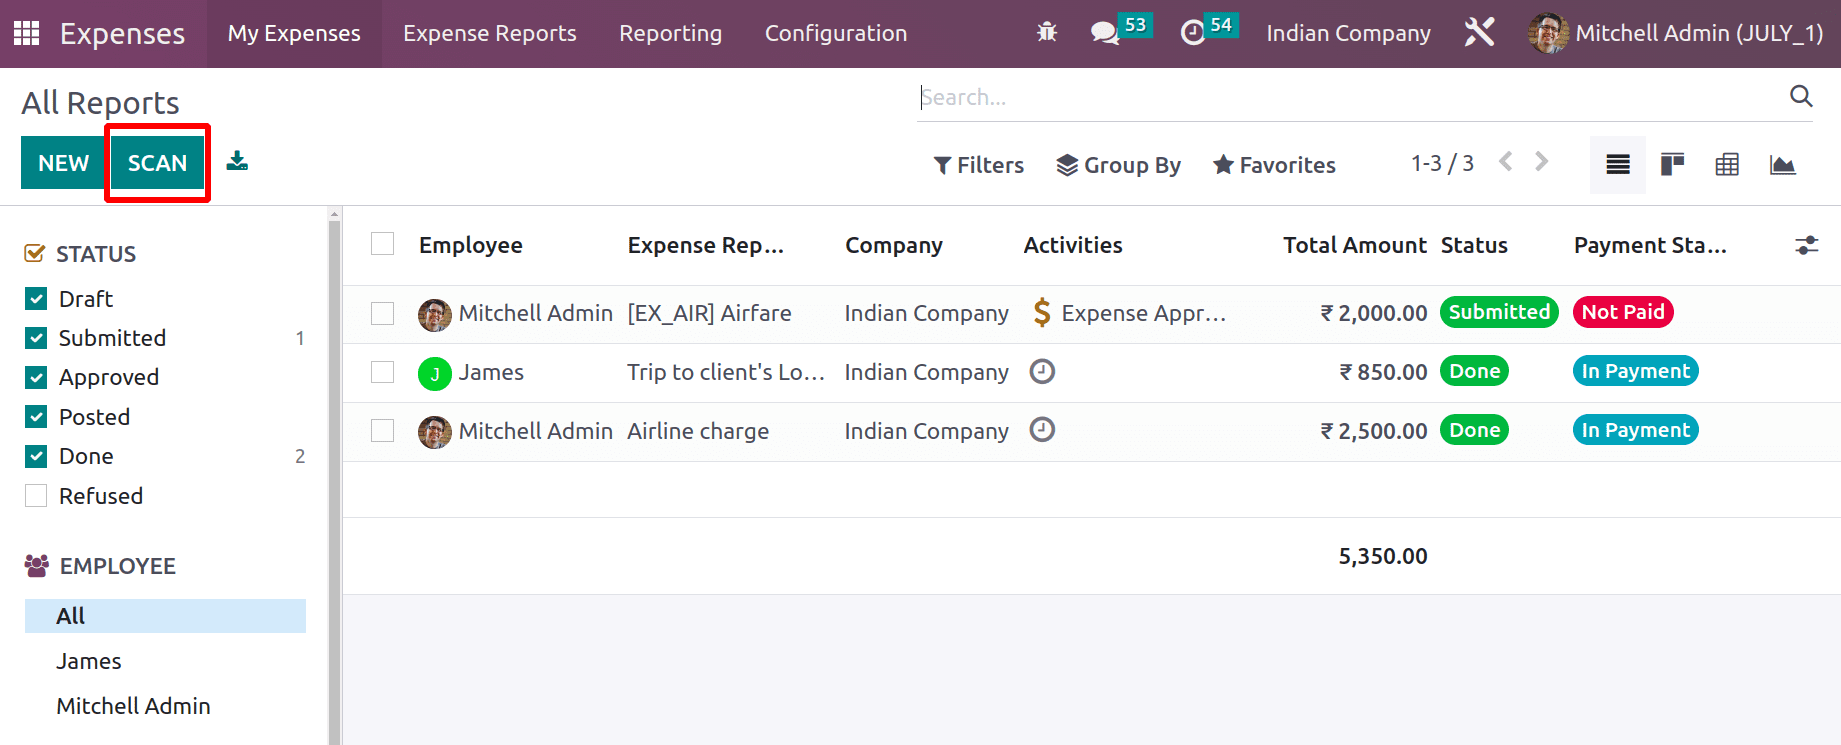
By using the SCAN button, a new expense can be added to the company. For that, click on the SCAN button and upload the expense report.
The expense report contains Filter, Group By, and favorite options. Searching is also possible there. As discussed later, different views like List View, Kanban View, Pivot View, and Graph View can be changed from there. The whole report can be downloaded from there.
Expense and expense reports can be created from incoming emails as well.
Therefore, Odoo 16 makes it easier to create and manage expense reports. With the right assessment, the user can do it with ease.


