The business raises through marketing, advertisement, and promotion techniques. It is vital to give prominence to the quality and standards of products /services. In the olden days, business competition is less; online startups are trending with several techniques nowadays. It led to promoting the campaigns through online resources to quickly reach a wider audience and attract customers. The marketing department in a company decides to conduct events for the attention of individuals and put forward several strategies. Enterprise resource planning ensures to automate operations at different levels of a business.
We can manage operations in a business using the Odoo platform and maintain the working of systems. In the Odoo 15 Events module, users can develop the new event, manage attendees, tickets, and sponsors, and track the data. It is helpful to you for your business or personal needs. We can also link with other systems using the advanced peculiarities of Odoo.
This blog helps you manage Sponsors and Attendees for an Event in Odoo 15.
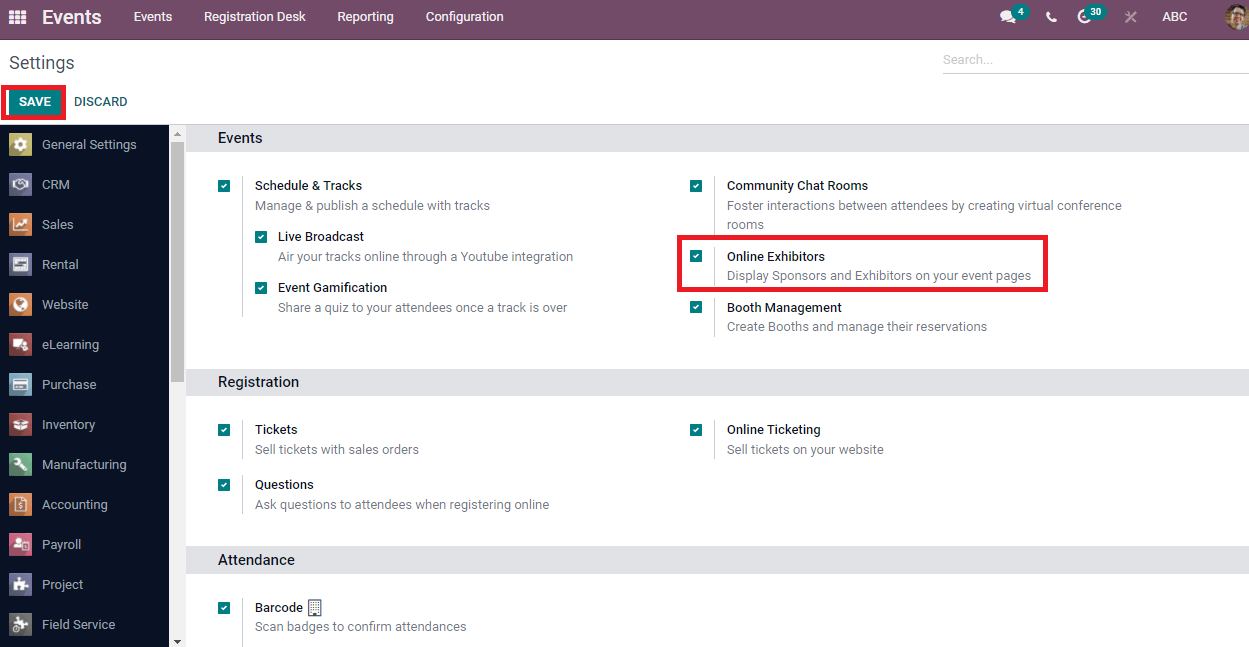
It is necessary to activate options in the Settings menu before managing the Sponsors and Attendees. Select the Settings menu in the Configuration tab. Activate the option of Online Exhibitors to the visible Sponsors icon in the event window and press on the Save icon. Enabling the options in the Settings window assists in accessing registration, attendance, and events.
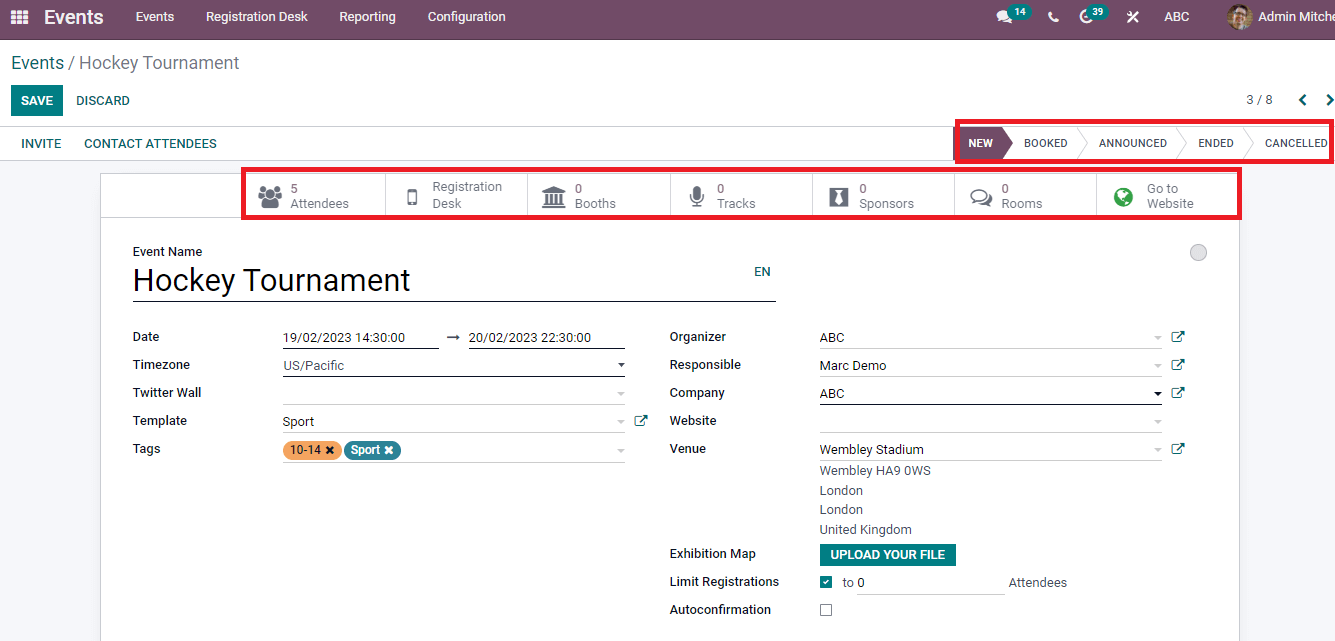
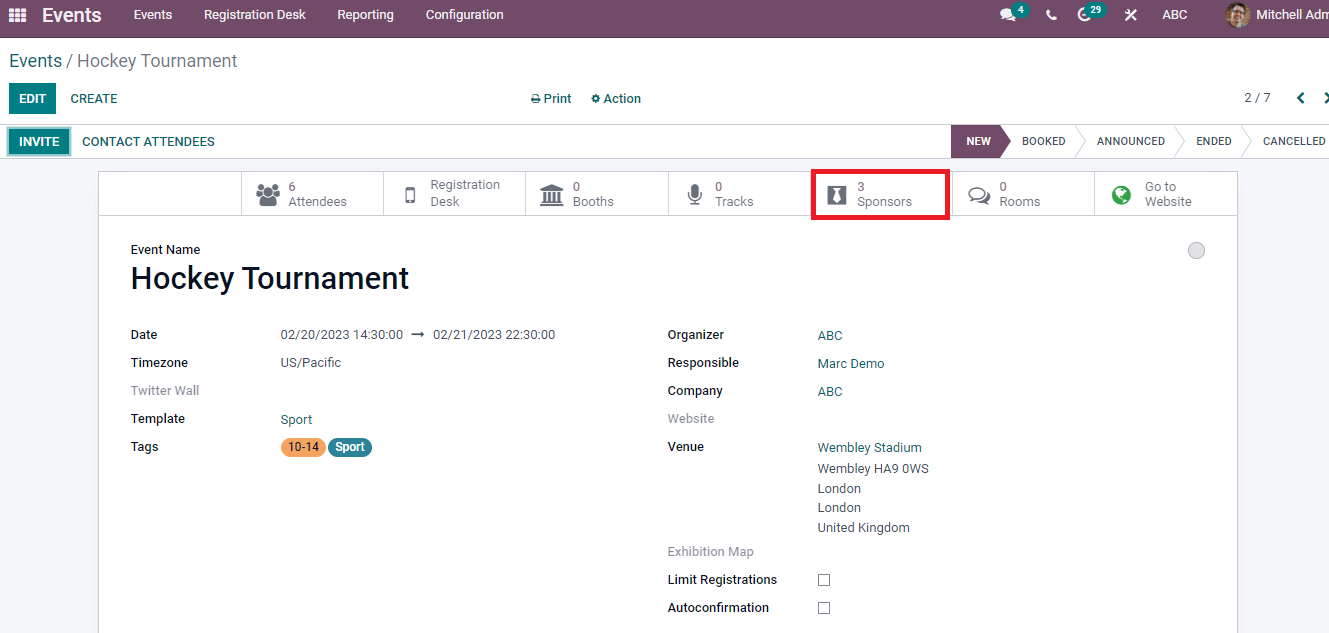
Select your created event from the dashboard of the Events module. In the Events window, you can see basic details like Venue, Date, Name, Organizer, Template, Responsible person and Tags of your event. Below the Invite icon, you can view the options such as Rooms, Booths, Attendees, Tracks, Go to Website and Registration Desk. The event stages are shown at the right end of the window. In addition, the Limit Registrations option helps you add the highest number of attendees limit for your event. We can invite more participants using the Invite icon and contact attendees.
To manage Attendees for an Event
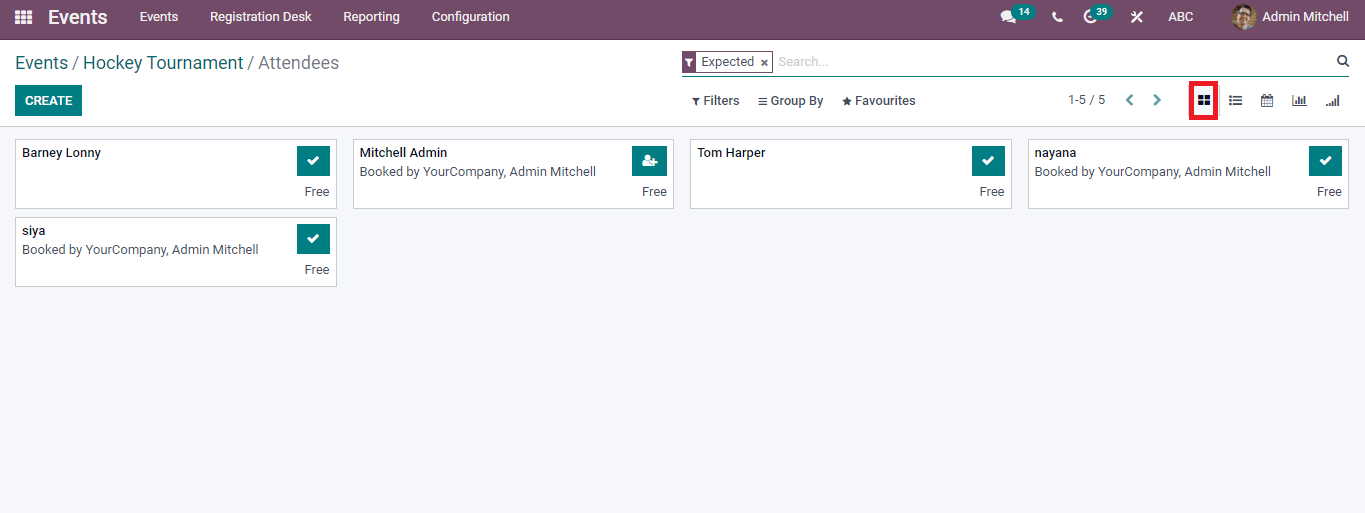
Click on the Attendees option in the Events window, and a pop-up window opens before the user. In the Attendees window, you can see the attendees’ list taking part in the event. We can view the company’s name and participant in the Kanban view of Attendees window.
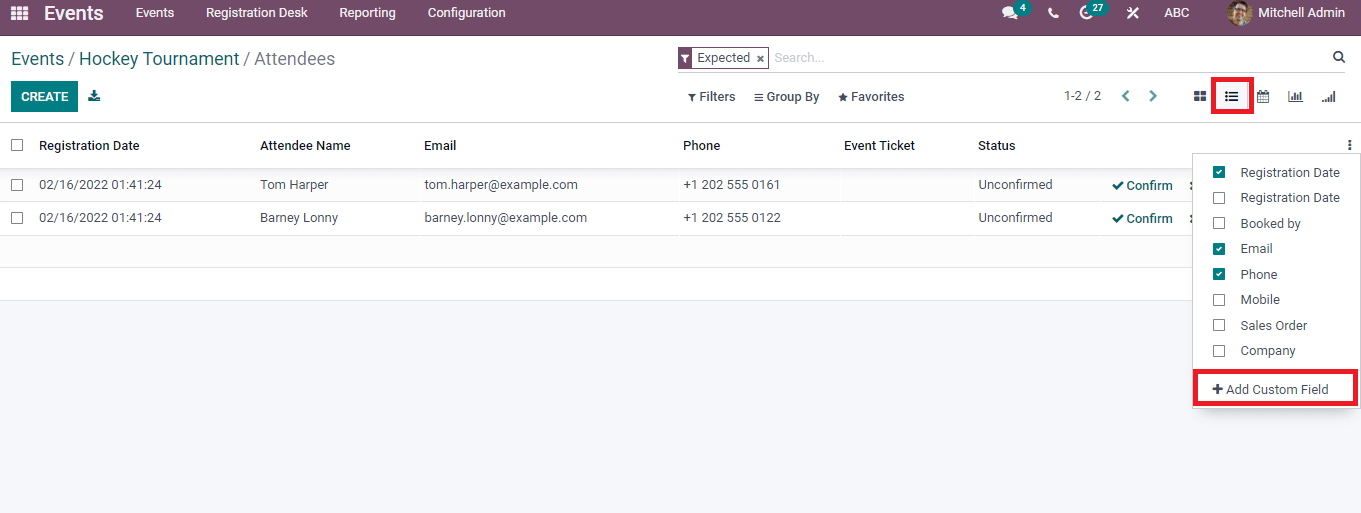
The list of attendees is visible under the List view of Attendees window. Here, you can view the details such as Status, Registration Date, Phone, Attendee name, Event Ticket and Email. Additional fields are added to the list by clicking on Add Custom Field at the right end of the window.
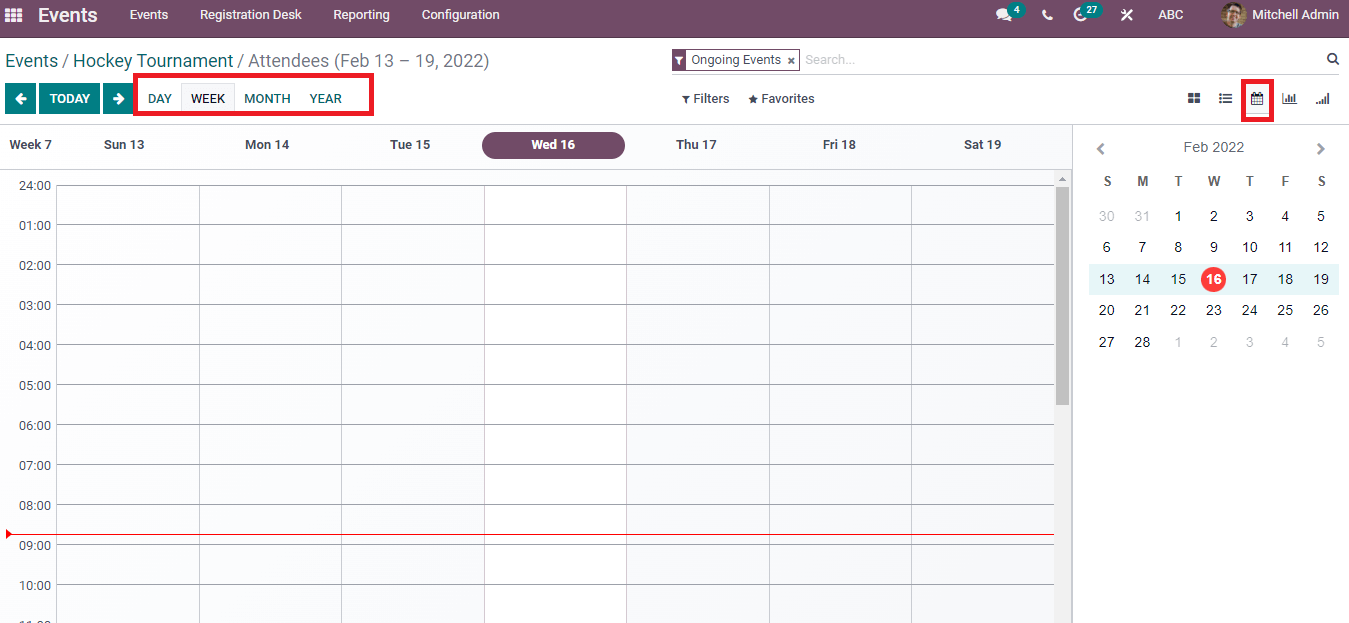
In the Calendar view, you can generate a meeting at a specific date for attendees. Users can search the events or meetings in a day, month, week or year format.
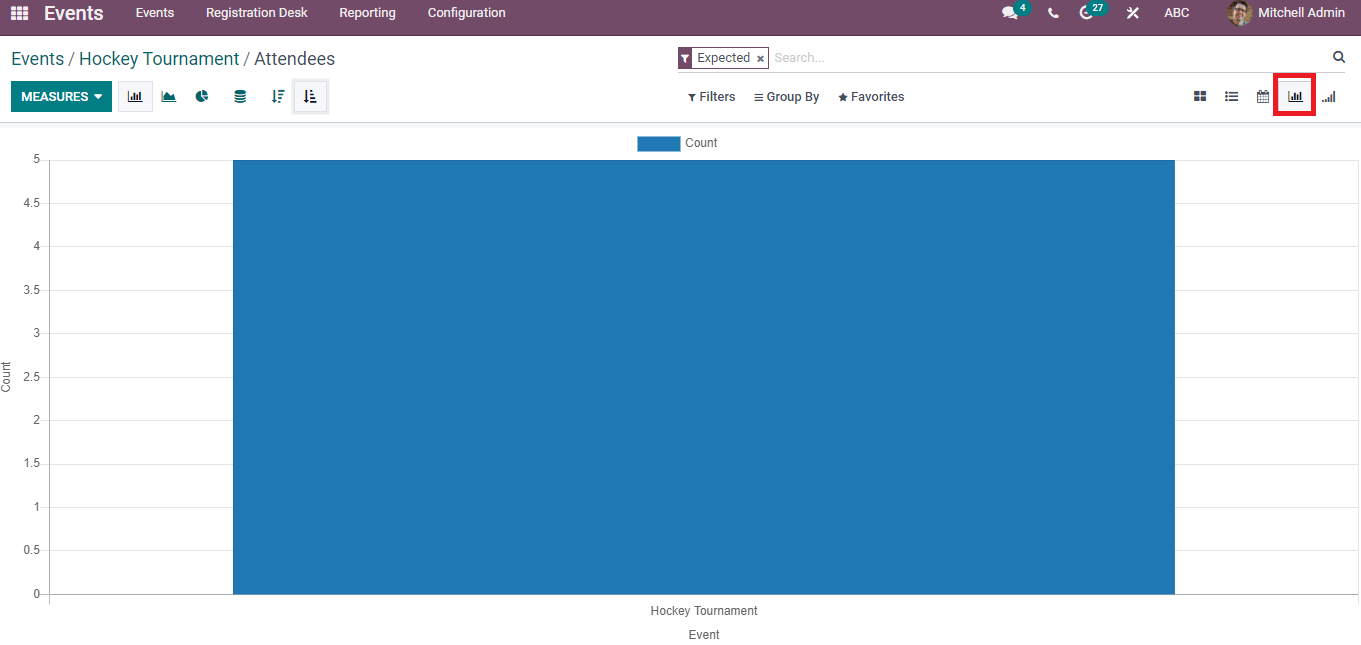
The Graph view of the Attendees window shows the Event name on the X-axis and the Count of Attendees on the Y-axis. We can view the graph in descending, Pie, Ascending and Line formats.
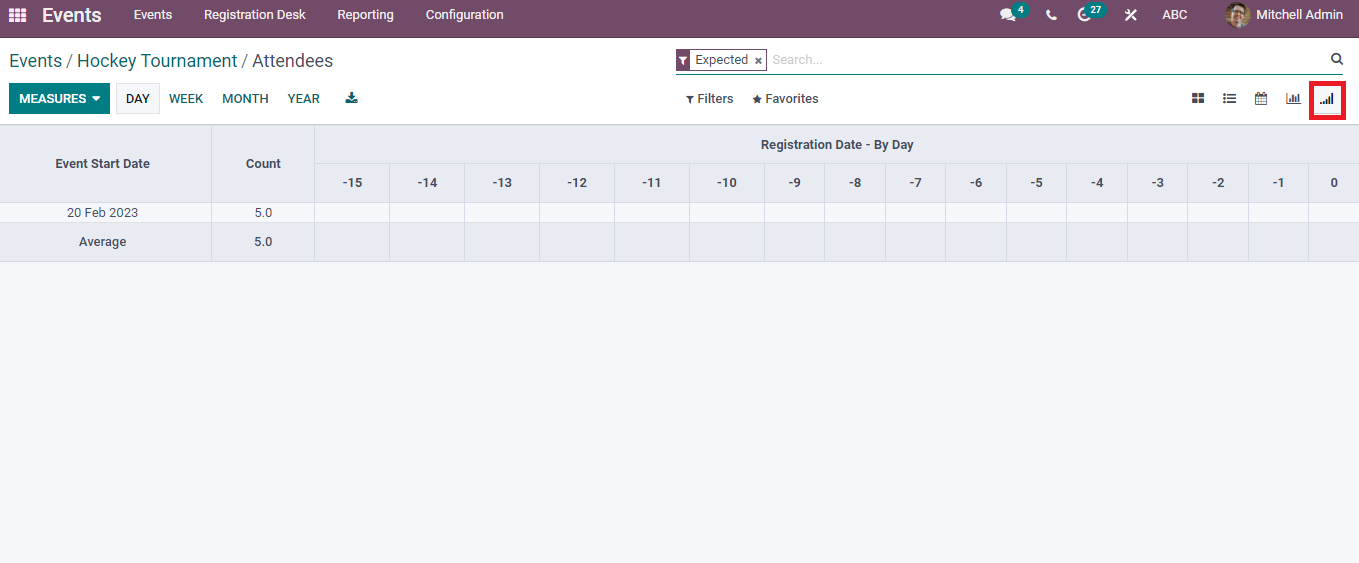
In the Cohort view, we can see the Count, Date of registration and event. The Average count of Attendees is displayed here. Now click on a specific date; the information regarding attendees is visible before you.
Creation of a New Attendee in an Event
The Create icon in the Attendees window assists you in developing new participant details for an event. After pressing on Create icon, a new window is visible before the user. You can enter the details of Attendee/Event information here and inside the Attendee option, add Attendee name, contact number, Booked by/Email. After that, enter the name and ticket of an event under the Event information. You can see a Questions tab at the bottom of the window, and it helps to create a question for an attendee. The Question tab contains details like Suggested Answer, Question, Text answer and Type. Click on Confirm and Save button after typing the details of Attendee.
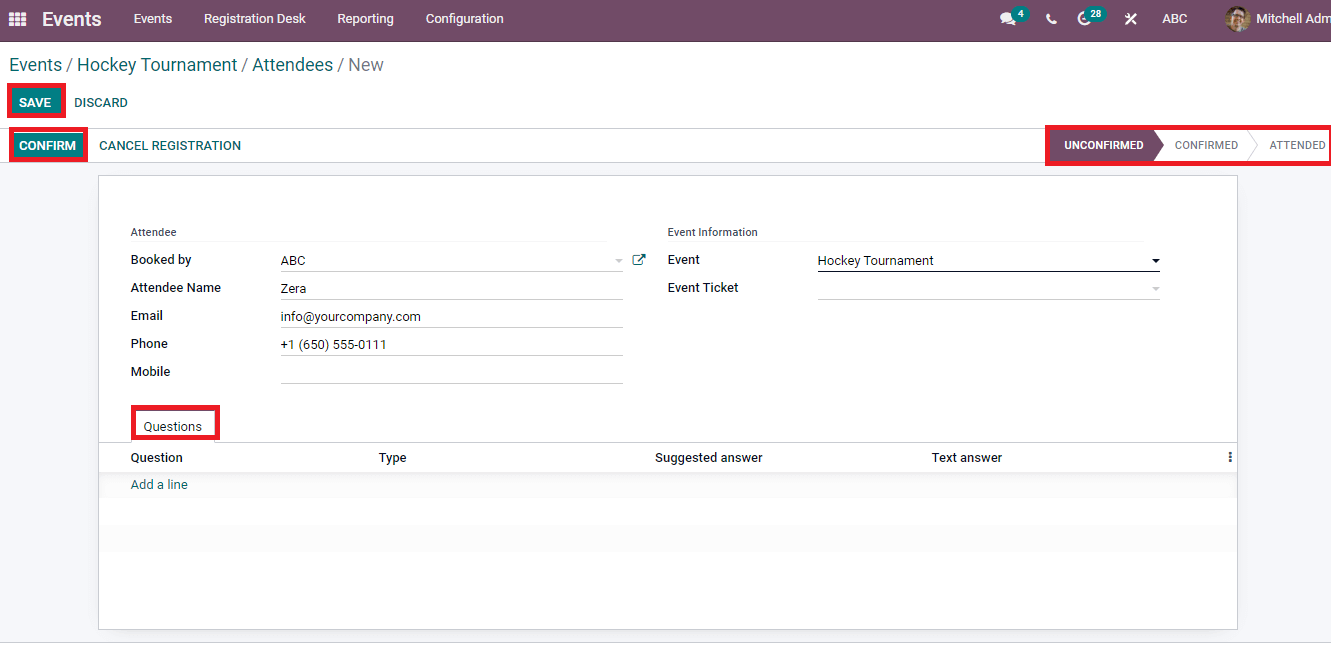
You can discard the registration using the Cancel Registration icon. The stages of an Attendee window arranges in Unconfirmed, Attended, and Confirmed forms. We can view the created Attendee details in the Attendees window.
To Create Sponsors for an Event
Select your event from the Events dashboard and view the Sponsors option in the Events window. A page of Events Sponsors is available for you after clicking on the Sponsors option. The details of Sponsors are visible in the Kanban view of the Events Sponsors window.
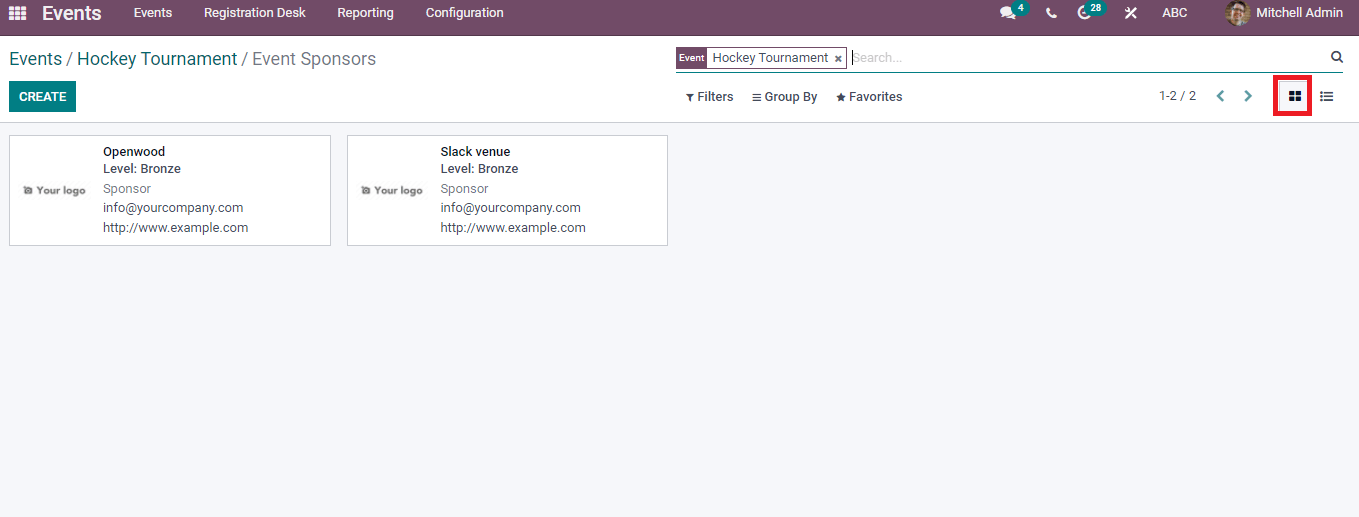
In the List view, we can see the vast information regarding each sponsor separately. It includes Name, Website, Type, Phone, Partner, and Email. You can add a custom field by pressing a three-dot button at the end.

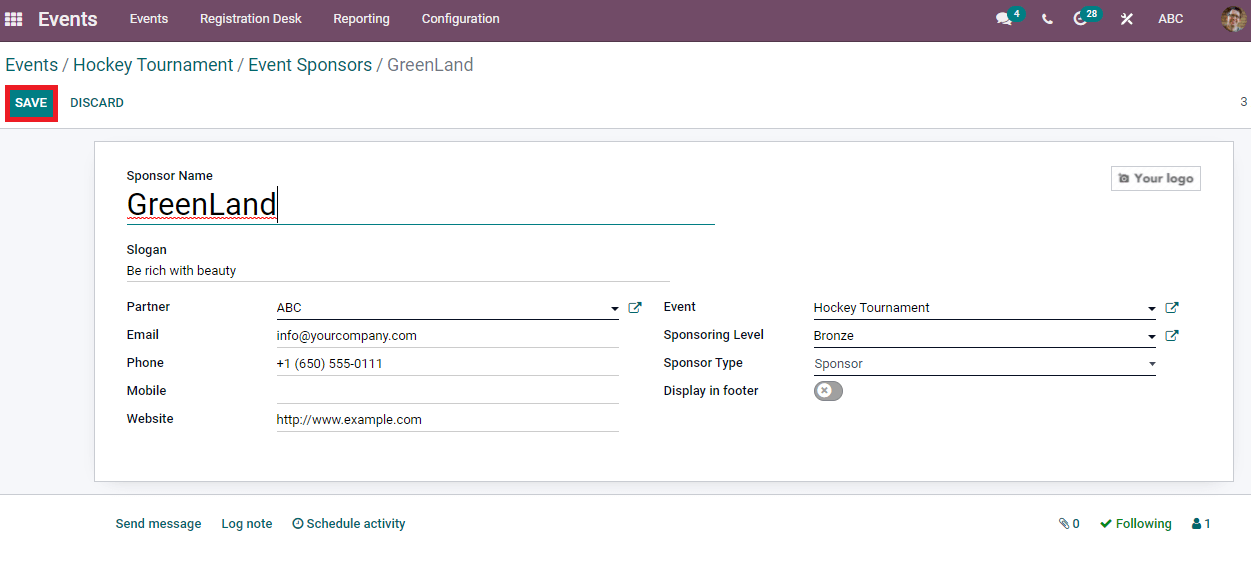
Press on the Create icon to develop a new sponsor and enter the sponsor’s details in the new window. Add the name of Sponsor, Partner, Slogan, Website details, Phone and Email. You can also add Sponsor level, type and event name. After that, press on the Save icon to store the Attendee’s details.
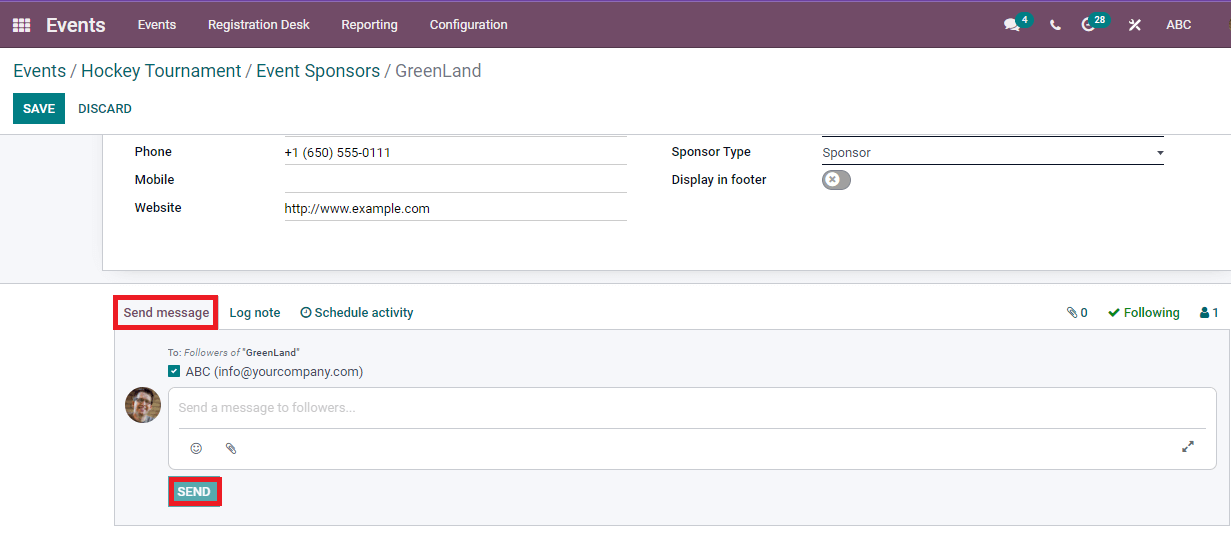
Inside the Send Message tab, you can send messages and attachments for the followers of a sponsor. Press on the Send button to reach a large audience.
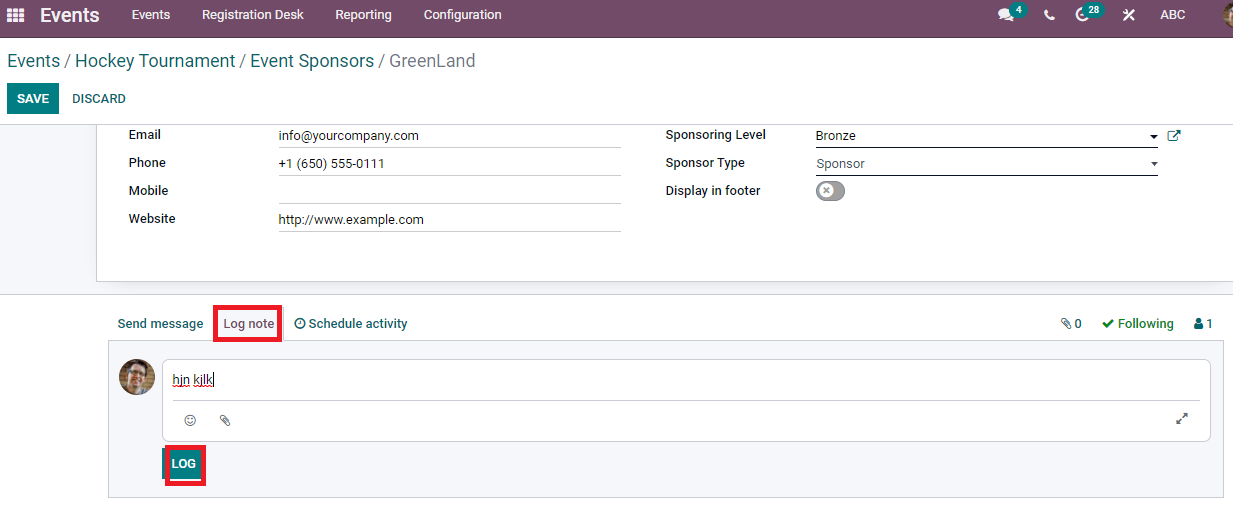
In the Log note, you can add internal messages and attachments. After that, press on the Log icon.
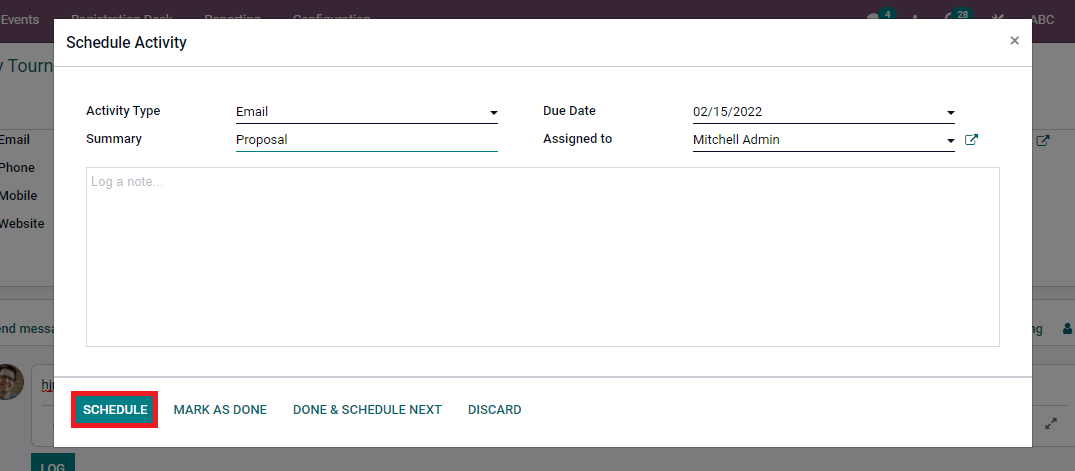
We can organize an activity by clicking on the Schedule Activity icon. In the Schedule Activity window, enter Activity Type, Assigned person, Summary and Due date. You can add a note regarding the activity and press on Schedule icon.
The details of a created sponsor are visible in the Events Sponsors window. We can view the number of Sponsors in the Events window.
The Odoo 15 Events module contains several features such as forming events, inviting attendees, registration, and templates for an event. We can manage the sponsors, attendees, and events tracking using the Events module. Apart from these, the Events module combines with the Website, Sales, and Marketing modules of the Odoo platform. The organization can maintain smooth coordination of an event using the Odoo 15 Events module.


