In Odoo 16, users can be given particular responsibilities like Sales Manager, Inventory Manager, HR Officer, Salesperson, purchase representative, etc. These roles vary depending on the module. Therefore, Odoo 16 may configure what actions users are allowed to execute, such as configuring, creating, modifying, deleting, or viewing records, thanks to role-based access control. Because every module in the system has numerous features provided by Odoo 16, Odoo forbids regular users from modifying the configuration of modules.
To check the access rights in Odoo 16 Point of Sale, just go to the Settings app. Then access rights are set for users. So to open the user’s page, we must open the Settings module.
The Settings module contains different menus like General Settings, Users & Companies, Translations, Gamification Tools, and Technical.
First, we need to configure users. The customers, vendors, and employees are all users of Odoo 16. But Odoo16 differentiates the users into three different types. That is
1. Internal User
2. Portal User
3. Public User
In Odoo 16, a user who works for the firm is referred to as an internal user. Due to the fact that they are employees of Odoo 16, this group of users has access to the platform’s back end. They could be a part of the employee module.
Then, next is portal users. They belong to the company as either a vendor or a customer. For their requirements, they can communicate with the internal user. The employees can grant them access to a portal. They can see their documents relating to business transactions through that portal.
Public users are the final category. Actually, they are visitors through the website. They can look at the business website. The user is regarded as a public user up until they receive portal access.
Employees of the firm are considered Internal Users. Hence, in Odoo 16, granting each employee a distinct set of access privileges to the module is possible. The access privileges are assigned based on their role and responsibilities. Therefore, only in accordance with those access rights can users access the many functionalities of that module. Let’s verify the access privileges of employees to the Point of Sale module in this blog.
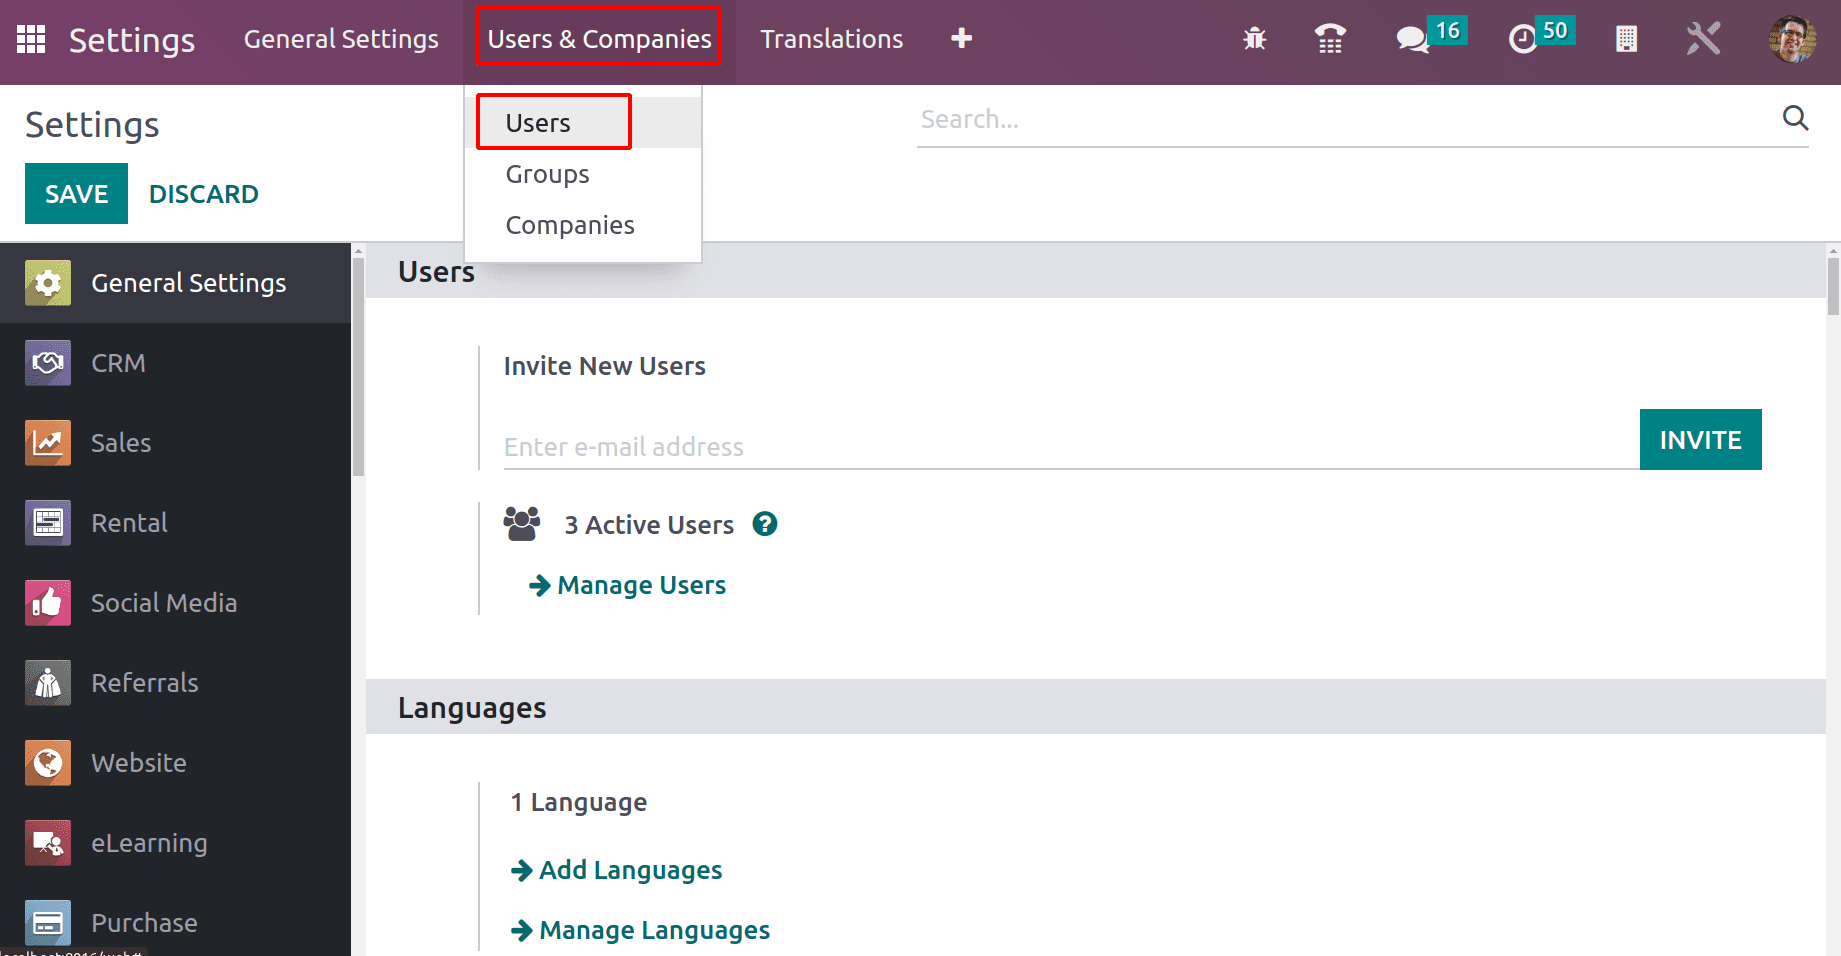
So go to Settings and click on the tab Users & Companies. And pick Users from there.
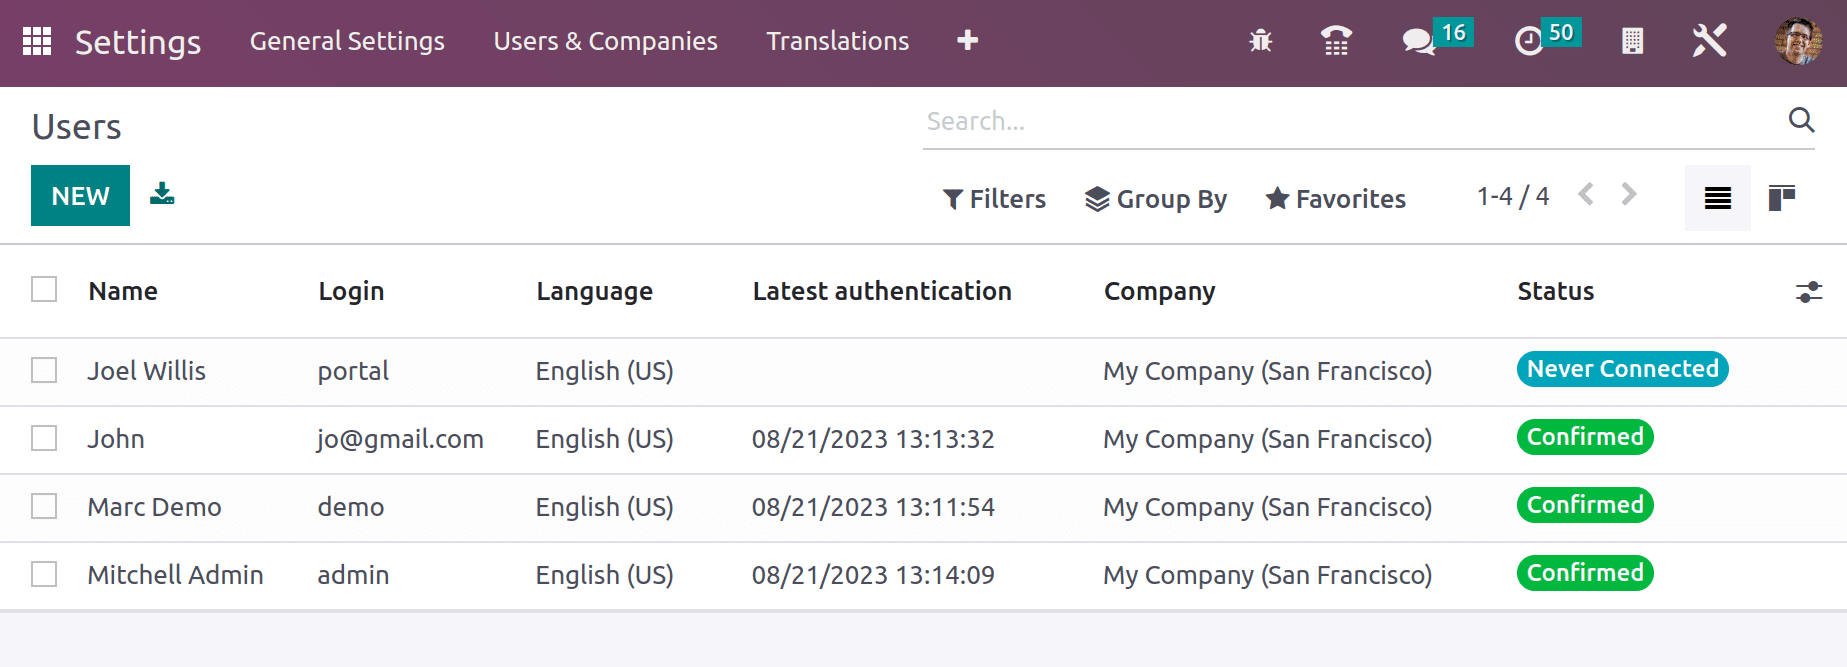
The window shows a list of users. Currently, there are four users. Three of them are internal users, and one is a portal user. Filter, Group By, and Favorite options are available in this user’s window.
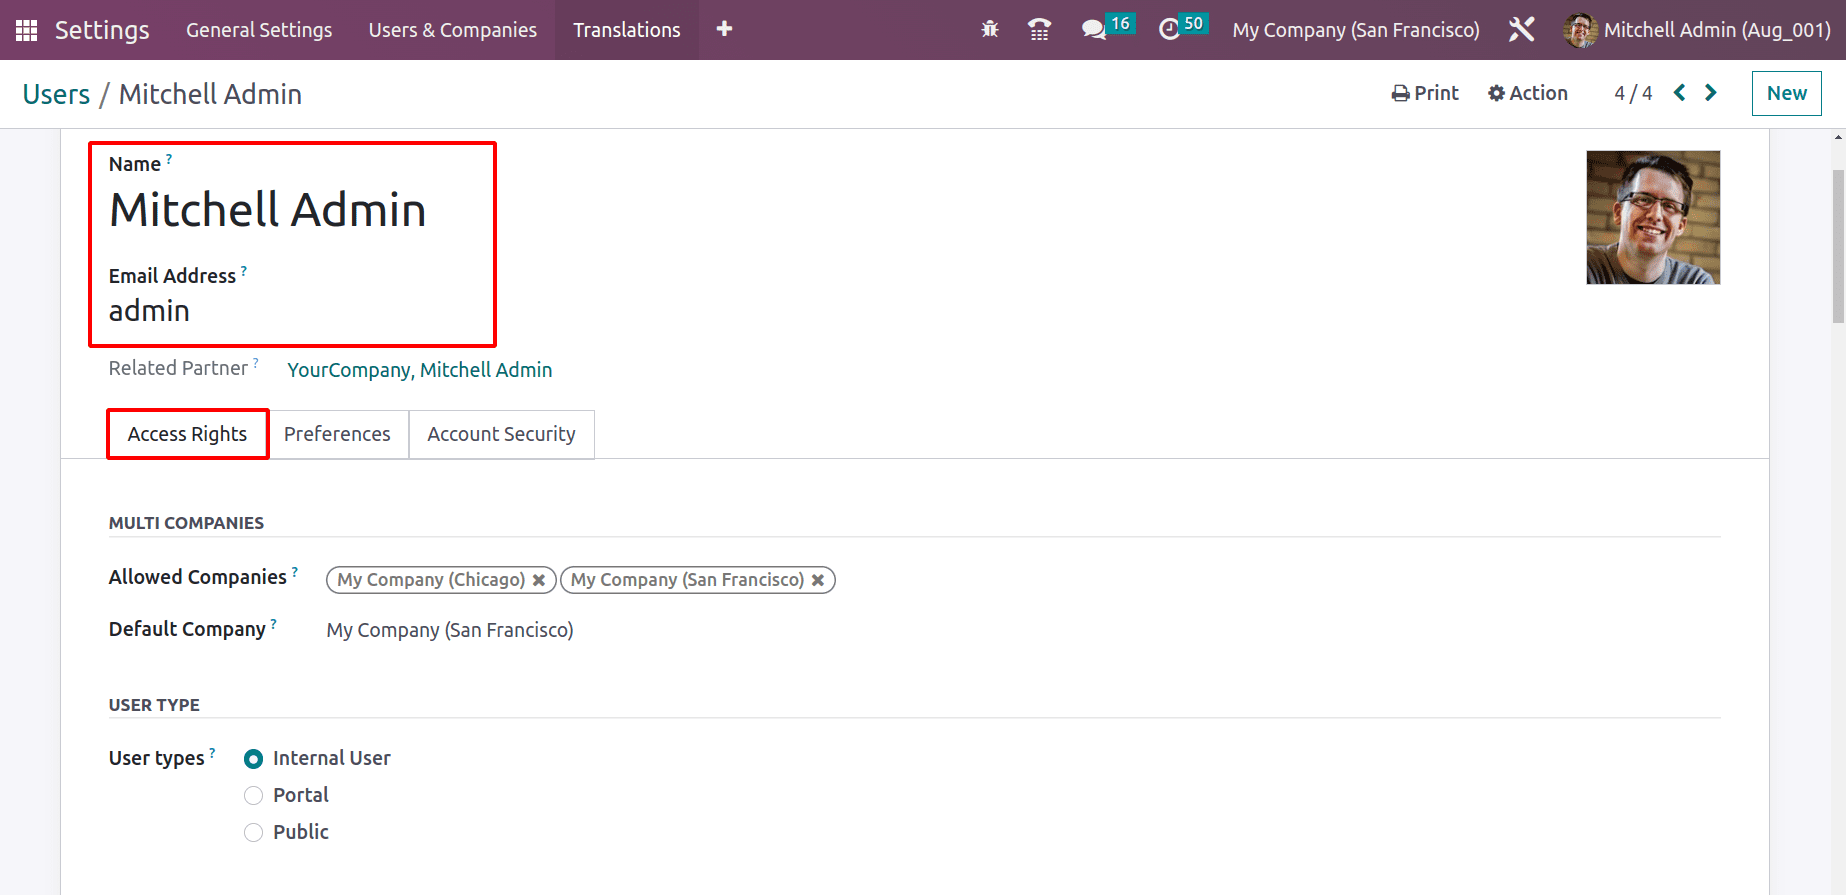
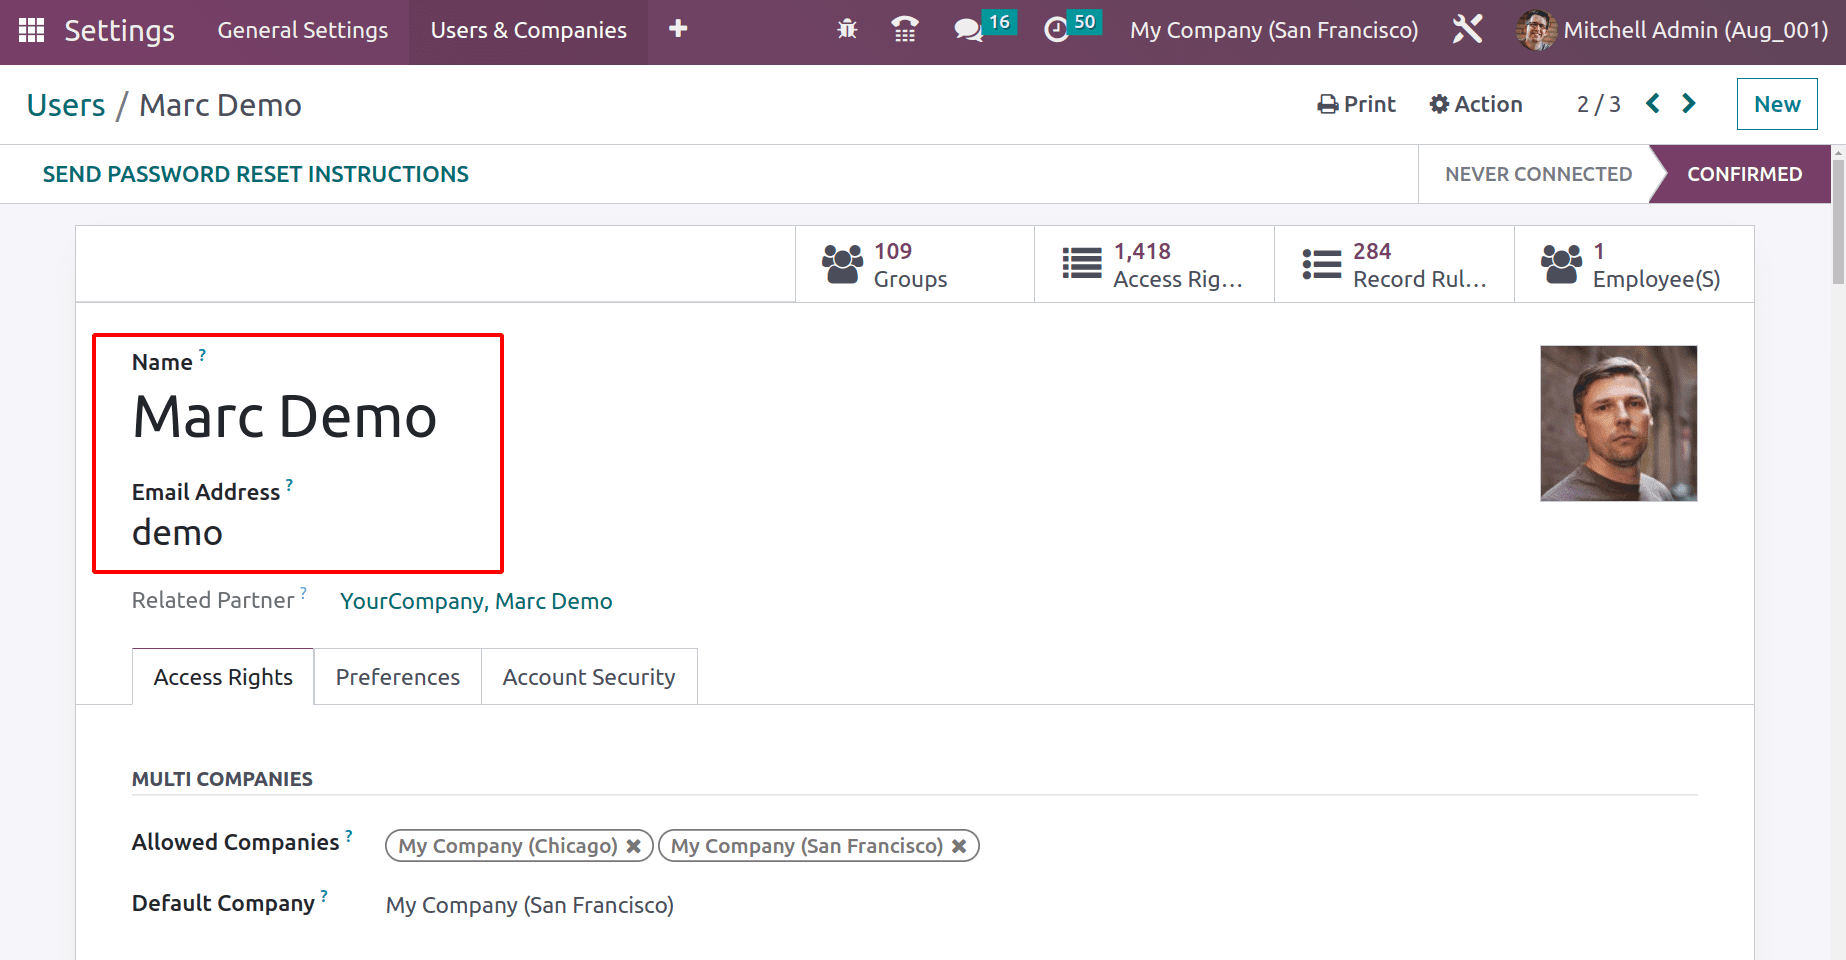
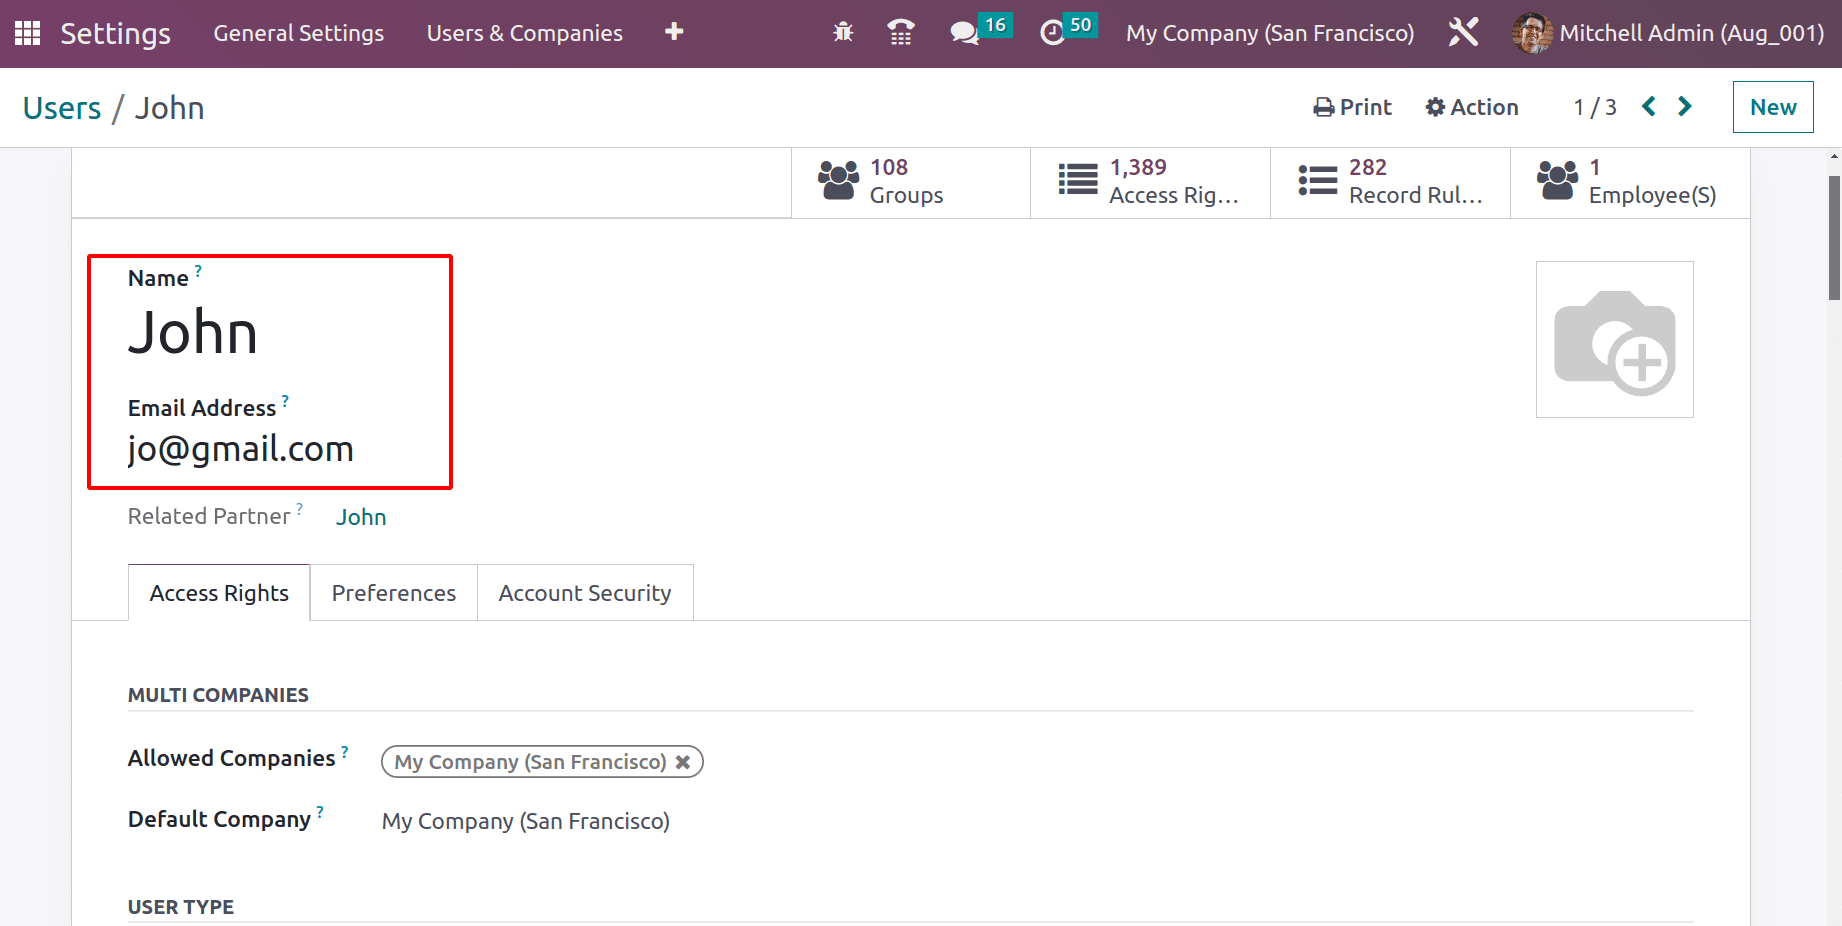
Let’s open the first user, Mitchell Admin. The name and email id are mentioned first. The Access Rights tab contains the other details. If the user has Multi-company access, the allowed companies’ names are specified in the Allowed Companies section. The Default Company name was also added. Next are User Types, which we already mentioned.
When you scroll down the window, Access rights to different modules can be set there.
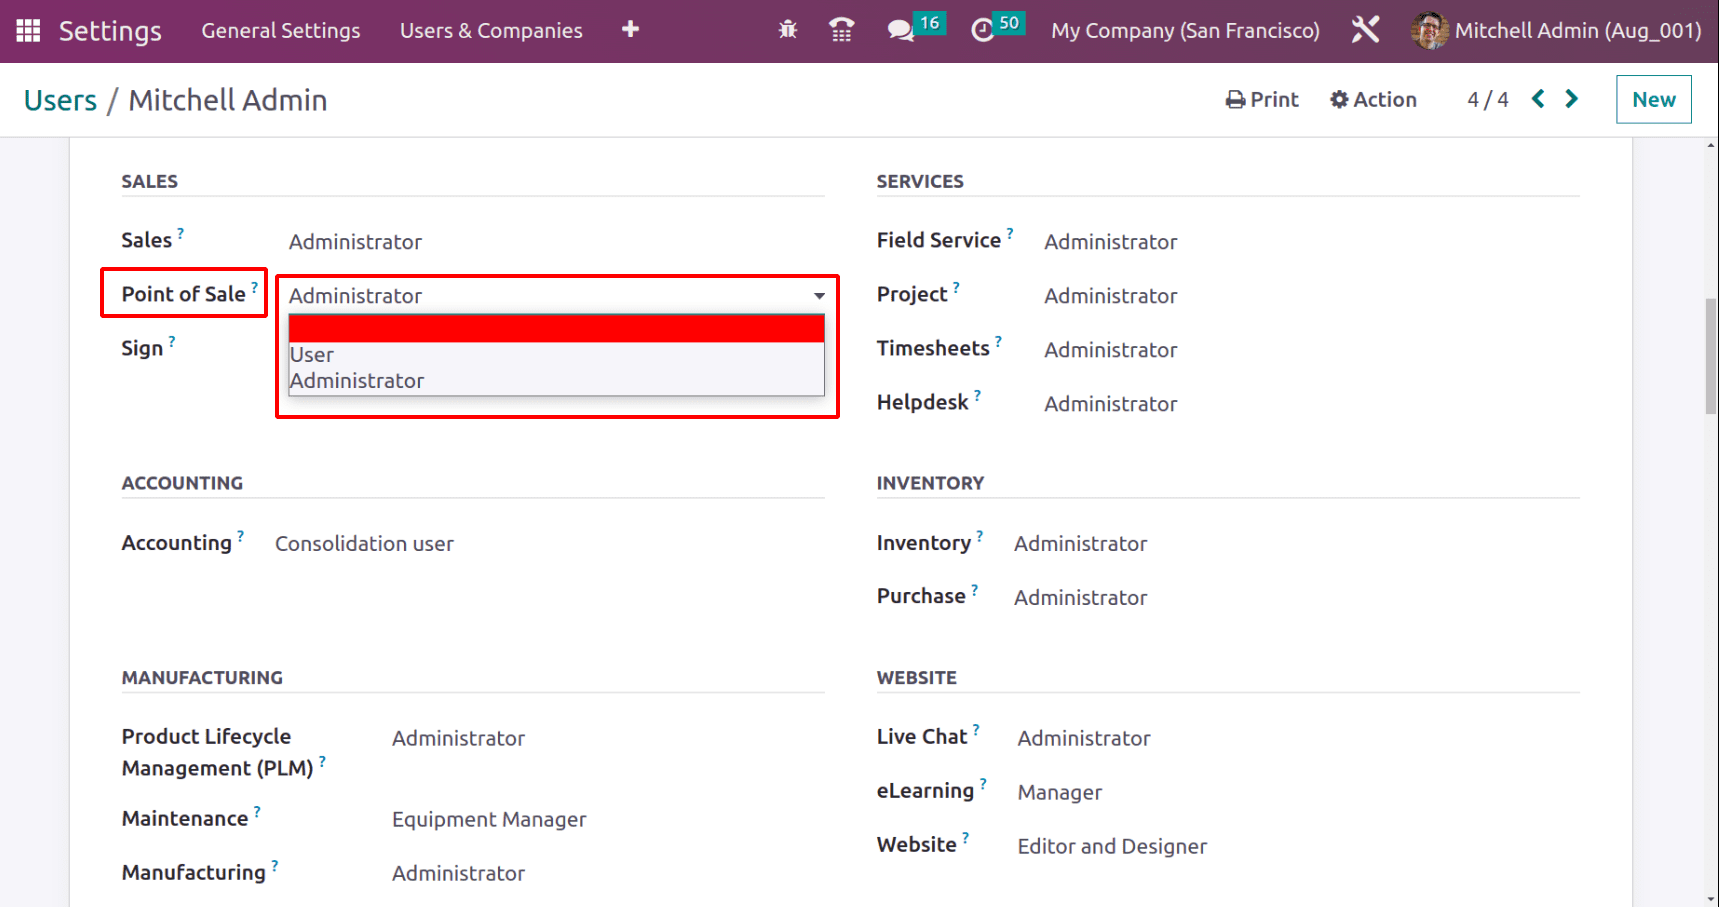
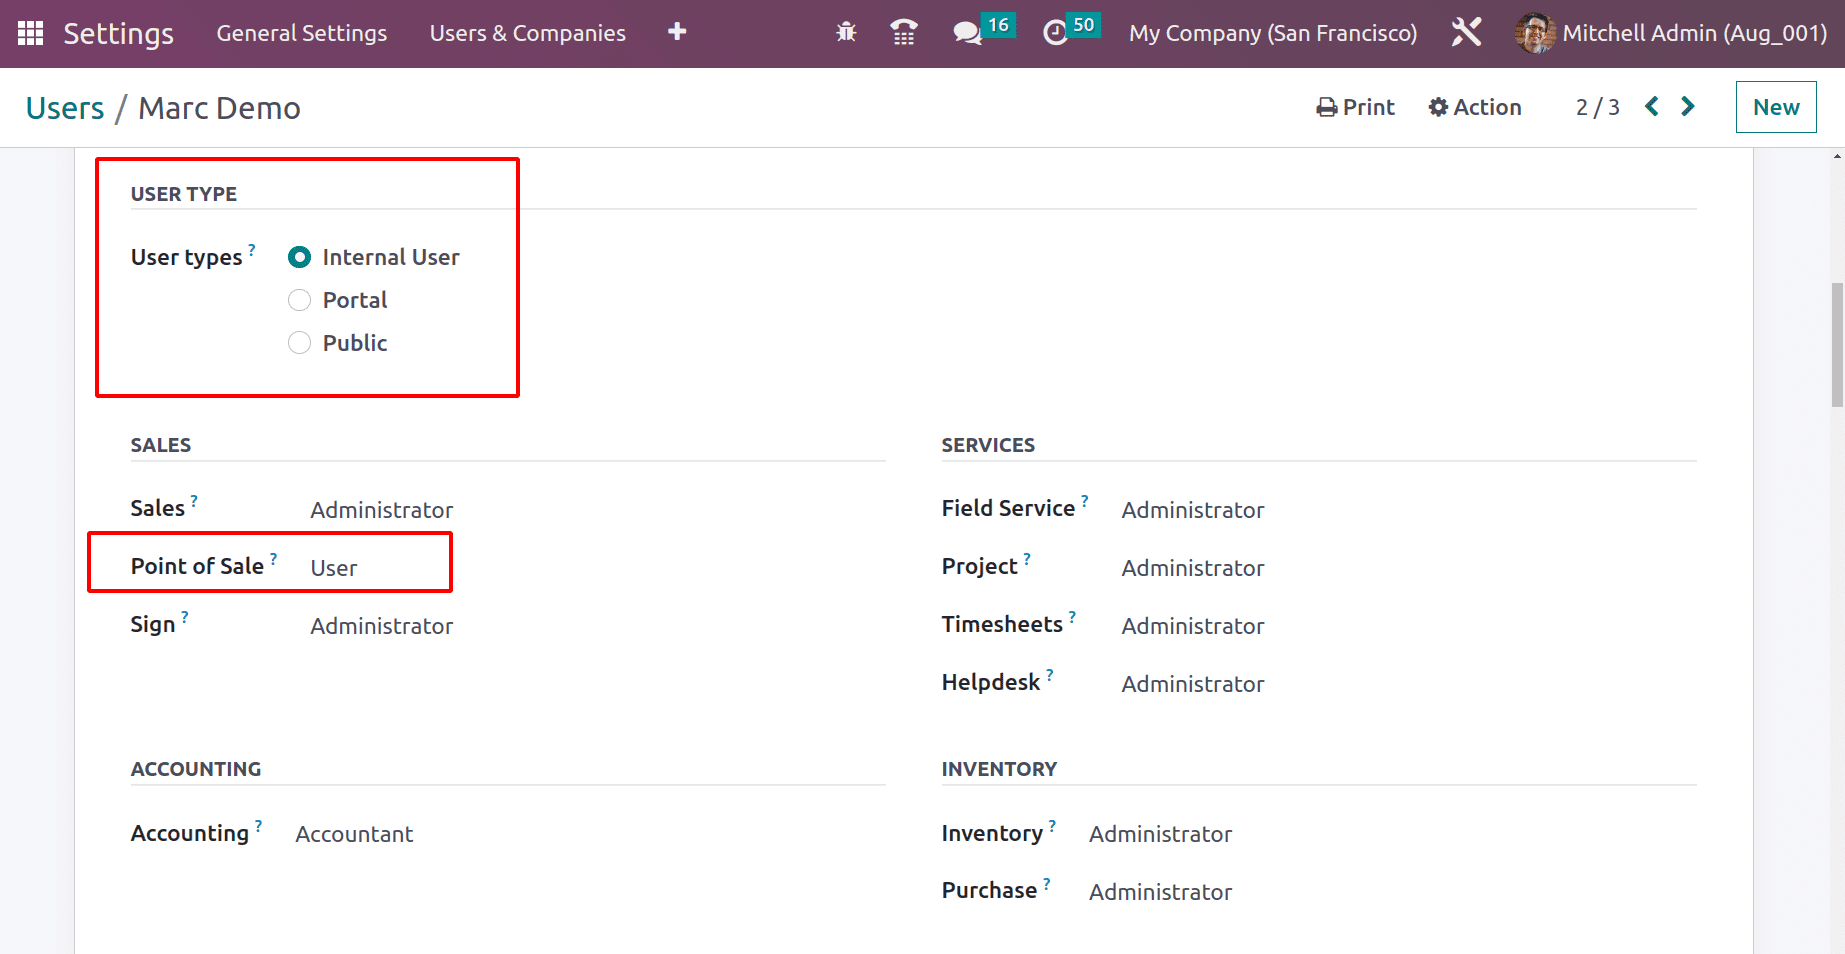
The Odoo16 Point of Sale has two Access Rights. One is the Administrator, and the second is the User.
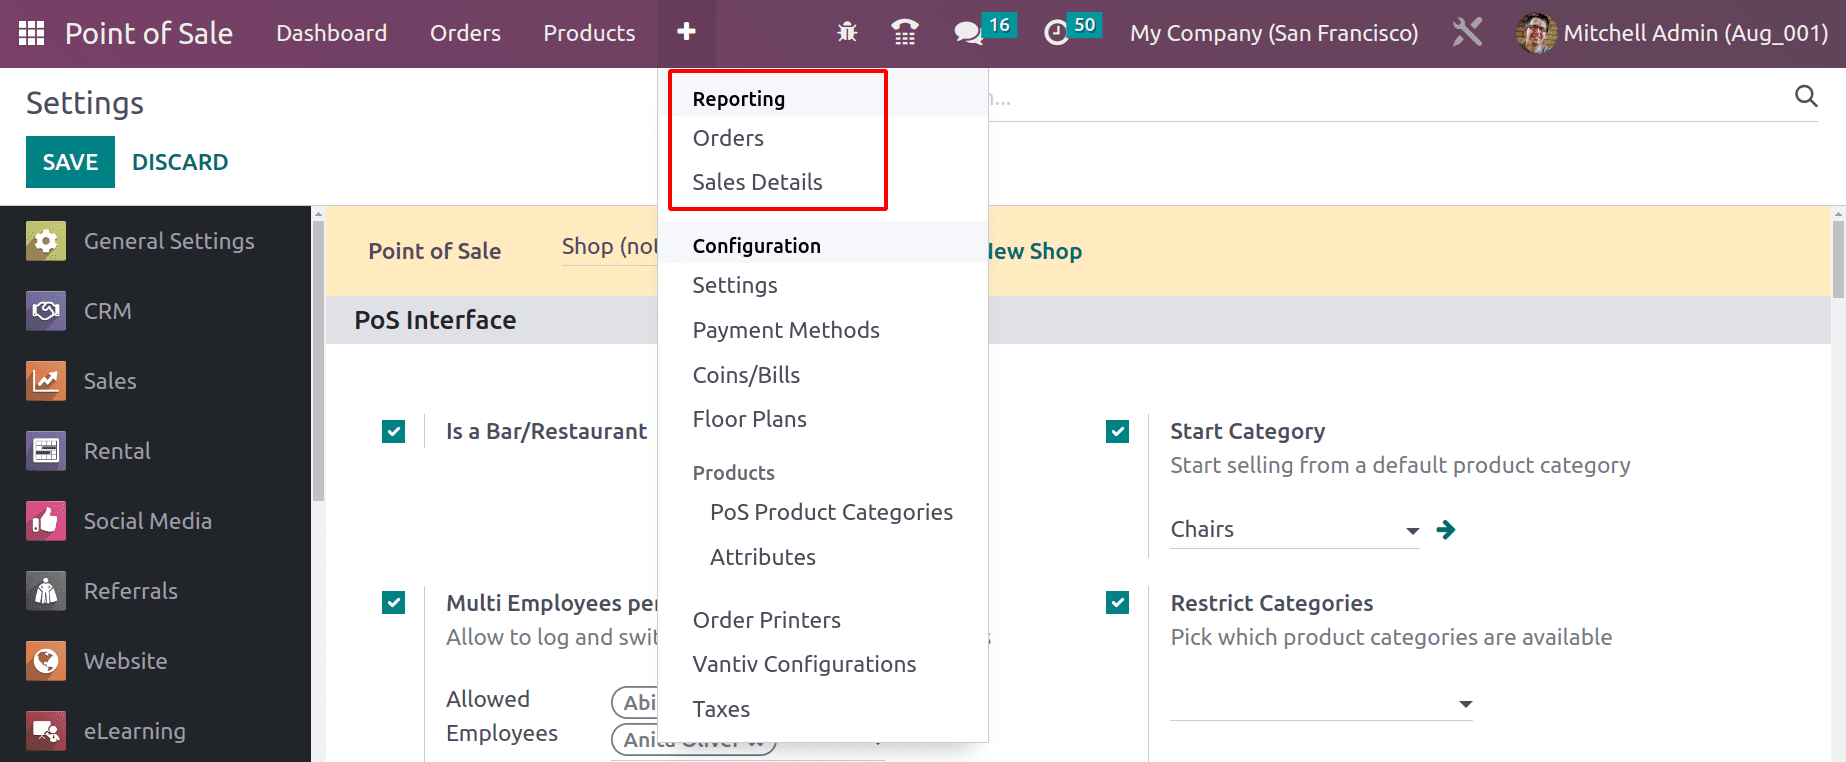
Here, the Mitchell Admin has Administrator rights. So save the user and go to the Point of Sale module to check what features or access he has as administrator. The screenshot below shows the Dashboard view of the user with Administrator rights. The user’s view contains five menus: Dashboard, Orders, Products, Reporting, and Configuration.

The admin has the top power to Configure features for the Shop/Restaurant. The PoS settings window contains more configurations for the PoS Session.
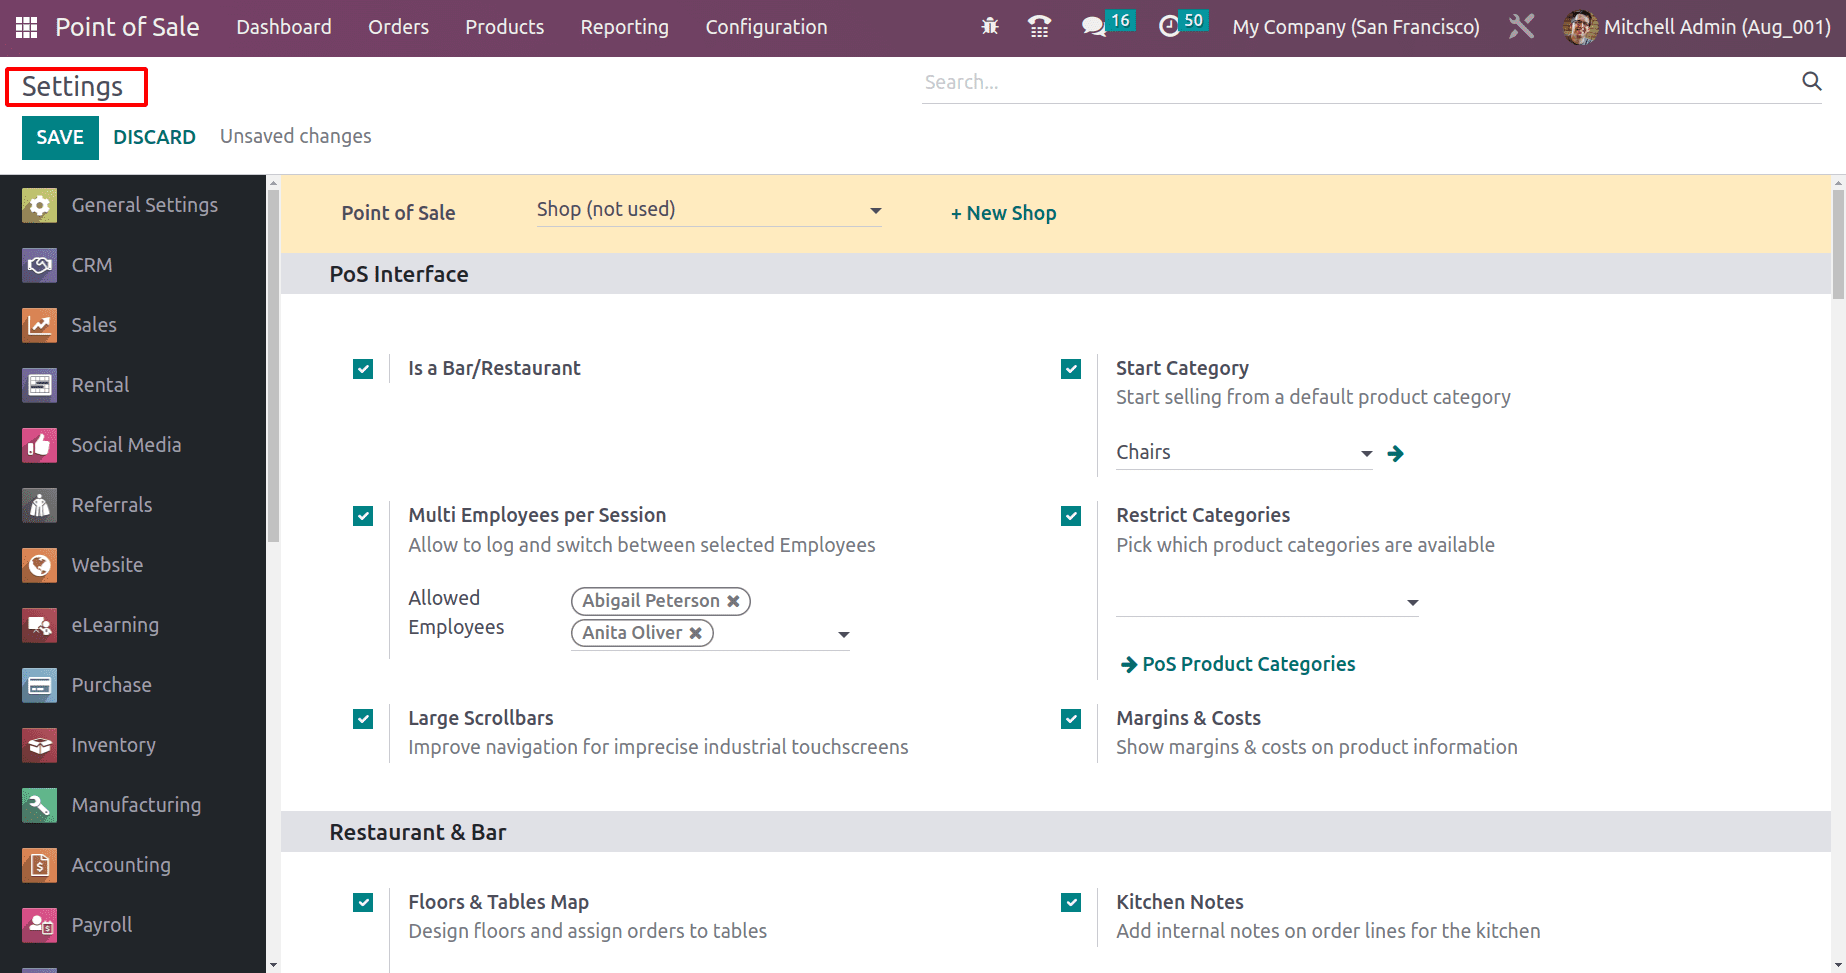
It’s possible to configure Payment Methods, Coins/Bills, Floor Plans, Product Categories, Attributes, Configure Order Printers, Payment Terminal configurations, Taxes, etc from the Configuration tab.
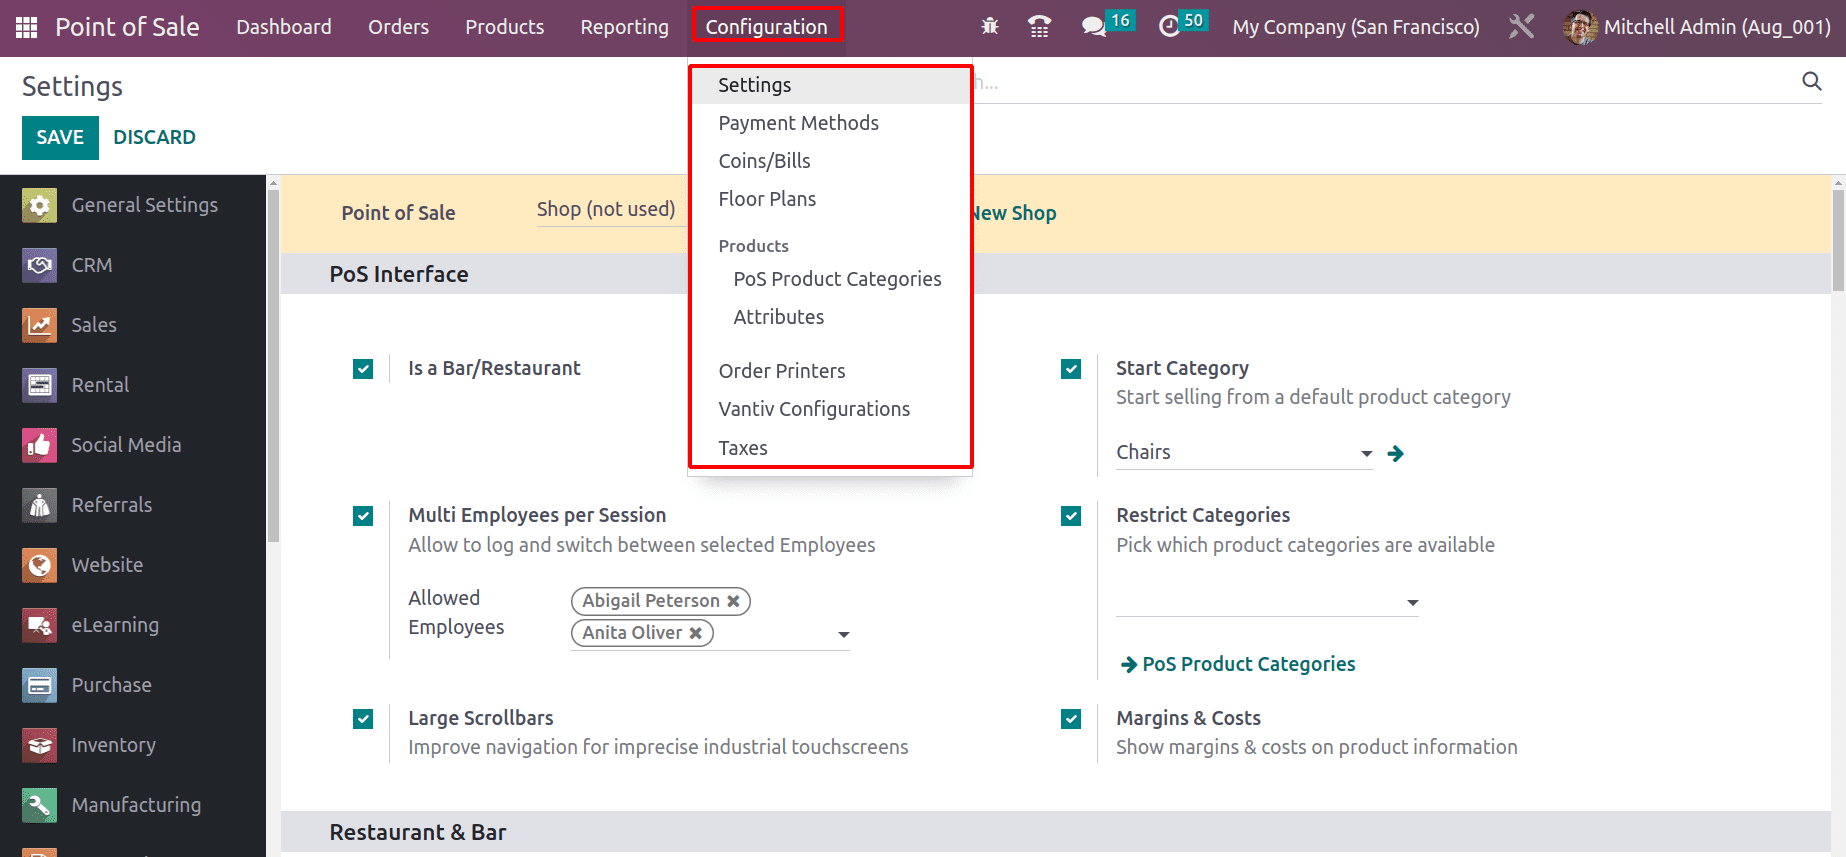
From the Products tab, users can configure Products, Products Variants Price Lists, Discounts, Loyalty, Gift cards & eWallet.
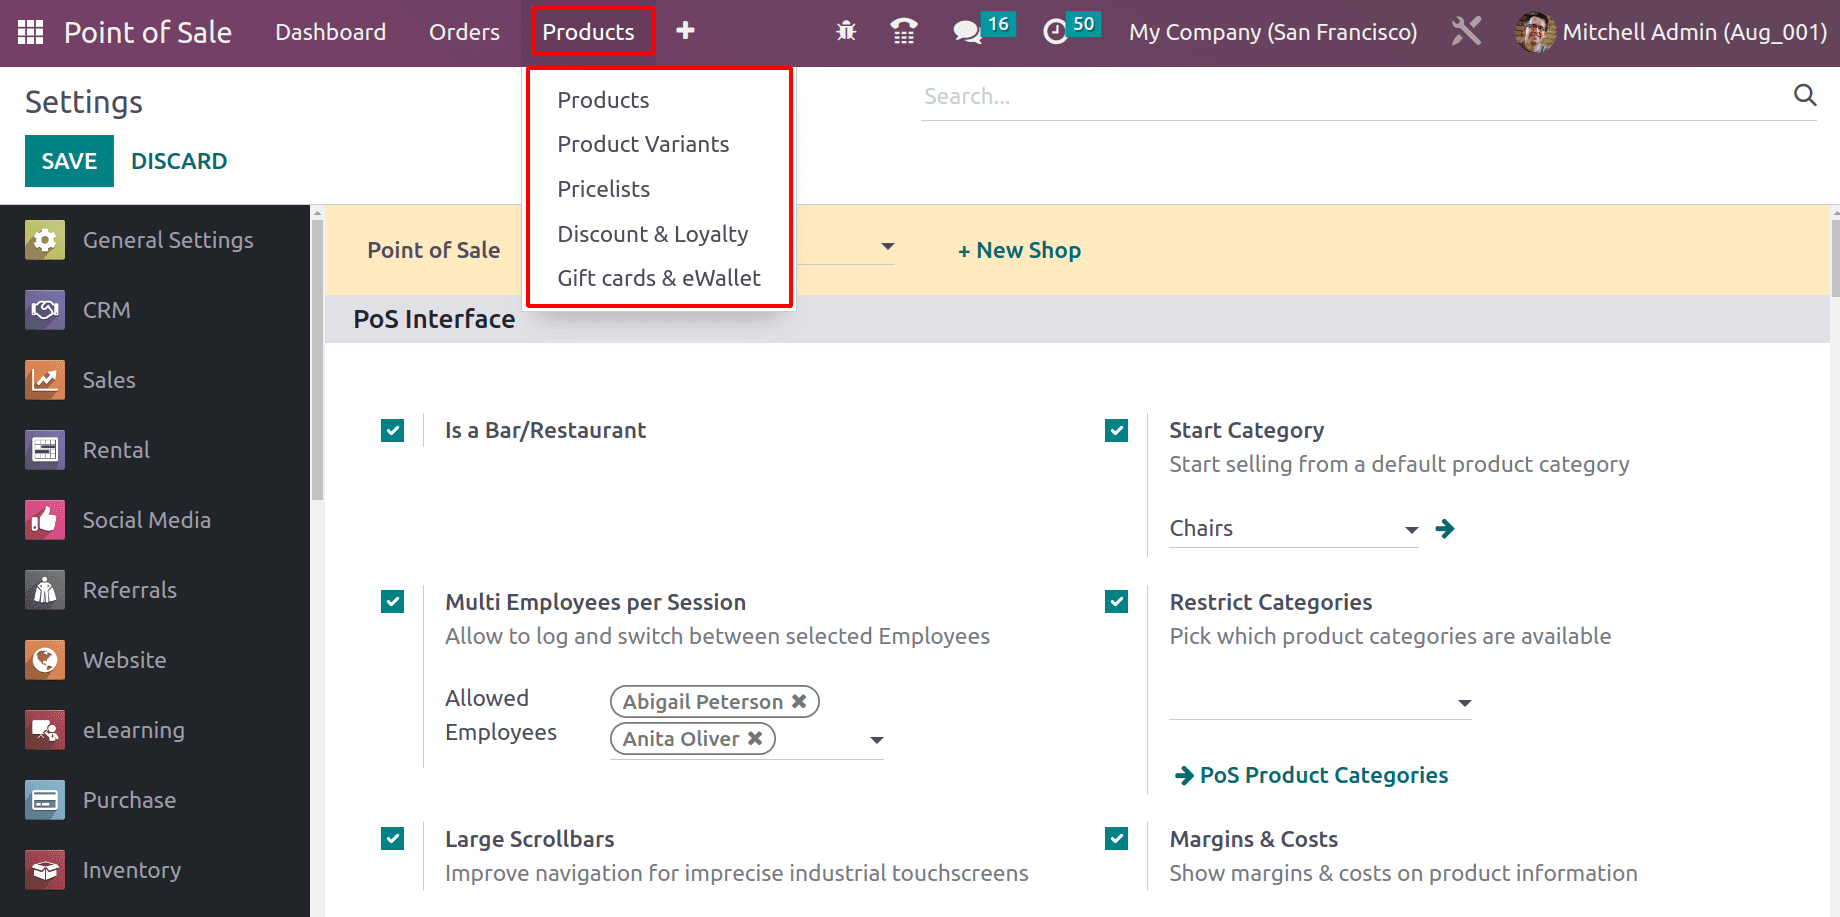
The next tab is Orders. From there, the users can handle orders, Sessions, Payments, and Customers.
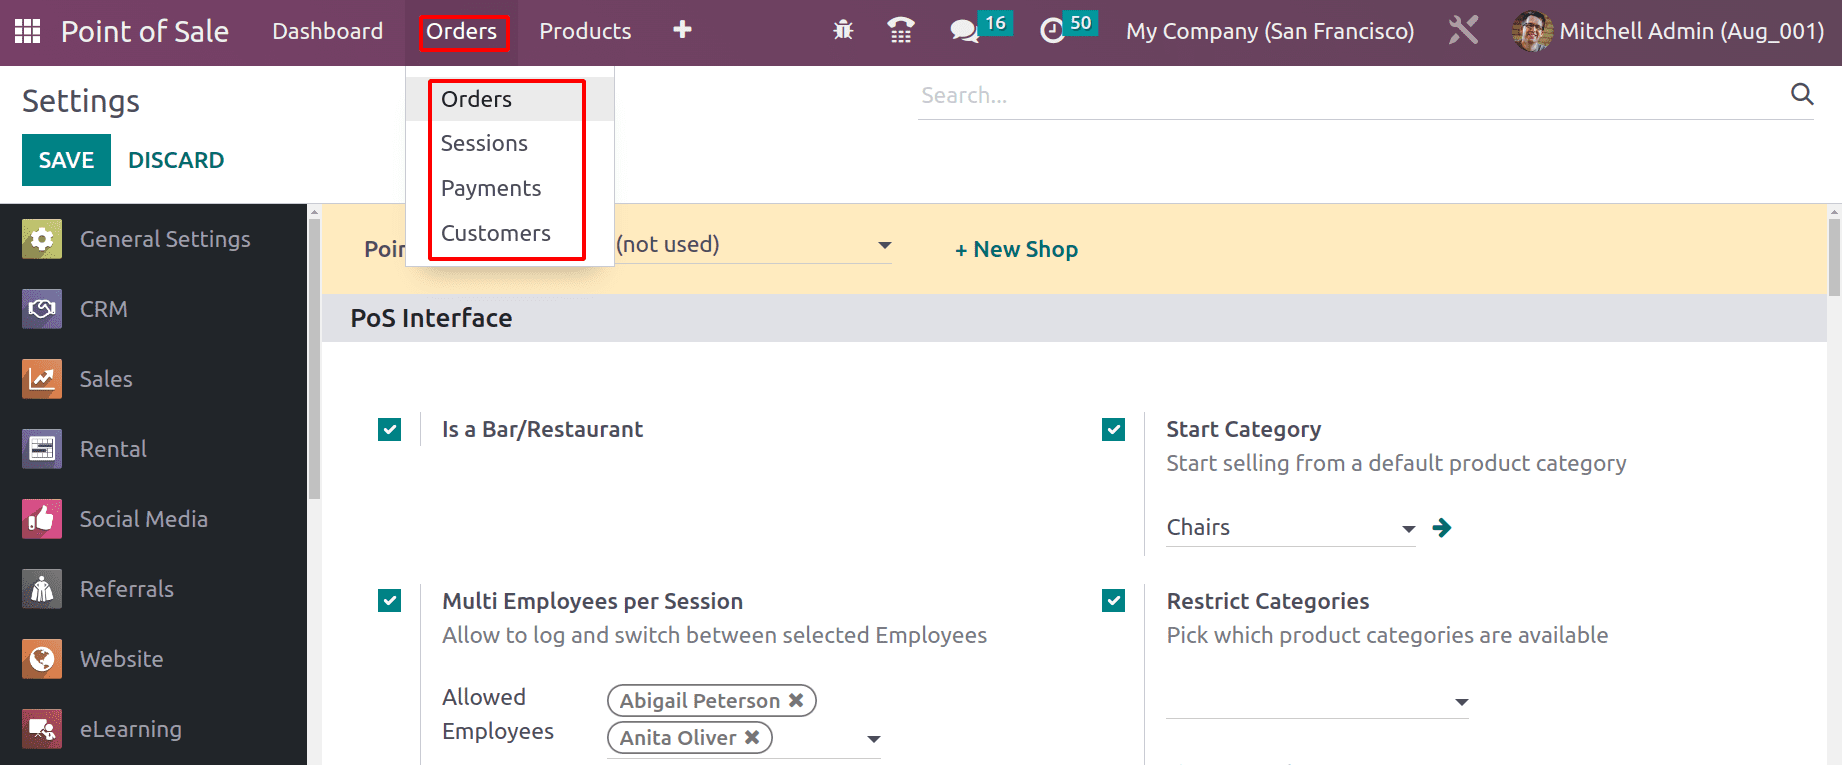
Then, the Reporting tab contains the detailed reporting of Orders and Sales Details.
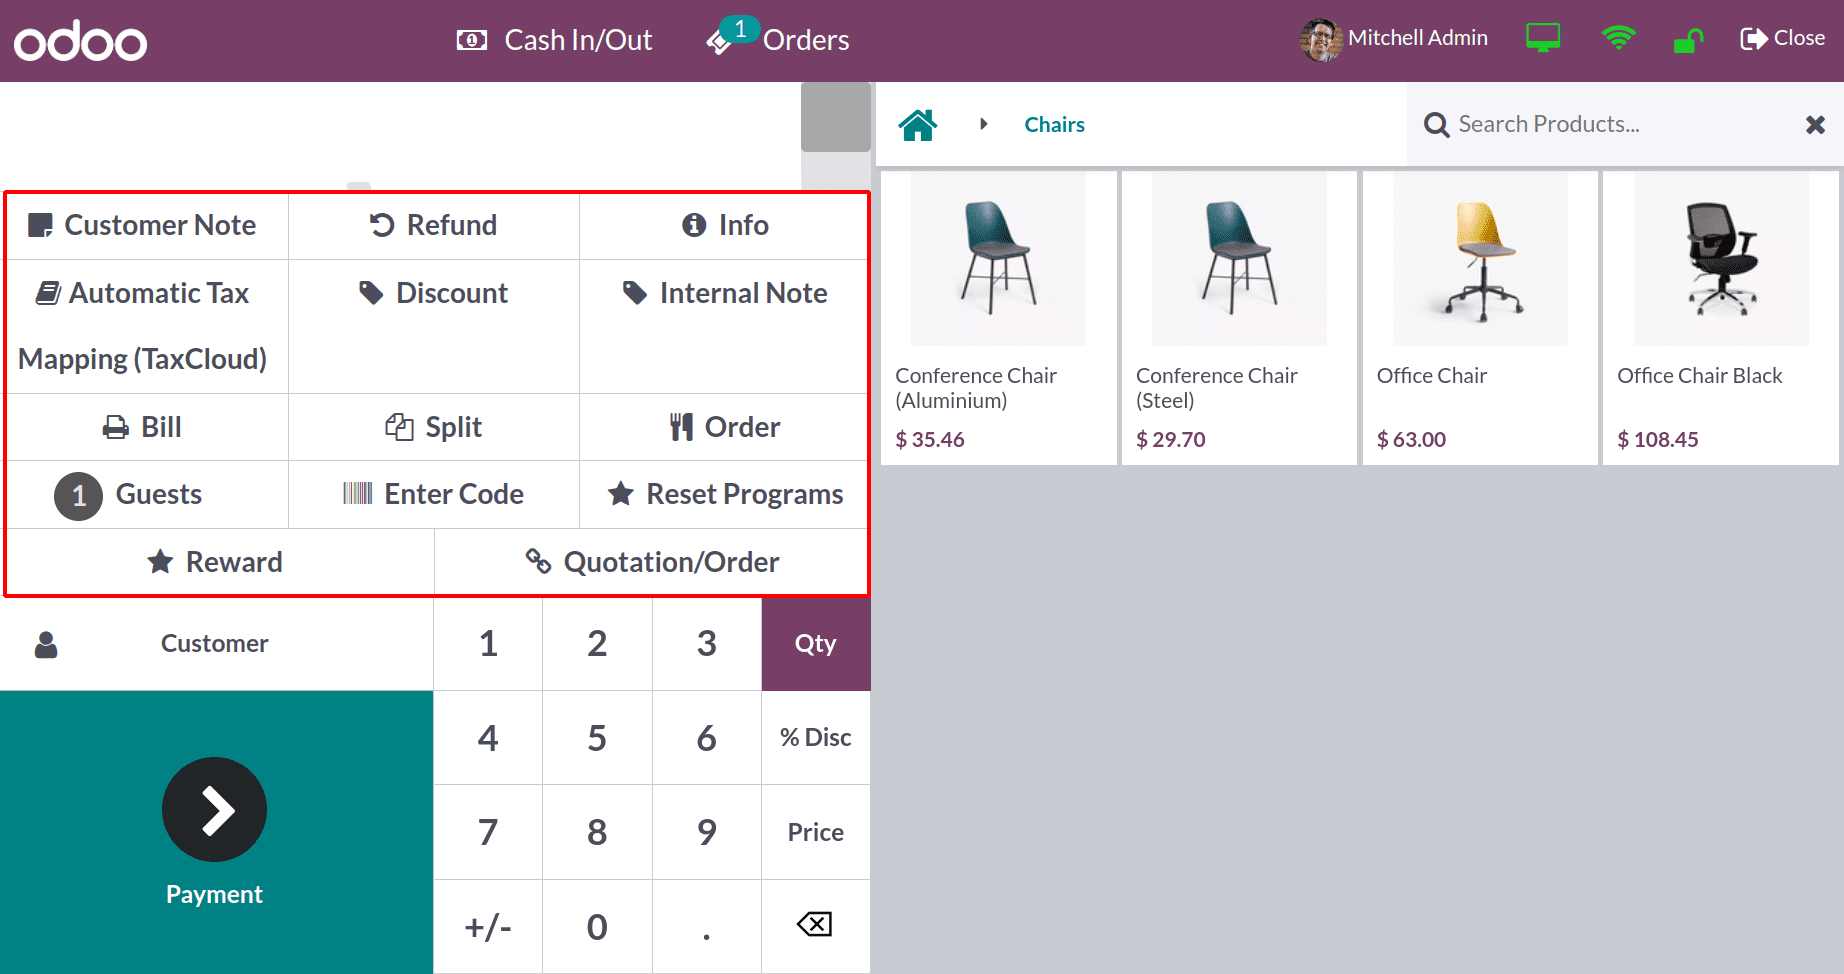
The following screenshot shows the view inside the shop session. From the shop session, the user can add Customer Notes, Refund, Info, Internal Note, etc. Tax mapping, adding different price lists, discount programs, etc. The Admin can close the session, too.
The second access right on the Point of Sale module is Users. So go back to the Settings module. The second user is Marc Demo. Open the user and check the Access Rights of the PoS module.
The user is an Internal User and the Access Right for the Point of Sale module is set as User.
Here, the login person is Marc Demo, with access rights User. The dashboard view is given in the screenshot. Some tabs named Dashboard, Orders, and Products are available.
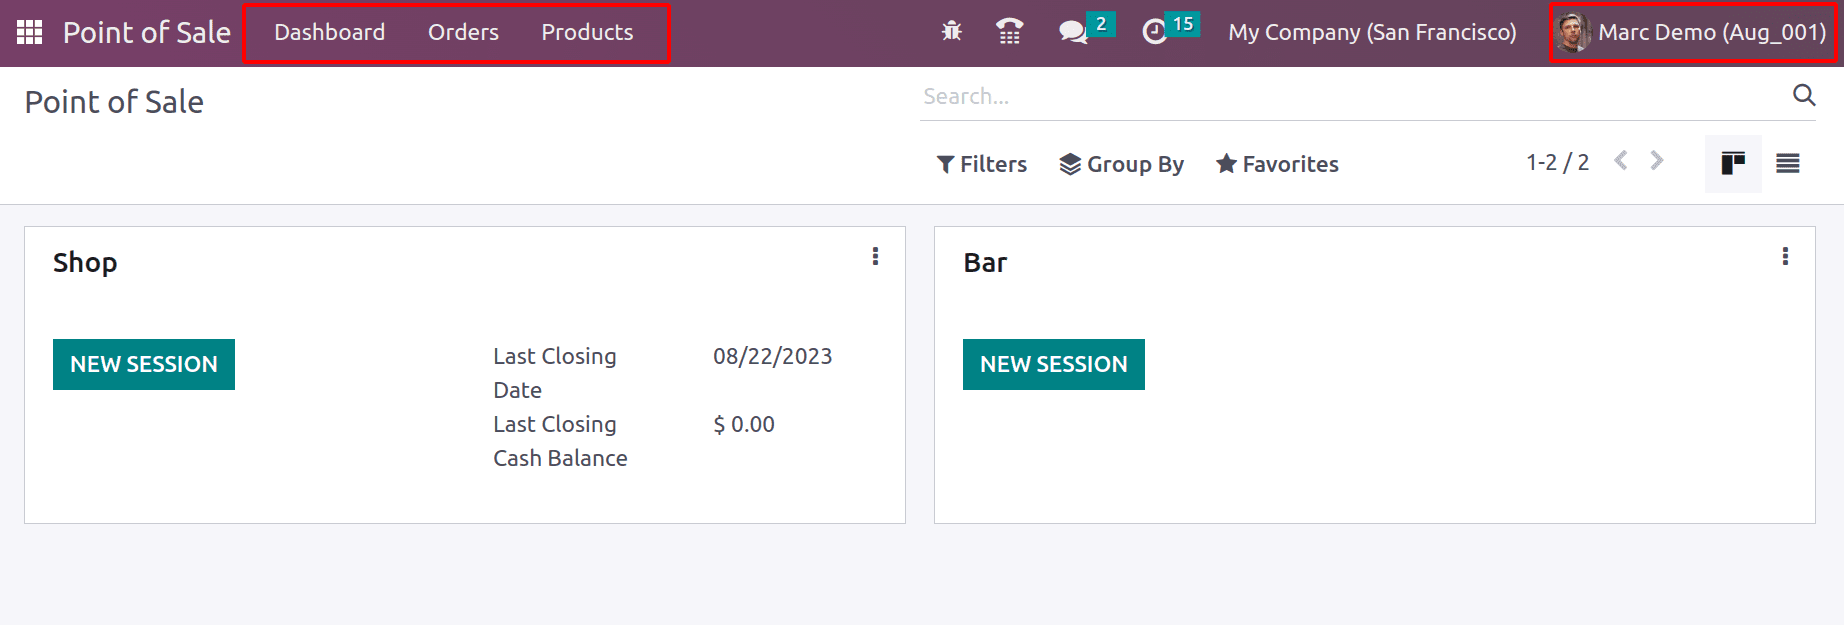
Here, the tabs Reporting and Configuration are missing. This means the employee with access rights ‘User’, has no rights to change the configurations.
The Orders tab contains Orders, Payments, and Customers.

The Products tab only contains Products, Products Variants, and Price List.

Inside the session, the user can add Customer Notes, Internal Notes, tax mapping, Rewards, etc. Here, the user can’t change the price of the product from the session.
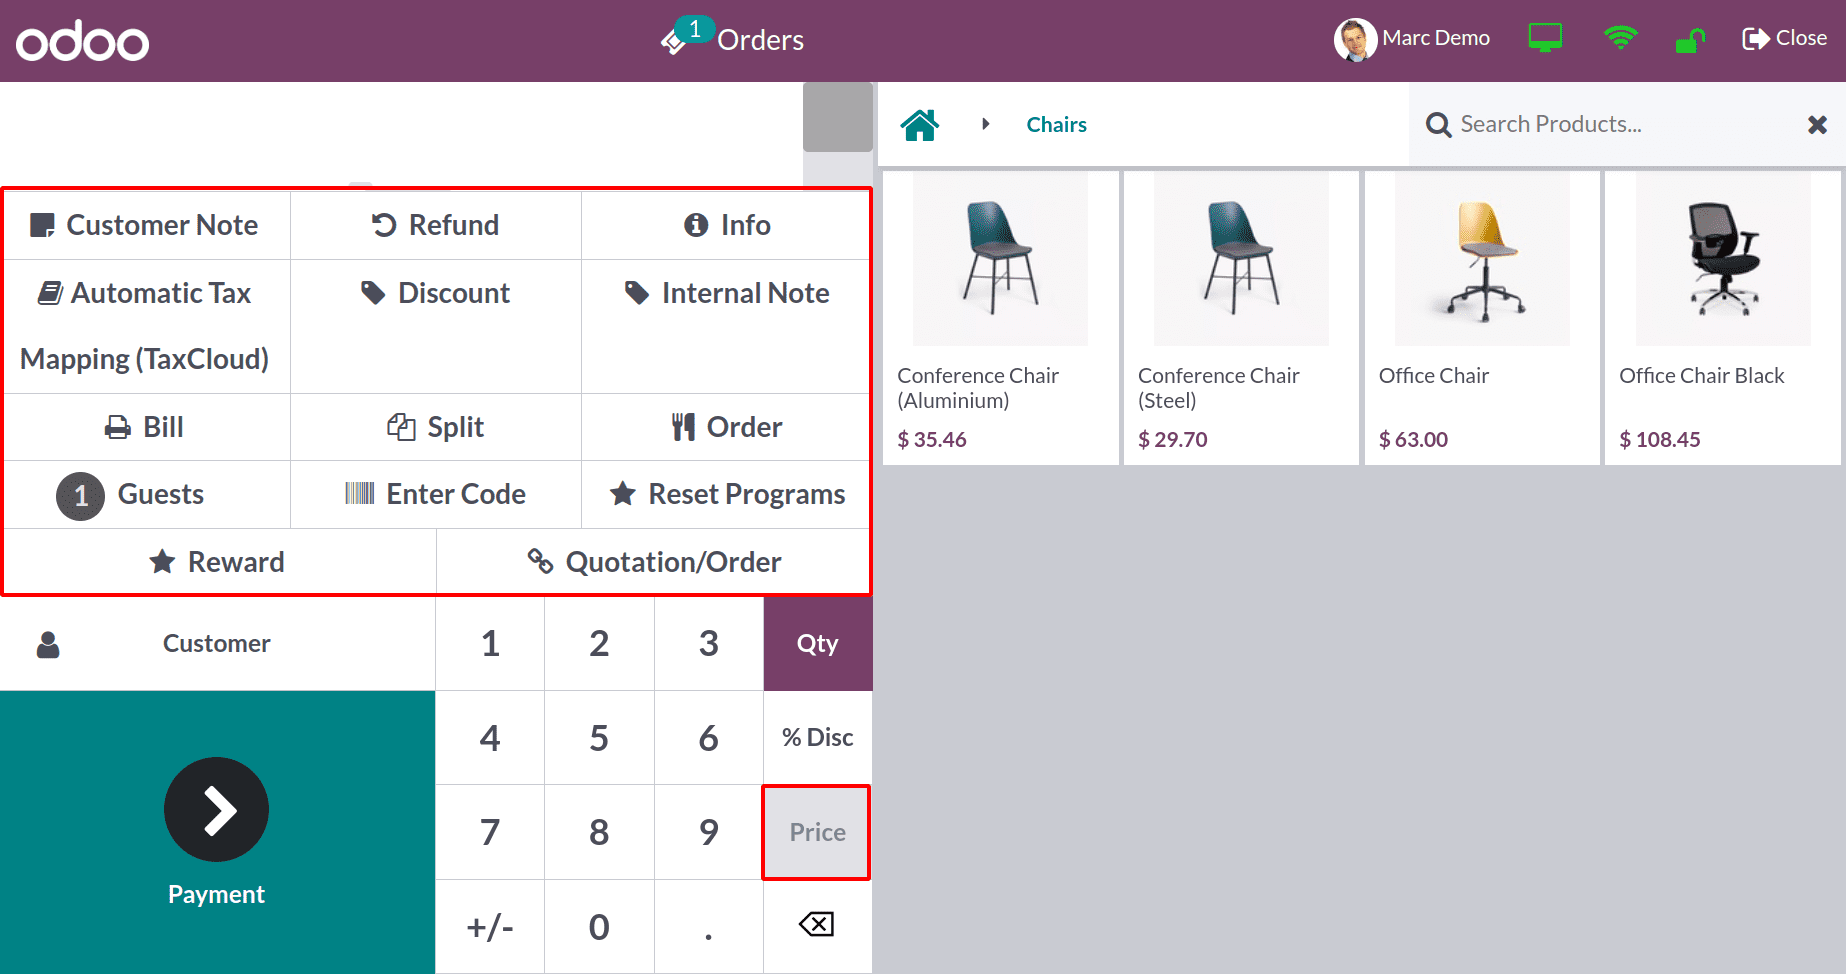
Let’s check what happens if the Access Right of Point of Sale module is set as None for a user.
Here is an internal user named John. Let’s check the access rights of this internal user.
No access is set for the user in the Point of Sale module.
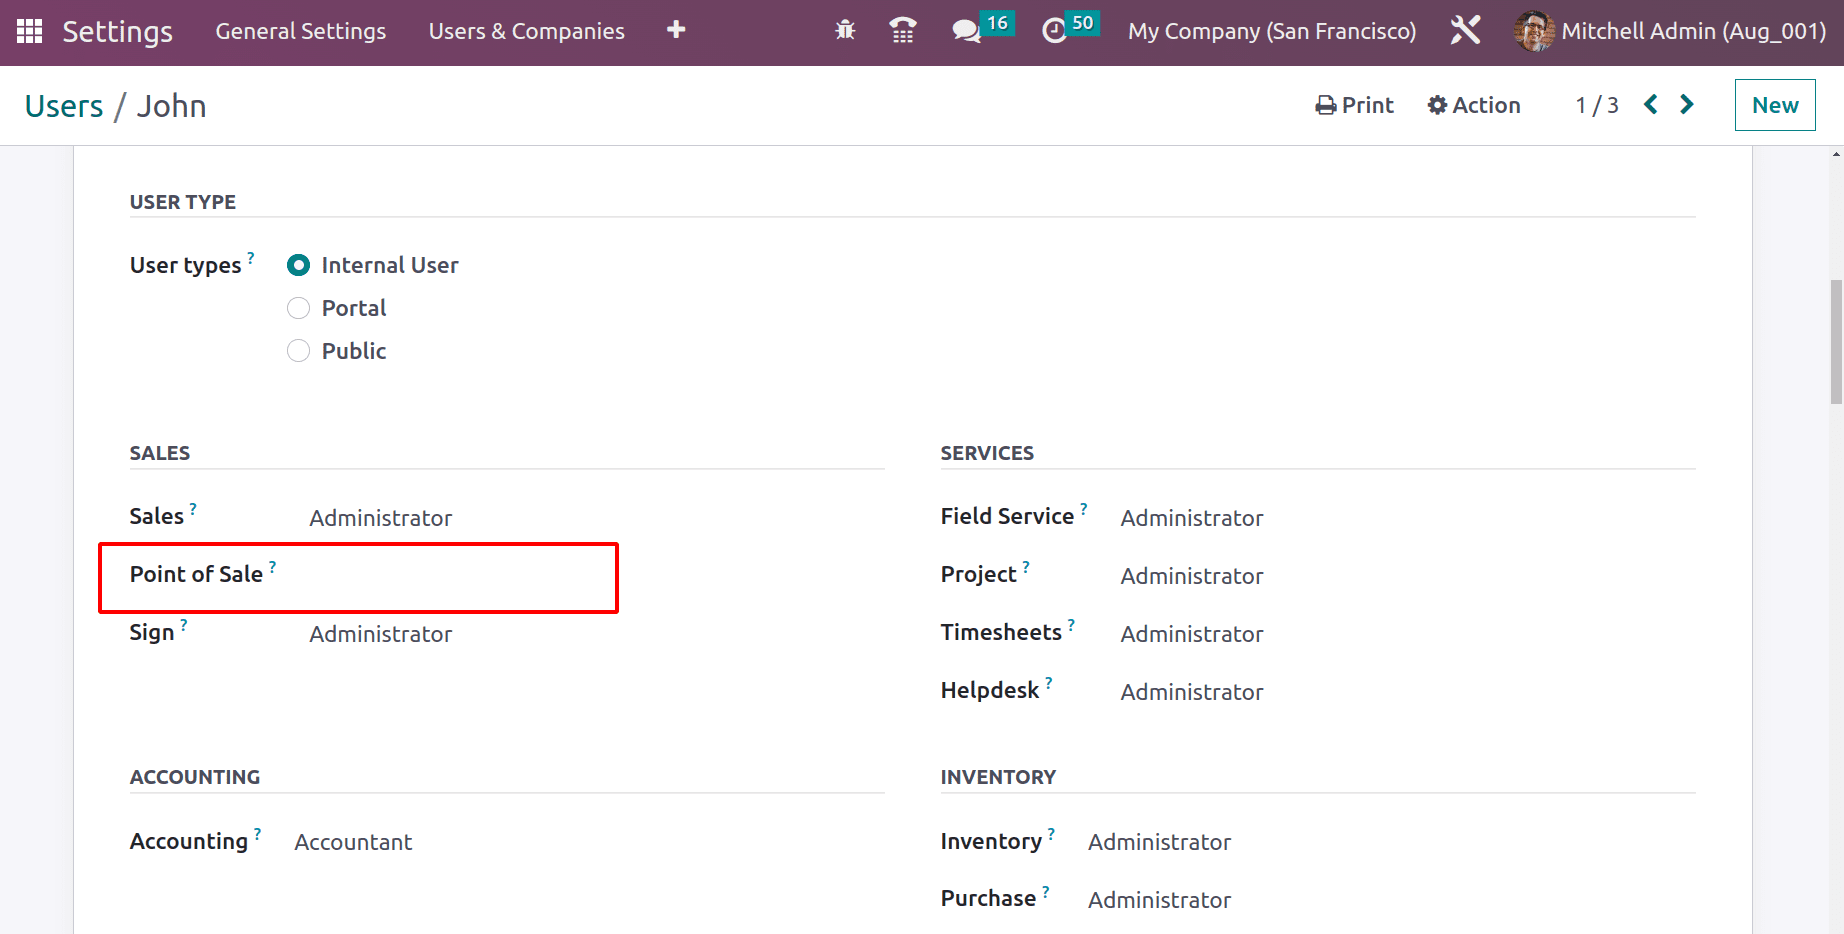
This means the employee, John doesn’t have access to the point of sale. Every employee works in their respective department, so they have access to their own work-related apps. For example, consider that John a sale admin who does not have access to the point of sale. So we put access right for ‘Sales’ and for point sale as ‘None.’
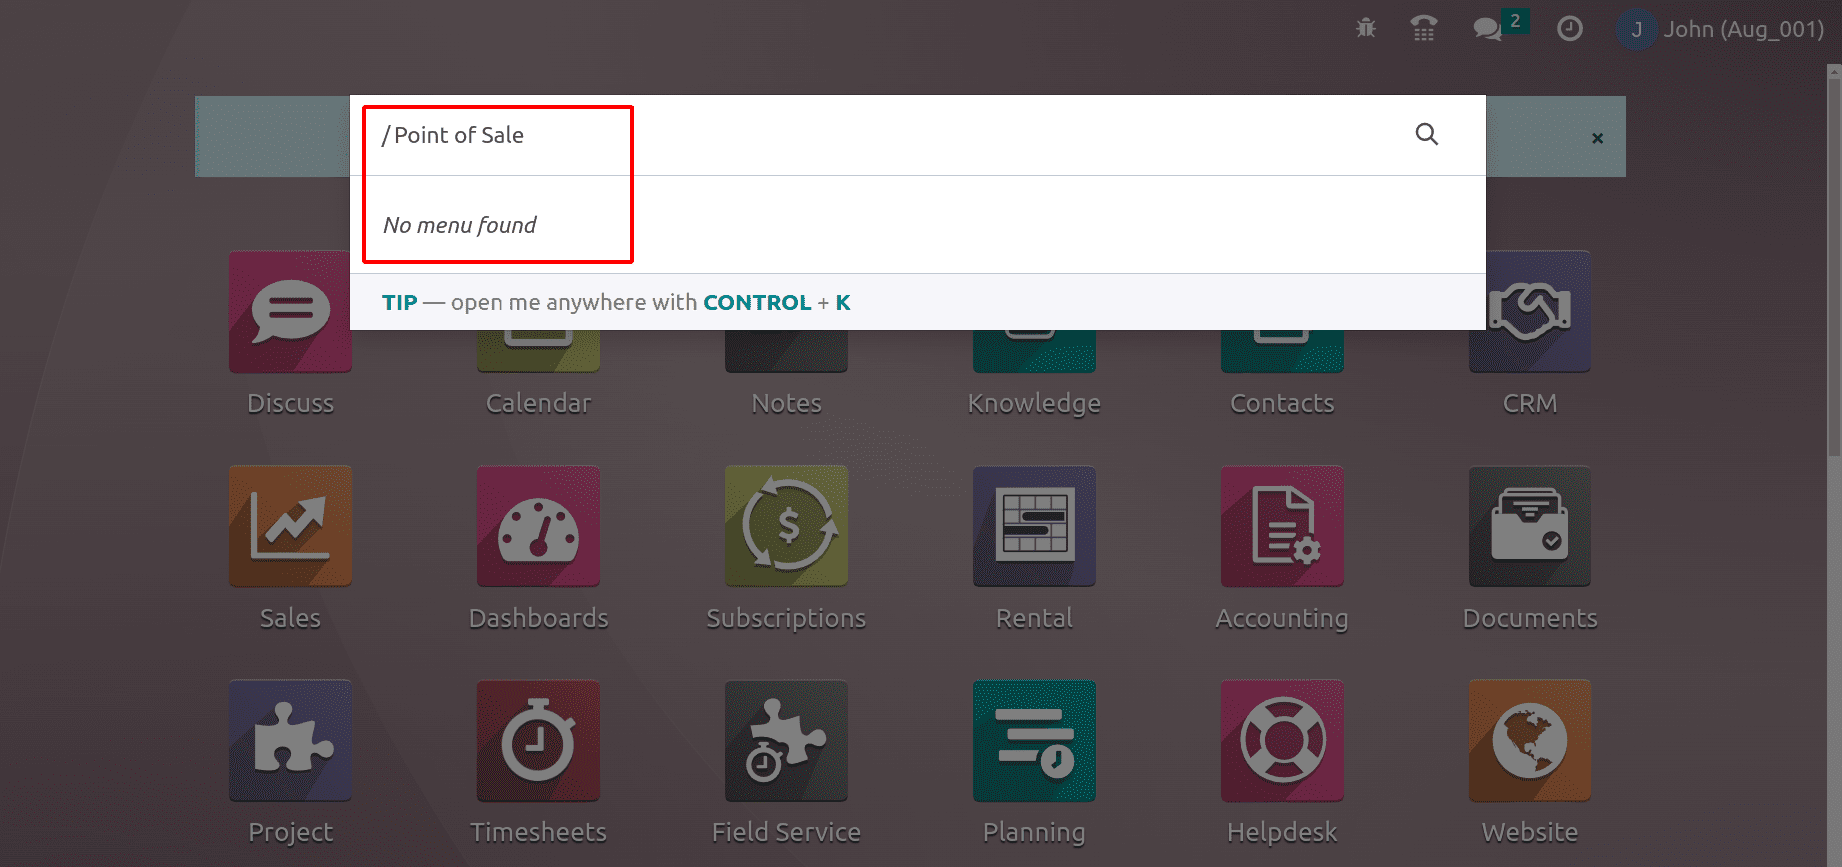
Now login as the new employee, John, then search for the Point of Sale module in the overview. The module is not found for the user since the access rights are set as None, but he can see the sales module in the dashboard.
So, in Odoo 16, the access rights feature helps the system to properly allocate the module functions to employees based on their roles.
To read more about setting access rights in Odoo 16 purchase, refer to our blog How to Set Access Rights in Odoo 16 Purchase


