The food management system inside a company for employees can be managed easily through the advanced tools in Odoo 15 Lunch module. In this module, you can place an order, check the cash moves, control vendors, and it is easy to handle for users. It is easy to organize the timing of lunch for employees smoothly and check out the availability of food items in the Lunch dashboard. Most food items are separated into different categories, and you can develop a product category for food inside the Odoo 15 Lunch module. Products listed under each category are quickly accessed with the lunch dashboard of the Odoo ERP system.
This blog gives insight into products, product categories, and Cash Moves in Odoo 15 Lunch.
Configuration tab in Odoo 15 Lunch dashboard allows you to develop Products, Products Categories, Vendors and Alerts. It is easy to arrange food items for employees in a firm with the Odoo 15 Lunch module. Let us look at the detailed view of Products and Products Categories in the Lunch dashboard.
Products
Click on the Products menu from the Configuration tab, and you can see details of food orders that are being sold. We can see the Product Name, Vendor, Product Category, Price, Description and Company in the List view of Products window. The list of Categories and Vendors depicts the products window on the left side shown in the screenshot below.
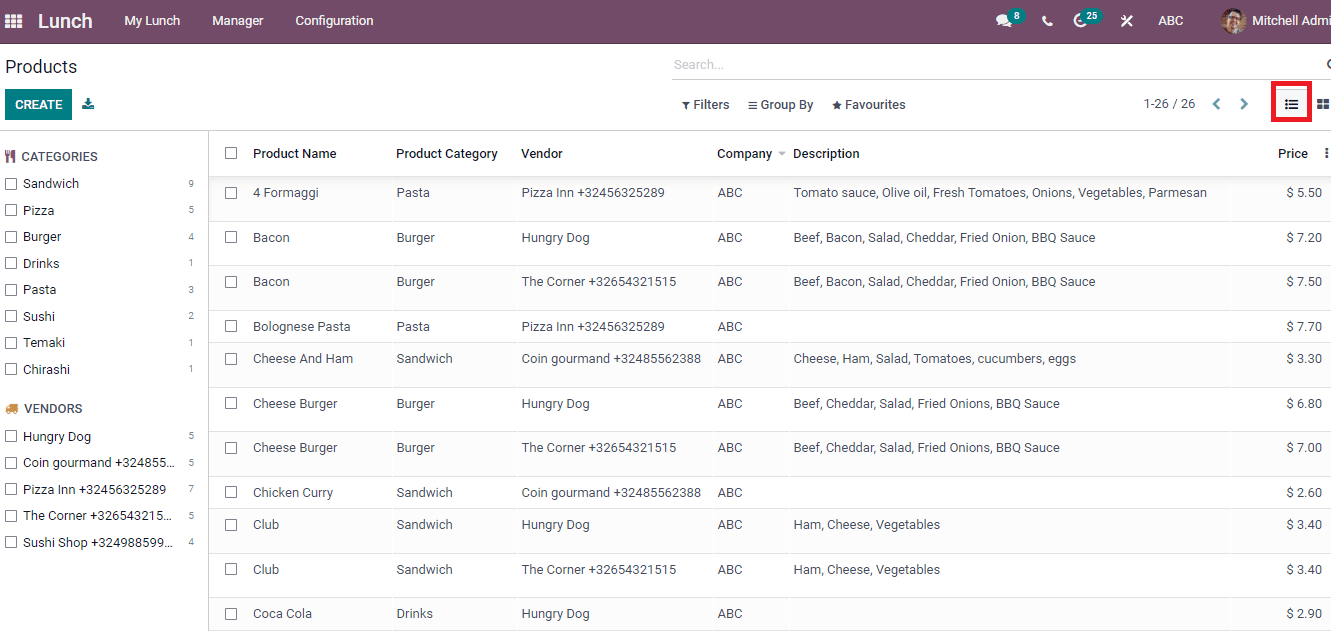
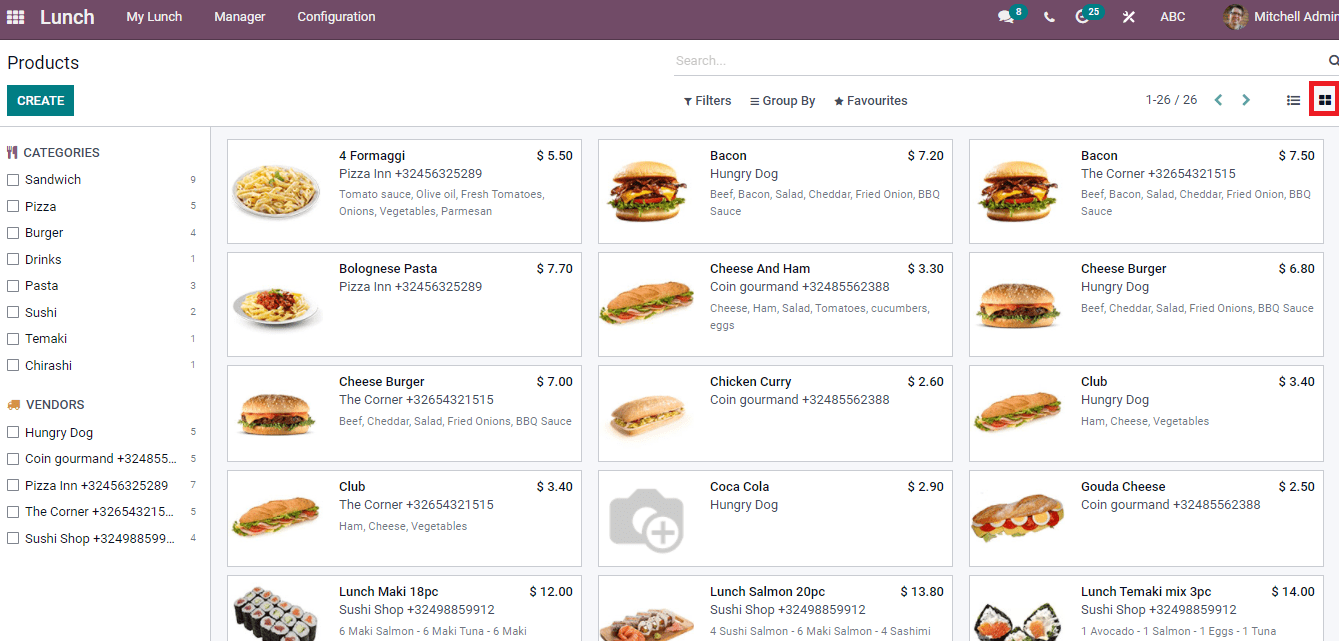
You can also Add Custom groups based on vendor and category in the Products window. In the Kanban view, you can see the cost, products, description of ingredients in a food item and image of the product depicted in the screenshot below.
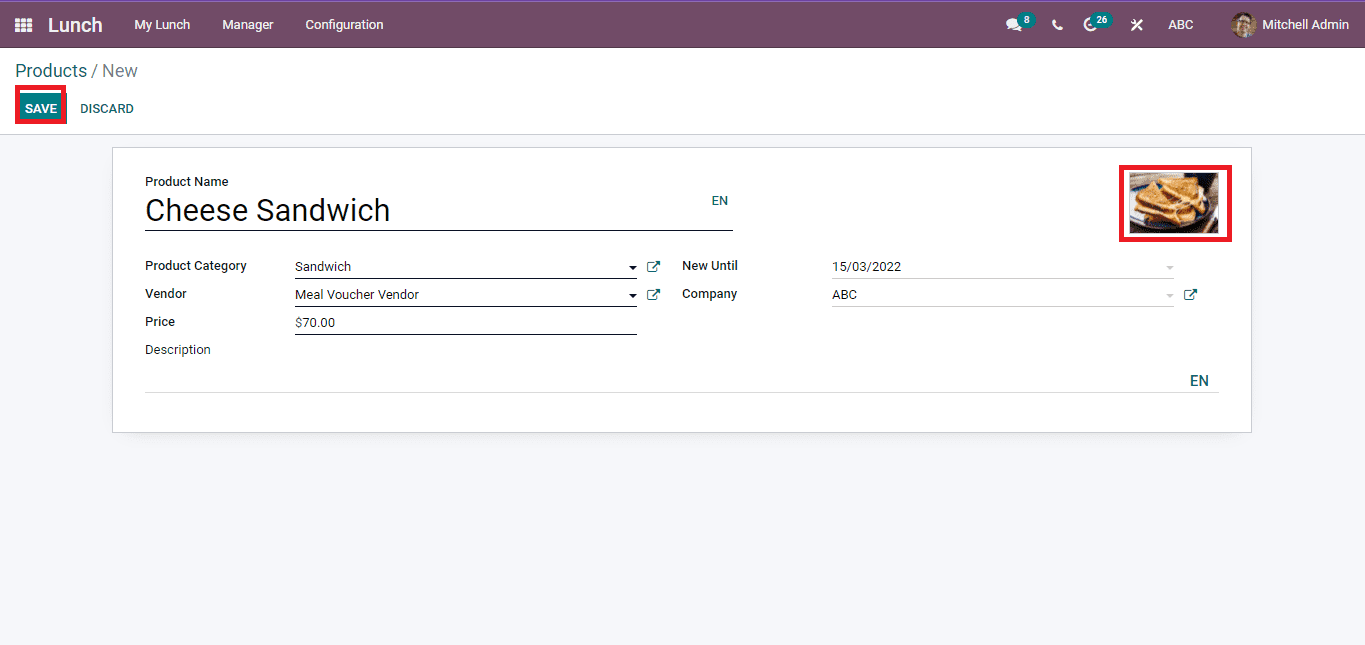
We can apply a new product to the existing list using the Create icon. A new Products window opens before you after selecting the Create icon. Here, enter the Product Name of the item and choose the Product Category. Go back to the Product Categories menu to develop a new Product Category. After that, choose it from the Product Category option in the new Products window. For example, You should generate ‘Sandwich’ as a Product Category If you create ‘Cheese Sandwich’ as a product. In this way, you can define a product with its categories.
After that, enter the name of the vendor inside the Vendor option. You can also develop a new vendor for your product using the Vendors menu in the Configuration tab. Users can select the specific vendor for the product in the new Products window. For example, You can choose ‘Meal Voucher’ as a vendor inside the Products window if you already created ‘Meal Voucher’ from the vendors’ menu in the Lunch dashboard.
Add the product’s price and enter the last date on which the product is available inside the New Until option. Later, add the image on the right part of the window and apply the Company’s name with details of the product inside the Description option. Select the Save icon after providing the details related to the Products window.
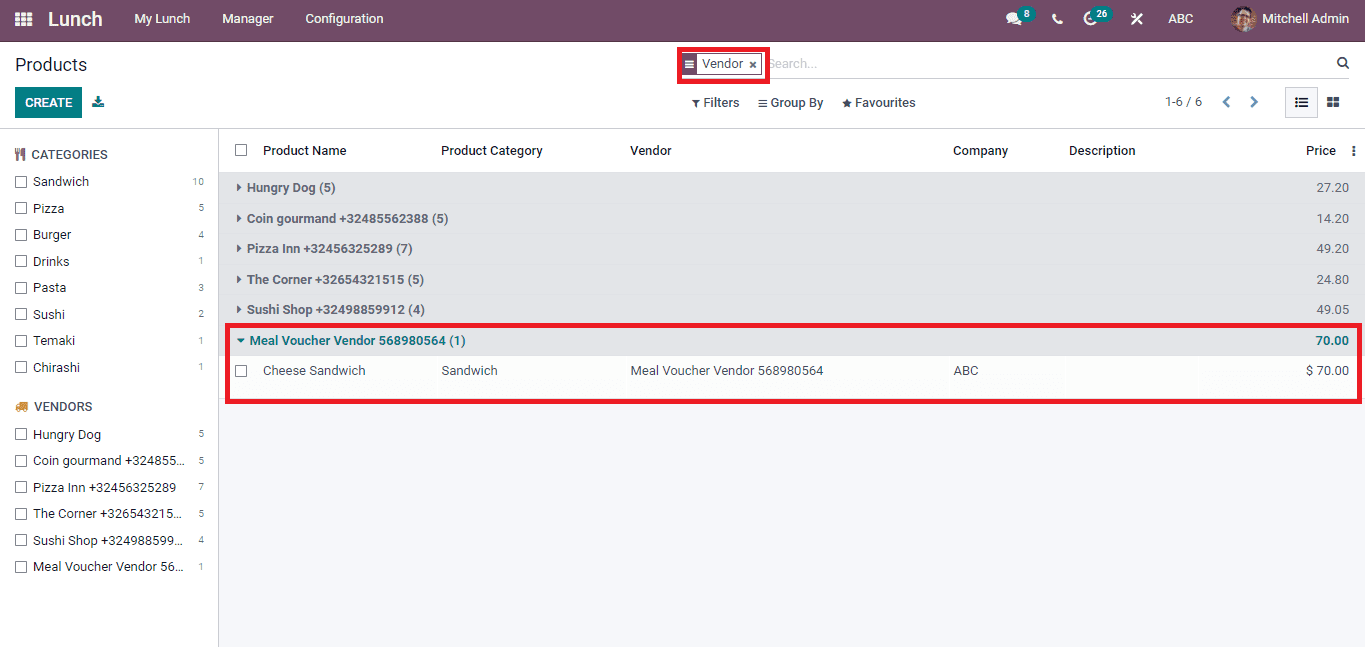
By Filtering with your Vendor name, you can see the created product inside the Products window shown in the screenshot below.
Product Categories
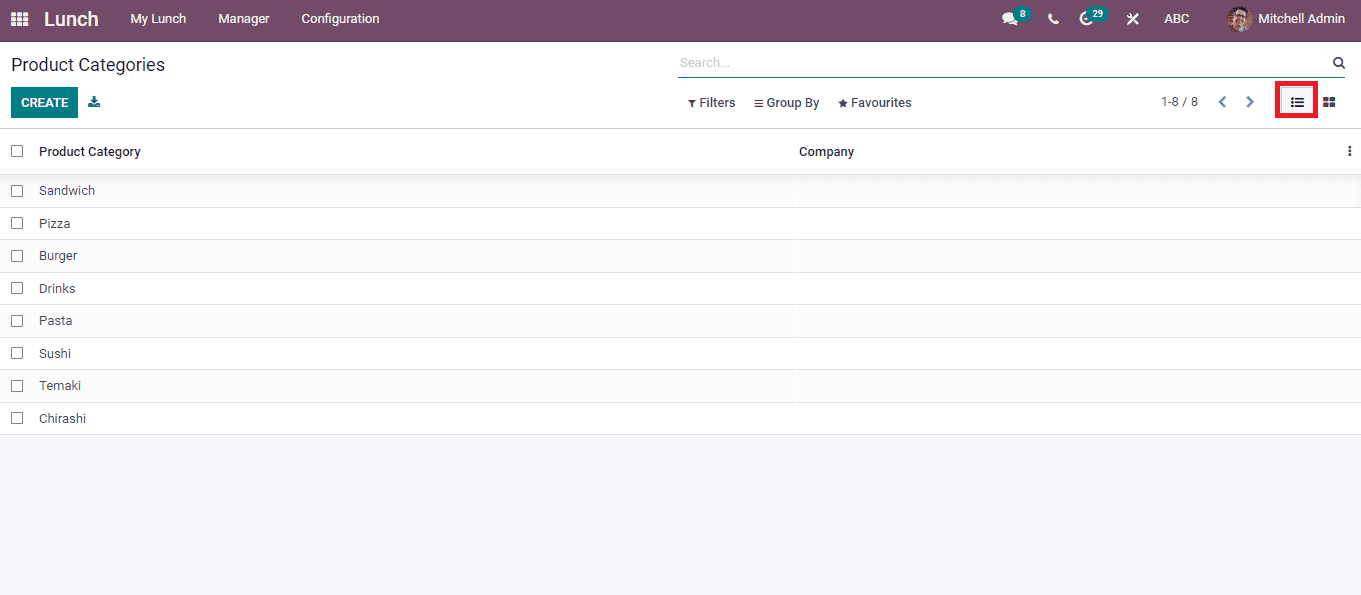
The product is categorized into several sections to recognize orders fastly. Select the Product Categories menu in the Configuration tab, and you can configure the categories of products quickly. The details of all products are visible in the List view of the Product Categories window, as shown in the screenshot below.
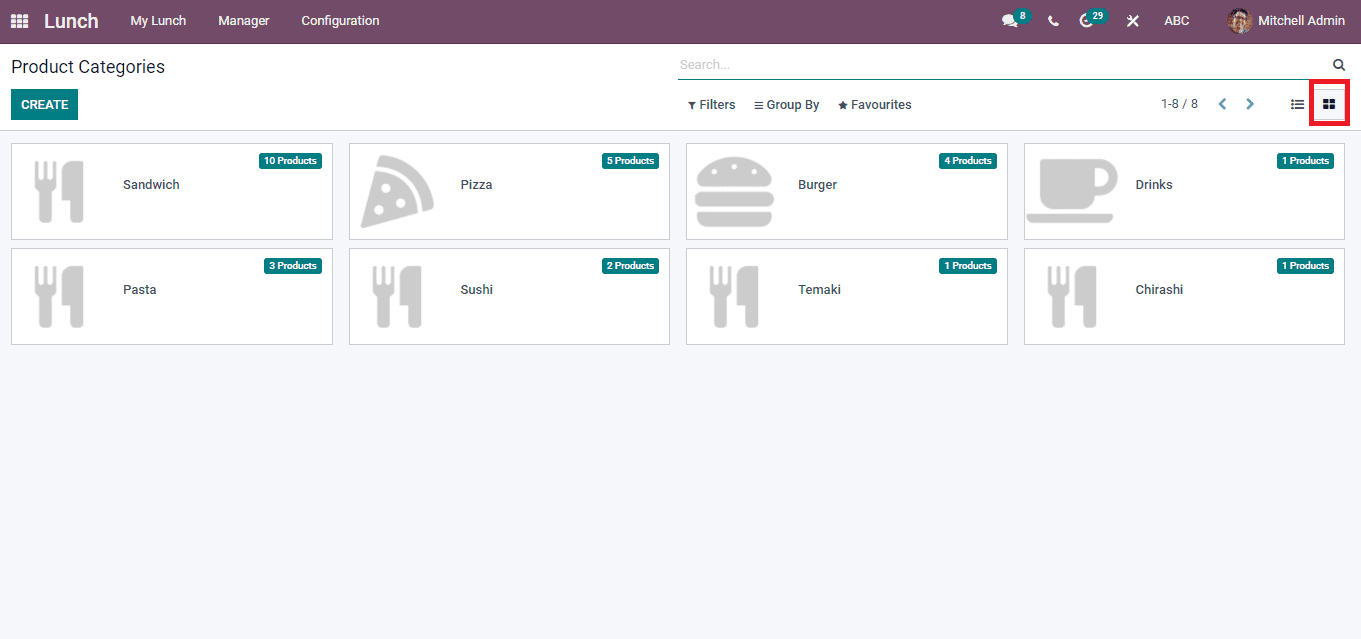
With the Kanban view, you can configure Product Categories and several products inside each category. By clicking on a specific title, you can see the details of the product category.
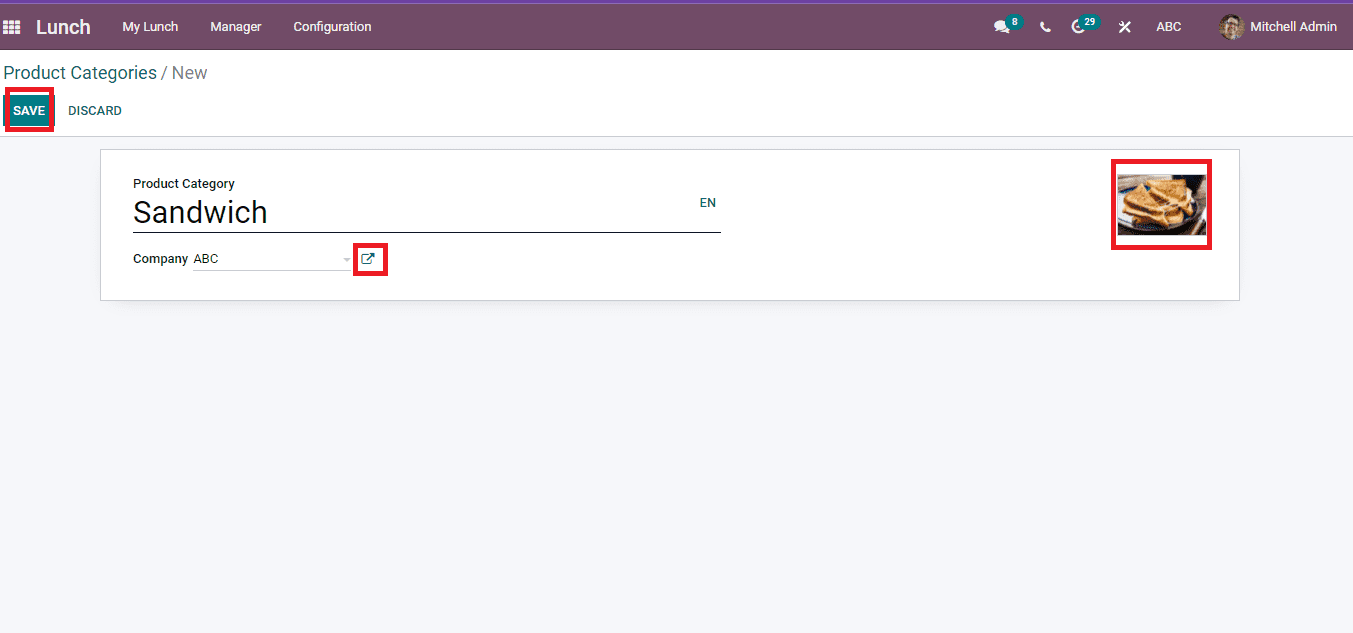
The Product Categories are essential at the time of creating a new product. We can develop a new product category using the Create icon in the Product Categories window. A new page opens before the user after clicking on the Create icon. Here, choose the name of the Product Category and select your Company. Users can understand the Company’s details by selecting the External link button. You can attach the product category image on the left part of the window, as in the screenshot below.
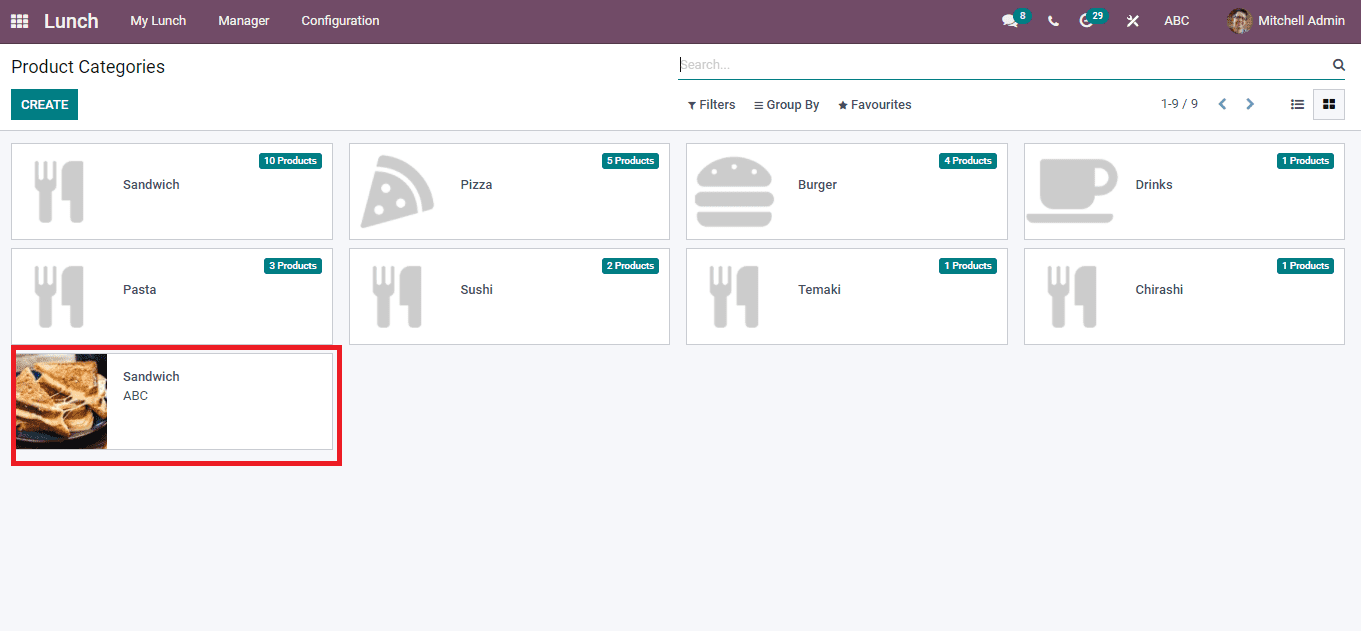
Click on the Save icon after entering all the data regarding Product Categories, and it is visible in the main window depicted in the screenshot below.
Cash Moves
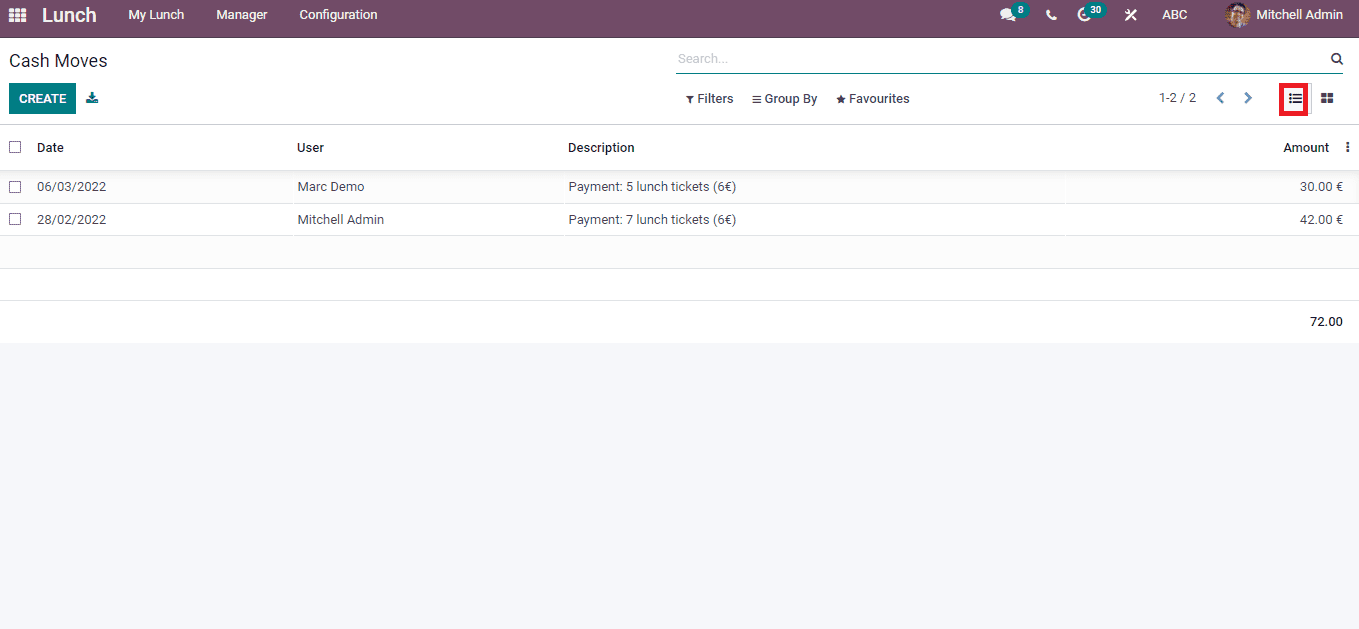
It is easy to track the cash moves of a specific person using the Odoo Lunch dashboard. For that, click on the Cash Moves menu from the Manager tab, and you can see details of users with their total amount. Amount, Date, Description, and User are shown in the List view of the Cash Moves window.
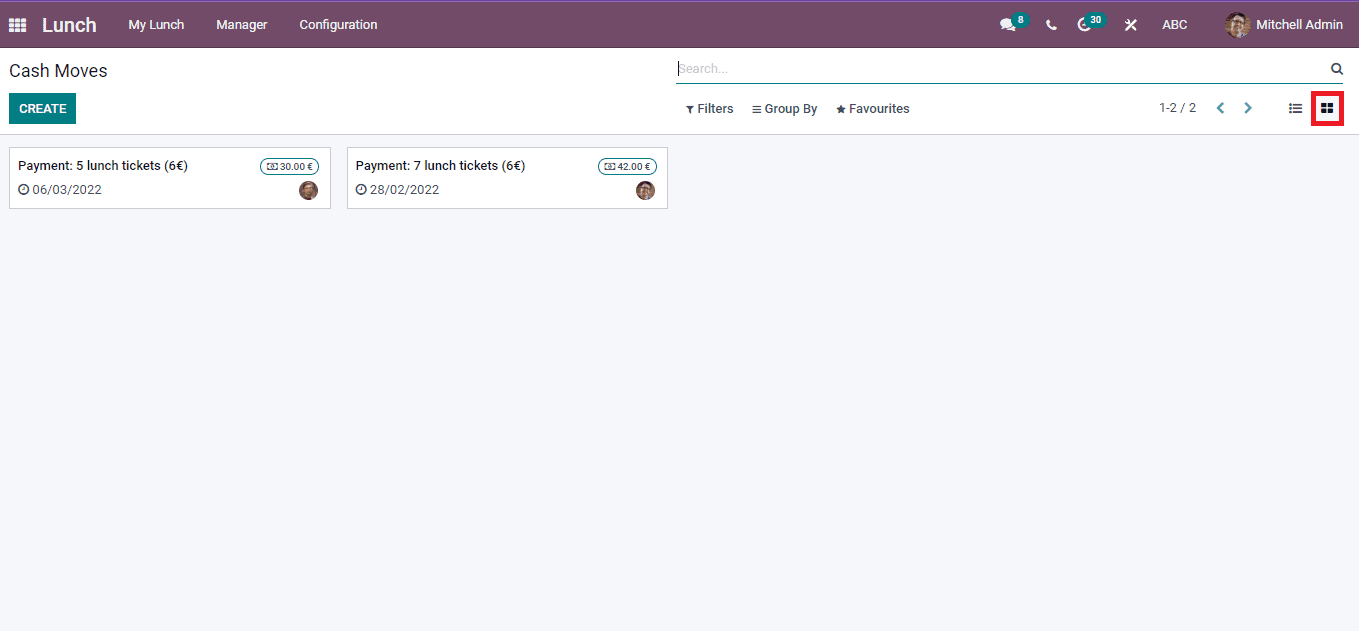
You can also view the Cash Moves window in Kanban format, as shown below.
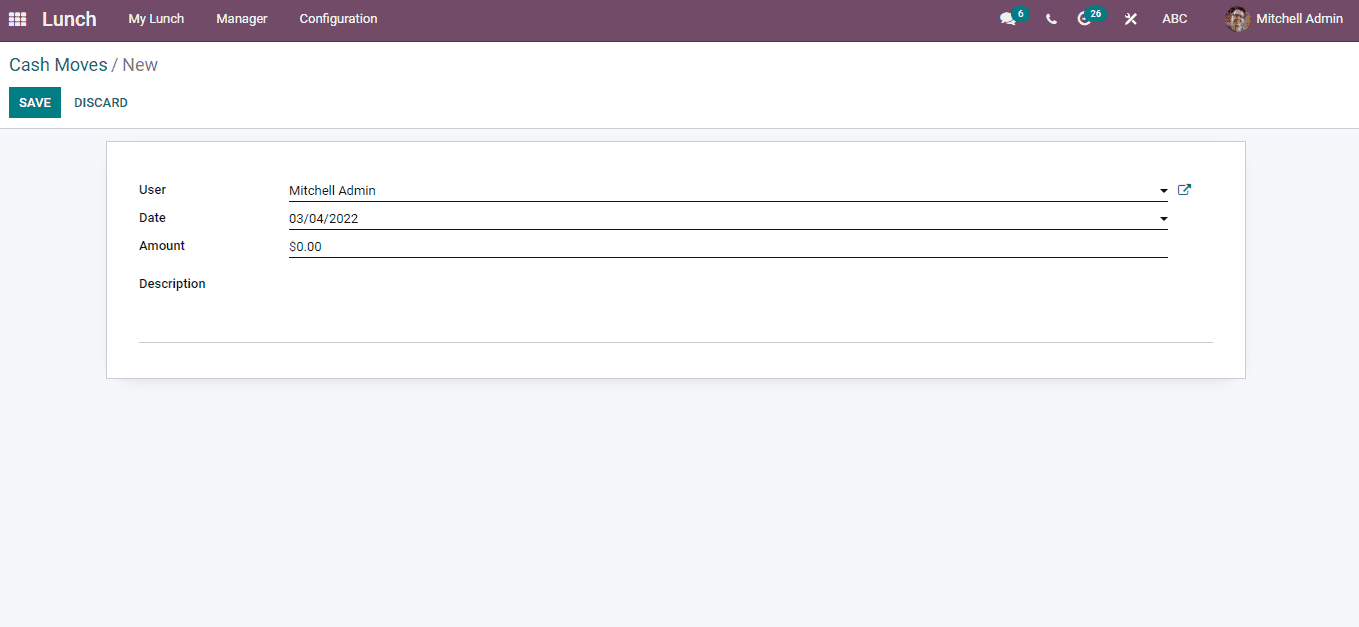
We can create new Cash Moves using the Create icon. A new page is visible for you after selecting the Create icon. Here, enter the name of the user and choose your date.
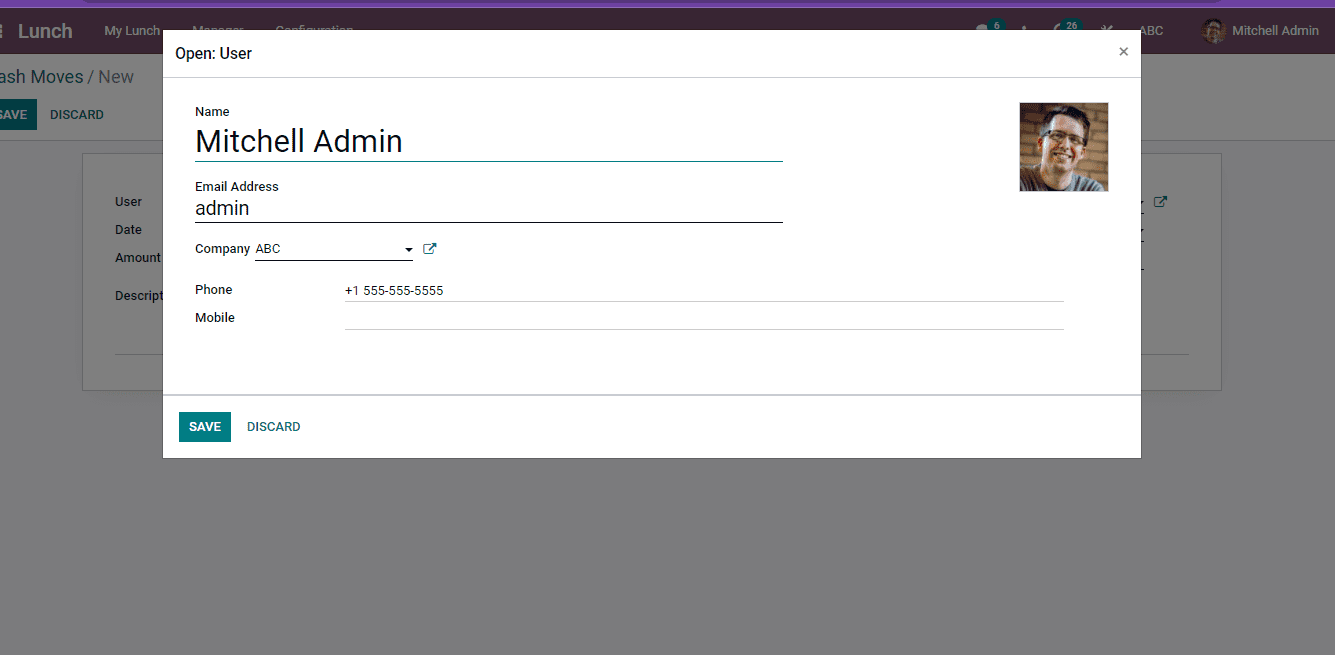
You can access the information regarding the user by choosing the External link on the right side. In the new window, we can see the user’s Name, Company, Phone and Email address as shown in the screenshot.
In the new Cash Moves window, enter the price in the Amount option, and you can add details about cash movies in the Description section. Later, click on the Save icon, which is visible in the Cash Moves window.
In conclusion, the Odoo 15 Lunch module assists in managing Alerts, Products, Cash Moves and Products for users. It is helpful to save time to arrange lunch for employees in a single system of Odoo. Your lunchtime becomes more productive using the Odoo 15 Lunch module, and its handling is easy for you at any time.


