Barcode as we all know is the use of lines or images for identifying a product. This detail helps a user to access all information about the product just by scanning the barcode. In short, this code helps to store any number of information in digital format. Digital data storage enables users of different types to access the information just by scanning the code.
Barcode is used by all businesses for different purposes. The barcode is usually set at the inventory stage of the production. A manufactured product gets a barcode when it is shifted to the inventory. From inventory, the product gets packed and the barcode becomes part of it.
This barcode will contain the details of the product. From inventory to the end-user, product tracking becomes easier with the use of barcodes. It is a common sight that the product barcodes are scanned at the supermarkets and other shops to enter the product details including the price. Barcode generation can be done at different stages. Sometimes, the barcode generated at the inventory stage will be used till the product reaches the end-user.
Uses of Barcode
Barcodes are commonly used to manage operations, inventory adjustment, and for batch transfer of products. Various operations including Receipt generation, Delivery Orders, Point of Sale Order, Internal Transfer, and Dropship can be managed with Barcode.
Here, we can take a look at the uses of Odoo 14 Barcode for Delivery Order management.
We have to install the barcode app and also the inventory app.
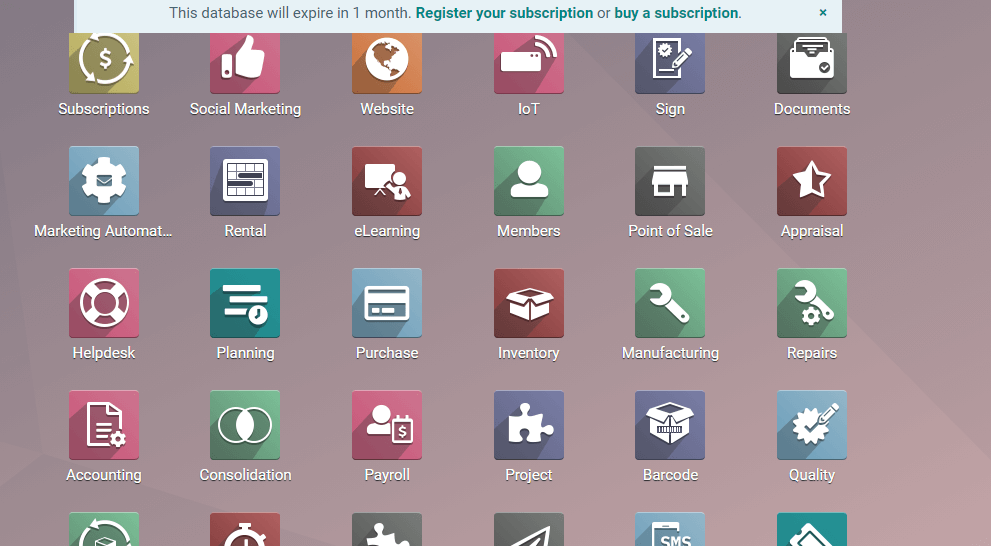
How to validate barcode for a product
This process can be completed quickly by going to Inventory > Configuration > Settings > Operation.
Just enable the barcode option as in the given image
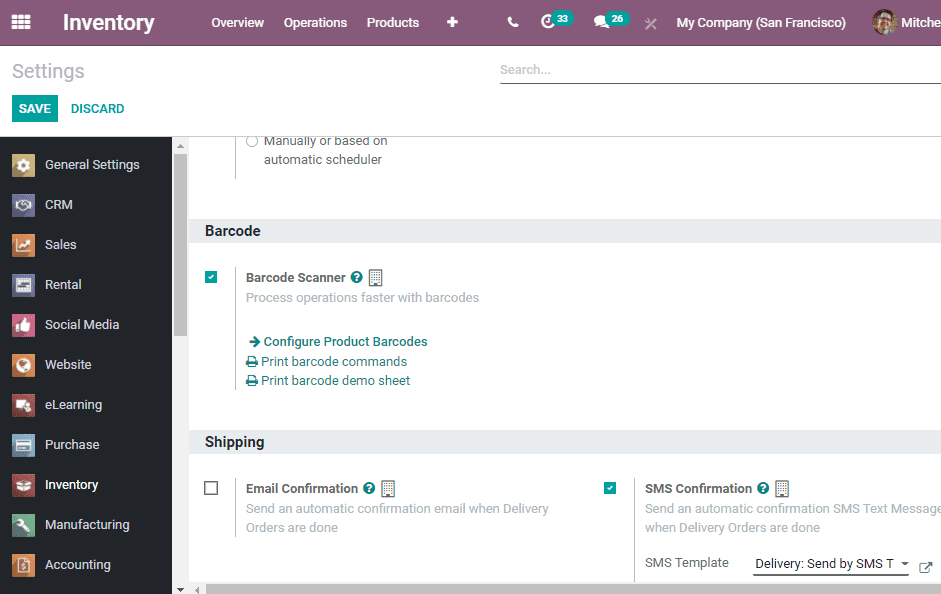
After completing the Barcode configuration go to the Configure Product barcode option to get this window.
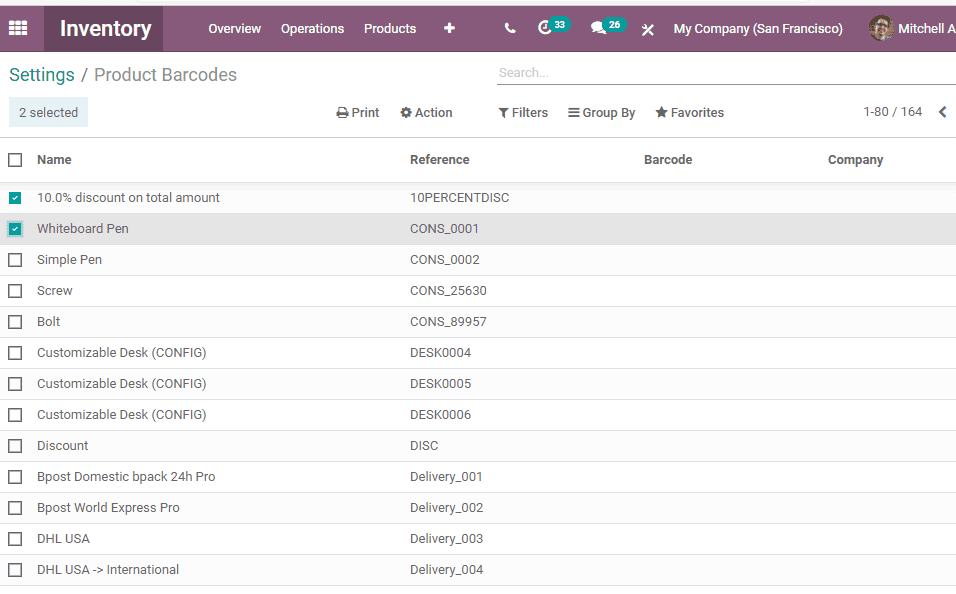
If you want to add a barcode then click on the product line and add details
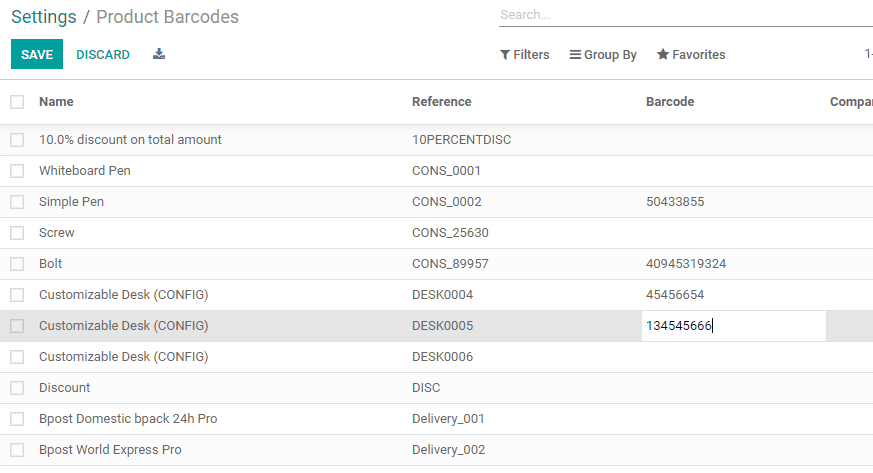
The barcode setting has to be changed.
Set Location Barcodes
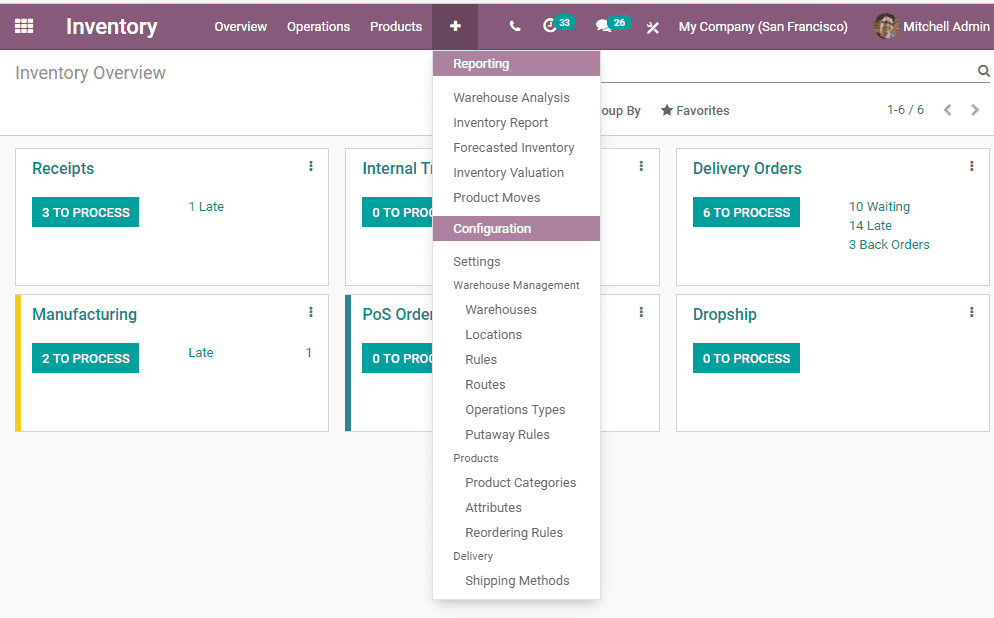
The next step is to enable locations for barcode by going to Inventory > Configuration > Warehouse Management > Locations.
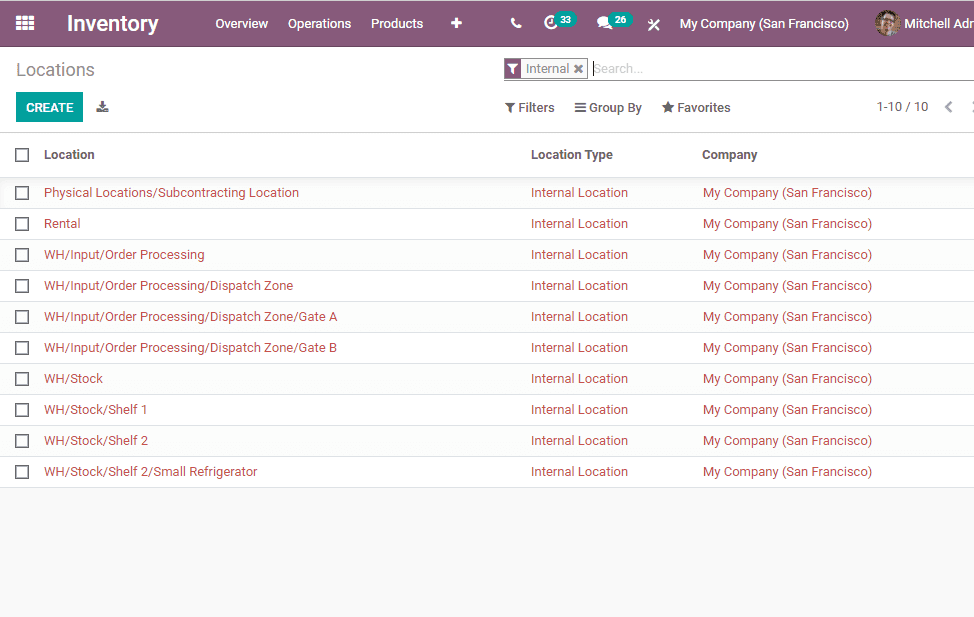
Create a location so that it will be easier for the user to identify the location using the barcode feature.
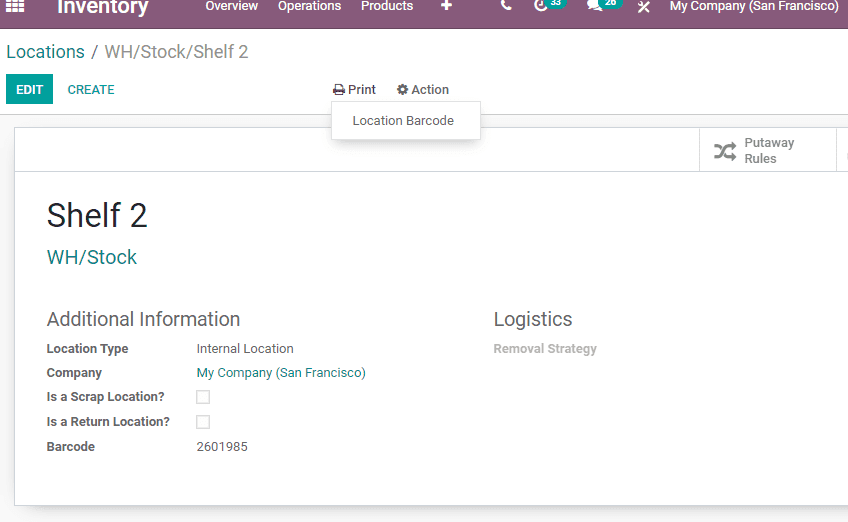
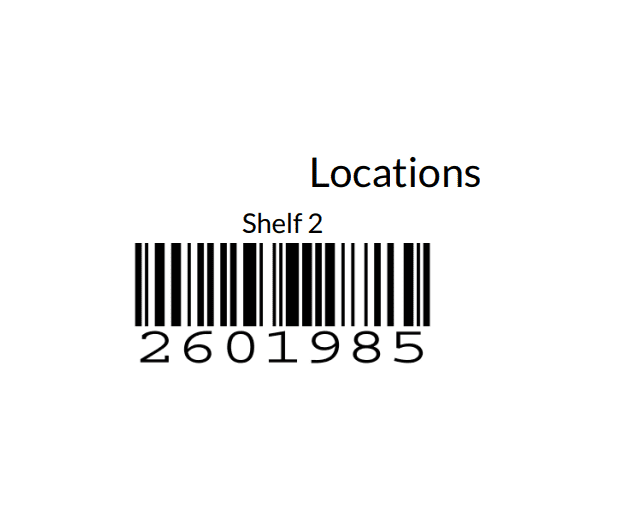
The next step is to print the barcode using the print button. As the barcode is in printable format and can be printed the user can paste it on the product to ease tracking.
Now, let us see what we can find in the Barcode App.
On clicking the Barcode App, the user will be taken to a new window
The Barcode App helps to manage three types of activities with Odoo Barcode- Operations, Inventory adjustment, and batch transfer.
Manage Operations
Click on the Operations and then you will be taken to a dashboard as given below where we can find barcode operations.
The key operations as we mentioned earlier are receipts management, internal transfer, delivery orders, PoS orders, and dropship. Creating a receipt or POS order can be done here.
Let us check how to manage Delivery Orders with Barcode.
You can use barcode while delivering products ordered by people.
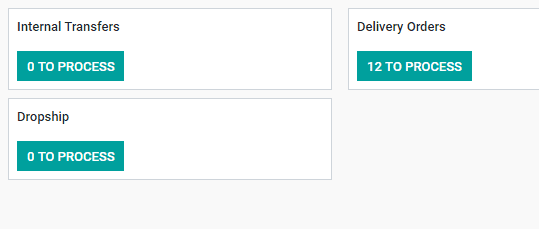
Let us see what happens on clicking Delivery orders.
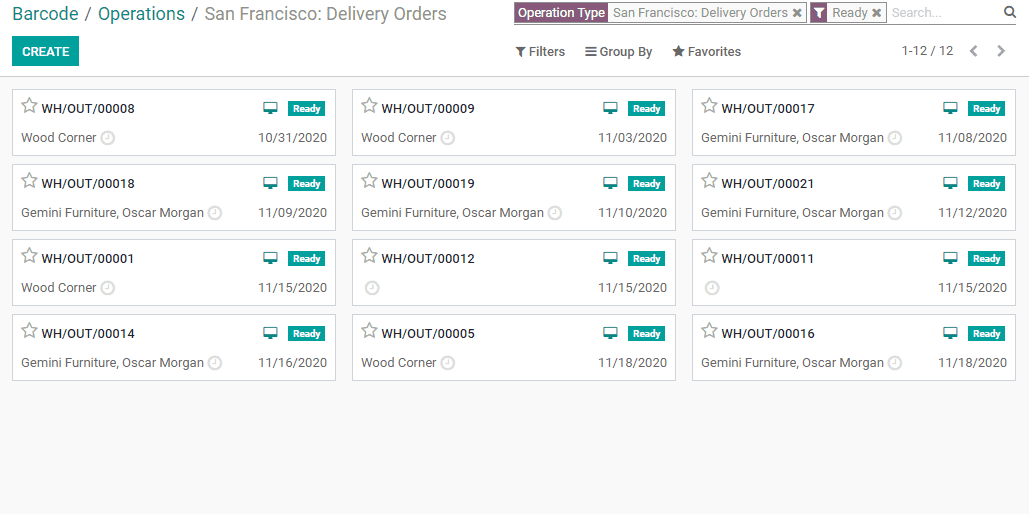
We have got a list of delivery orders here. We can create a new order with the help of a Barcode Scanner.
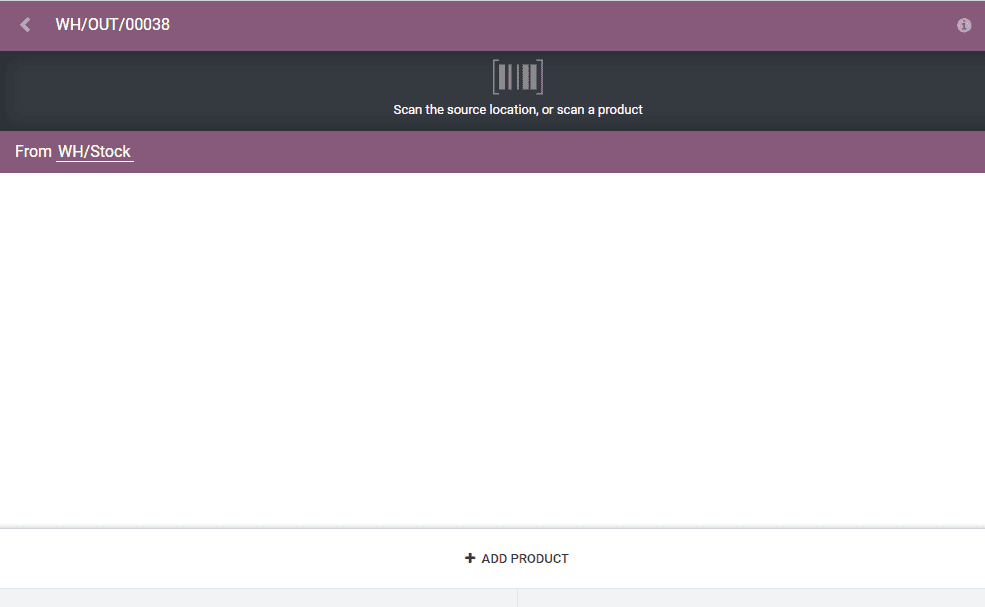
The product with location details will get added here.
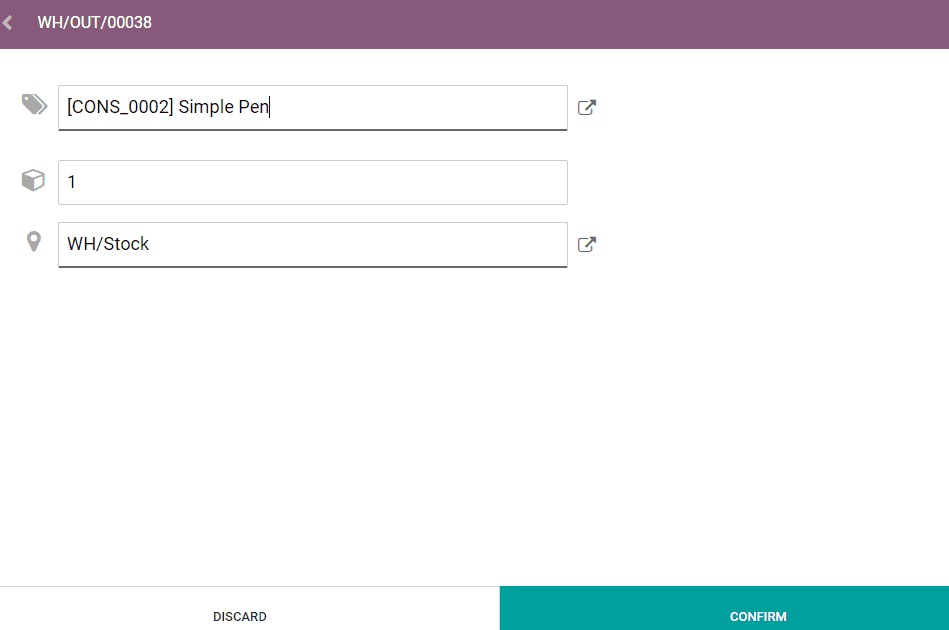
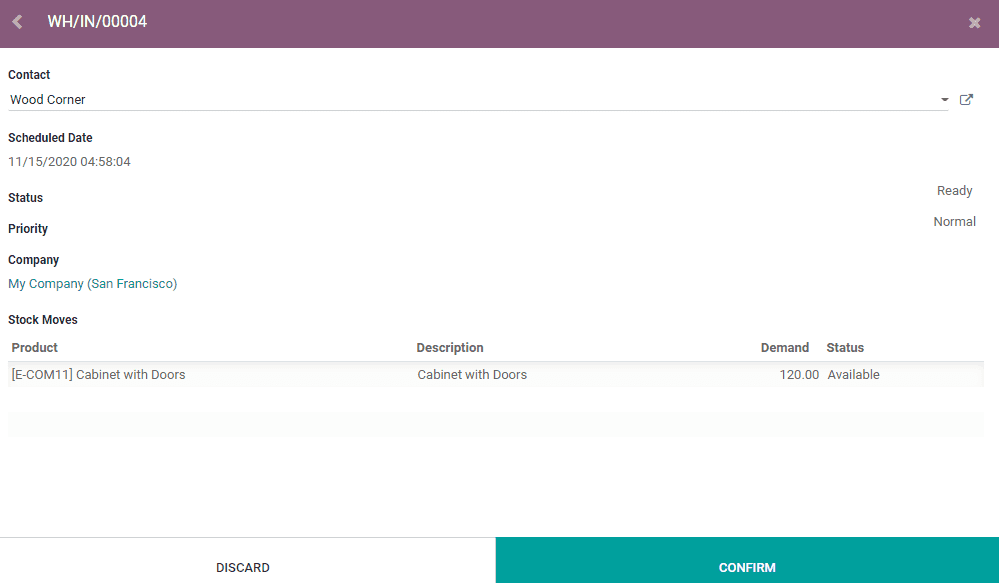
Then click on the button to confirm the order.
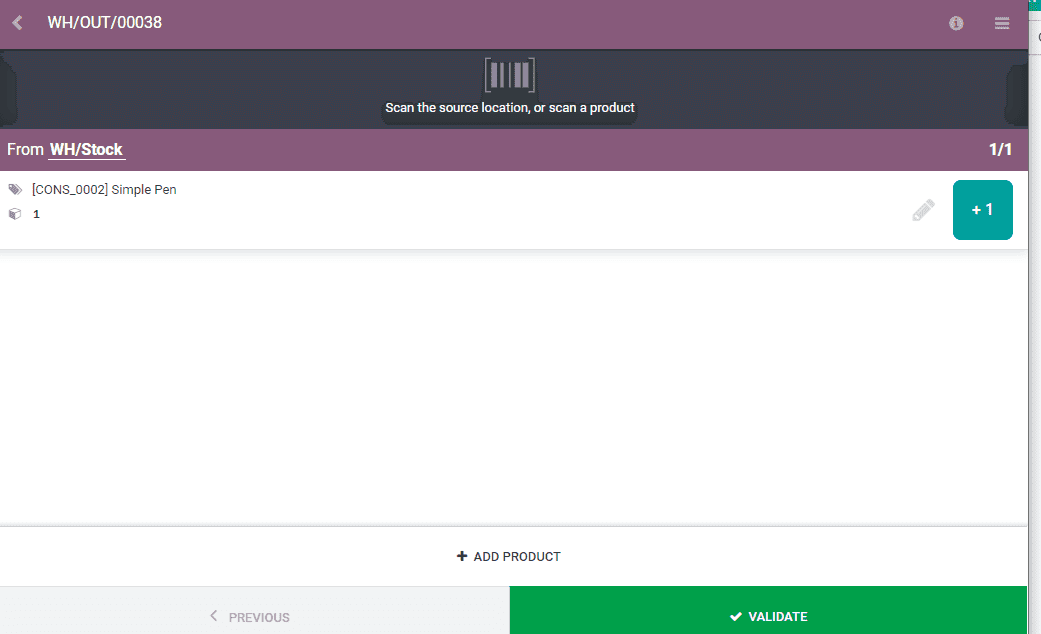
Odoo gives you further options. This can be accessed with the help of the bar icon on the top. On clicking on the bar option you will get the below-listed options.
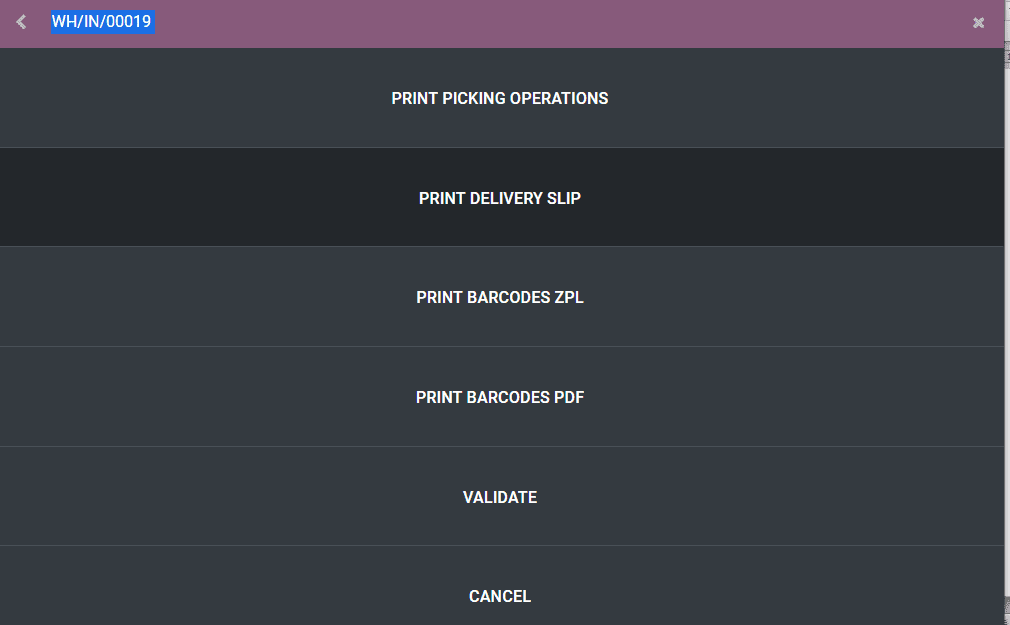
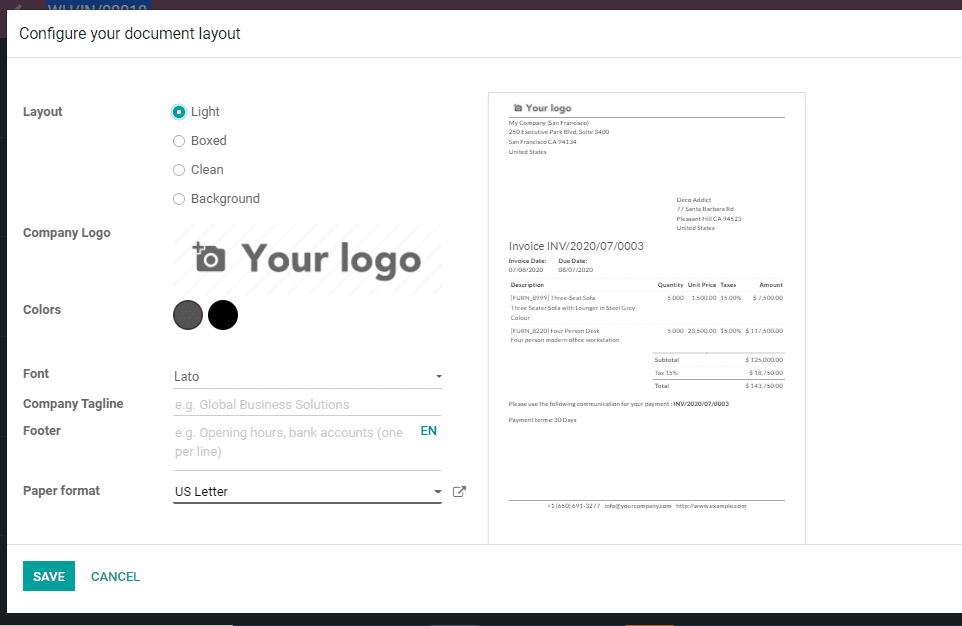
Print the delivery order and choose layout using the Print option. Besides, the delivery slip, barcode ZPL, and barcode PDF can be printed here.
There you can find an icon (i) near the bar menu. On clicking this icon the user will be taken to a new page where the order can be confirmed.
After this click again on the bar icon to complete validation. Once you click the option you will find a pop-up window.
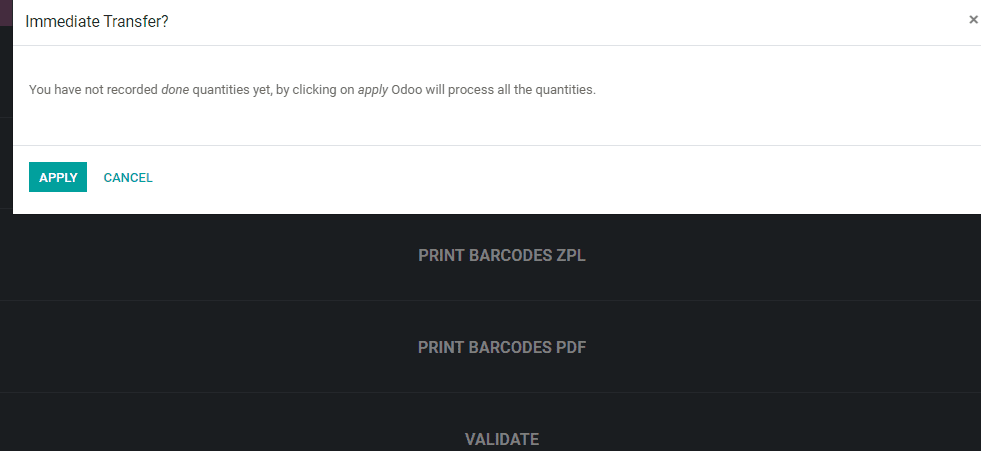
Once the user clicks the option and validates, the delivery takes place.
Also Read: How to Manage Delivery Orders in Odoo 14


