The expense module tracks the expenses created in the company. Expenses can be generated for a client meeting including transportation charge, expense for accommodation, charge for meals, etc. Sometimes, the company itself raises the expense. Mostly it appears that when working on a project with a customer, the employees ought to spend their own financial resources on the project, or that the company needs to cover any of the costs of the customer. The company, thus, needs to re-invoice the cost to the worker.
Odoo 14 provides a re-invoicing policy based on cost or sales price for the delivered expense product.
Create Expense Product
Install the Expenses module from odoo apps and configure the expense products, Go to Expenses module> Configuration> Expense product.
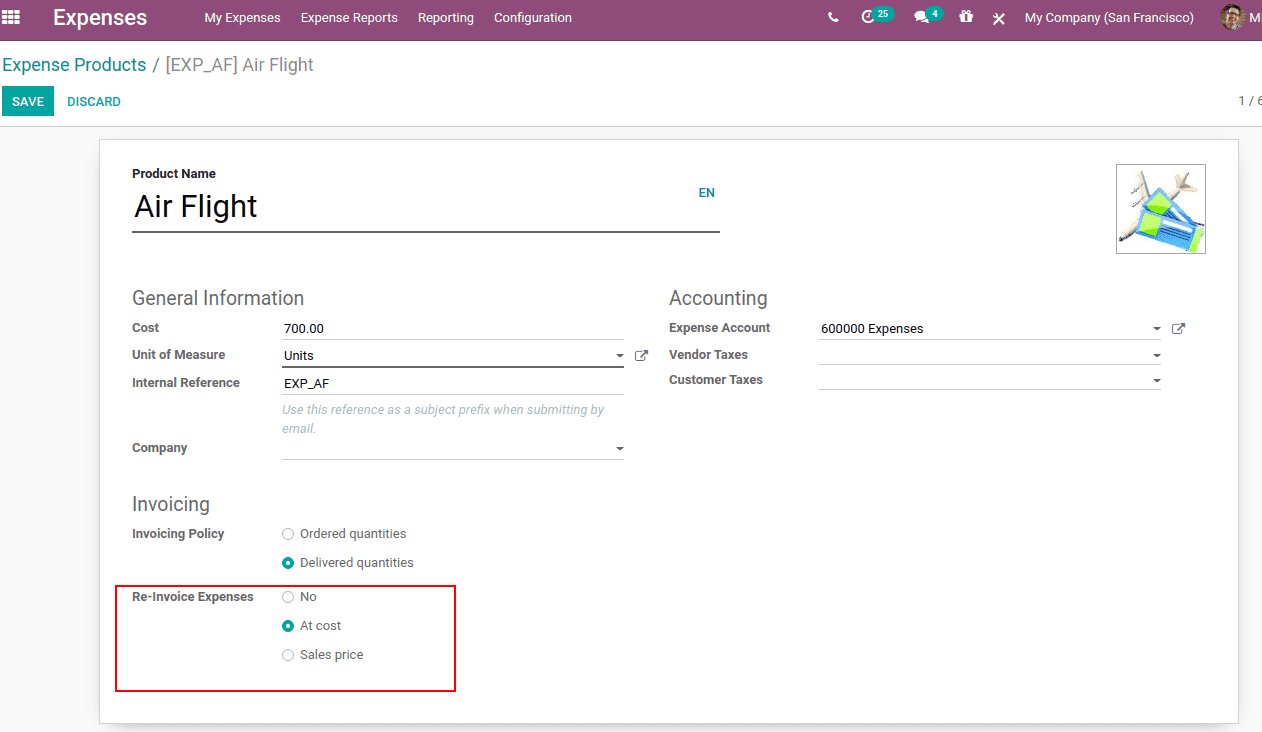
Add the product name, cost of the expense product, UoM, the internal reference used for the expense product, and expense account to record the details. If you leave this empty, it will automatically take the account specified in the product category.
The invoicing policy is delivered quantity since expenses are invoiced based on the delivered quantity.
Next is the Re-invoice Expenses. It determines that the customer should be re-invoiced for the expense and the vendor bills. The re-invoice policy is no cost, at cost, and sales price. This option enables to re-invoice a verified expense to an employee at its cost or sales price
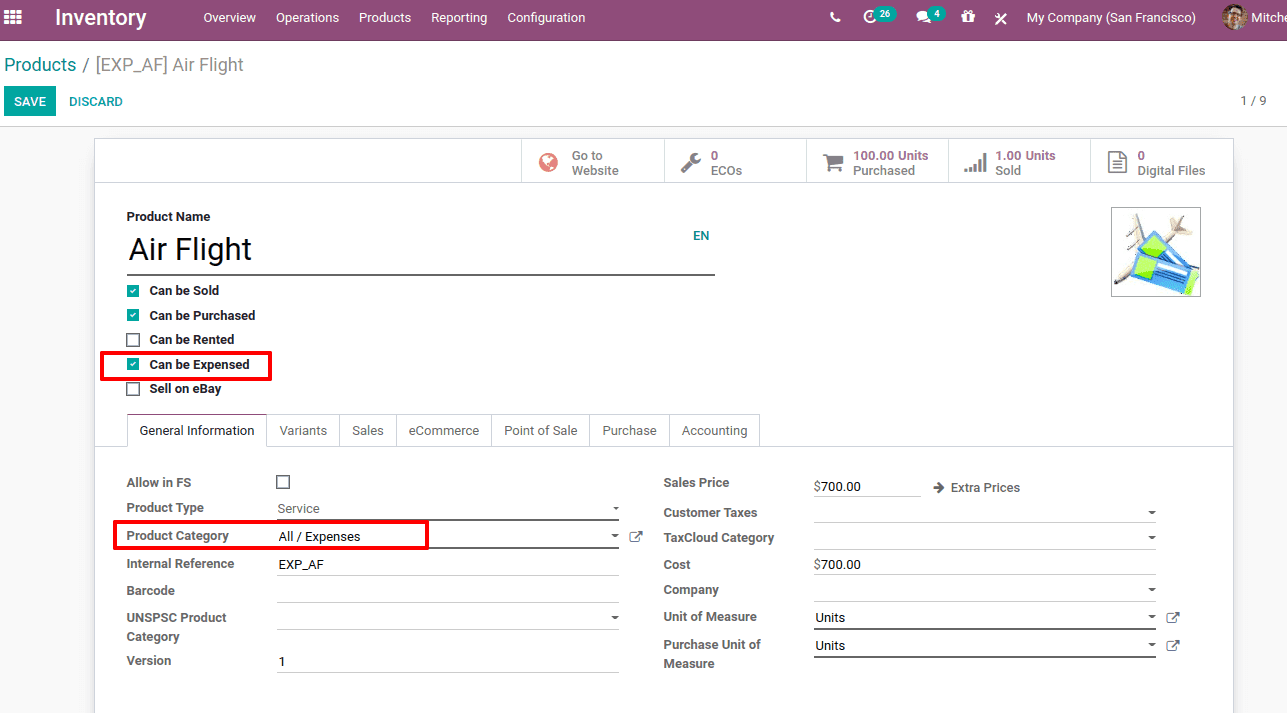
One can also create and configure a product as an expense product, by creating a product from the sale or purchase module and by enabling ‘Can be expensed’ for the product.
How Re-invoicing works
Create a sale order for the expense product.
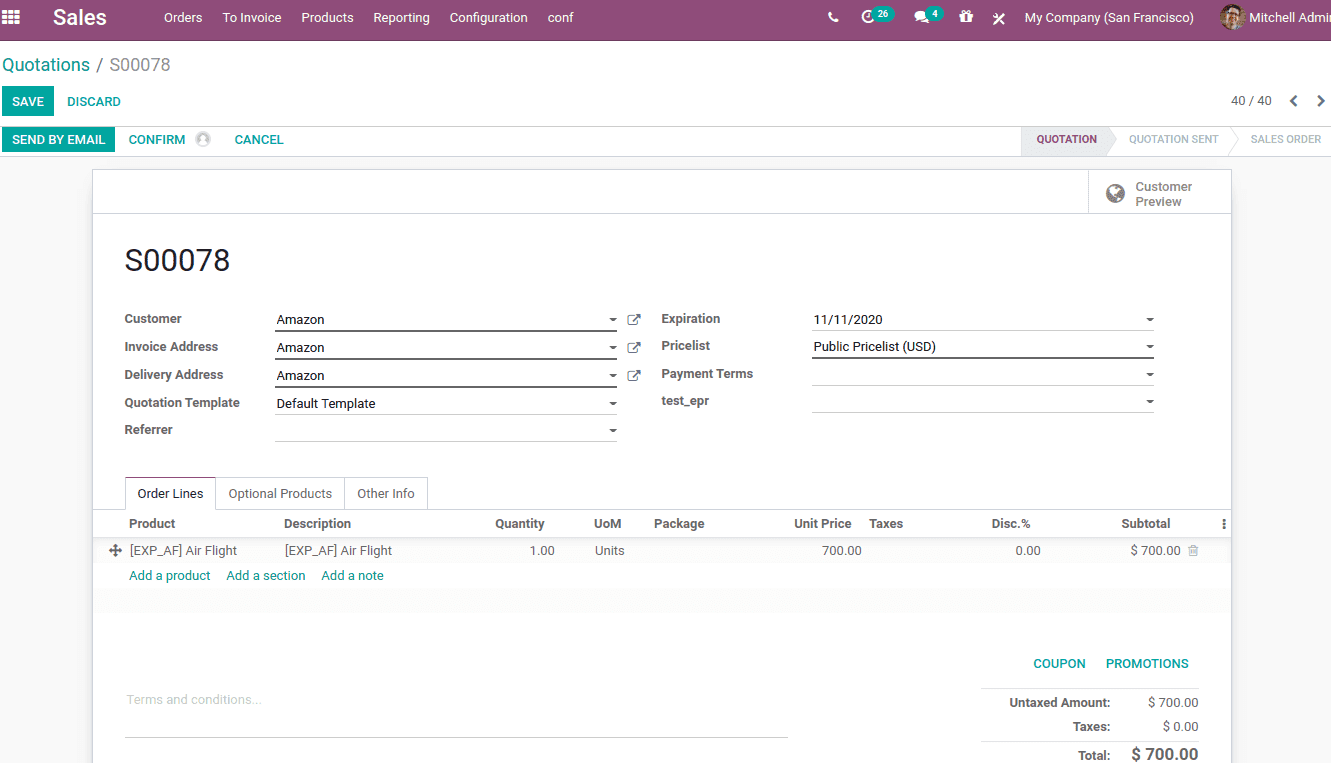
Add the customer and the expensive product. Now confirm the sale order.
Then go to the expense module and create an expense for this product, Expenses> My Expenses> Expenses to Report.
Create an expense and add a product, so cost details get auto-populated.
Also, add the quantity and UoM.
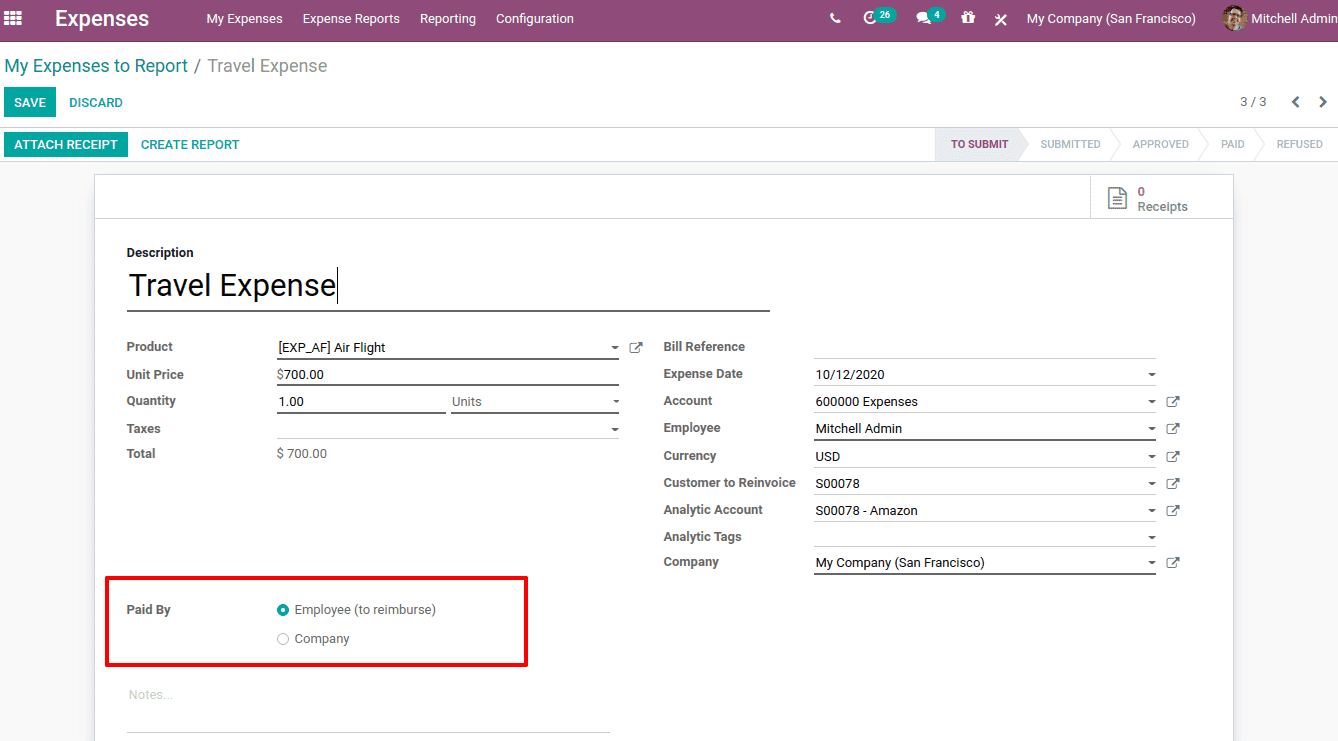
Here we have the option to know who met the expense. The expense can be ‘paid by’:
1. Employee (to reimburse): The expense met by the employee and must be reimbursed
2. Company: The expense met by the company. So it will be recorded as company expenses.
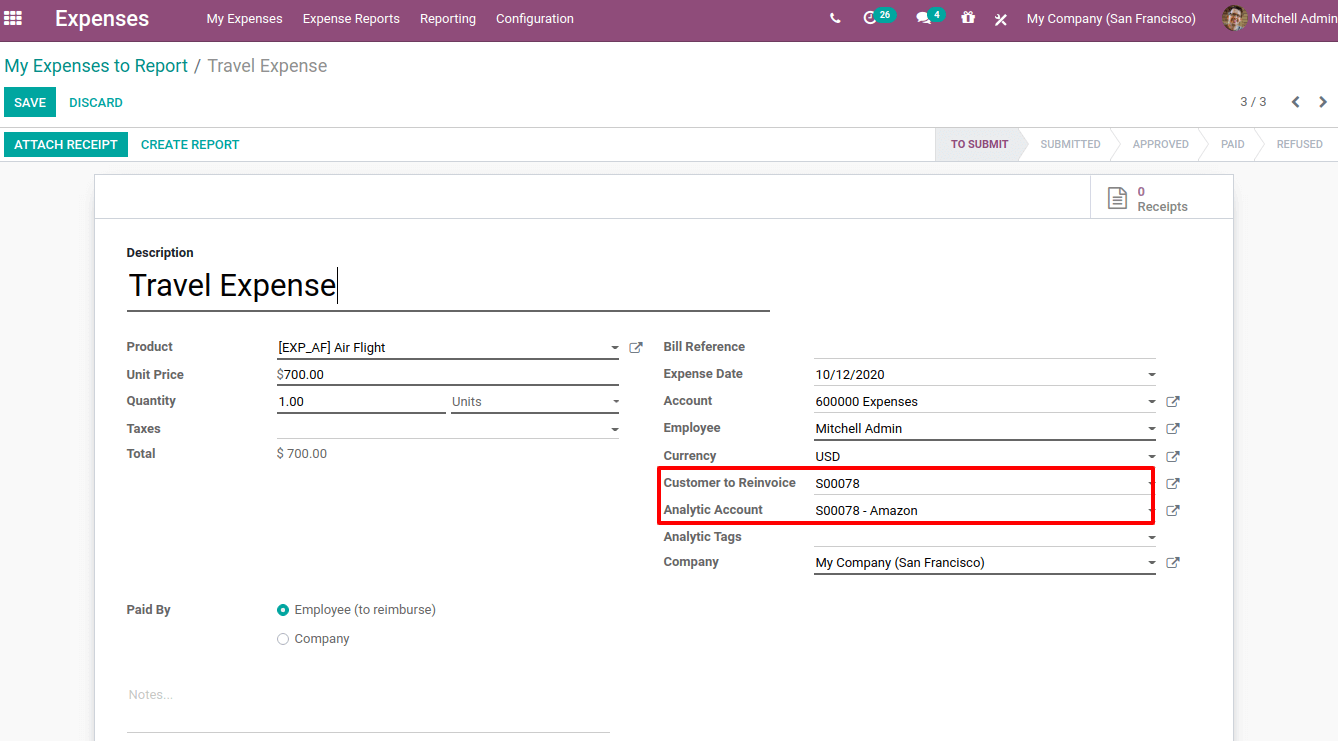
To fetch the sale order details into the expense report, add the sale order number at the ‘Customer to Re-invoice’ field. The analytic account similar to it will auto-populate at ‘Analytic Account’. The receipts can be added to the report from the smart tab ‘Receipts’.
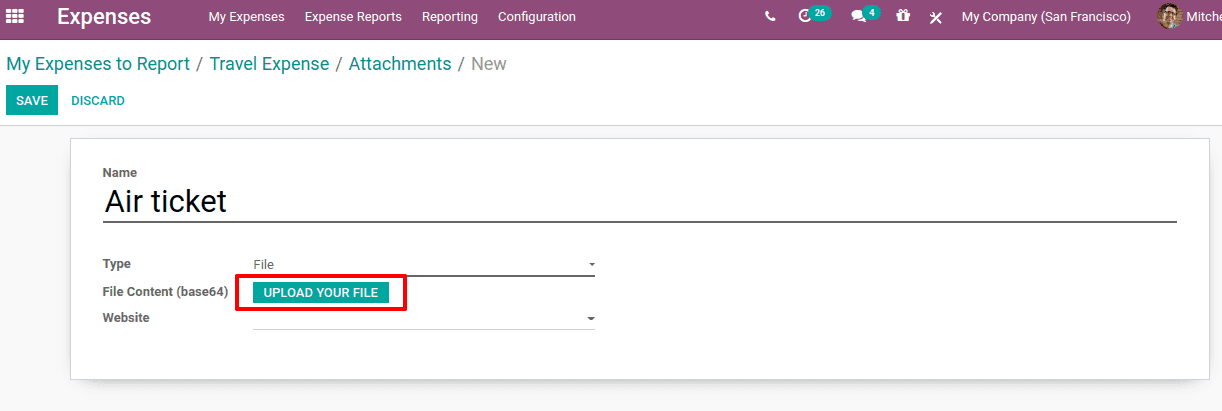
The file can be uploaded to the expense report and save. Thus the file is attached.
Now submit it to the manager for approval, Expenses Module> Expense Reports> All reports. You can find all the expense reports here.

Open the report.
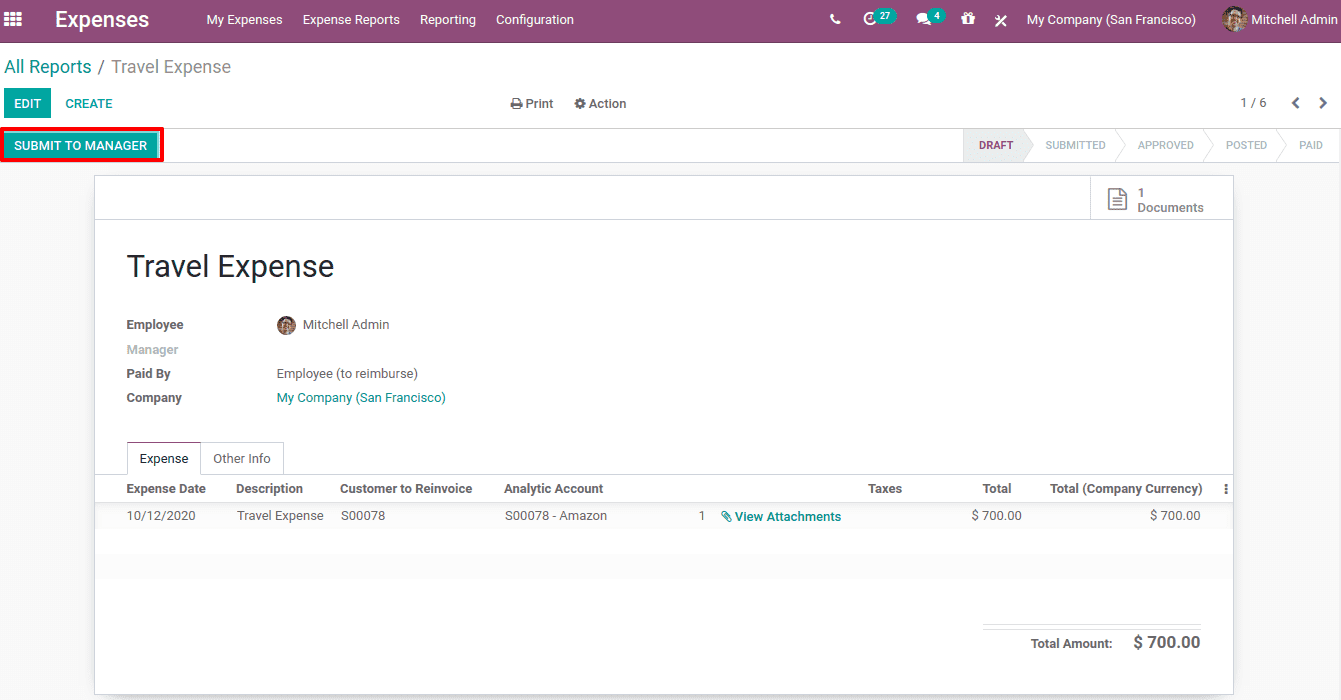
From here, one can submit the report to the manager for approval.
The manager can approve to reimburse the expense met by the employee for company purposes. He can also have the right to refuse expense requests or reports.
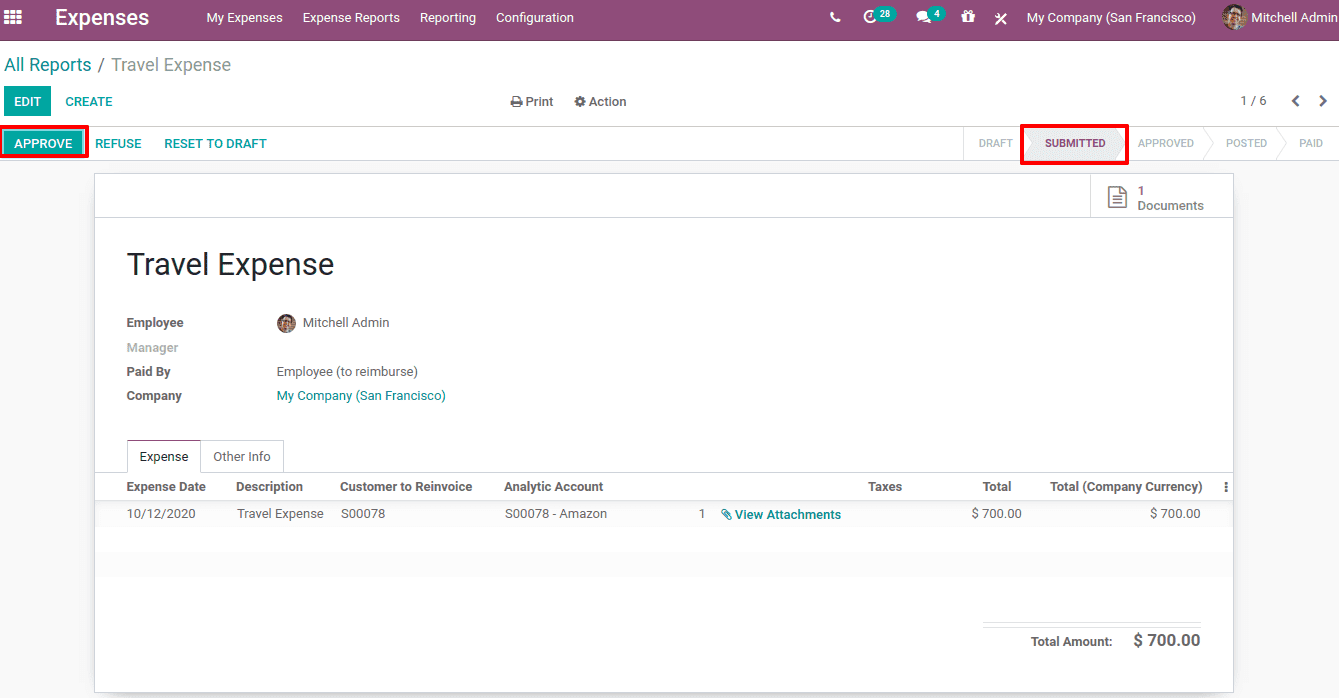
Once the manager approves the expense report, the reports can be viewed under ‘expense report to post’.
After approving, post the journal entry.

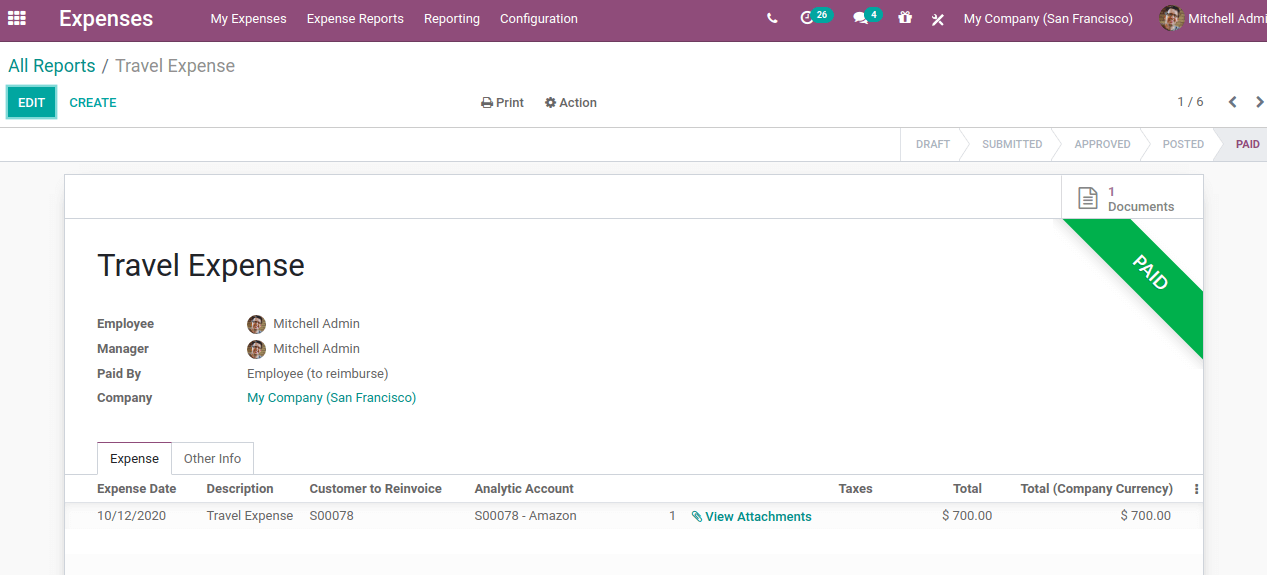
After posting, one can make the payment.

Finally, the expense amount is paid.
Now check the sale order, you can see a new tab ‘Expenses’ there, which shows the expense report created.
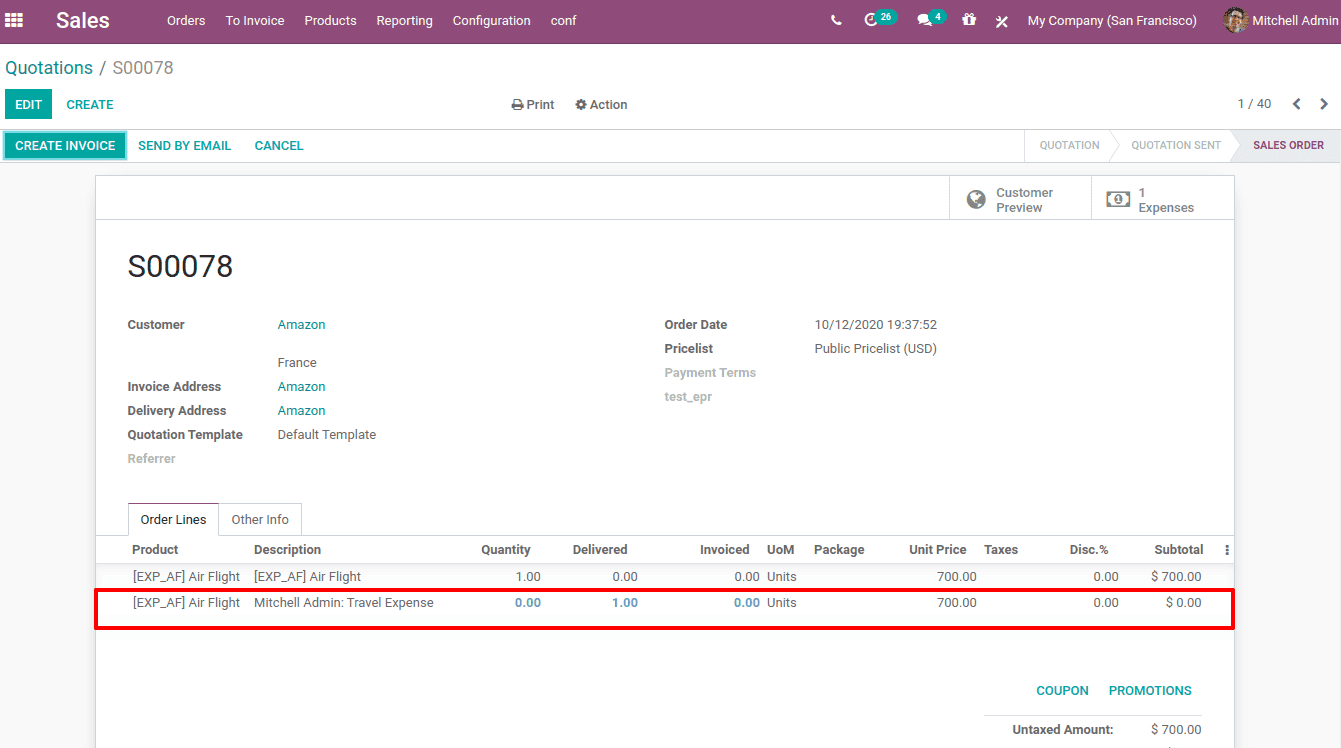
Also, a new sales order line for the expense product is automatically added to the sale order line. Now as a normal procedure one can create an invoice for the sale order and make payment.

