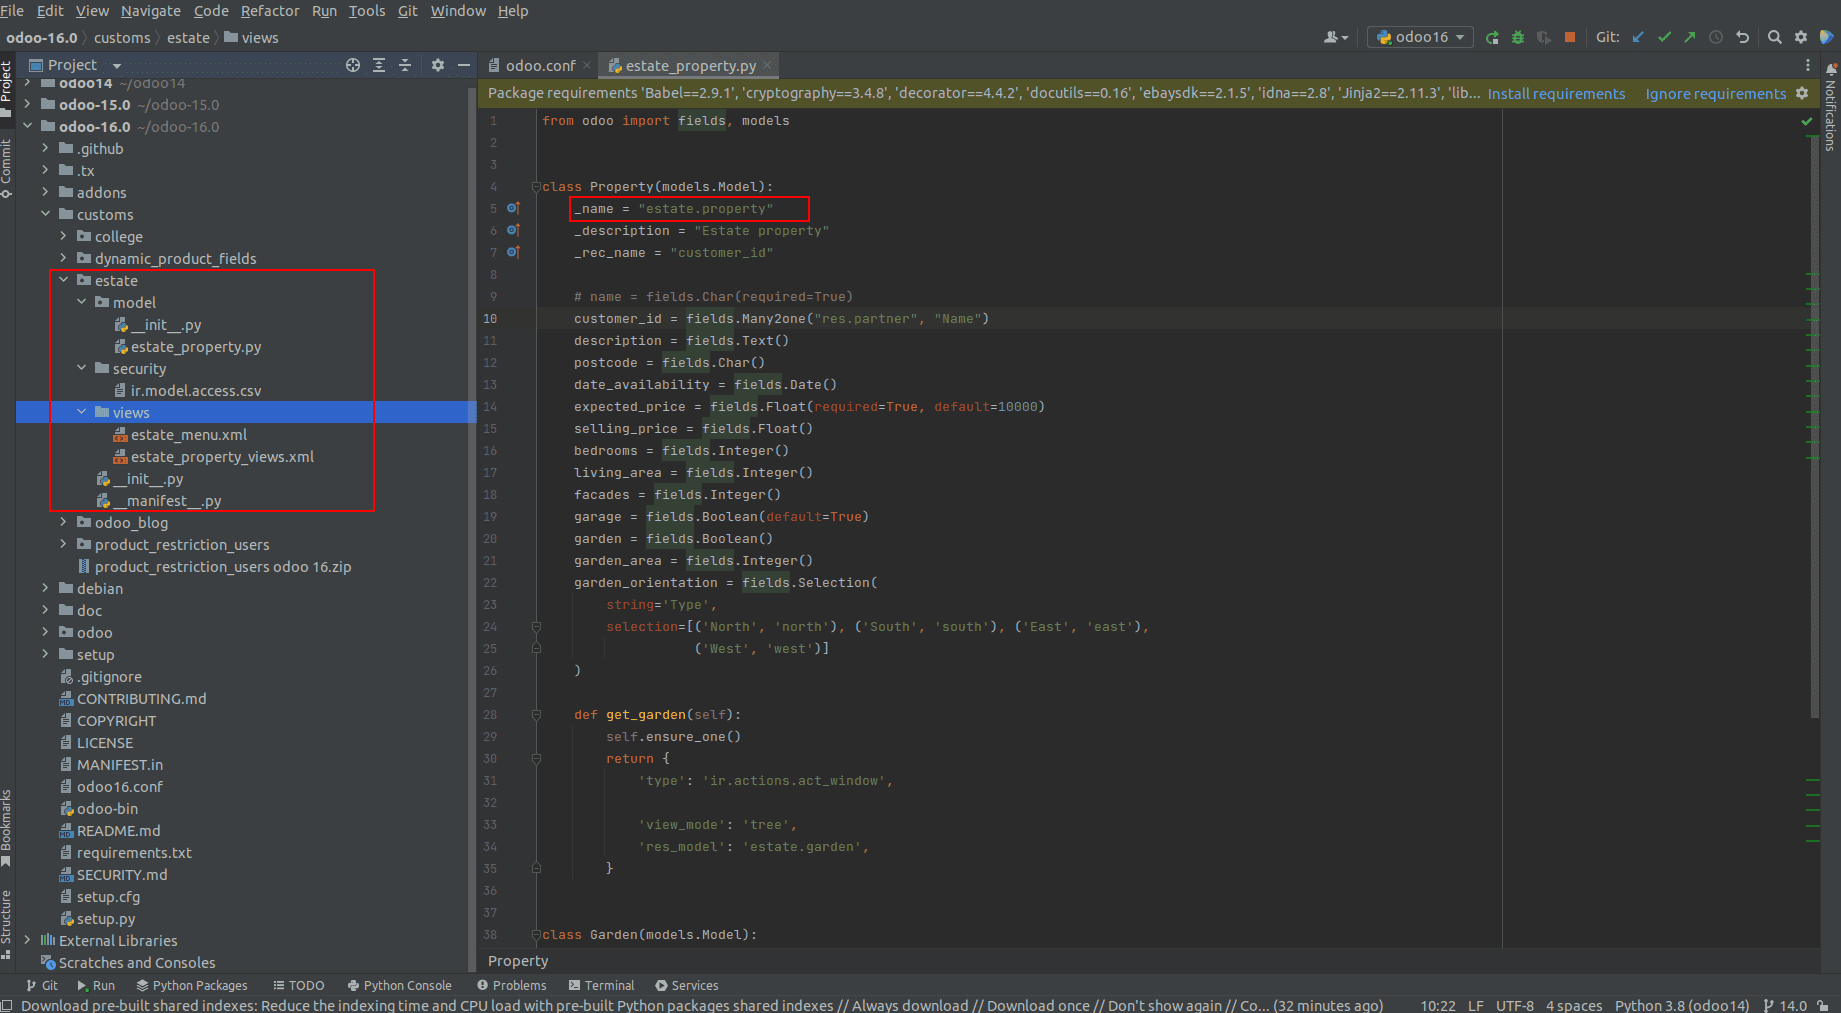
In this blog, let’s discuss the security group and access rights in Odoo 16. Security access in Odoo is configured through security groups. Permissions are given to groups and then assigned to users. Here we have a custom module named Estate and inside of it we have a model estate.property. 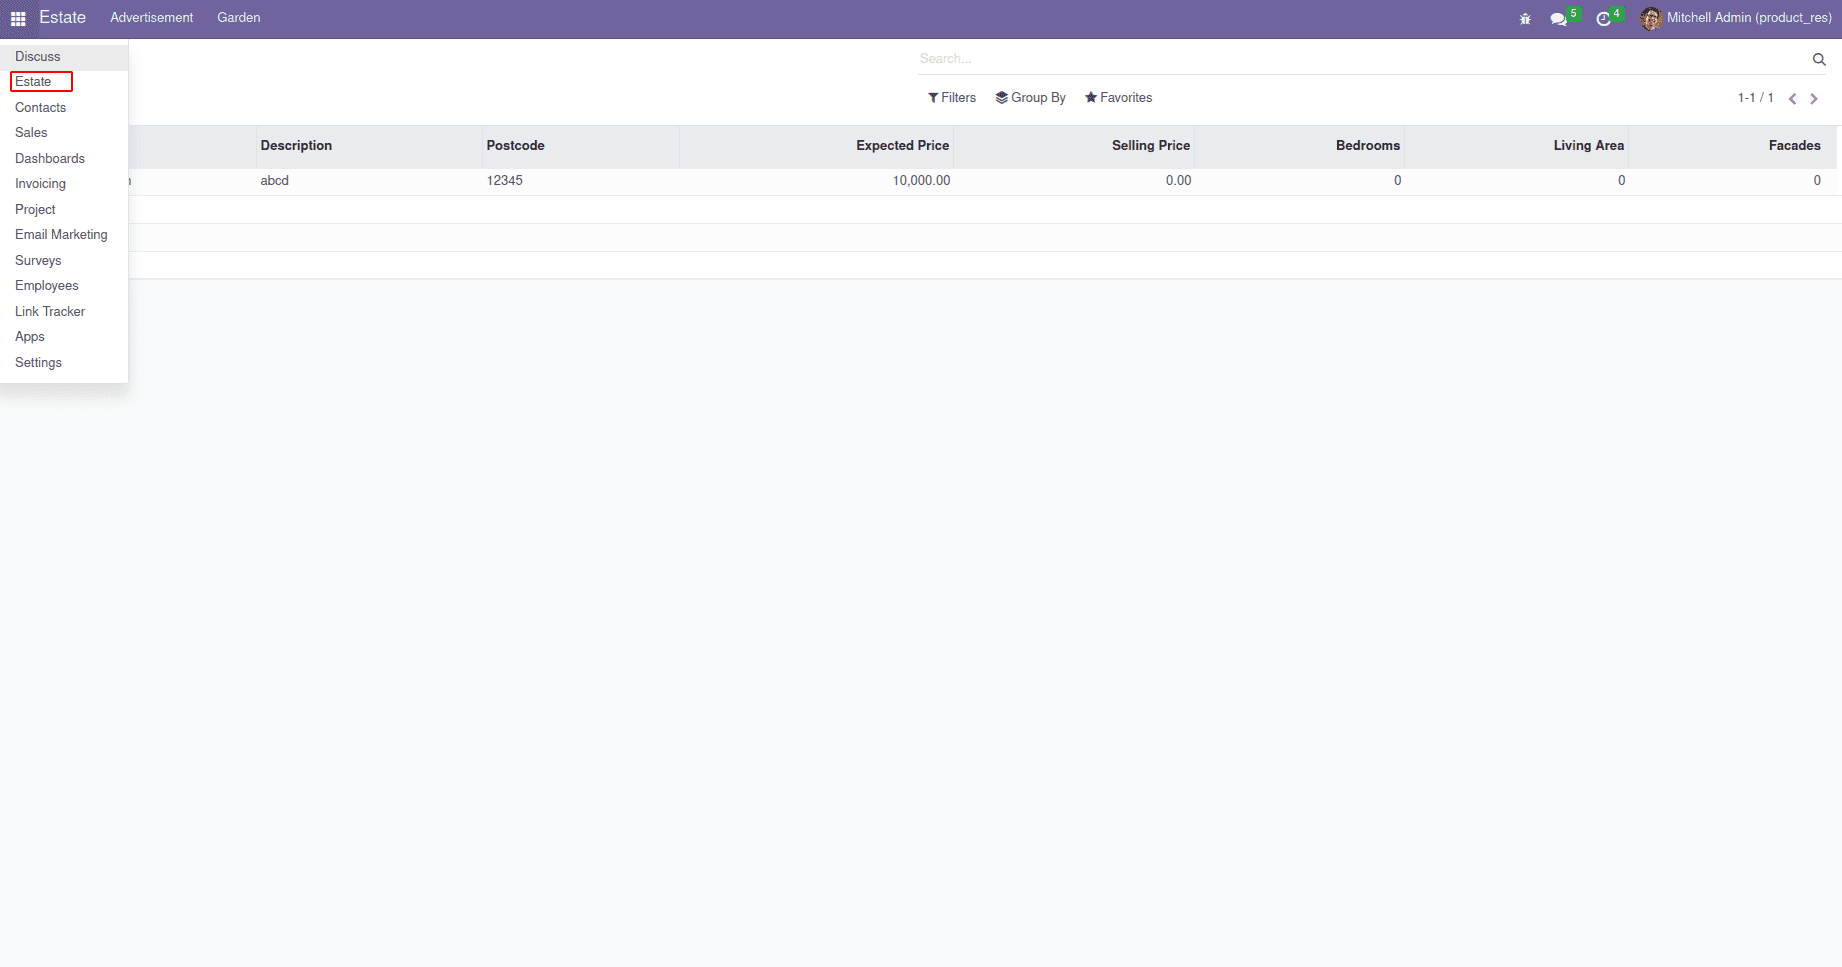 Now we can see how we can add access rights in this model. Let’s go to the pycharm. In the below-mentioned Screenshot, we can see the custom module Estate and inside the model directory, we can see the to define the model estate.property and it has some basic fields inside of it. Now we can see how to add access rights to this model.
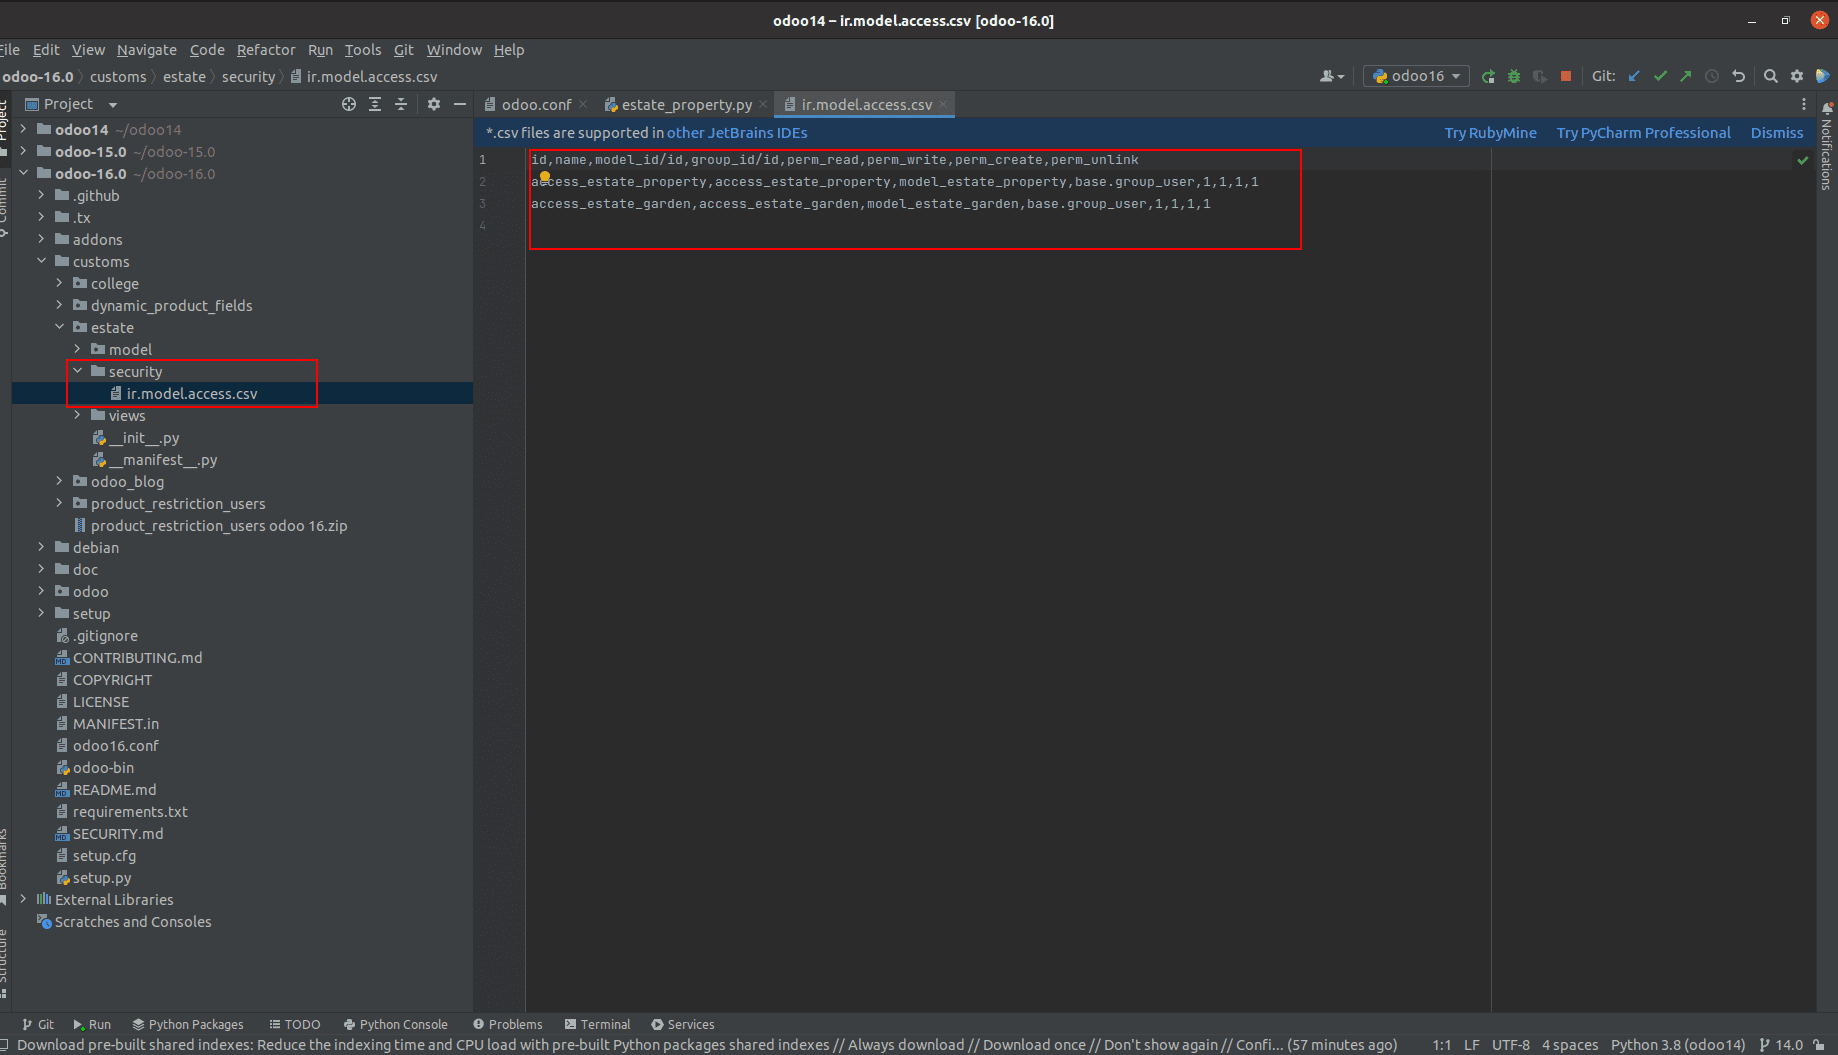
 Here we can create a folder named Security inside the custom module to add the security in the mentioned model. Inside the security directory, we can add the CSV file that is ir.model.access.csv.
 In Odoo, we create the security CSV file inside the file name ir.model.access.csv, so these records are created inside the model ir.model.access. Let us go to the UI and go to the settings; we have menu item access rights.
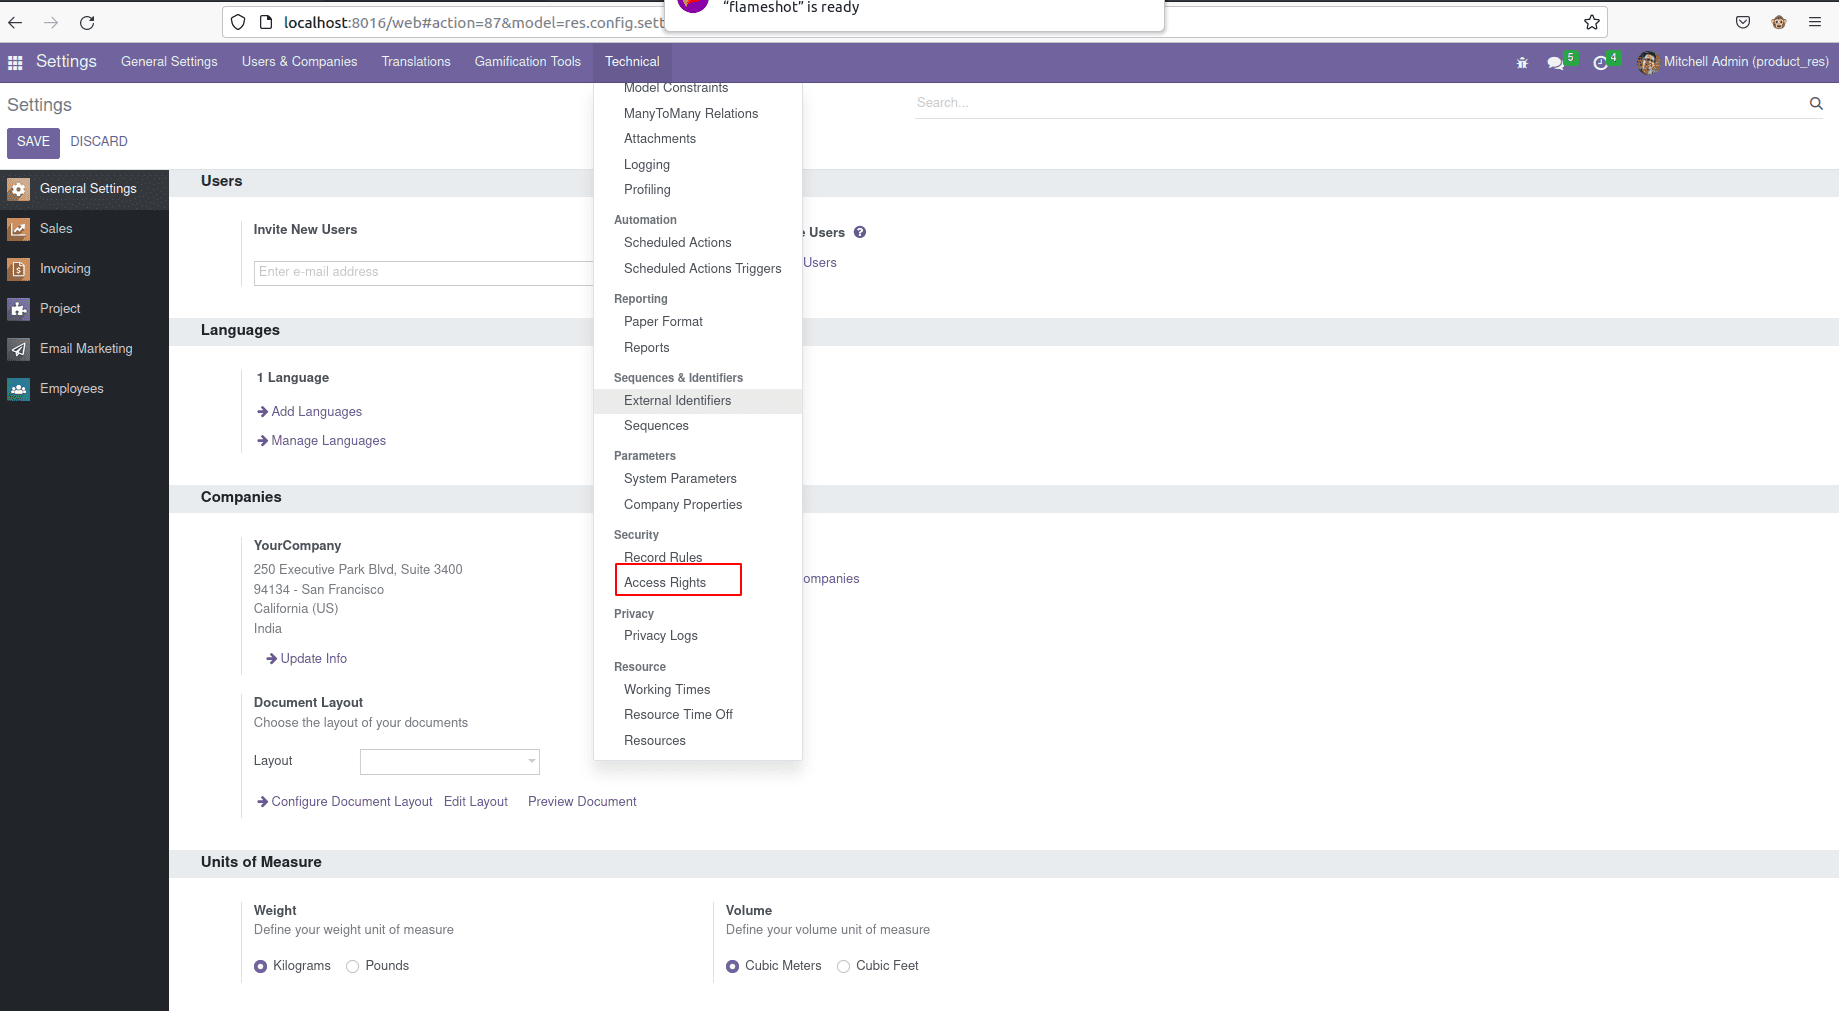 Click the menu Access rights, and this is the model where we created the Access Right records that is the model ir.model.access.
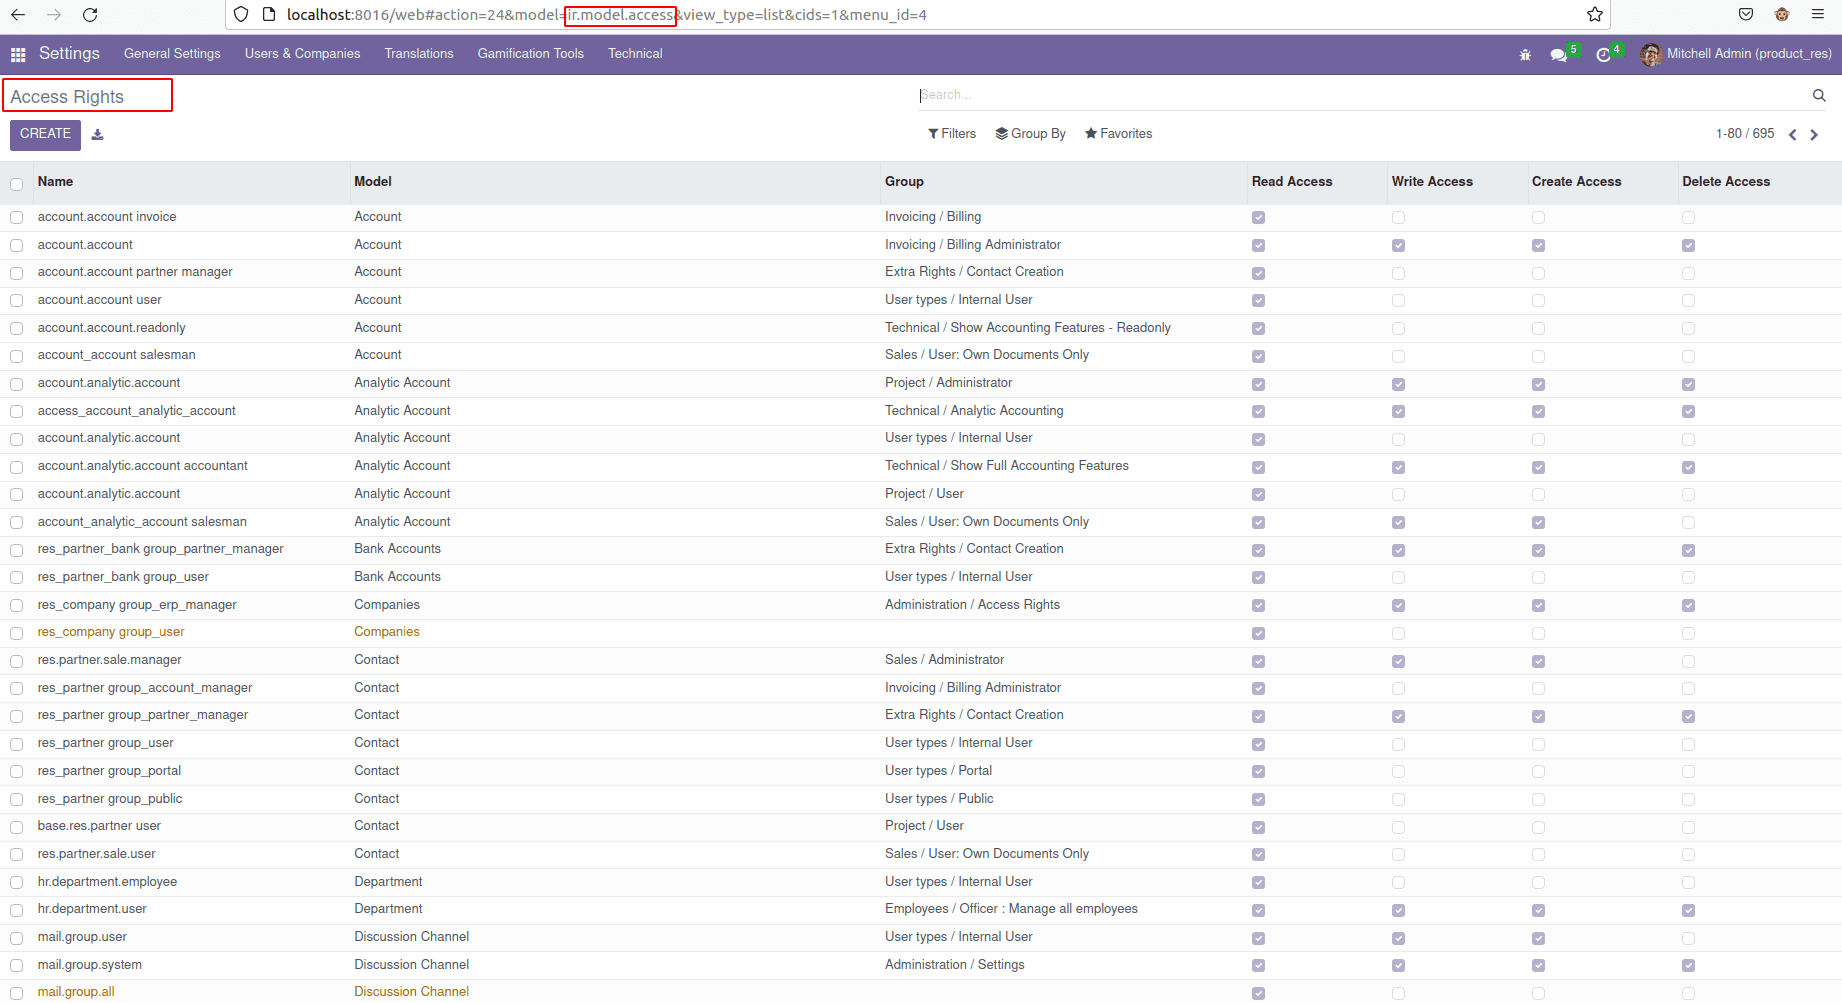 Now in the CSV file, we have defined like below.
id,name,model_id/id,group_id/id,perm_read,perm_write,perm_create,perm_unlink
access_estate_property,access_estate_property,model_estate_property,base.group_user,1,1,1,1
The top line is defined as the column name of the particular model for access rights records; it will be defined like this. In the next line, we will create access rights records. So the second line is we have created access rights to our custom model. First of all, we have mentioned here the id of the access right record, and then we can see the name, and then we have specified the model to which we are giving the access rights to.
Here we specified the model like model_model_name. In the next section, we can give the group since we have to give any group here, which means we cannot restrict our corresponding model access to any group. The final section grants read, write, create, and unlink permissions. Permission is granted. If null, no permissions are granted.. Now let’s go to the UI.
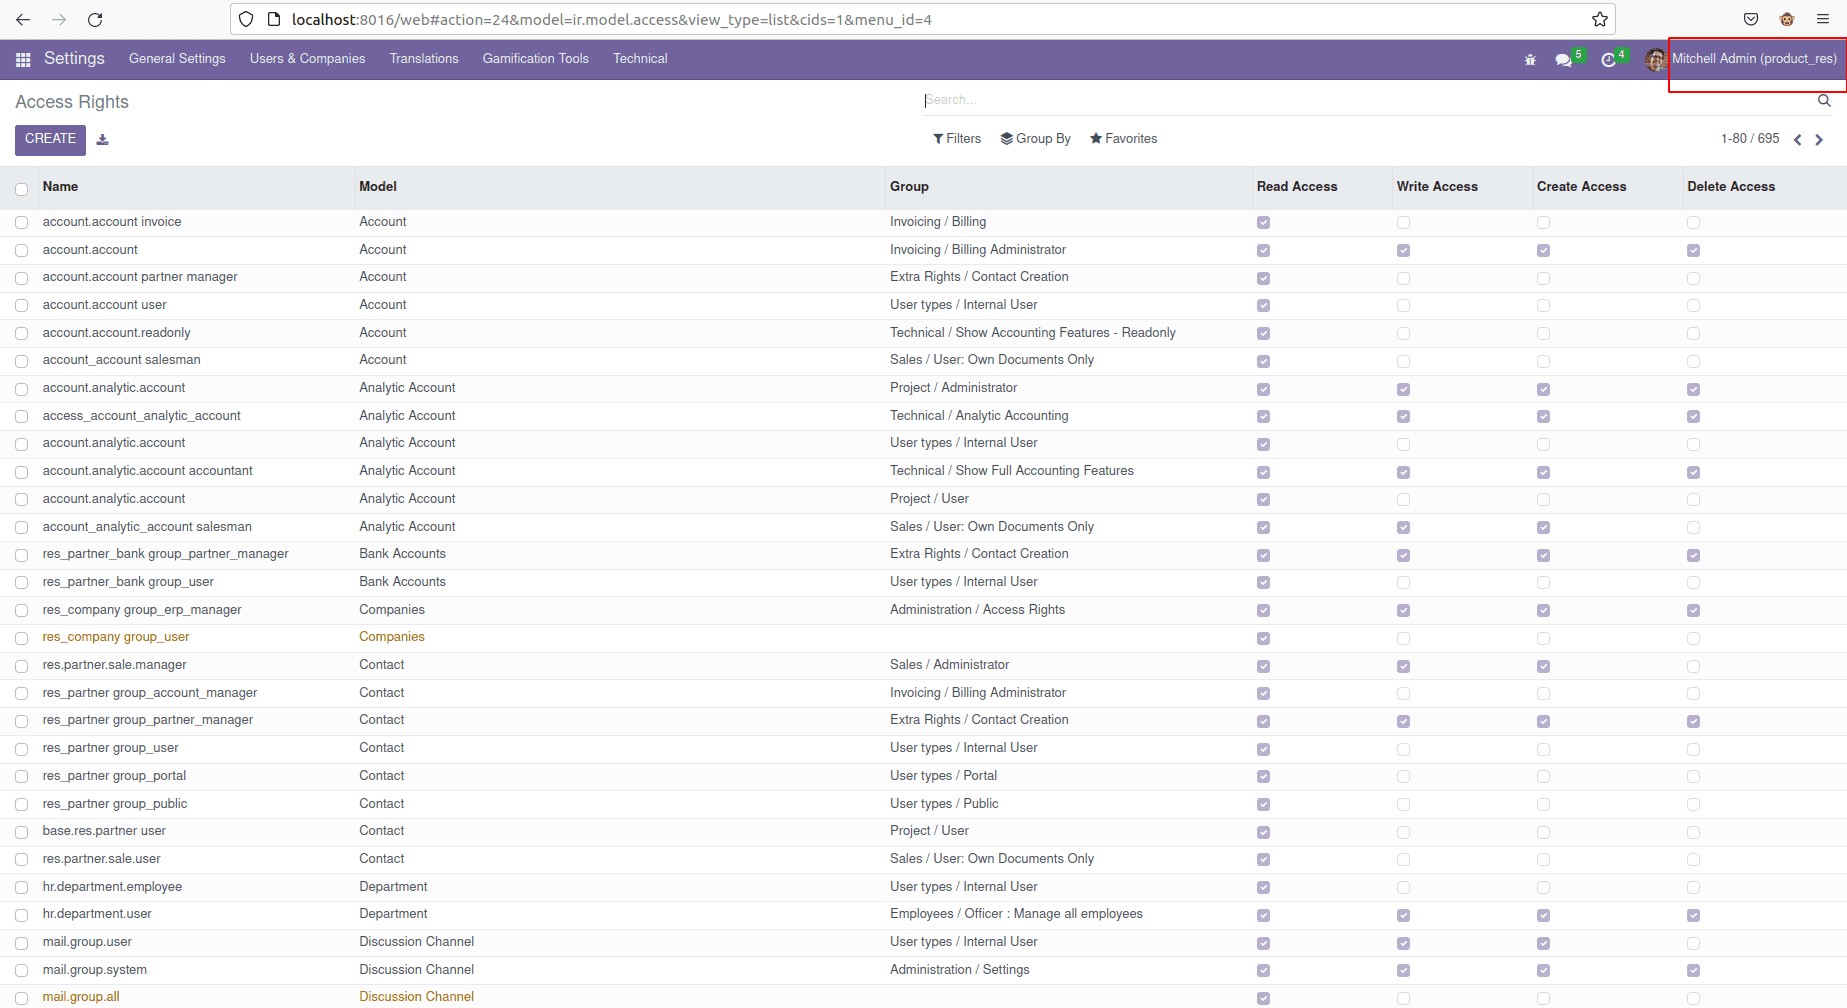
Here we can see the database login as Mitchel admin, then let’s go to the custom module.
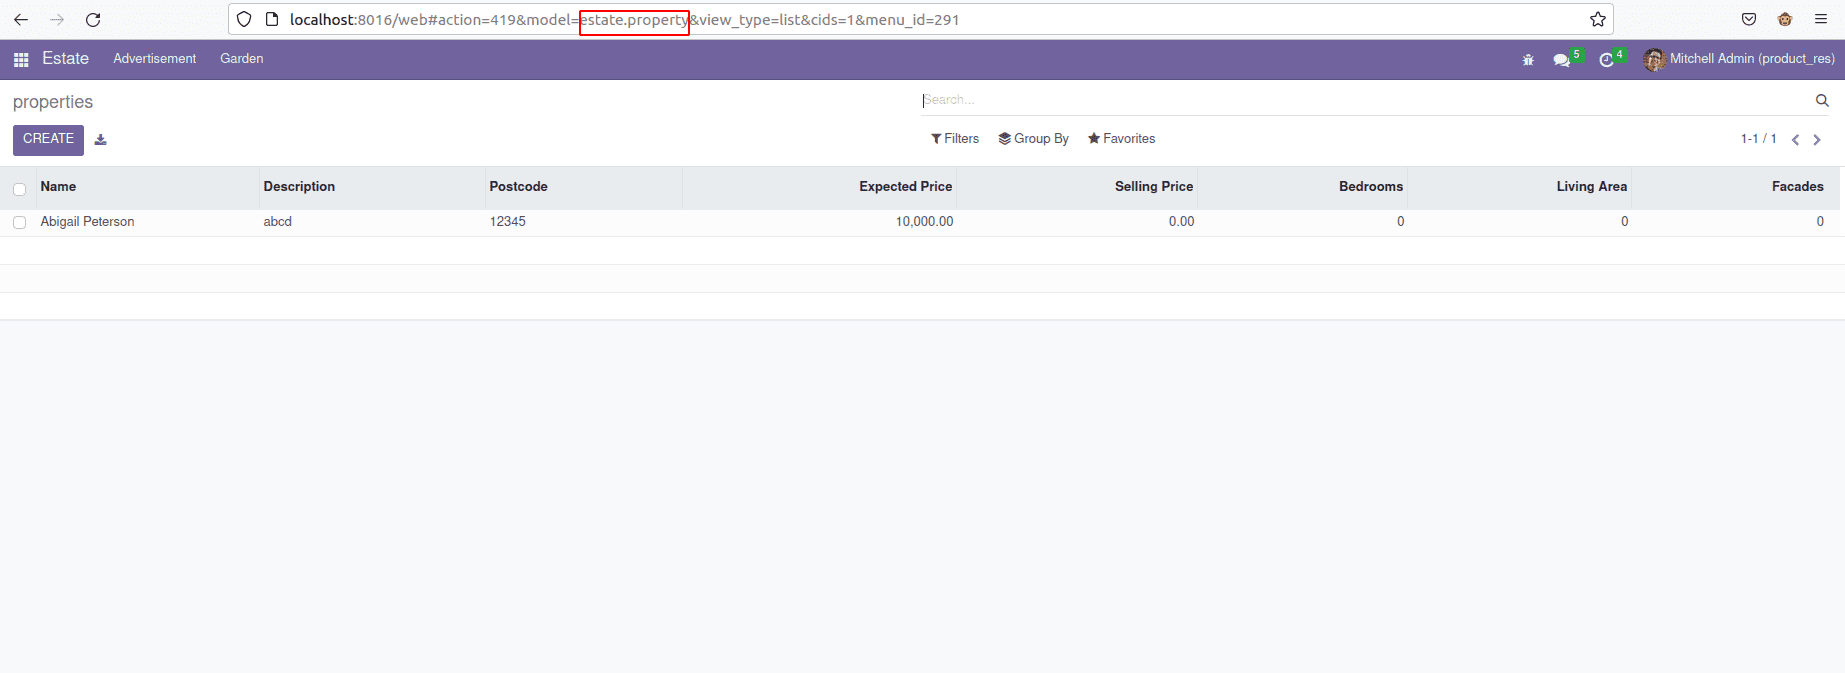
He can access the module, and then we can log out of the user and log in as another user, as marc demo, then move to the custom module,
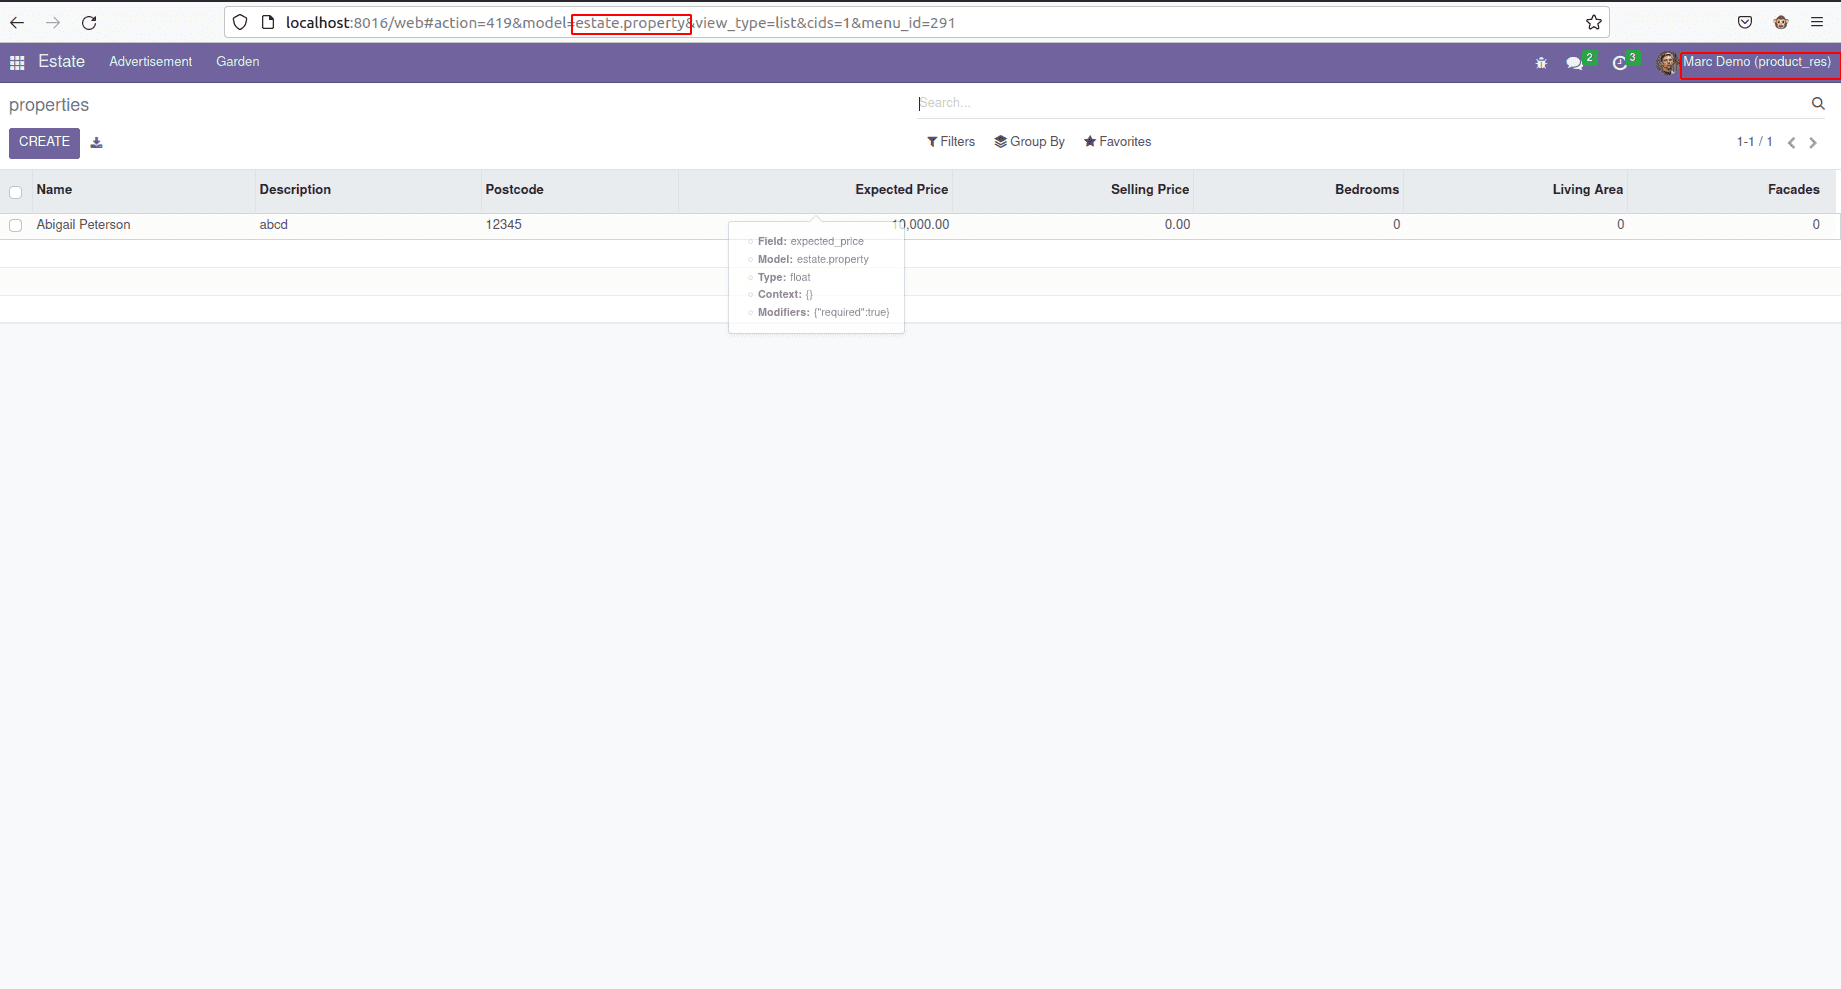
He can also have access to the custom module estate.property.Then we again log in as the Mitchell admin. Then we can see how we can set the access rights of the custom model to a particular group only. For that, we have to create an XML file inside the security folder and let’s go to the UI and settings under users and company.
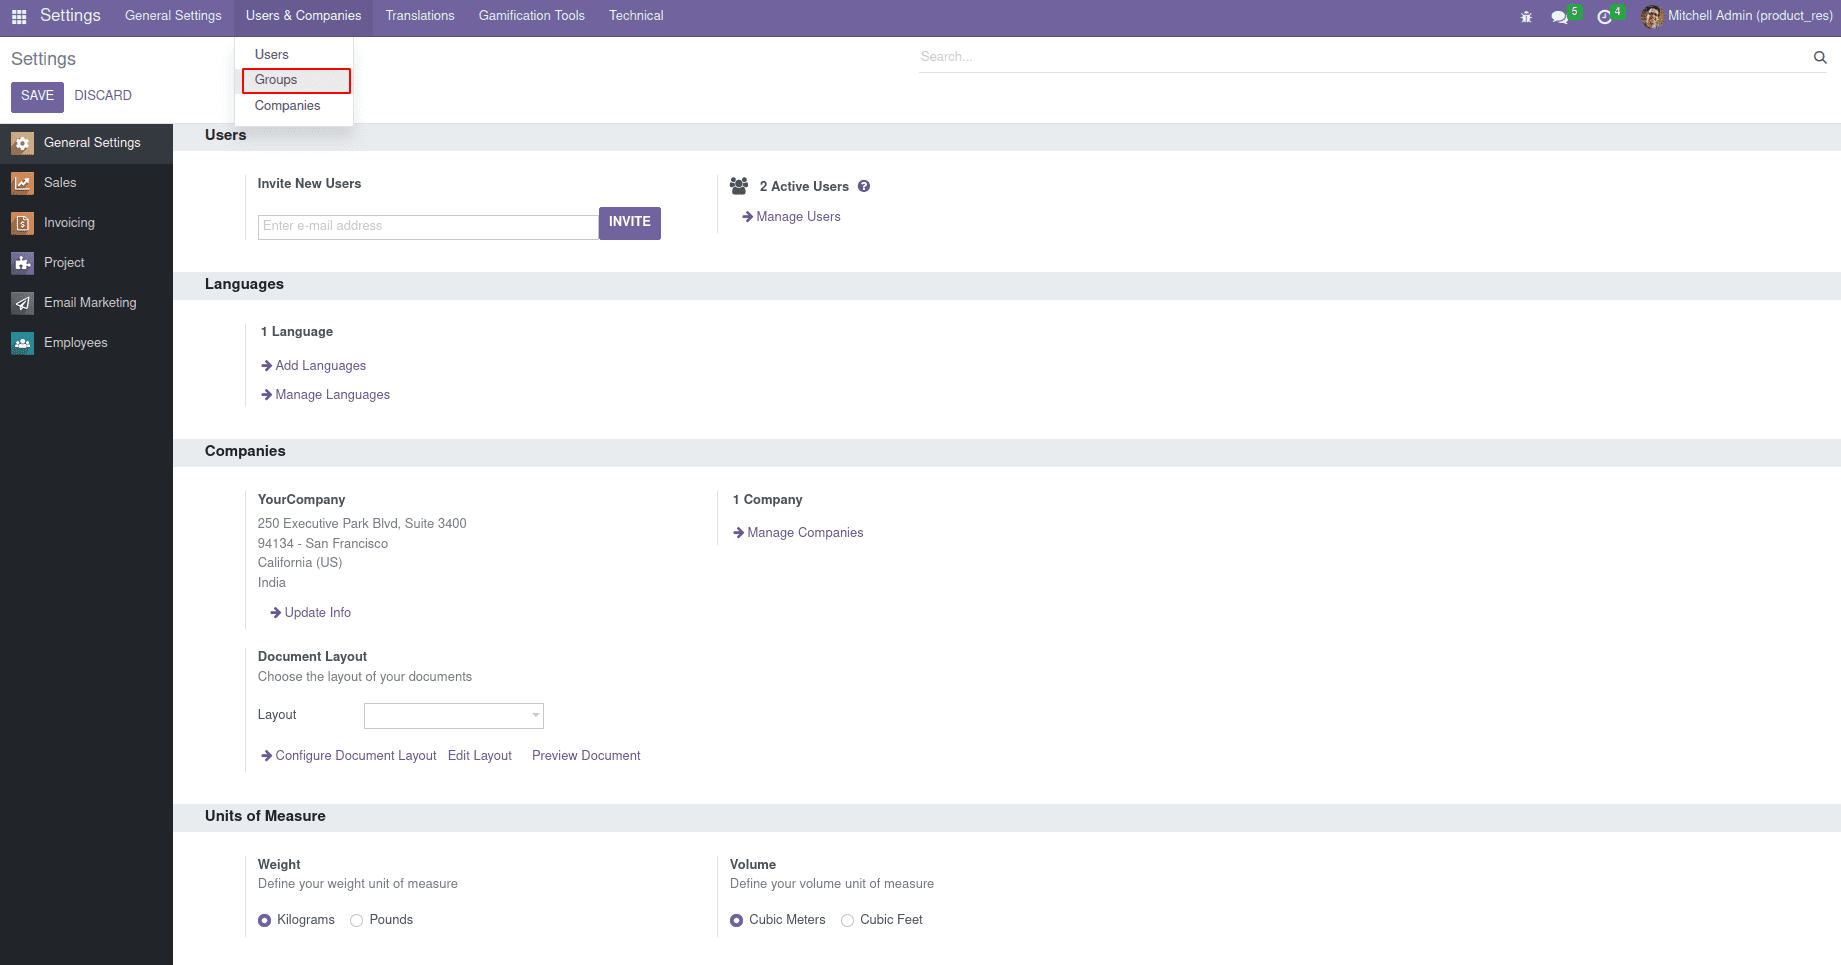
Let’s go to the groups. Here we can see all the groups existing inside Odoo, and here we have to create a group using code.
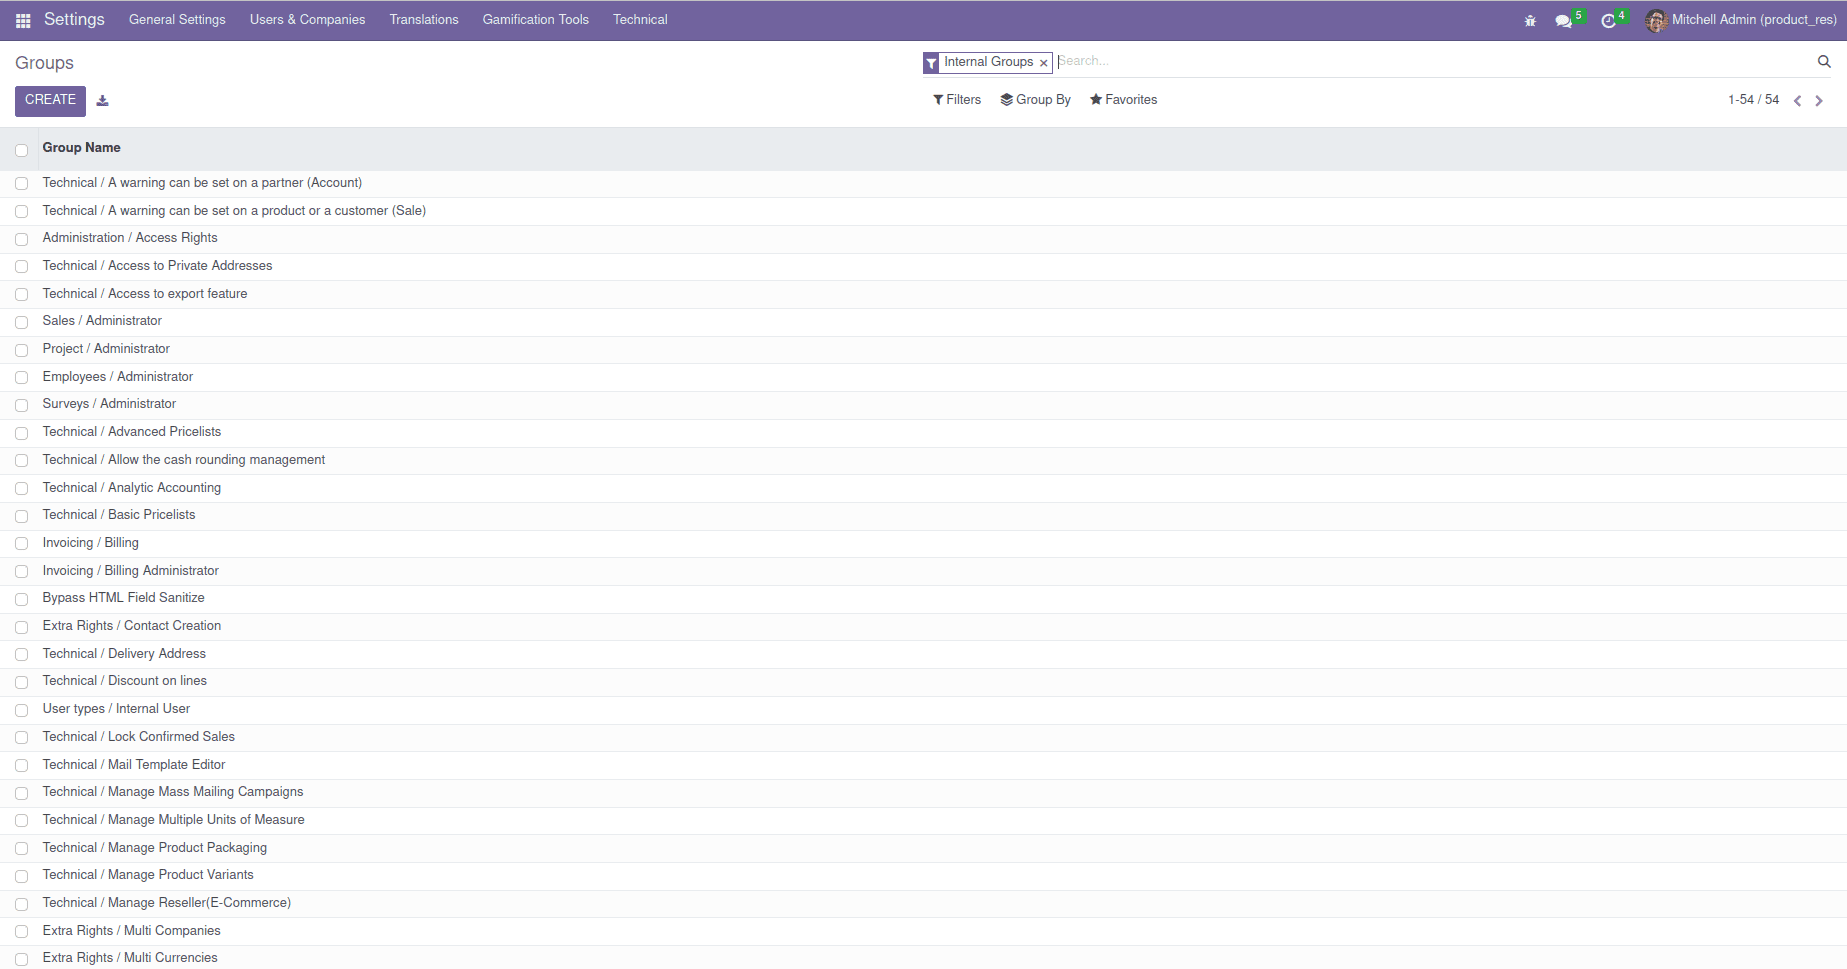
We will give field value to these fields’ applications and names.
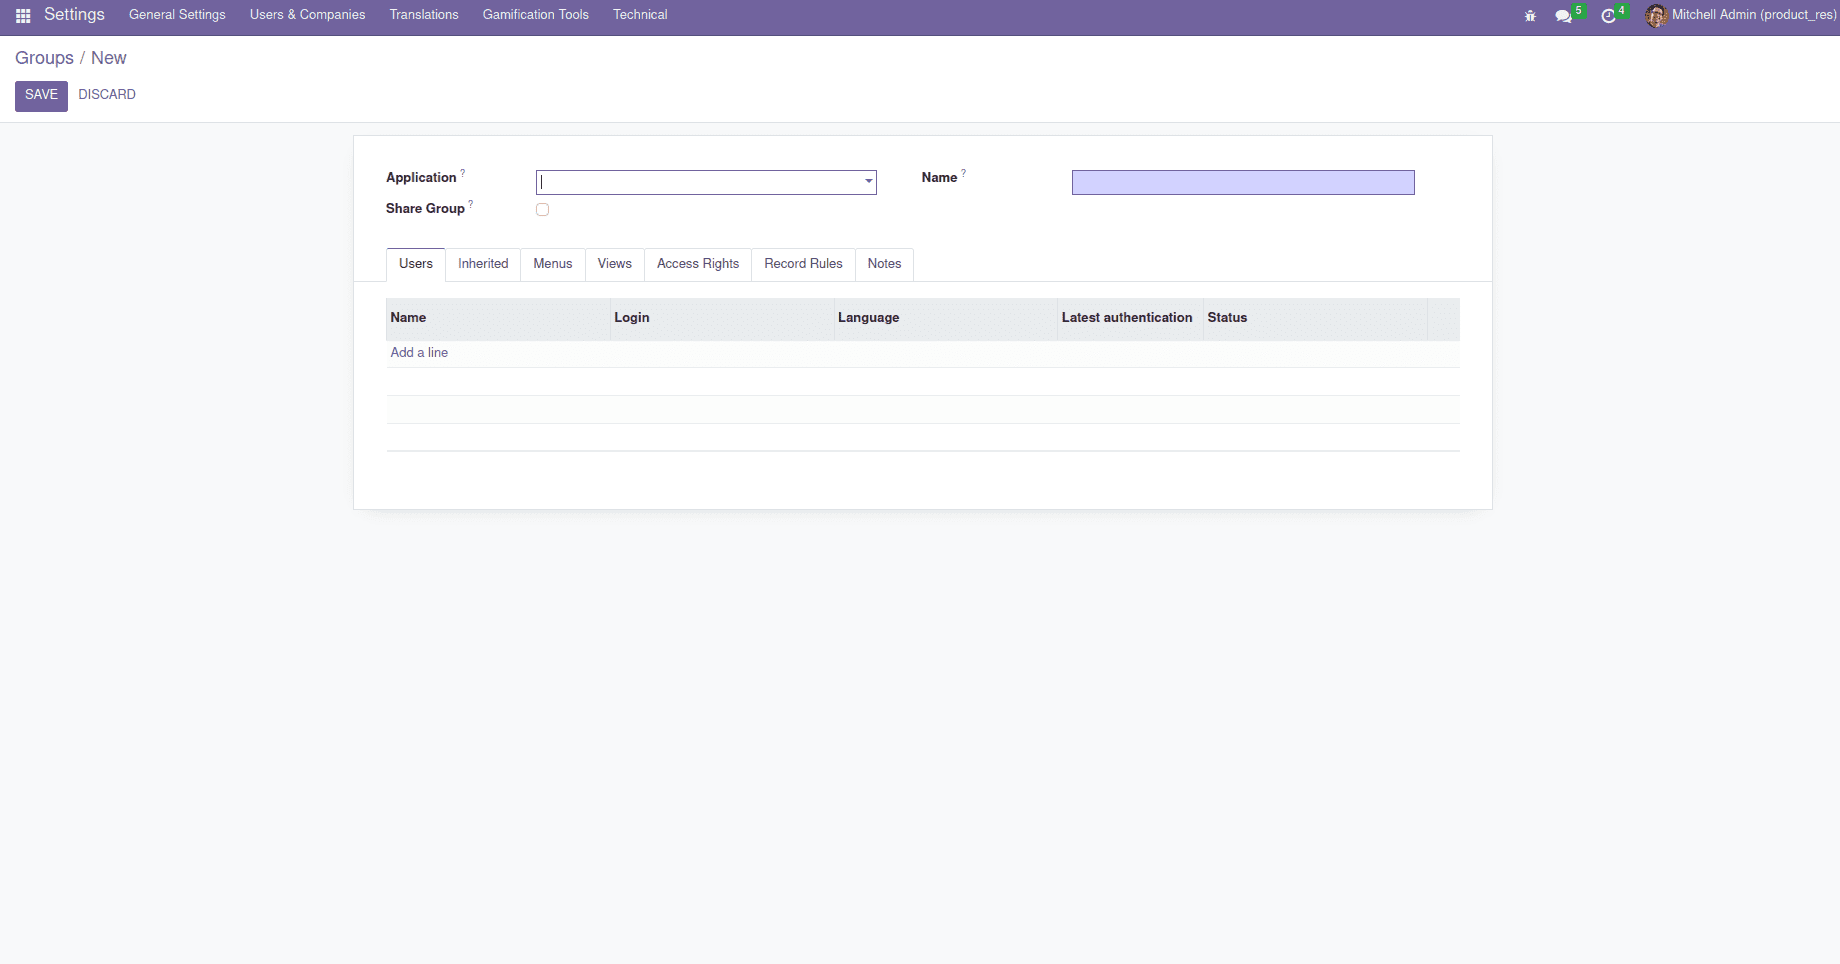
<odoo>
   <record id="estate_property_views_form_id" model="res.groups">
       <field name="name">Estate Property</field>
       <field name="category_id" ref="base.module_category_hidden"/>
   </record>
</odoo>
Using this, we can simply create the custom group. We can just search the groups in our custom group, and we can see the group is displayed in the group’s menu.
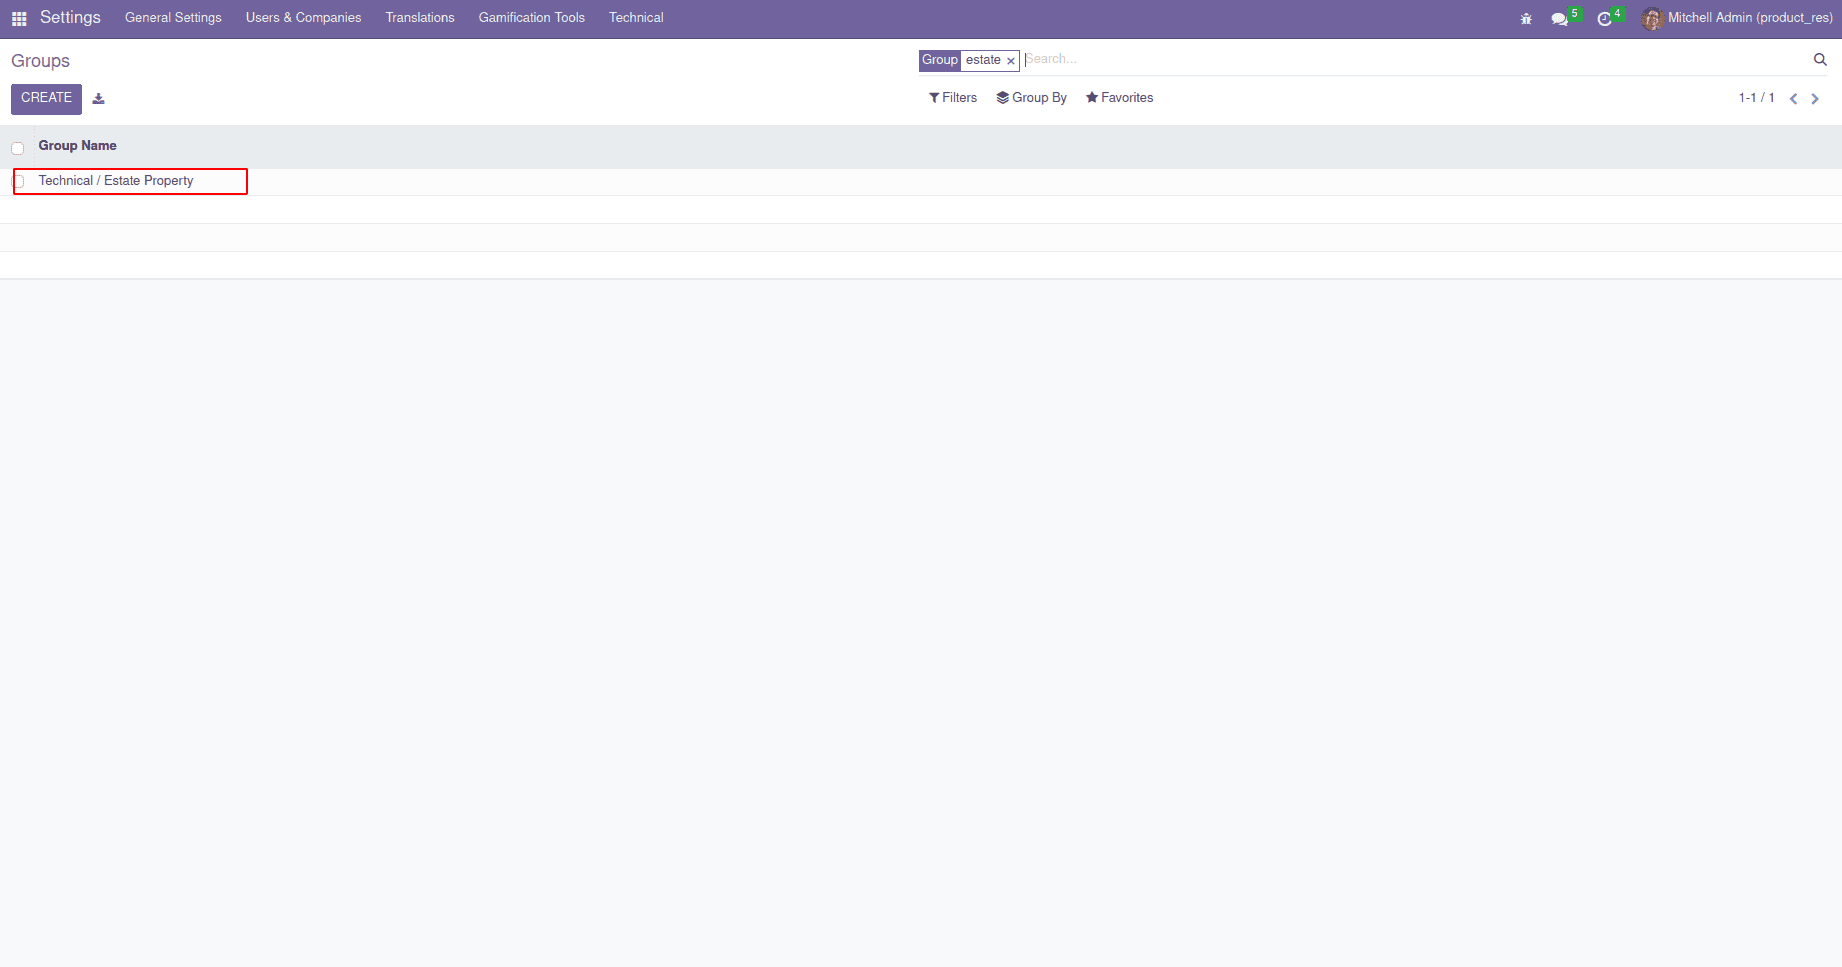
Now we need to give the access rights for the custom model to only for these groups, so we can add the group to our CSV file. That is, we have to give the external id for the particular group. Let us go to the groups in UI; under access rights, we can see the new access rights we have created. Then we can add the users for this group. Now here we just add the user as Mitchell admin.

Here we give access only to Mitchell admin; he can access the model estate.property.
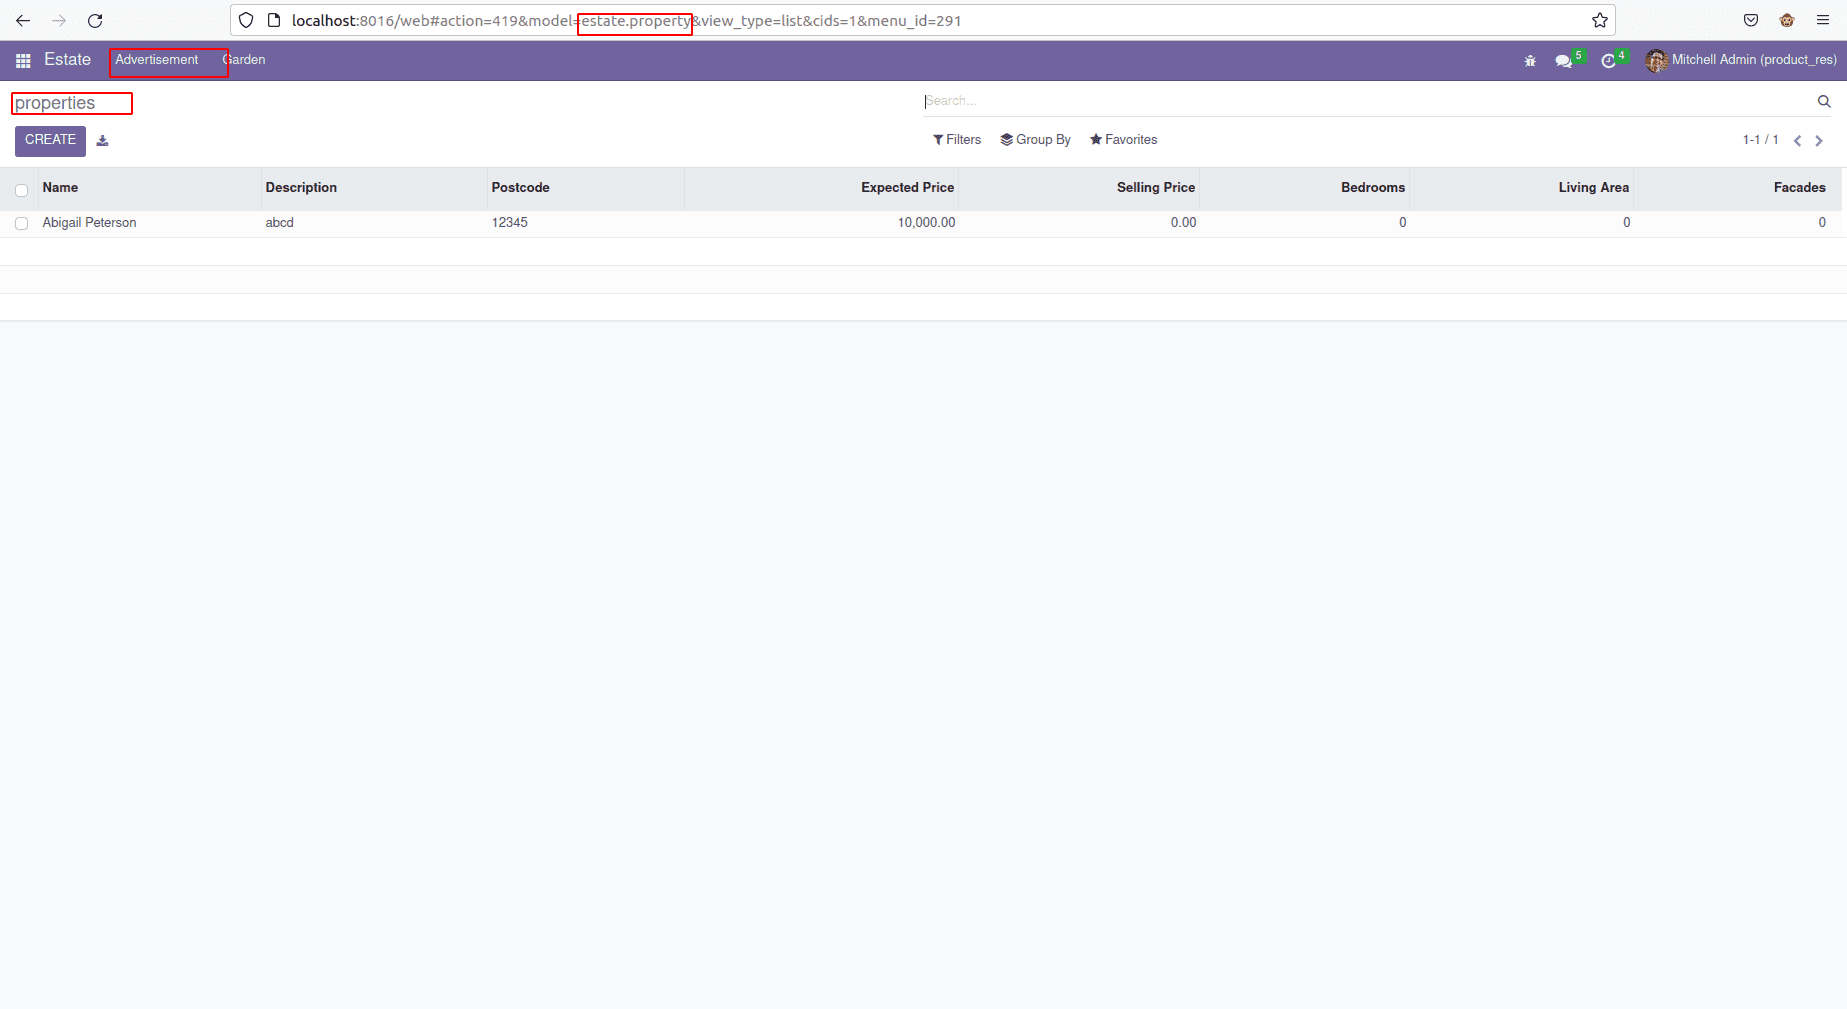
We can log out of the user and login as another user like marc demo .
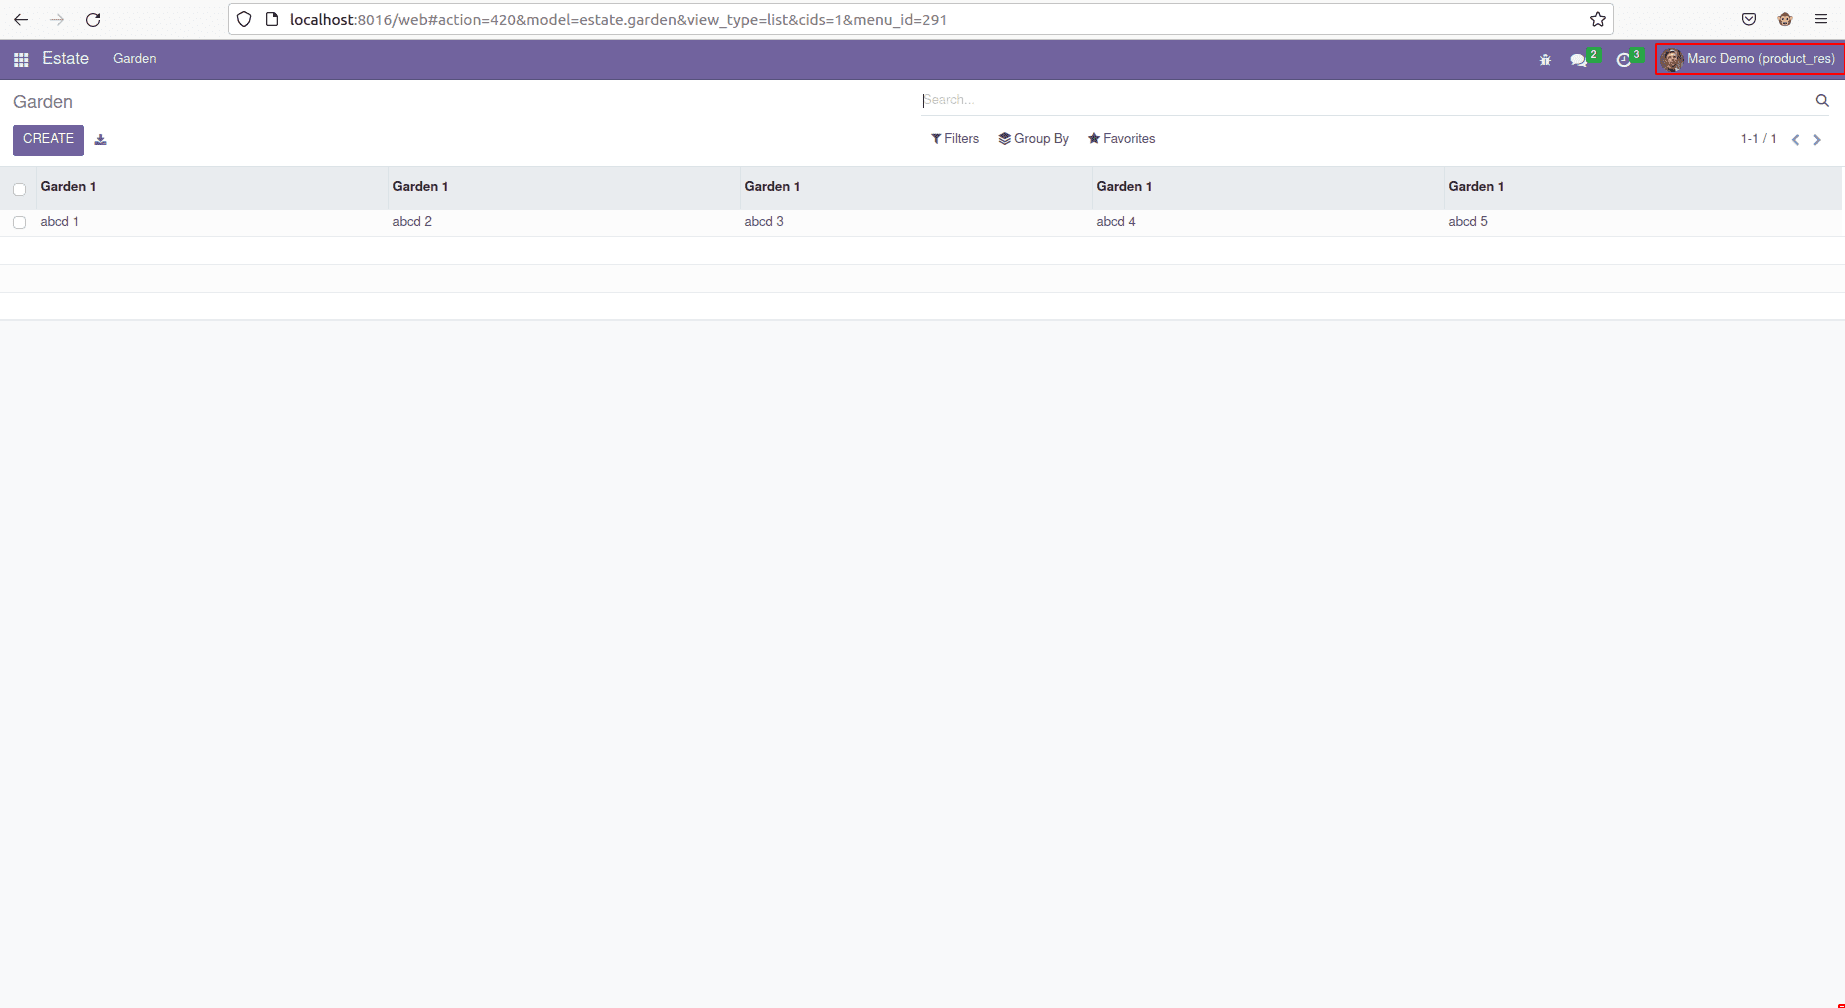
Here we can see Marc demo is not able to see the model estate.property. This means the Marc demo does not access the records for the model estate.property.
This is how we can add the security groups and access rights for a particular model in Odoo 16.


