Access to official records in the organization tends to differ from one individual to another. This depends entirely on the role or job position of the person in the organization. Managers have access to nearly every report in the office as they are in a supervisory position.
The employees, however, would only be provided access to their records pertaining to work. The case is not different for a vendor and customer as there will be very limited access to official records for them too. It is therefore vital that the company holds all protocols and gateways for transferring information. User configuration and system accessibility ensures that only relevant records are transferred to each user
This blog will describe the various User types in Odoo 13.
Creating user categories ensures customers access to their own documents and only the necessary works are forwarded. Odoo distinguishes users with three different types of access based on the user class that is easily manageable
Configuration of users with different user types.
To configure users with different user types we have to activate the Developer Mode.
Note: A user may only be created by the Manager(admin).
After enabling the developer mode from the settings module select the menu User & Company -> User.
Having accessed the user page click on the ‘create’ button, which will depict you with the following form to create a user.
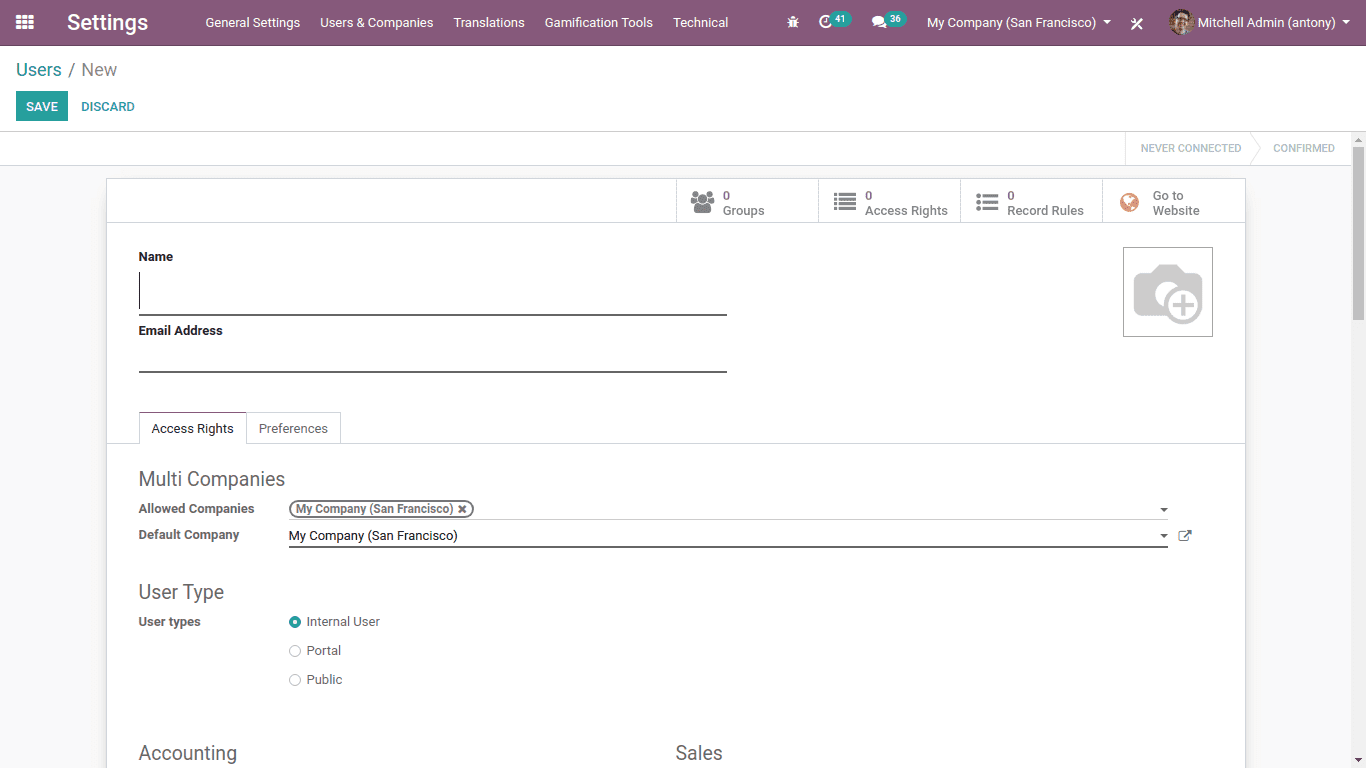
There are certain mandatory fields in the form to be filled out before moving on to creating one in the platform.
Name: We have mentioned the user name
Email: Mention also the mail address
Now under the ‘Access Rights’ tab, we shall check the different user types and choose the one respective of their role in the establishment operations.
Types of Users
– Internal user
– Portal user
– Public user
Internal User
In this instance, one can have access to the application. Moreover, we can define access to every module here
Let’s create an internal user.
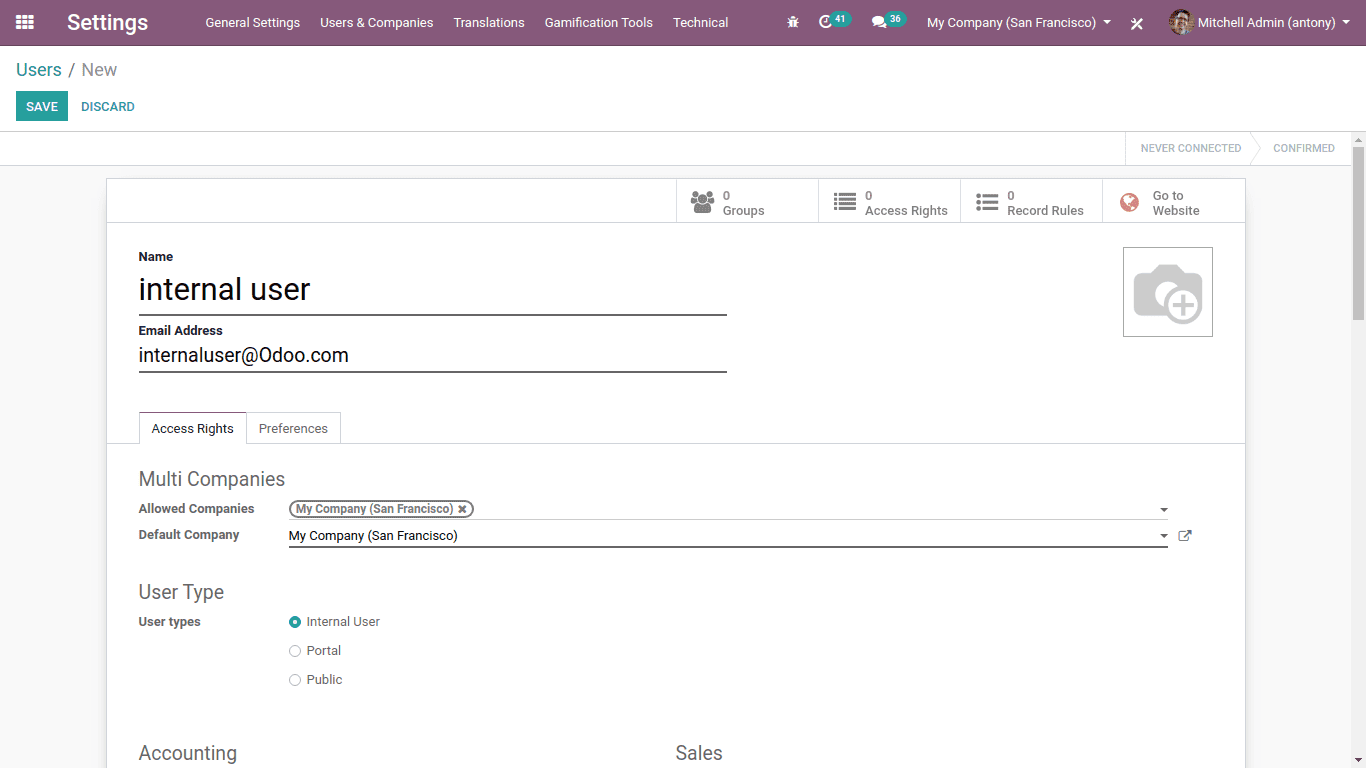
How it works in sales.
Tap on the dropdown list of the sale menu where you can view several security categories providing the related framework for various forms of internal user access. We may alter the authorization manually by modifying the relevant module’s.csv file.
We have three permits for the sales module.
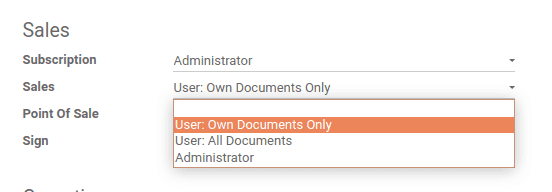
User: Own Documents Only
Here the user gets to access only their own created documents and no other ones in the platform’s database.
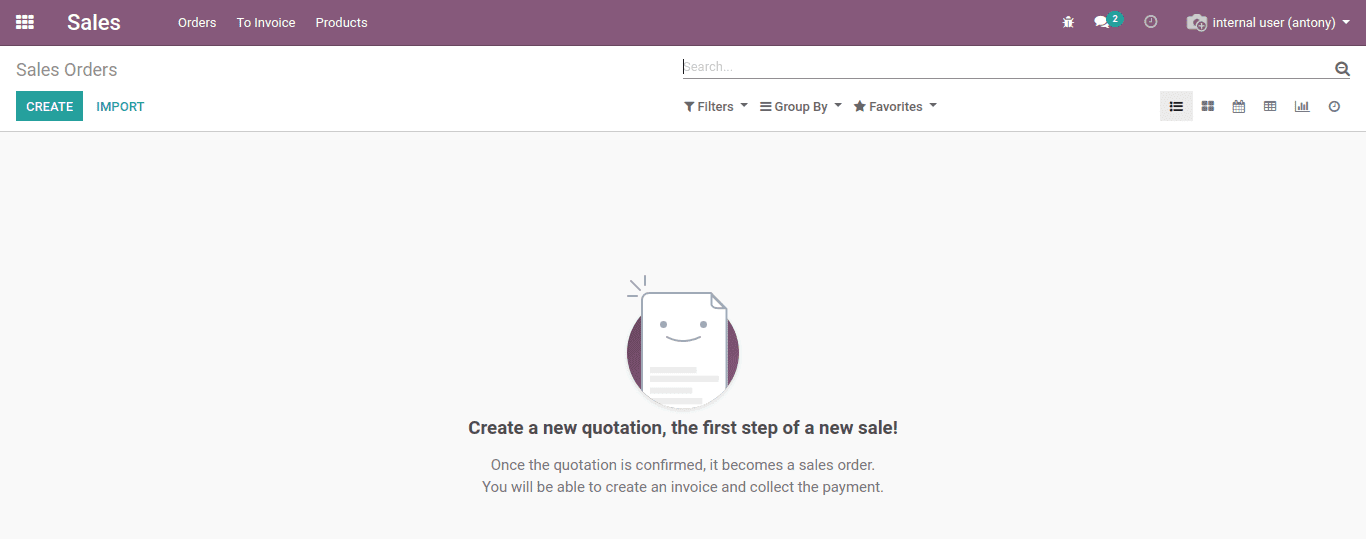
User: All documents
Here the user gets to view all the documents provided access to and can make modifications on the ones given permission to.

User: Administrator
Here the user gets all the permission that a manager has provided access to all documents and the ability to modify and configure any documents on the platform.
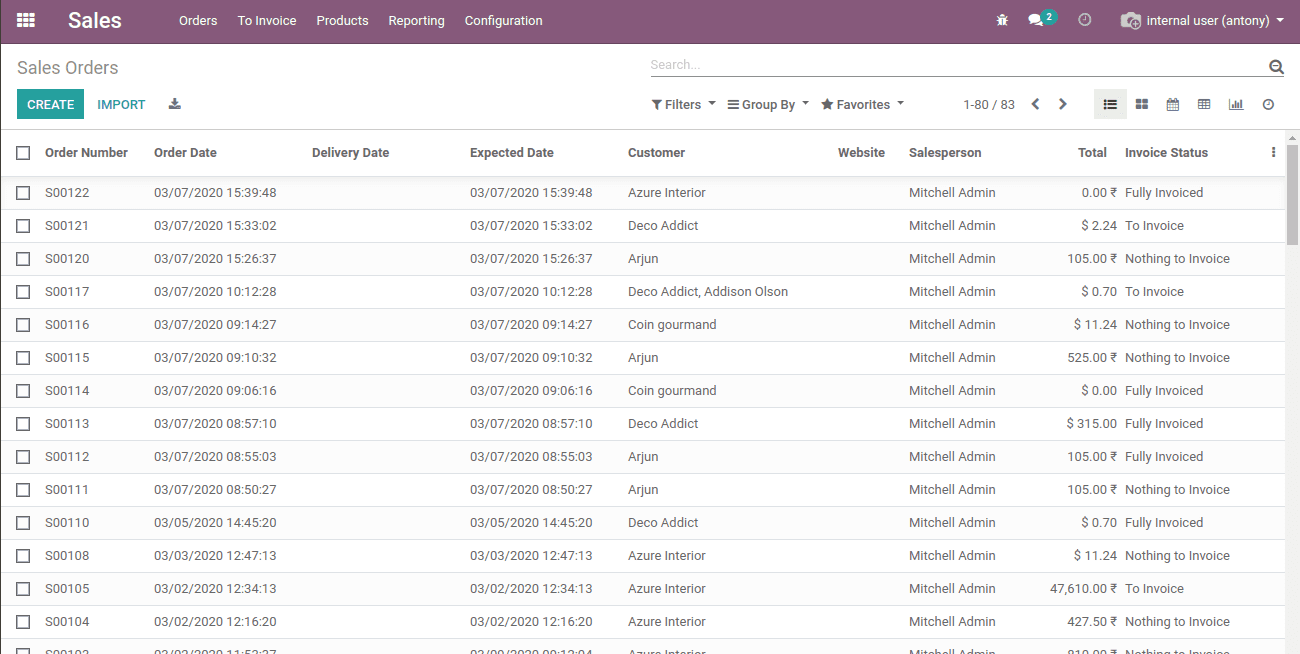
Note: These features shown above tend to vary from one module to another.
Let’s check how it works in each module.
Purchase module
User: All documents can be accessed here.
Manager: The user can access the reporting, configuration, and settings of the module. Moreover, they have the provision to lock and unlock the documents.
Inventory module
User: All documents of this module are accessible.
Manager: can access the reporting and configuration options of the module.
Billing: Access to customer data and product-specific documents.
Accountant: Access to an overview of Accounts, Reports, and configurational settings.
Advisor: Will have access to Configuration and Accounting menu settings.
Manufacturing
User: Will have access to overview, planning, operations, master data, and reporting
Manager: Will have access to the configuration and settings options along with that of the ones for the user.
Quality
User: Will have access to overview and quality control.
Manager: Will have access to the Quality Control, reporting, configuration tab, and control points. After the user’s validation, the manager will have the provision to shift stages from pass to fail.
PLM
User: Will have document access, overview, engineering change orders, and master data.
Manager: Will have access to reporting, configuration and admin can only create phases in engineering change orders.
Employees
Equipment Manager: Access to all workers and badges. Moreover, from this module, they can’t perform any operations on the documents.
Officer: Will have access to the department menu, challenges, and history of goals in the challenges tab. Furthermore, officers can do any operation.
Manager: Configuration control, and can build contracts.
Leave
Officer: Will have access to all records and can conduct any operation.
Manager: Able to see the module’s overview.
Recruitment
Officer: Will have access to all documents, and execute every activity on this document.
Manager: Able to access configuration menu settings.
Expenses
Officer: Will have access to the menus for My Expenses and Expense Report.
Manager: Access to expenses report and configuration.
Timesheets
User: Will have access to all records, plus can execute any operations on records.
Manager: Access all of the reporting and configuration processes on this module.
Attendance
Manual attendance: Access to building your own attendance.
Officer: Access to report on attendance and management of attendance.
Manager: Access to settings Menu.
Appraisals
Officer: Can have access to all appraisal operations.
Director: Have access to appraisal reports.
Payroll
Officer: Can have access only to created documents.
Manager: Have access to all documents, batch of payslips, and settings menu.
Events
User: Have access to all records but cannot build or edit existing events.
Manager: Will have access to the reporting and configuration settings for every process on this module.
POS
User: Dashboard, orders, and products can be accessed. In addition, the users are only permitted to launch a new session.
Manager: Have access to reports and settings and the manager is able to resume a session and close it.
Website
Limited Editor: Able to access the dashboard and open the site.
Editor and designer: Will have access to this module’s settings menu and can have more website functions.
Administration
Rights of access: Have access to configurations in apps. They are going to get menus like Users & Companies and Translations.
Settings: The Dashboard and General Configurations will be provided.
As of now, you will be having an understanding of the various access rights to different modules in the Odoo platform, let’s now move on to discussing on the portal users of the Odoo platform.
Portal User
A Portal user is a user with access to specific portals of operation in the Odoo platform. This sort of user just has its own documentation available. The portal user in Odoo signifies granting customer or distributor access to the system.
We are able to create a portal user with the help of a contact module. Let’s see how it works. For that let’s initially choose a contact.
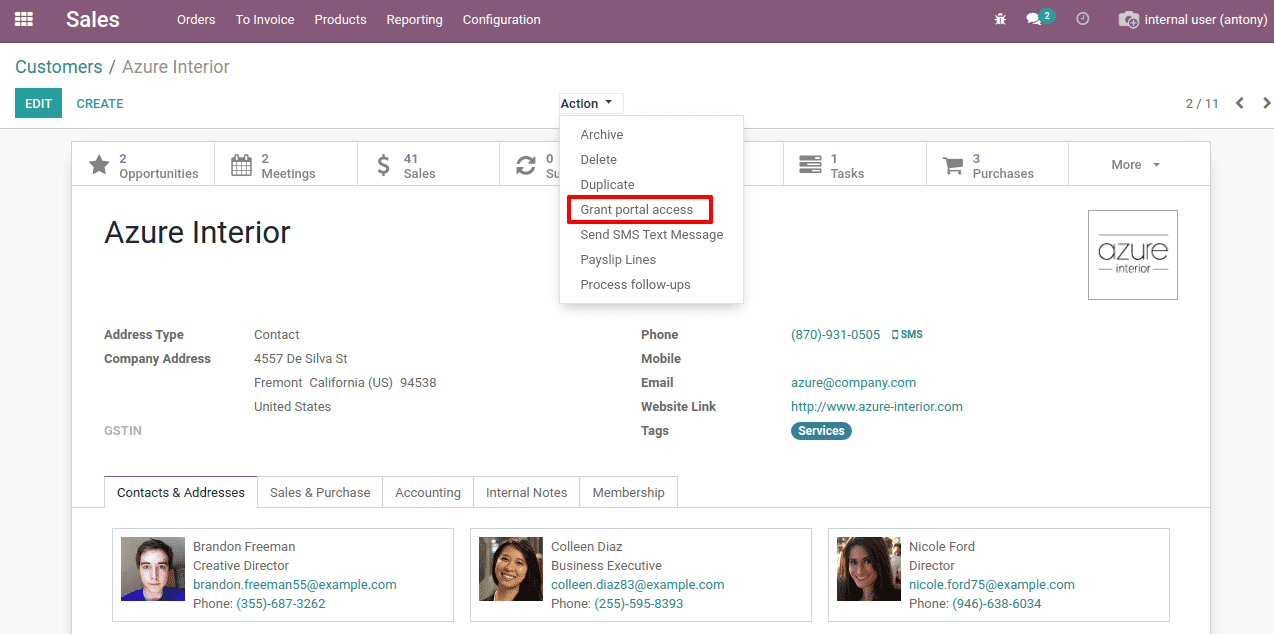
Here we have chosen the contact “Azure Interior”. Under the ‘Action’ button we have an option called “Grant Portal Access”. Clicking on it a pop-up window will appear on which we can assign Azure Interior a ‘Portal user’.
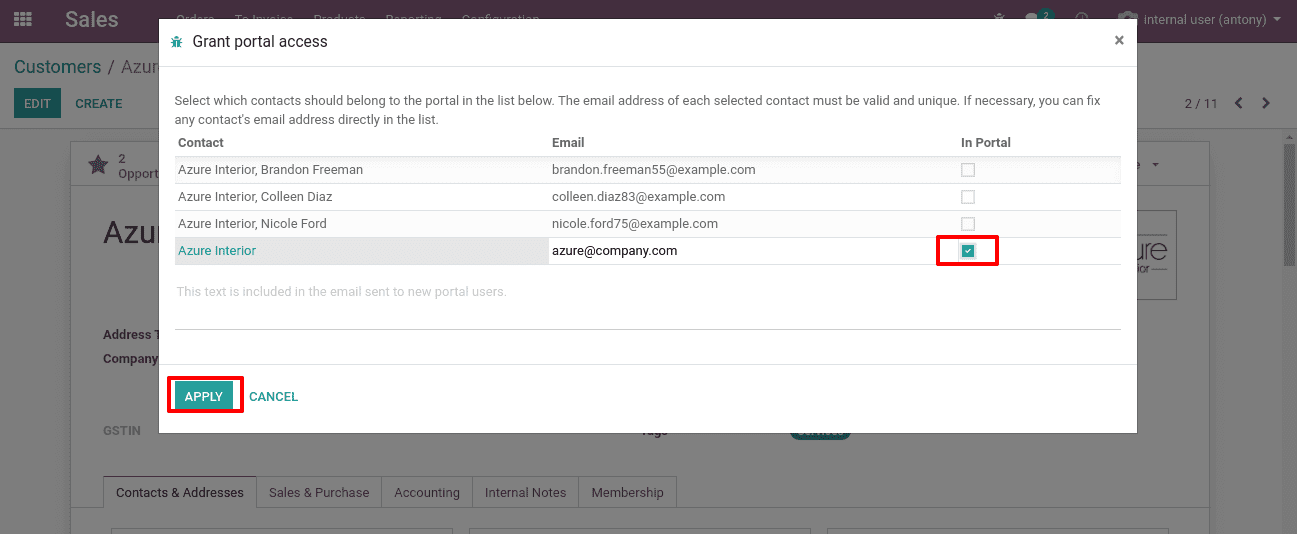
Enable the portal access and click on the “Apply” button. Moreover, at the moment a portal user is created with that partner’s contact name.
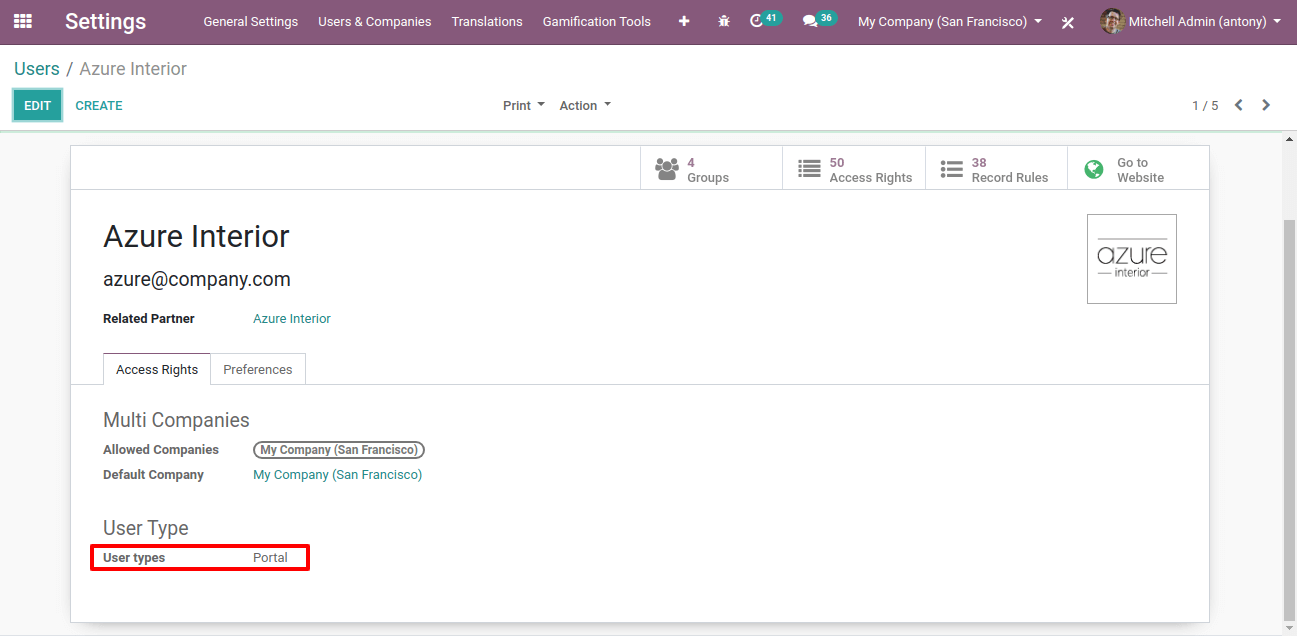
Select the respective user in the case here choose Azure Interior and in the access rights menu under user type is indicated as portal user. Moreover, we can set a Password for it for the respective portal user to log in. Here, we will log in as the user.
When logging in, the view of the portal user page is as depicted in the following image.
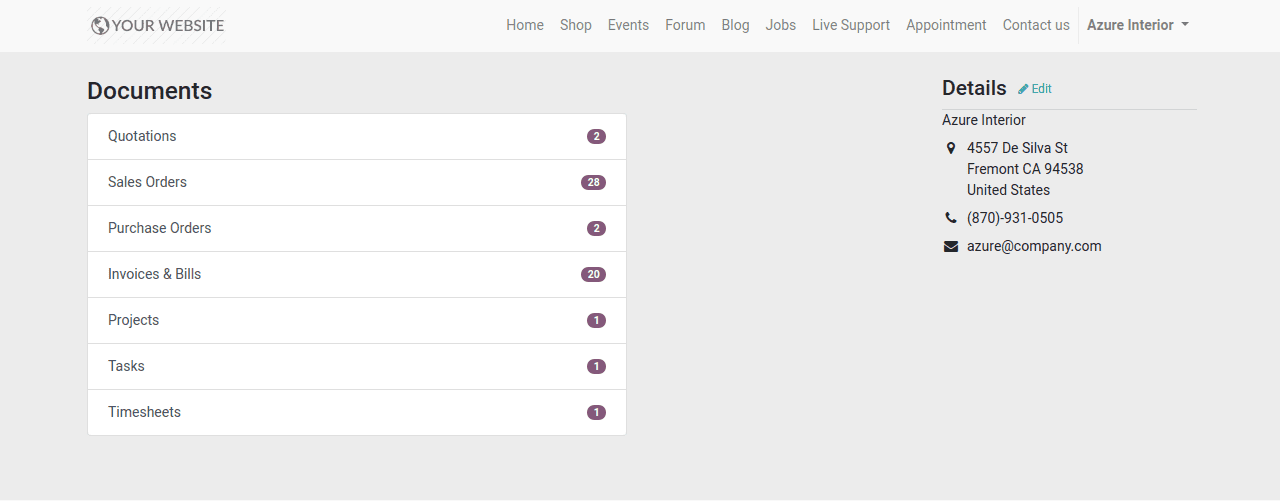
You can see all of the documentation relevant to the user in the window as depicted in the above image. Moreover, the user can get more info on aspects depicted when they select it. As of now, you will be having an understanding of the portal user aspects therefore let’s now move on to the next section where the public use is being described.
Public User
It’s a sort of user where a user can use a URL to access your website. Furthermore, the access rights are limited to public users.
How can we set passwords for users?
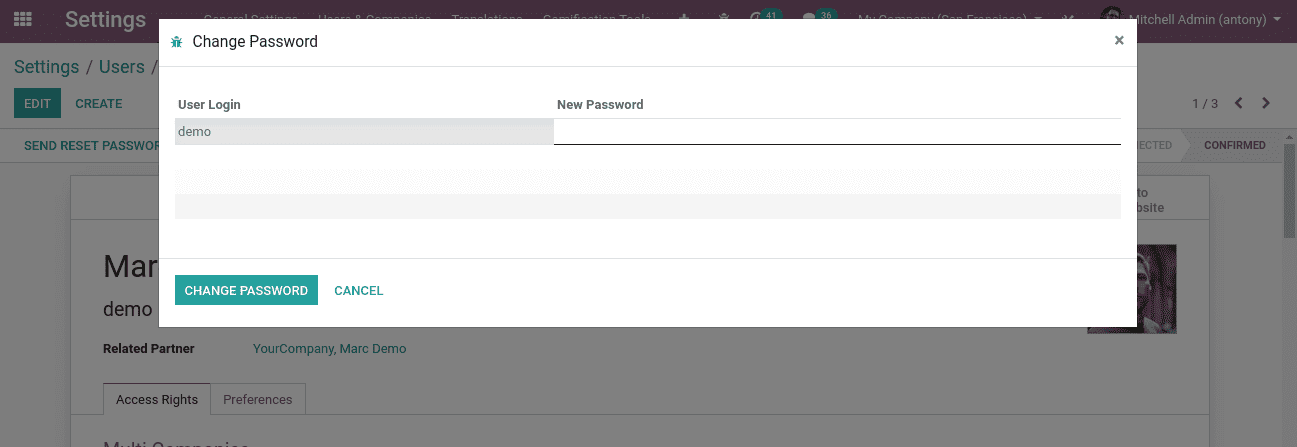
Upon forming a user under the “action” menu you could view an option for changing passwords. A window of user username and password pop-ups when you click on it.
There you can provide the user’s new password and click on the password change button. With this login, I D (Email) and password the user can then sign in.
Let’s now compare portal and internal users.
Portal user vs Internal user
An employee is an internal user (maybe a boss or user) access is granted to all the applications.
Whereas, the customer or distributor could be the Portal user. They only have access to the website thereby they have access only to their corresponding records and documents.


