Problems, a very common word in our day to day life. Problems are common, sometimes unexpected, and sometimes severe, it can take various forms. Problems can’t be avoided, it will just occur and that is a fact. So tackling problems with proper solutions is the way to get rid of it. What if we are provided with some help to solve our problems and issues? It will be just wonderful, isn’t it? This is the same reason why Odoo 12 helpdesk become a very relevant topic. So what exactly is an Odoo helpdesk? To answer it briefly, we can say it is just like any other helpdesk which gives you proper guidelines on queries and issues.
Odoo 12 is an ERP. Obviously, it can surround with many challenges, apprehensions, and unexpected events while made into use. In such cases, a helpdesk is an inevitable phenomenon. Odoo 12 helpdesk comes as an aid in this stage. Odoo 12 helpdesk will address all the queries and issues raised by the customer.
[wpcc-iframe loading=”lazy” width=”100%” height=”315″ src=”https://www.youtube.com/embed/avHazZqdbgA” frameborder=”0″ allow=”accelerometer; autoplay; encrypted-media; gyroscope; picture-in-picture” allowfullscreen=””]
What Odoo helpdesk does is, it will generate tickets from emails, website forms, and third-party applications. These tickets can be manually and randomly assigned to team members. Priority giving is also possible for these tickets. Now in this blog, we will learn more about Odoo 12 helpdesk.
Installation of Odoo 12 helpdesk
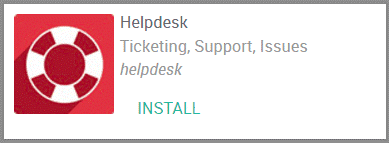
From the apps module, we can search for the helpdesk, once we find it just click install for installing the app.
Creating the helpdesk team
In Odoo helpdesk there is a default team installed called ‘support’.
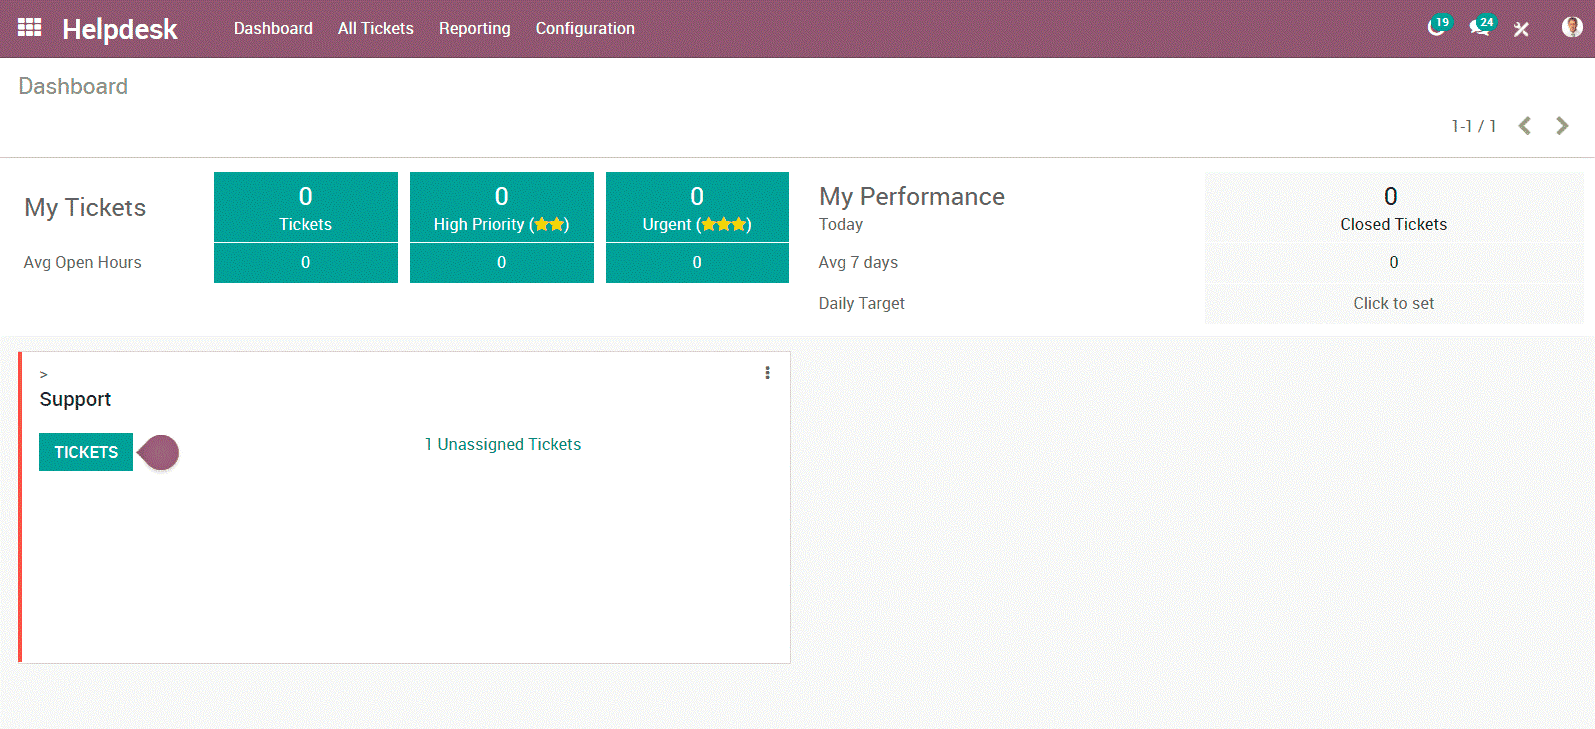
We can modify this team, we also have the option to create additional teams.
To do this go to configuration -> settings
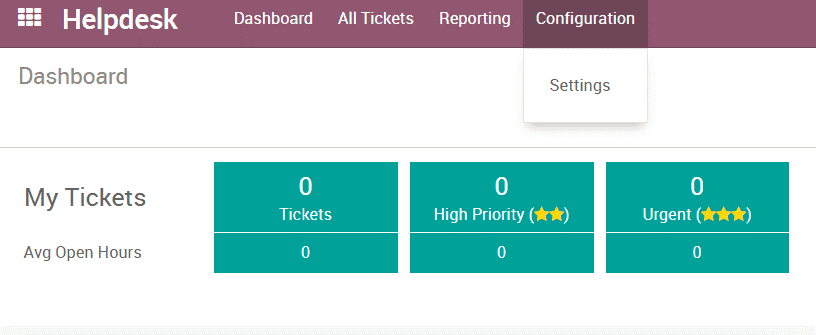
Now from here, new teams can be created, then we can add team members to this team. Also, we can decide how customers can do ticket submission and setup SLA policies and ratings. Now in assignation method, random, balanced or manual assigning of tickets can be done.
Setting different stages
Now let’s see how to set different stages for each team.
To do this activate the developer mode.
For activating the developer mode, go to settings and select ‘activate the developer mode’.
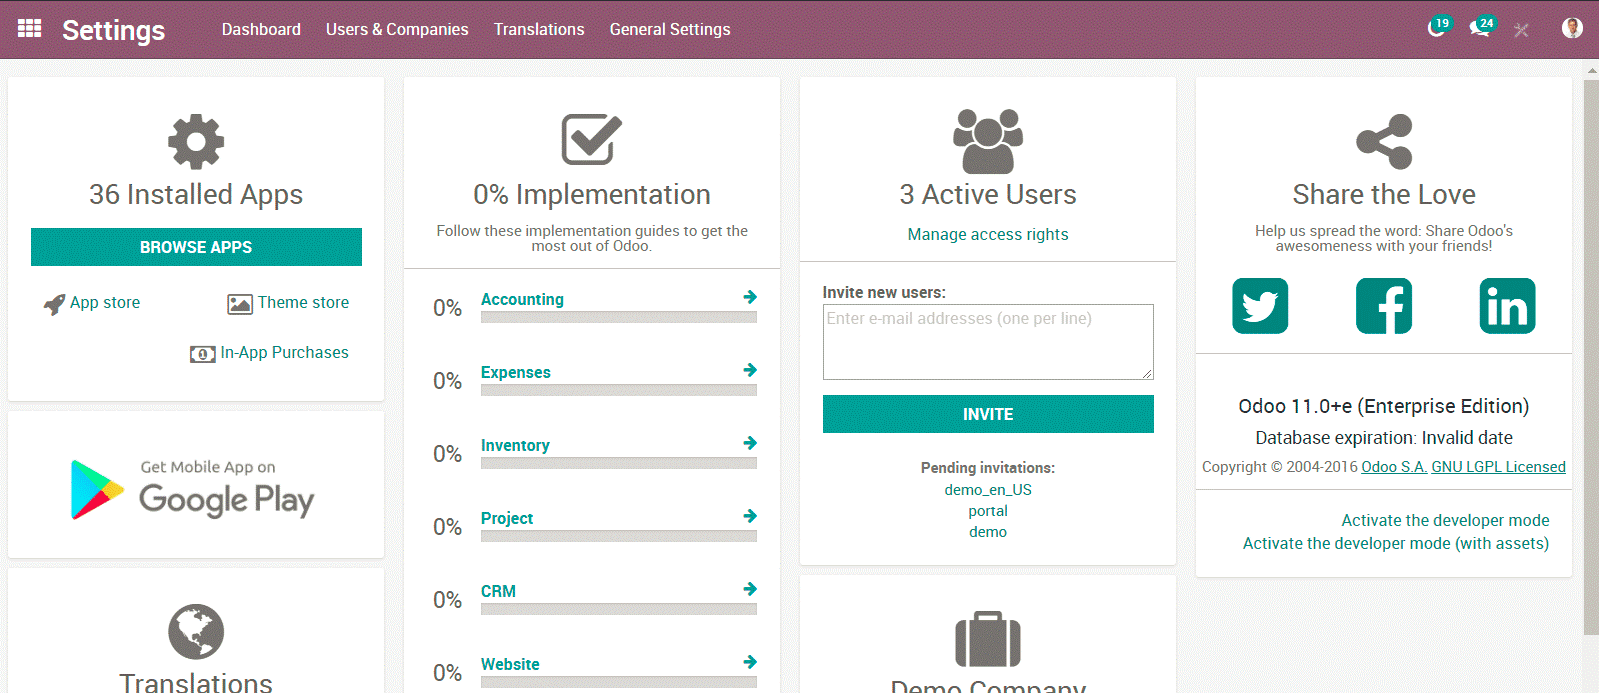
In the screenshot, you can see the ‘activate developer mode’ option in the lower right corner.
After doing this return to the helpdesk module and select configuration. Now you will be able to see additional options like ‘stages’. Here you can create stages and then assign those stages to various teams. Each team can customize it accordingly.
Receiving tickets
Setting a number of customers who can submit tickets
Select configuration -> settings and then select your helpdesk team. Now there will be four options under channels.
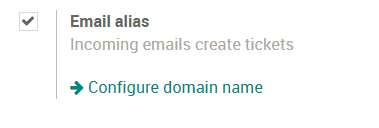
For emailing the alias which is used to create ticket email alias is used. Here the subject line of the email and ticket will be the same.

With the website form customers can go to your website and through the website form, they can submit a ticket.

Through the live chat option also customers can submit tickets. Customers can use live chat option and the live chat operator can create a ticket.

Tickets can be submitted through API connections also.
Working on tickets
Once a ticket has been created employees can work on them. With ‘assign to me’ option employees can assign tickets to themselves or they can add themselves to ‘assigned to field’.
This is available in manual assignation method.
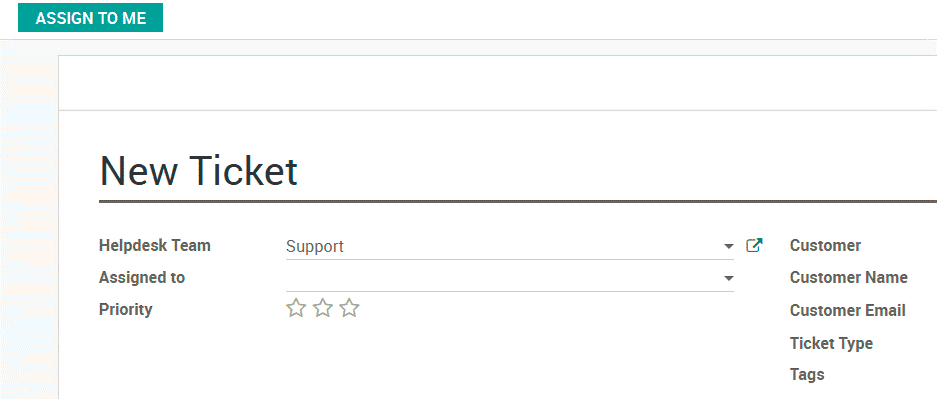
Now these are the ways with which work on tickets is done, when this stage is completed tickets are moved to the solved stage.
Urgent tickets
All the tickets will have an option called priority. There will be stars near the priority option. By clicking on these stars you can set the priority. The number of stars determines the priority. This can be done either in the Kanban view or in the ticket form.

There is an option for setting up service level agreement policy for employees, to do this activate setting under ‘settings’.
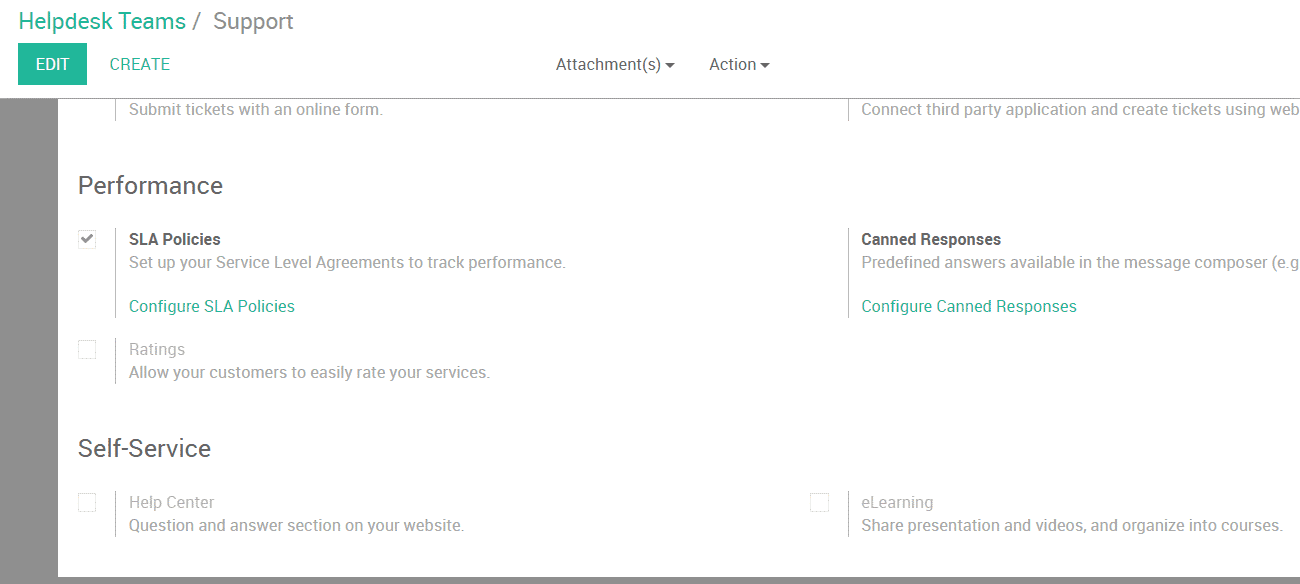
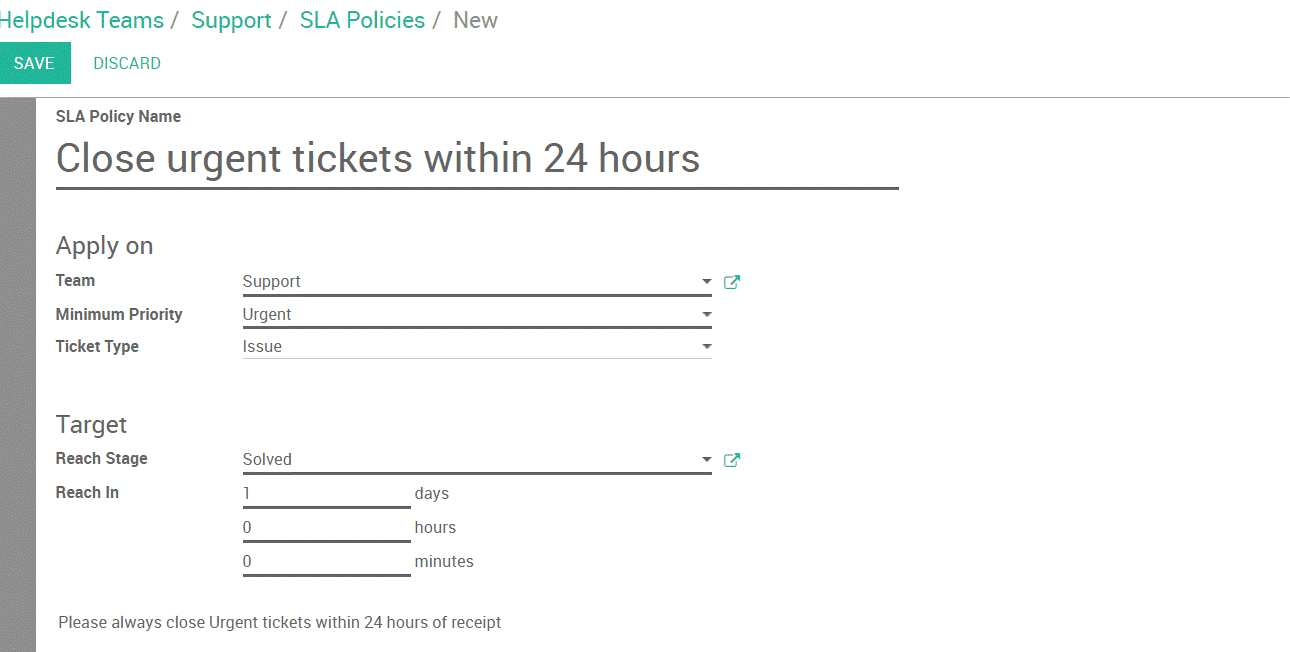
Now select ‘configure SLA policies’. After this click ‘create’.
Now you can add information like helpdesk team, the priority of ticket and targets of the ticket.
Blocked or ready to be worked on tickets
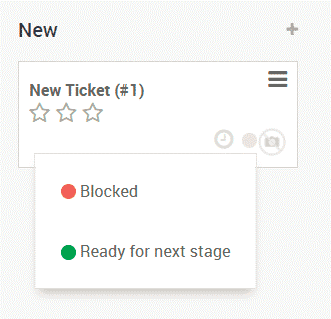
If a ticket is blocked, the ‘Kanban state’ on the ticket should be adjusted. There are three options; grey, red and green. Grey indicates the normal stage, red indicates the blocked stage and green indicate the ready for the next stage.
There are options to adjust the state in Kanban or on the ticket form just like the urgency stars.
Logging time against a ticket
There are options to adjust the state in Kanban or on the ticket form just like the urgency stars.
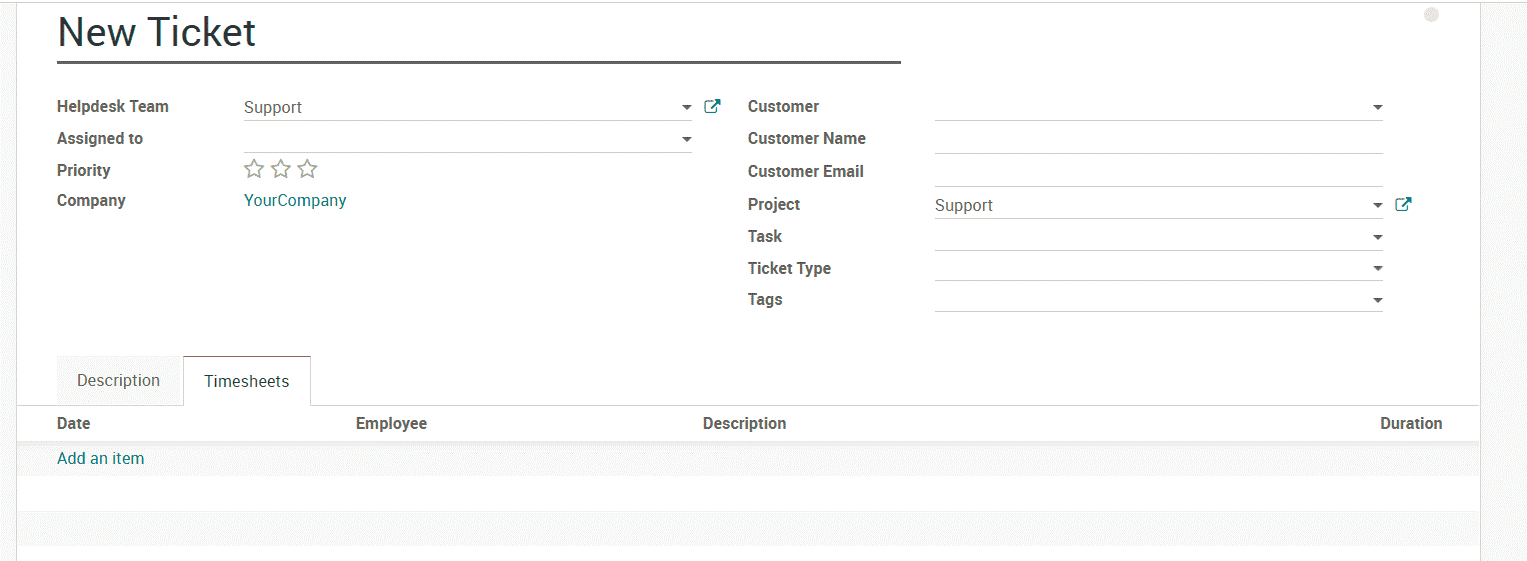
Employees have the option to log time against a ticket. For this go to ‘settings’ and select ‘timesheet on ticket’.
Then a field appears, from there select the project in which timesheet will log against.

After this save and when you go to tickets, a tab called ‘timesheets’ will be appearing there. The employees can add the work they have done for the ticket here.
Rating the service
The customers who received the service can give ratings for the service. For making this happen the rating settings under ‘settings’ shall be activated.
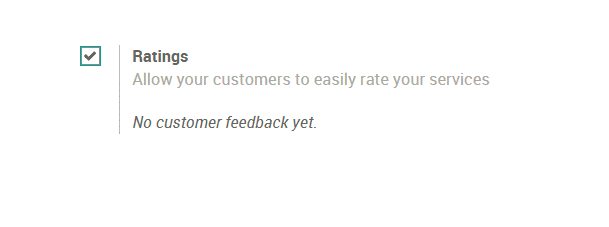
When this is activated, after moving the ticket to its completed stage, an email will be sent to the customer to know about their feedback.
Now we have got an idea about the helpdesk feature in Odoo 12. Just like all the other help services Odoo 12 helpdesk also provides the customers with the necessary backup when they face some troubles or inconveniences from the software. We can conclude that Odoo 12 helpdesk is indeed a proper customer supporting tool.


