As a global leader in computing facilities, Amazon stands tall by offering on-demand cloud computing platforms. AWS, being part of Amazon’s repertoire, possesses the competence to efficiently handle and oversee all credentials associated with Odoo, assuring seamless management and safeguarding against any concerns of data compromise.
So, here we are demonstrating the installation of Odoo 16 on AWS EC2
1. Sign in to your AWS account
2. Go to your AWS Management Console
3. Click on Launch a virtual machine
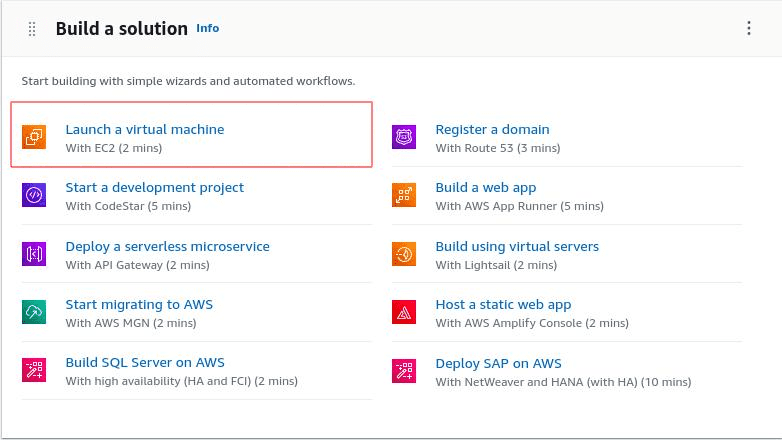
Amazon EC2 (Elastic Compute Cloud) is a web service provided by Amazon Web Services (AWS) that offers resizable compute capacity in the cloud. It allows users to quickly and easily provision virtual servers, known as instances, to run applications and workloads.
4. Provide proper Name and Tags for your instance

A tag is a label that you assign to an AWS resource. You have the freedom to define both a key and an optional value for each tag.
5. Chose an Amazon Machine Image [Select Ubuntu 20.04]
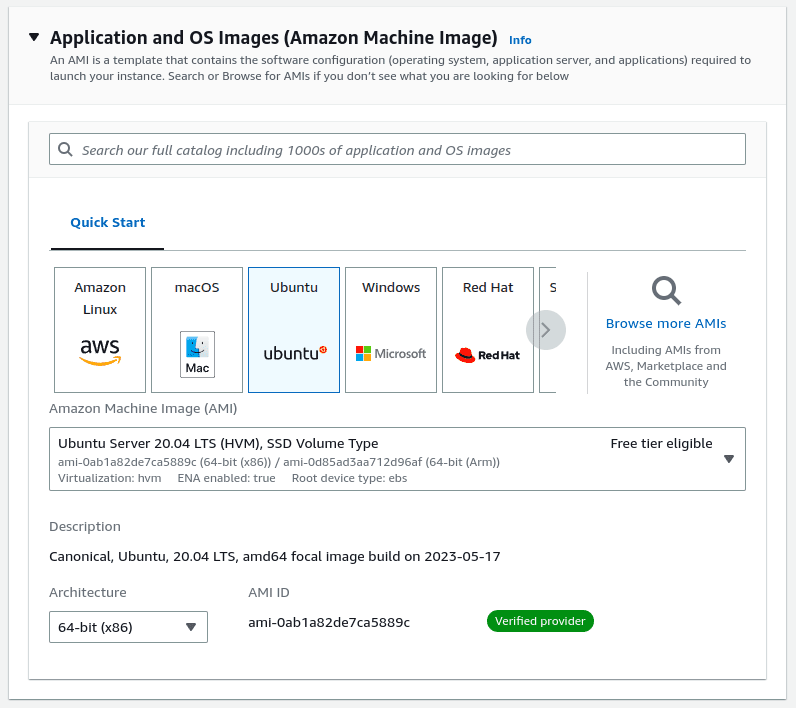
An Amazon Machine Image (AMI) is a supported and maintained image provided by AWS that provides the information required to launch an instance. When launching an instance, it is essential to specify an AMI. In situations where multiple instances with identical configurations are needed, you can leverage a single AMI to launch multiple instances. Conversely, when instances with distinct configurations are required, you can opt for different AMIs to fulfill those needs.
6. Select the instance type

Instances: These are virtual servers provided by Amazon EC2. Users can choose from a variety of instance types with different CPU, memory, storage, and networking capabilities to match their specific requirements.
Note: Choose an instance type that aligns with your specific requirements for computing power, memory capacity, networking capabilities, or storage demands.
7. Create and download the key pair

A key pair, consisting of a public key and a private key, is a set of security credentials that you use to prove your identity when connecting to an Amazon EC2 instance. In the case of Amazon EC2, the public key is stored on your instance while the private key is stored securely by you. This private key enables secure SSH access to your Linux instances. However, as an alternative to using key pairs, AWS provides the option of utilizing AWS Systems Manager Session Manager. This allows you to establish connections with your instances using an interactive, browser-based shell that can be accessed with a single click or through the AWS Command Line Interface (AWS CLI). Command Line Interface (AWS CLI). This provides flexibility in accessing and managing your instances without the need for traditional key pairs.
Save the key in a secured location.
8. Configure your Network Settings
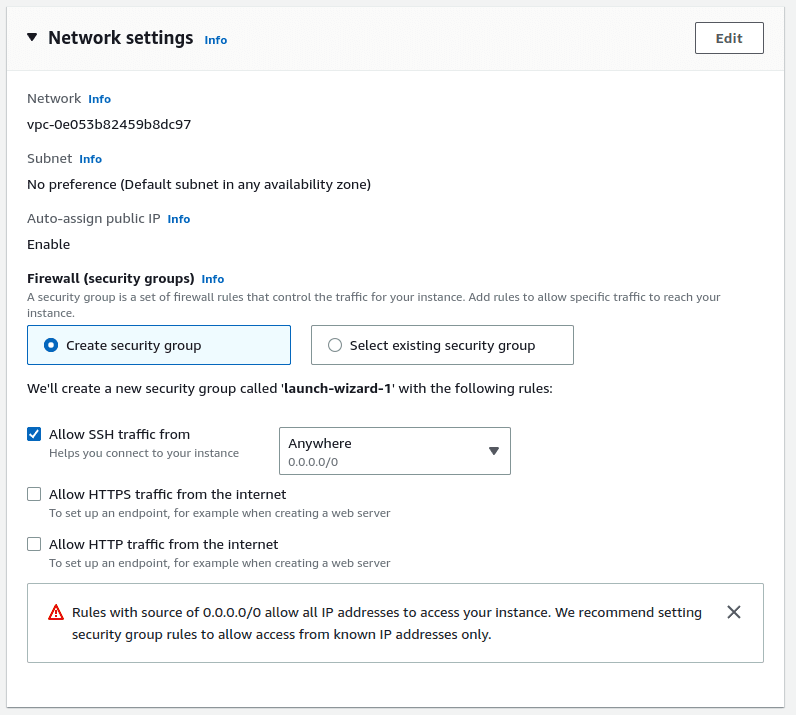
Networking: Amazon EC2 allows users to create Virtual Private Clouds (VPCs), which provide isolated virtual networks within AWS. Users can configure networking options like subnets, route tables, security groups, and network interfaces to control network traffic to and from their instances.
Security: AWS provides robust security features for Amazon EC2 instances. Users can control access using security groups, which act as virtual firewalls, and they can manage access to instances using key pairs for secure login. AWS also offers additional security services like AWS Identity and Access Management (IAM) for access management and Amazon Virtual Private Cloud (VPC) for network isolation.
Note: You can limit the SSH traffic by changing the option from Anywhere, The IP 0.0.0/0 allows people to connect to your server from anywhere in the world.
9. Specify the storage options for the instance.
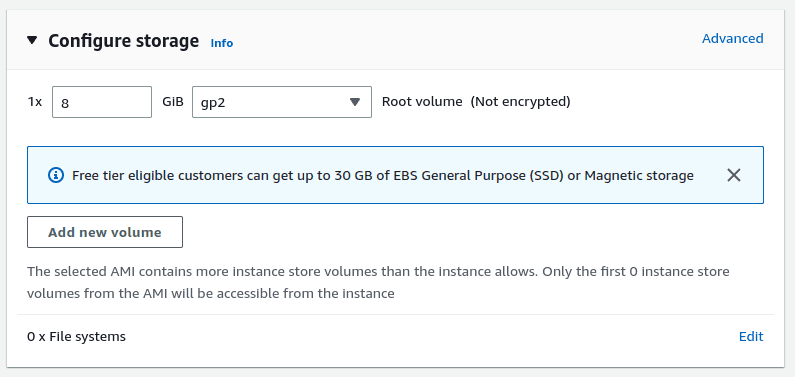
Storage: Amazon EC2 offers various storage options, including Amazon Elastic Block Store (EBS) for persistent block storage, Amazon EC2 Instance Store for temporary storage directly attached to instances, and Amazon Simple Storage Service (S3) for object storage.
10. Launch your instance.

11. In the next stage, you can see the status is in the Running state.

12. Select the instance and click the connect button.

13. Follow the instructions given to connect using the downloaded key pair.
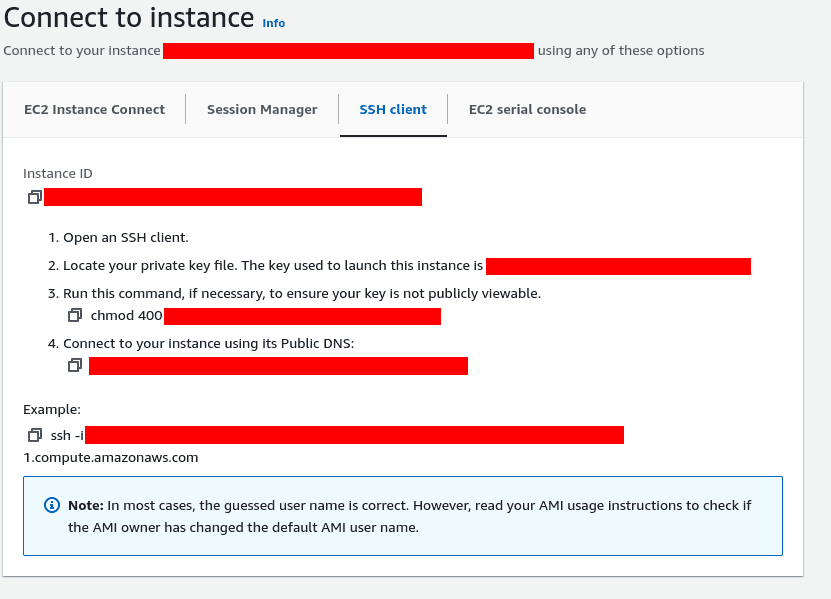
14. Open a terminal from the directory containing the AWS key.
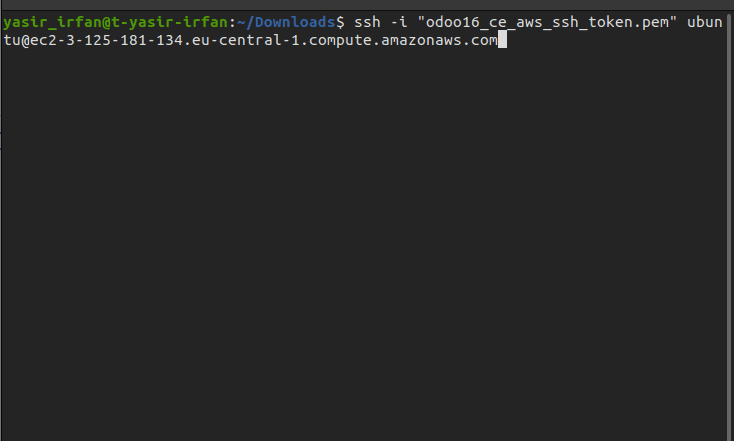
15. Give ‘yes’ to Are you sure you want to continue connecting?
16. After a successful connection, You will get a result like this.
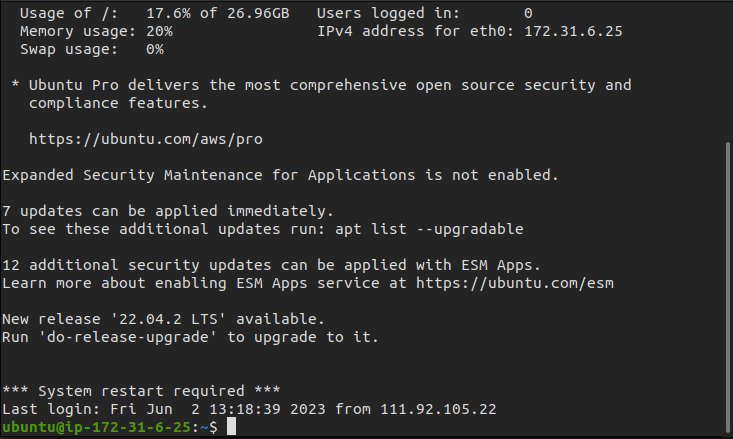
Which means you have successfully connected to the server.
17. After successfully connecting, follow this blog to configure Odoo 16 in your AWS server. How to Install Odoo 16 on Ubuntu 20.04 LTS
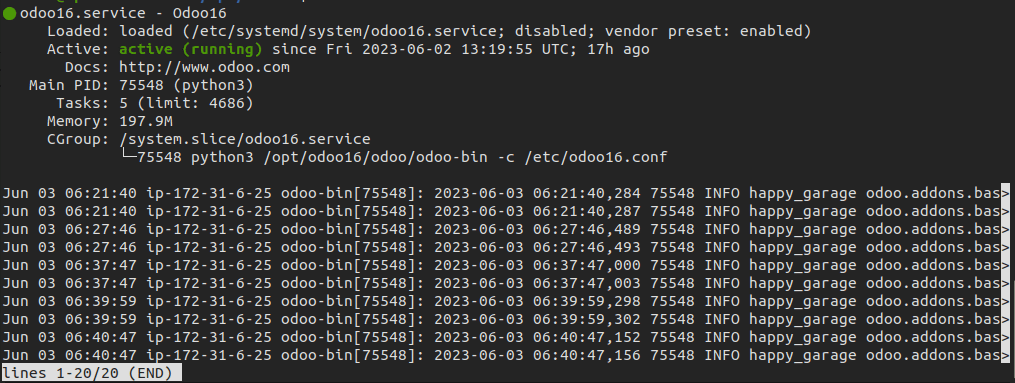
18. Use ‘service odoo stats’ to check if the service is installed.
19. Select a security group.
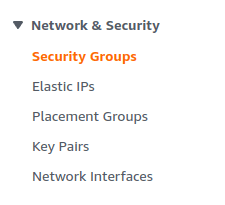
20. Edit Inbound rules and configure them as it is below.

Note: Limit the SSH IP range from 0.0.0/0(Anywhere) to Your IP for better Security.
21. Edit Outbound rules and configure them as it is below.

22. Copy the Public IPv4 DNS and add Port 8069 along with it.
Eg: http://ec8-3-126-142-181.eu-central-1.compute.amazonaws.com:8069/
Now you will be redirected to the Odoo.
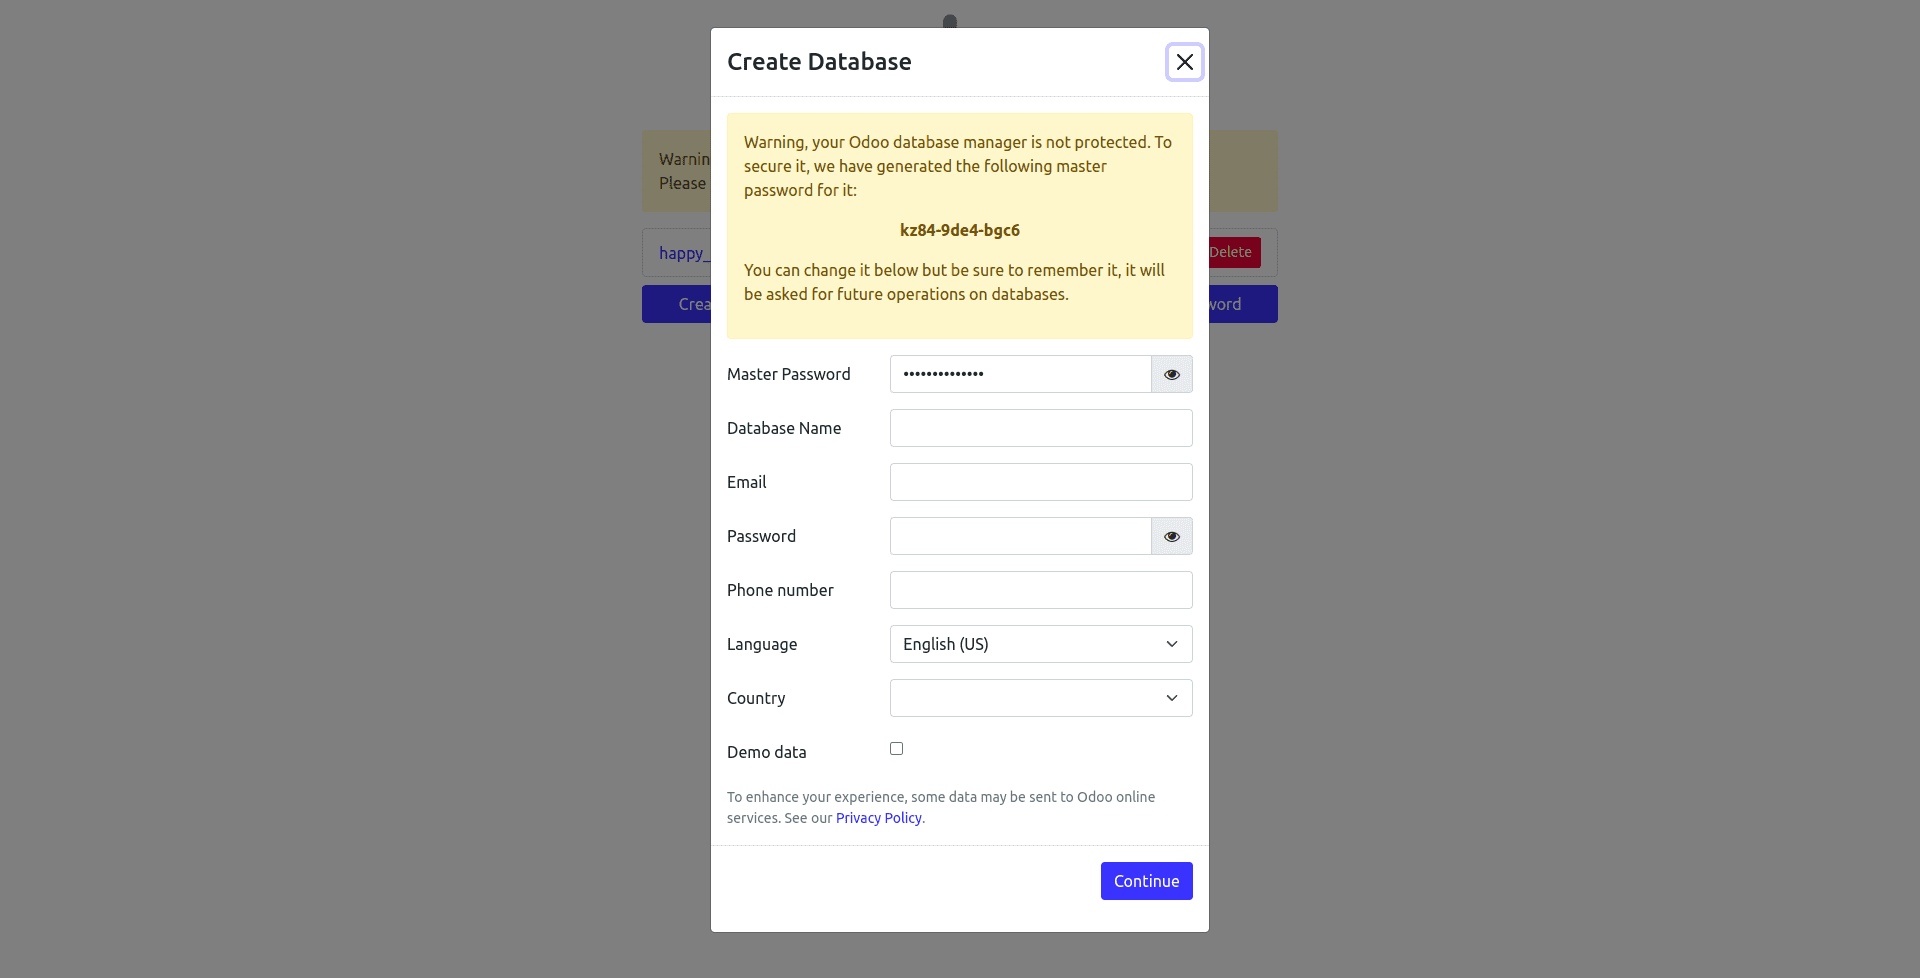
23. And start with creating your database by filling in these fields.
Now Your Odoo is ready.


