Employee management in a large company is challenging, and gathering data concerning each laborer in your company is necessary. Some of the procedures in an employment configuration include setting up approvals, allocating Time off, appraisals, and fleet for employees. You can avoid all worries regarding employee management by installing an ERP into business. Odoo 15 Employees module is the right solution to maintain your workers’ data. The Employees module is integrated with several modules such as Fleet, Time Off, Approvals, and more. The fleet application assists in allocating cars for employees and can request leaves through the Time Off application. On the other side, the Approvals module allows for efficiently managing employees’ requests.
This blog enables users to choose the right tools for integrated employee management in Odoo 15
Users can manage leaves, timesheets, contracts, and employee profiles within the Odoo 15 Employees module. It is easy to apply for job positions, skills, types, and departments or analyze contracts using reporting feature. You can reward employees, share files, goals, and design challenges within the Odoo ERP.
Odoo 15 Employees Module
We can access the employees’ list in your company from the Dashboard of the Odoo 15 Employees module. Users can see the different departments in your company below the DEPARTMENT section of the Employees window. It is easy to get the employee data such as name, phone number, email id, and job position of each Employee separately from the Odoo 15 Employees module.
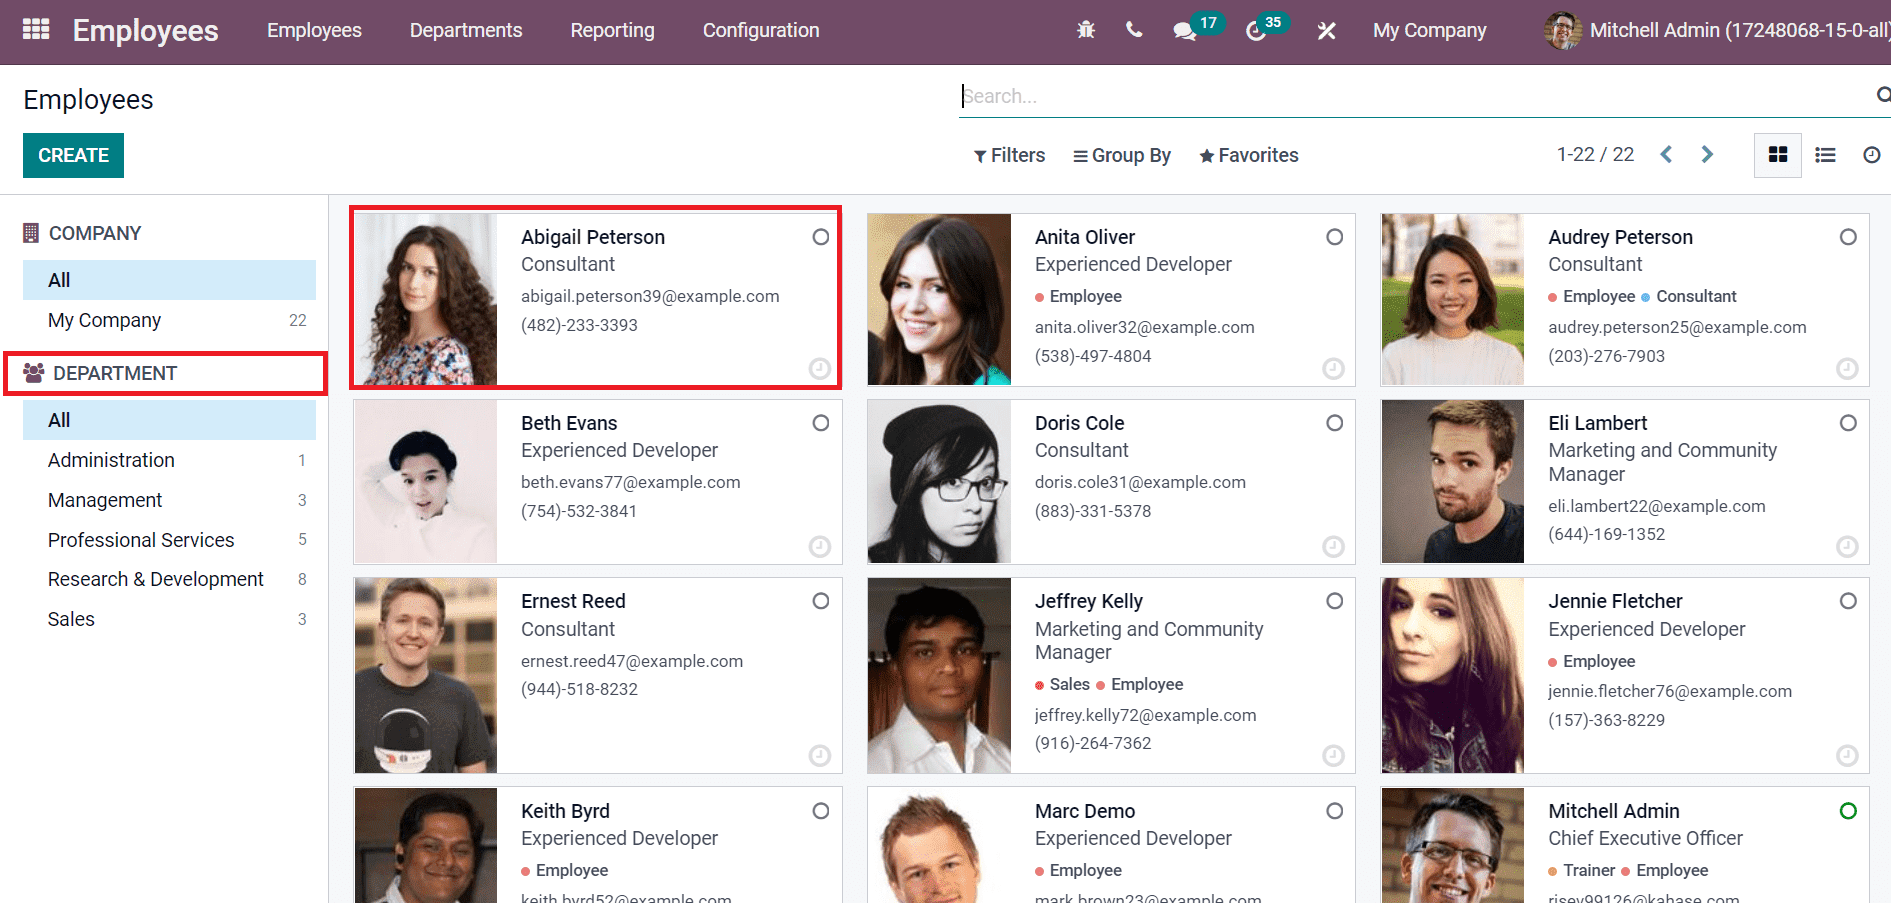
Users can view the departments in a company by selecting the Departments menu inside the Configuration tab. Several departments, such as administration, Sales, and Professional Services, are visible in the department’s window, as specified in the screenshot below.
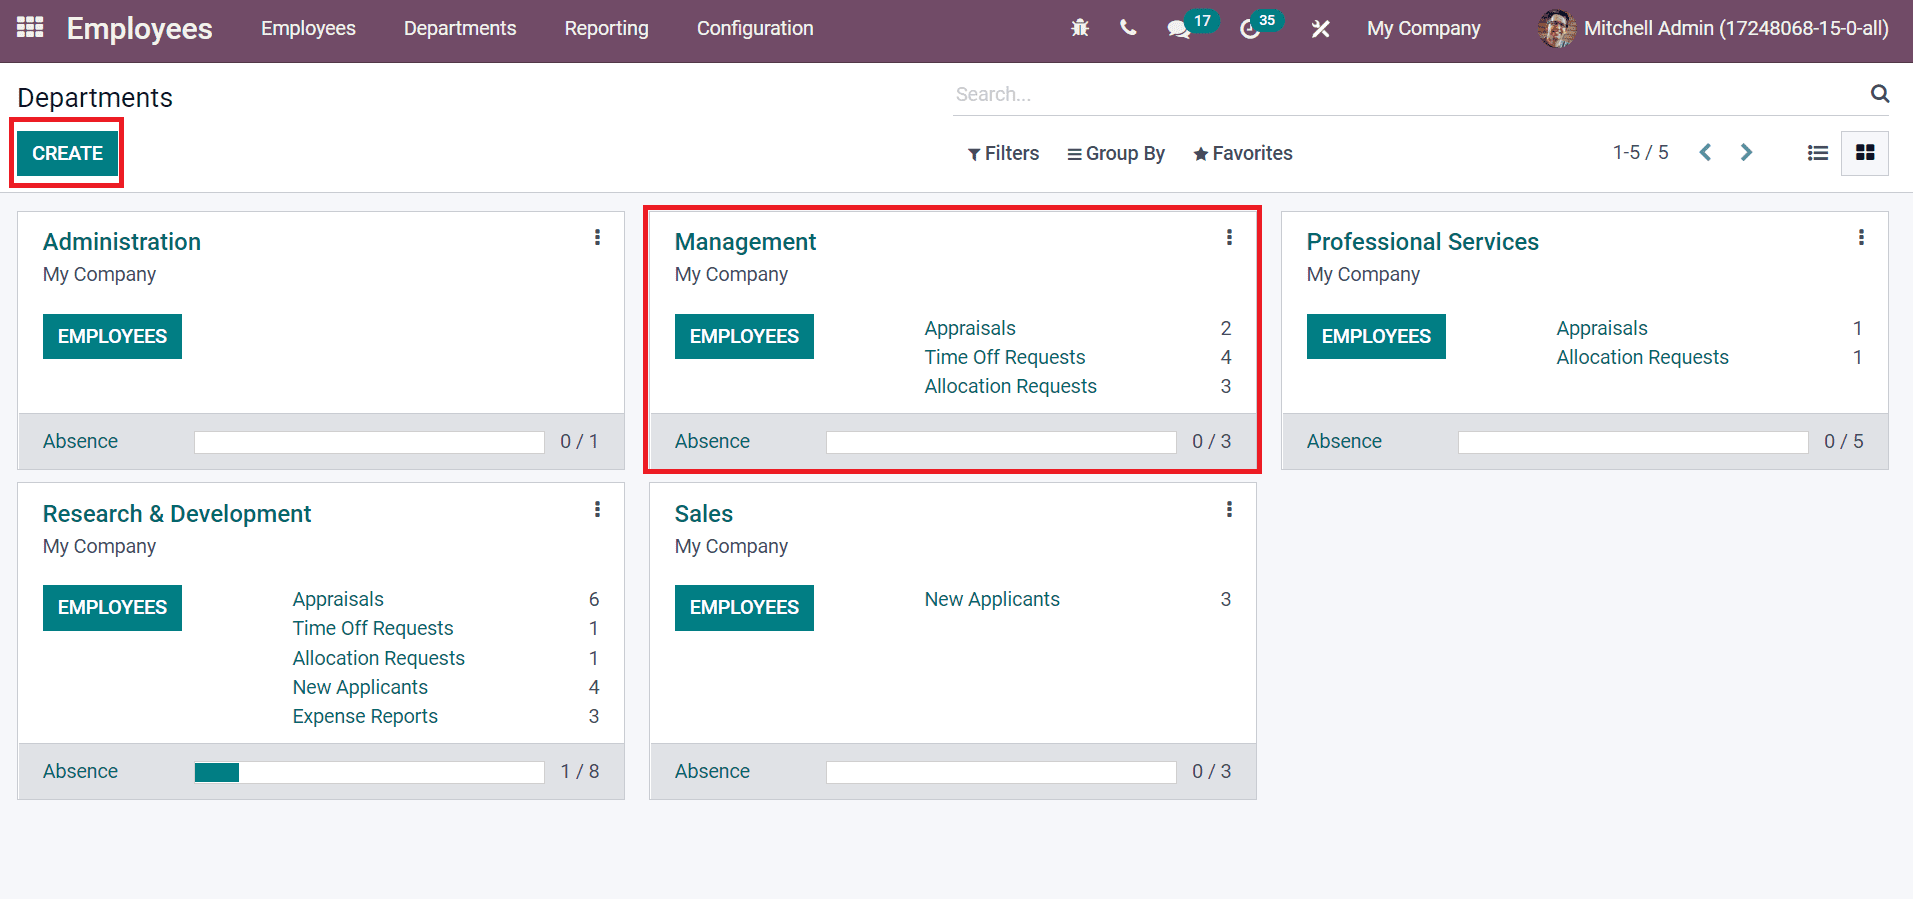
Here, we can see the number of appraisals, Time off, and allocation requests of employees in each department. You can formulate a new department for an employee by selecting the CREATE icon, as shown in the above screenshot. Let’s generate employee data by choosing the Employees menu and the CREATE icon.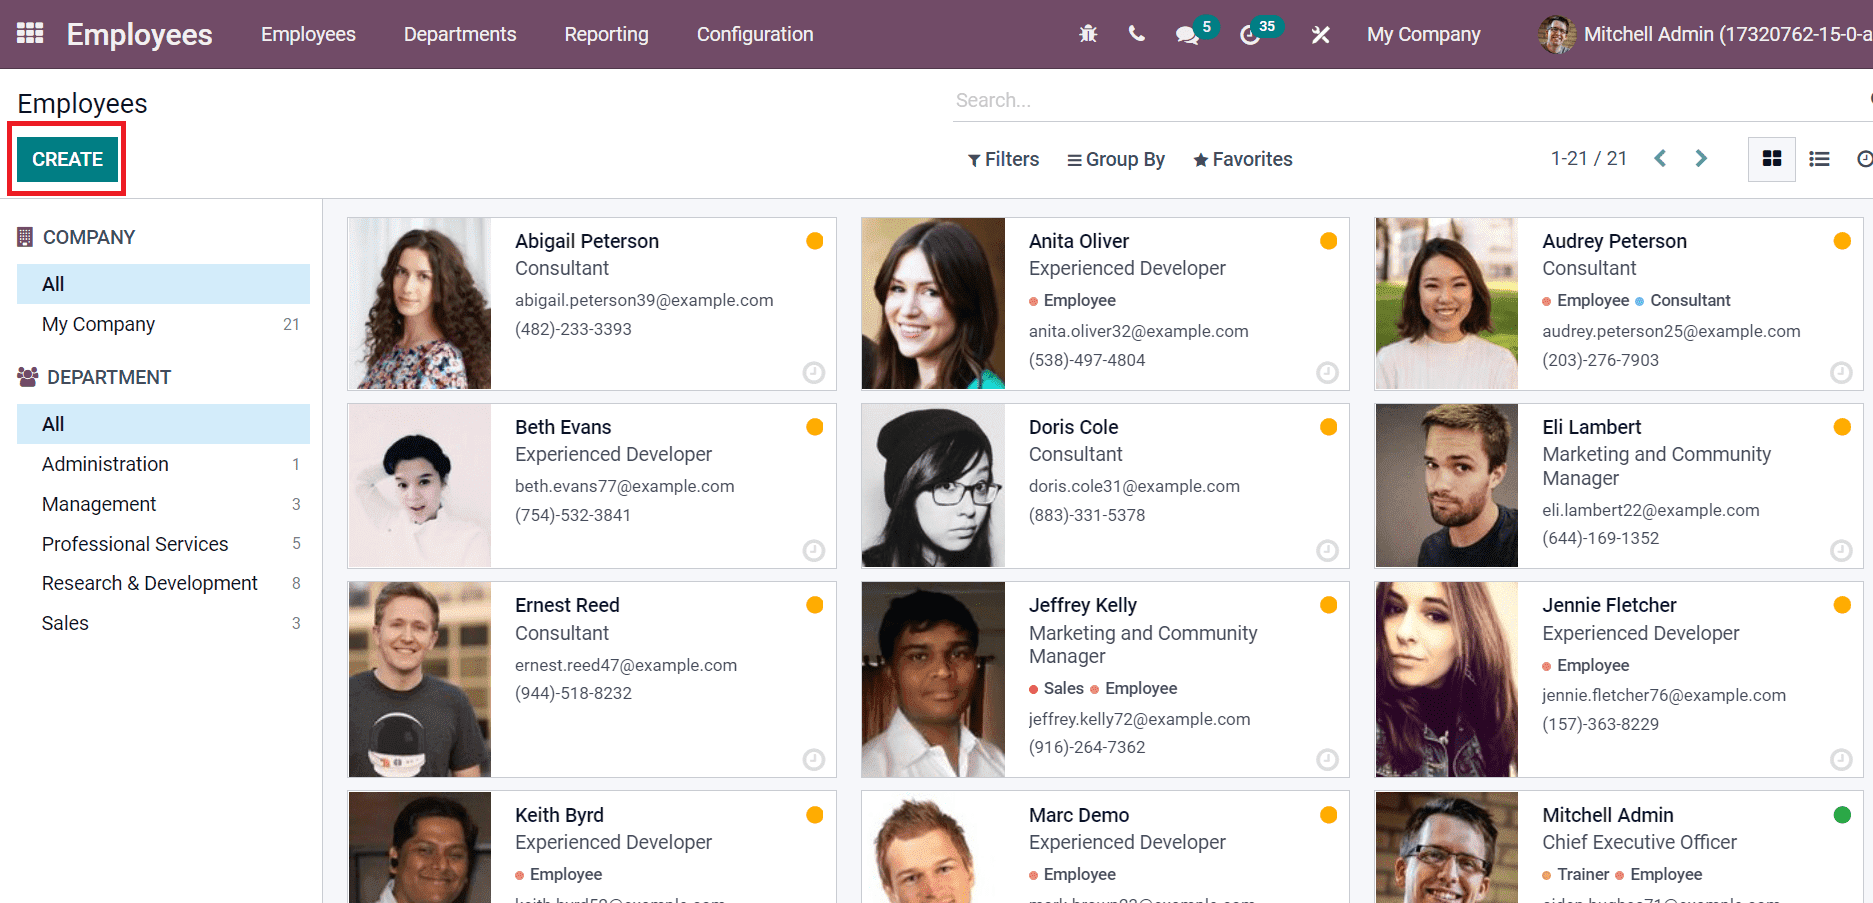
In the new window, add an individual’s Employee Name and Job position. Later, choose the Department and Manager of your Employee as specified in the screenshot below.
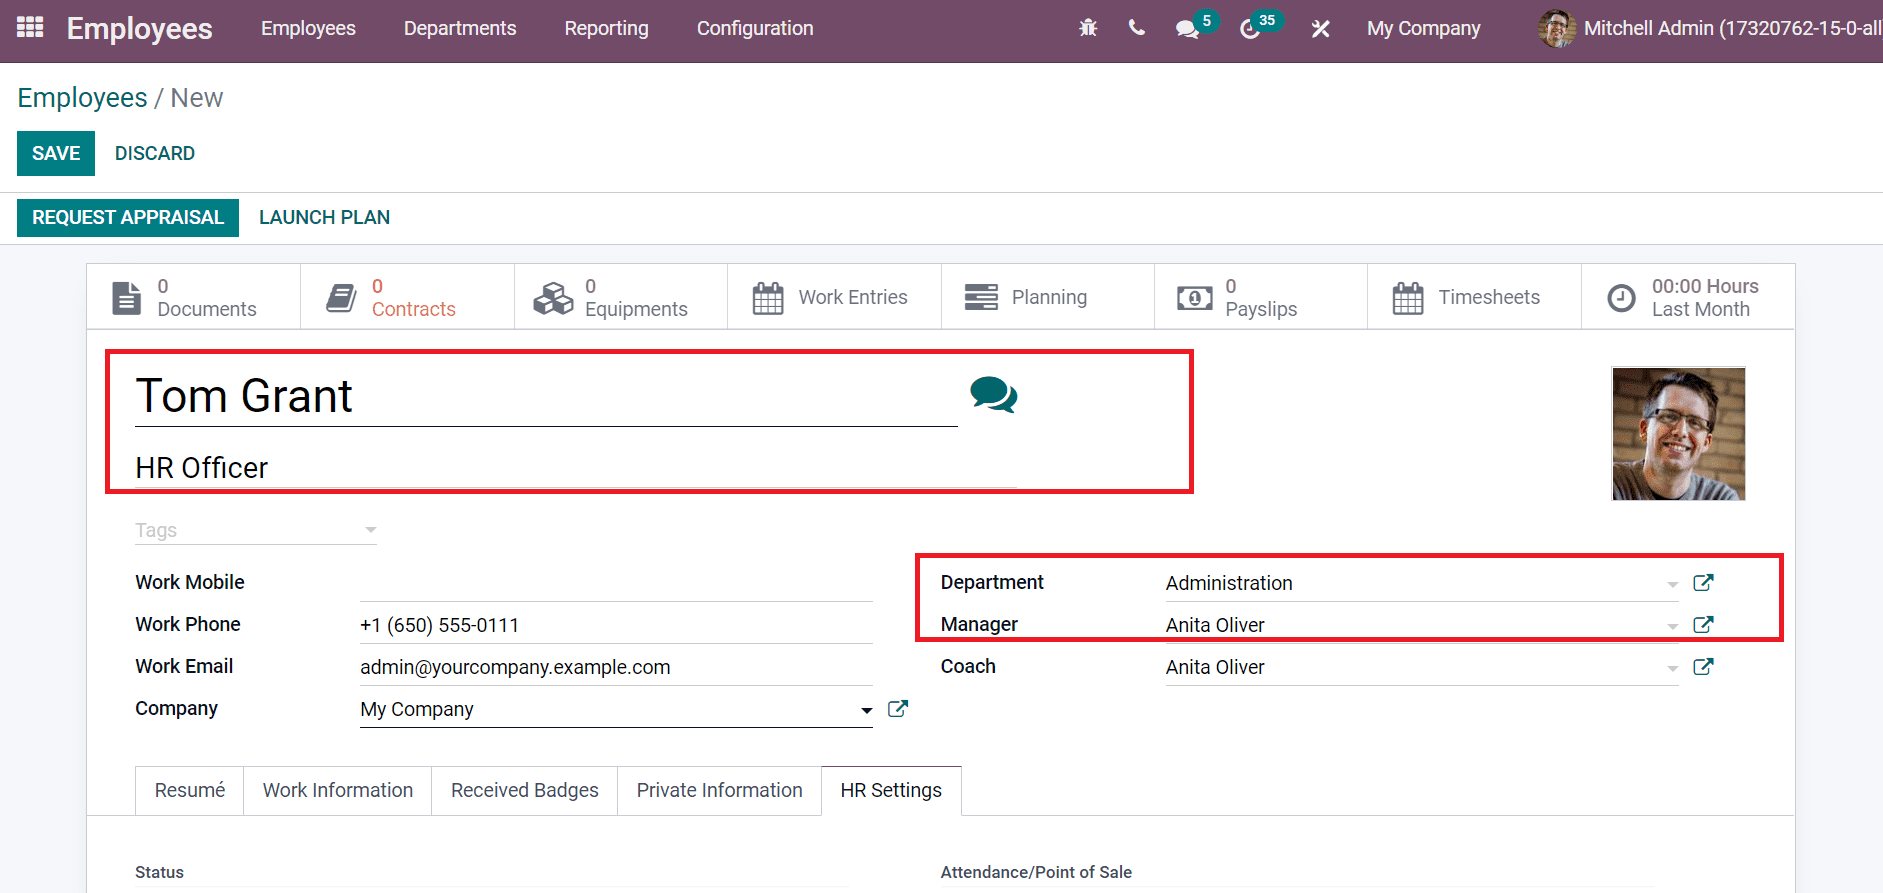
After saving the details, you can see the created employee data in the Employees window.
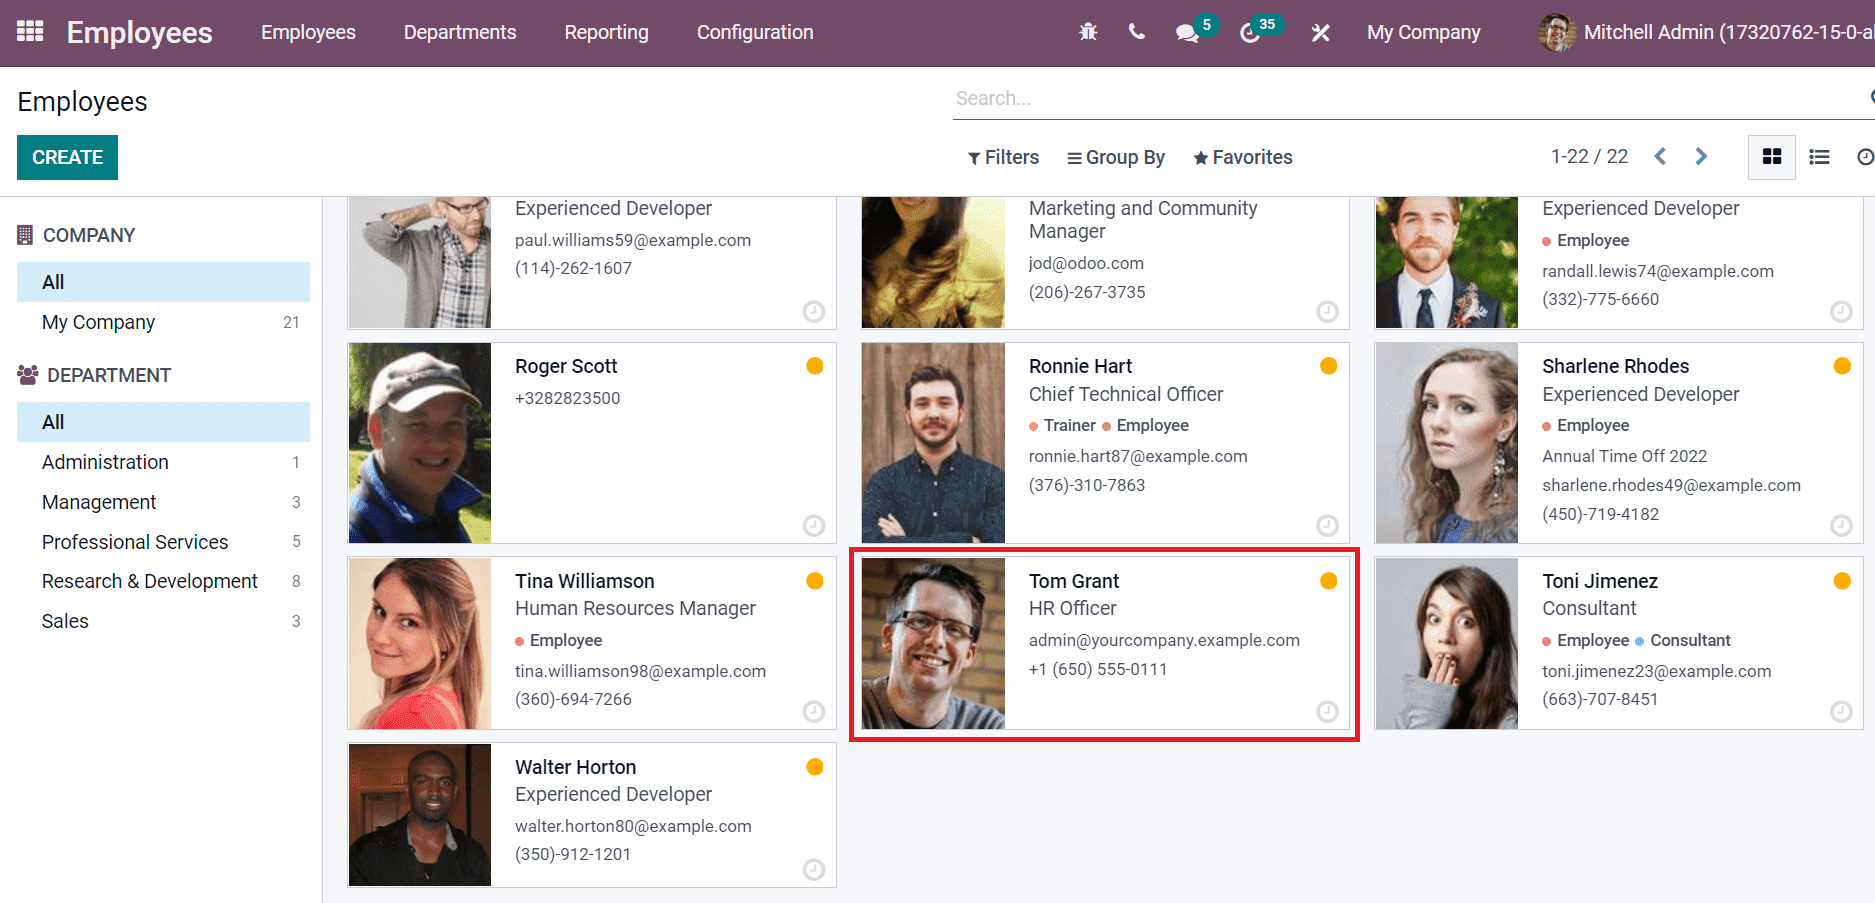
Next, we can view how to give a fleet for your Employee in the Odoo 15.
To Provide a Fleet for an Employee in your Company
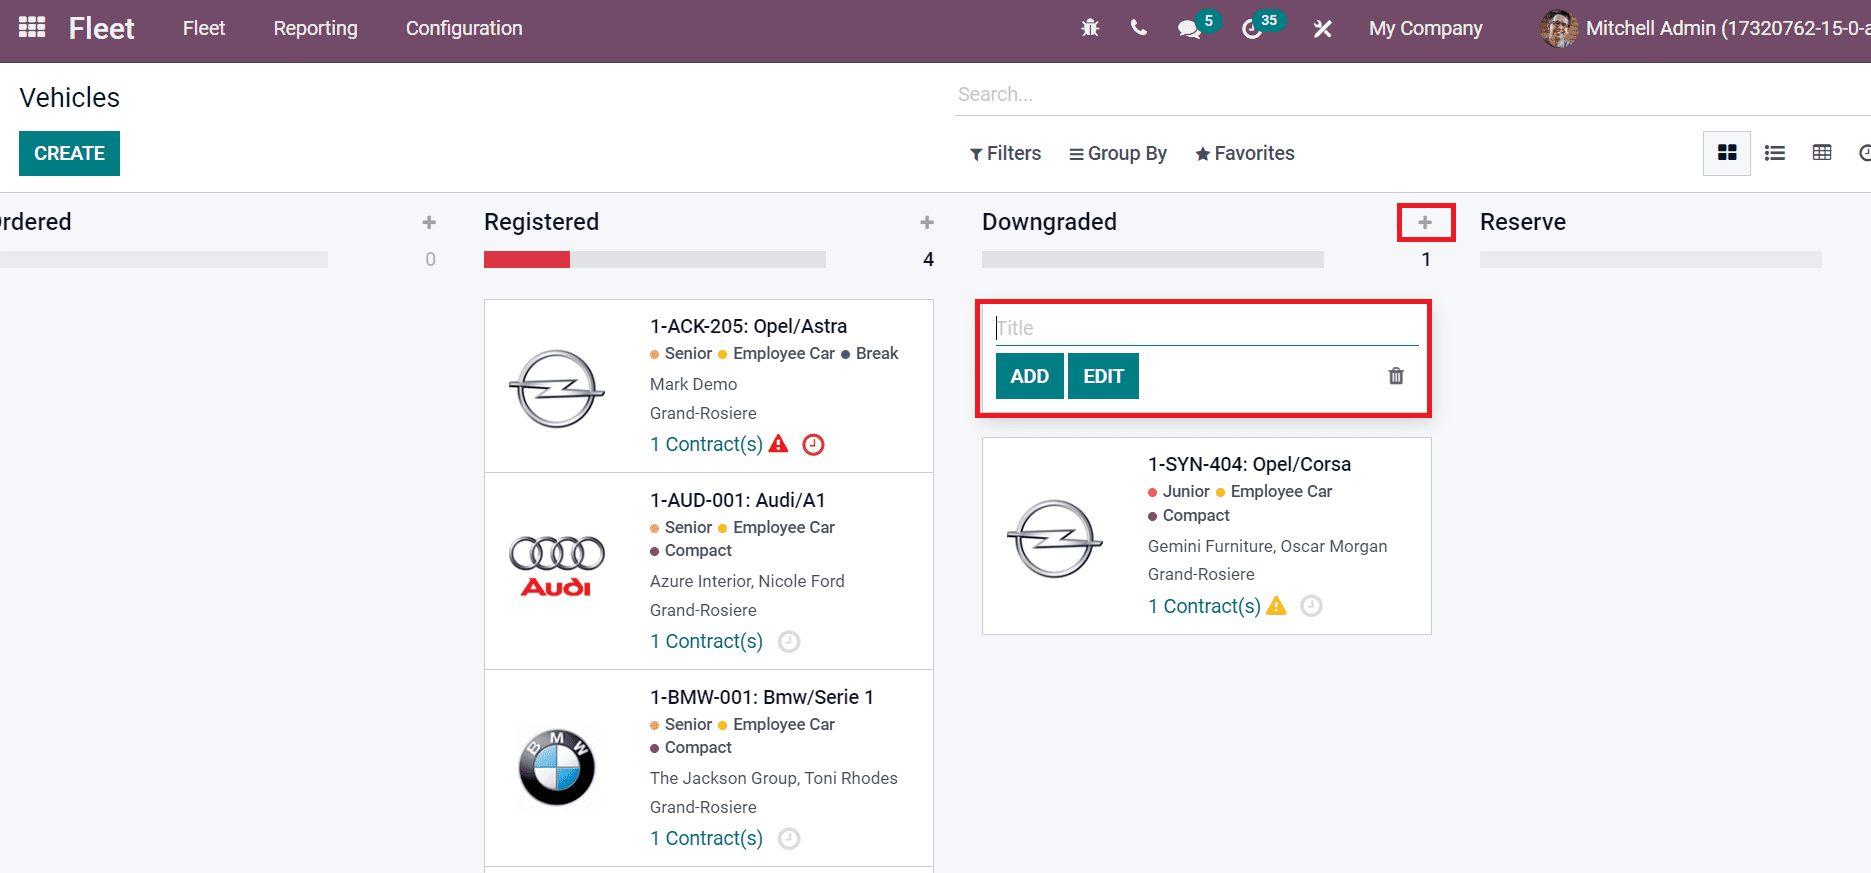
Another application that helps to boost employee management in Odoo 15 is the Fleet module. Odoo 15 Fleet module ensures users give fleet for workers in a firm. A list of all company cars is available in the Odoo Fleet module, and you can place it under various stages. By clicking on the + icon, you can apply new vehicle details in the pop-up box, as illustrated in the screenshot below.
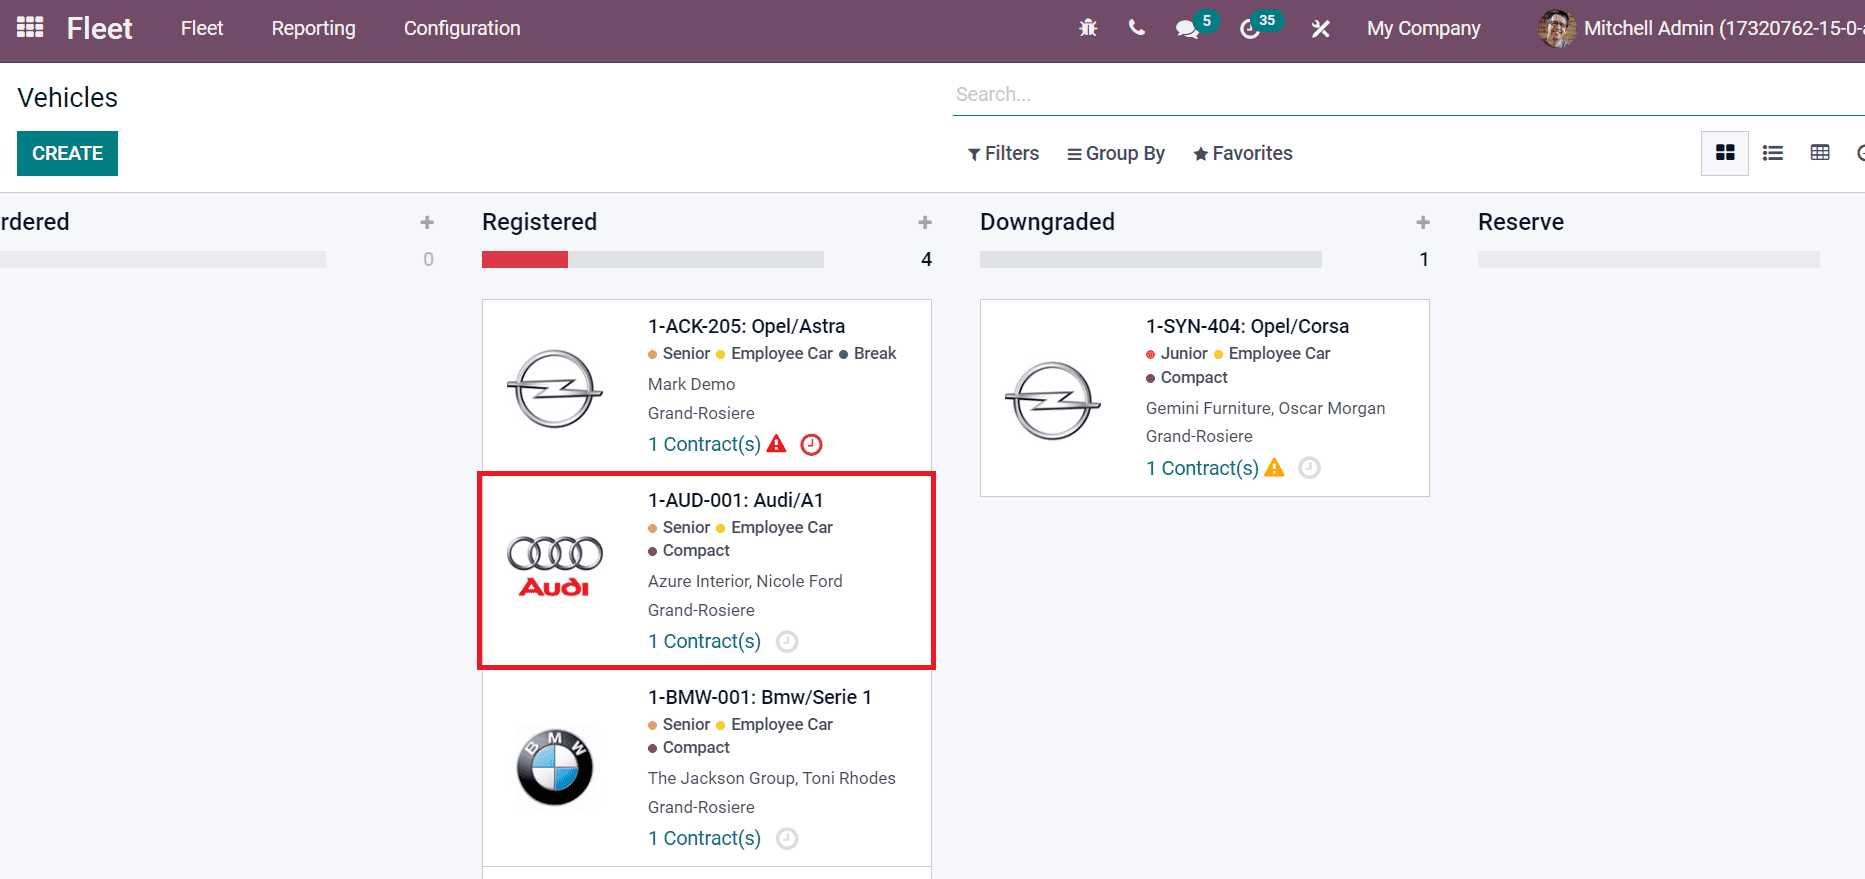
You can provide a new car for Tom Grant by choosing the CREATE icon or assigning an existing vehicle. As shown in the screenshot below, we provide an already existing car to Employee Tom Grant.
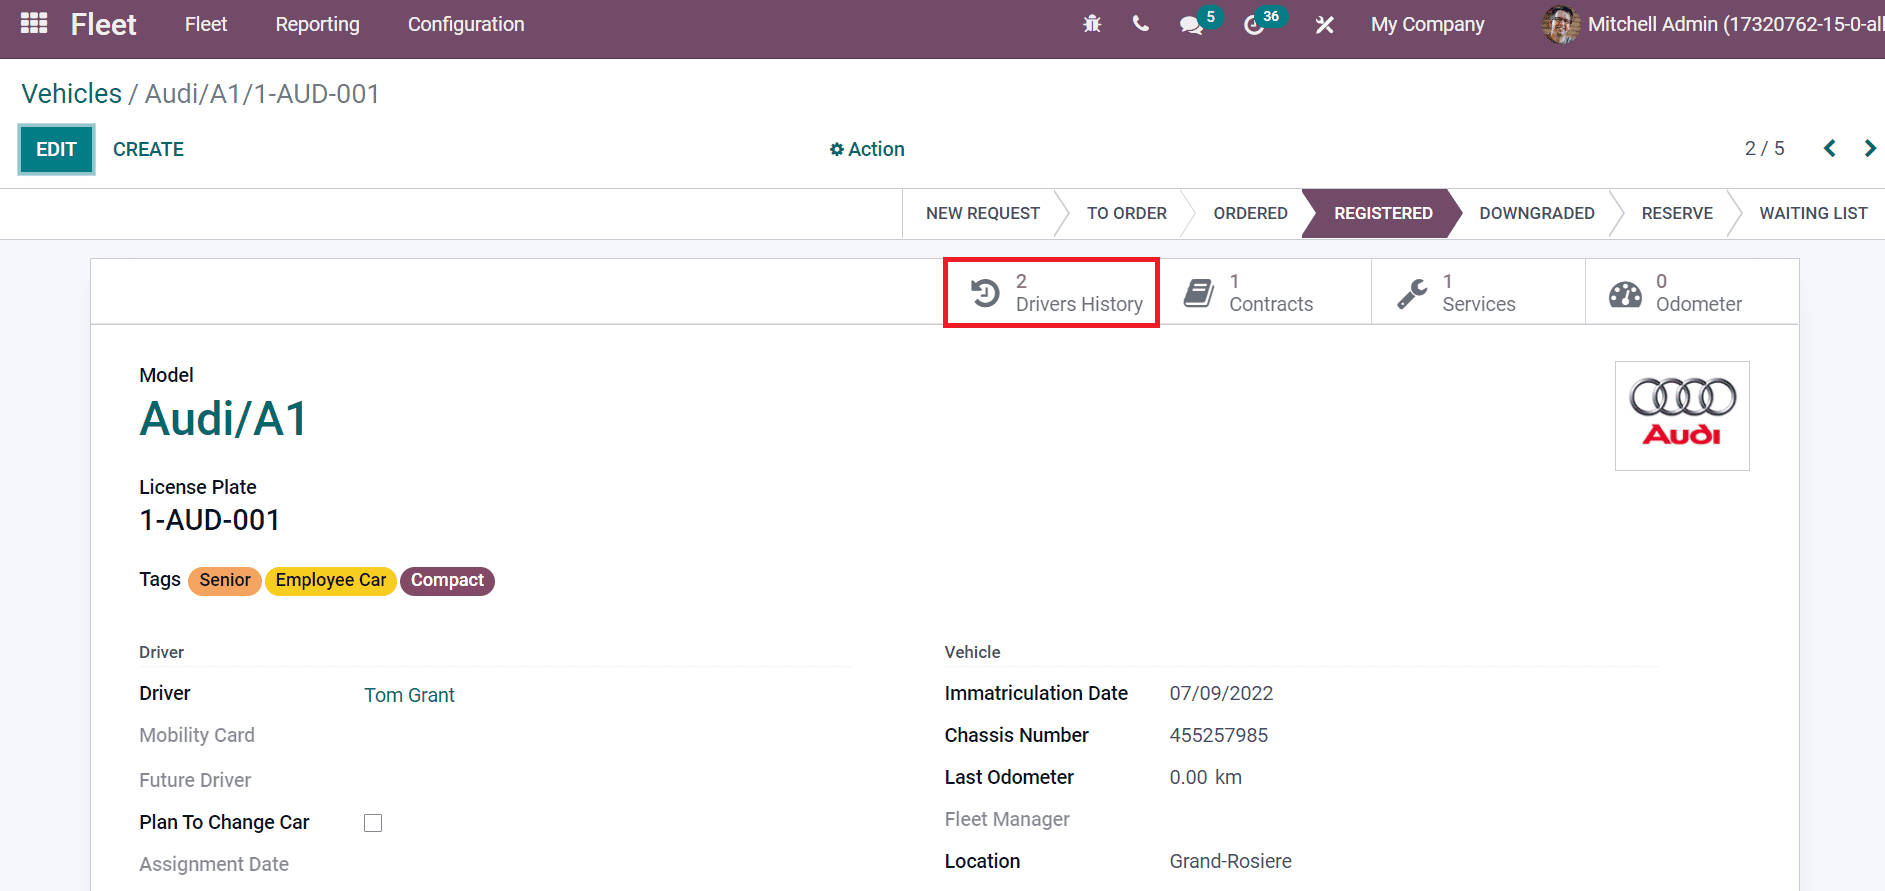
In the new window, the user can see the car model as Audi/A1 and License Plate number. The user needs to choose the Driver as Tom Grant, as denoted in the screenshot below.
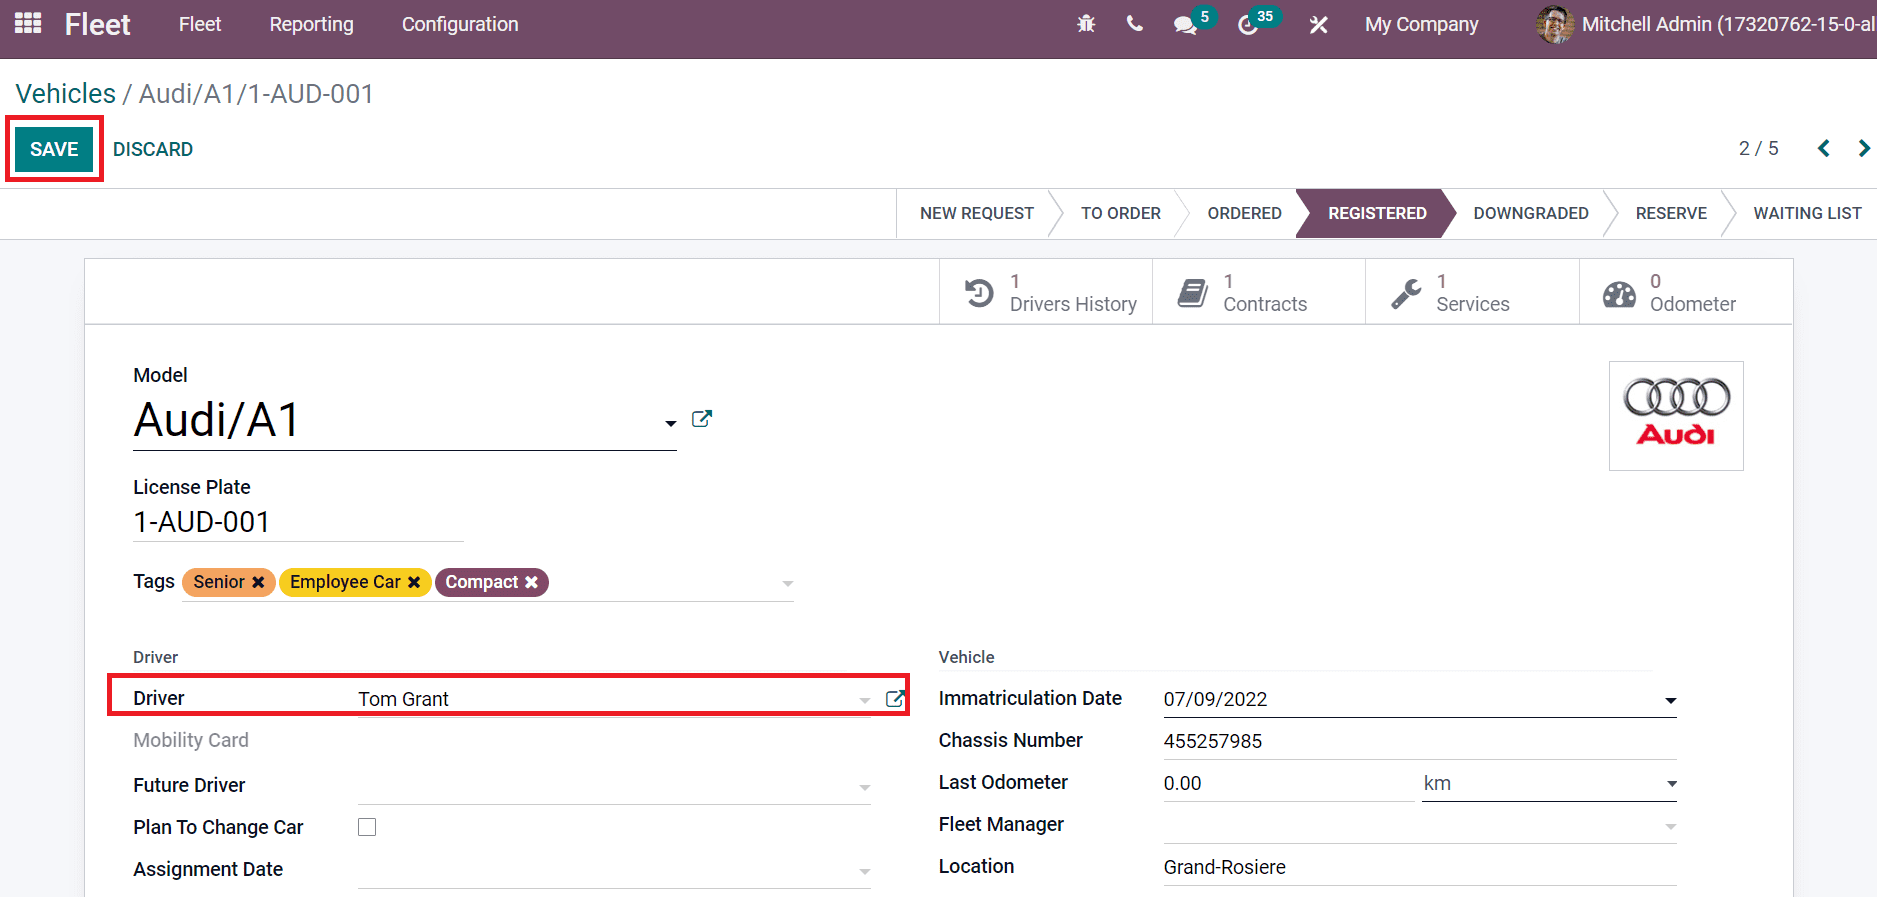
Select the SAVE icon after adding information about your driver. After saving the data, click on the Drivers History smart button, and you can access your new driver details.
In the Assignment Logs window, the user can see that Tom Grant has access to the Audi/A1 car.
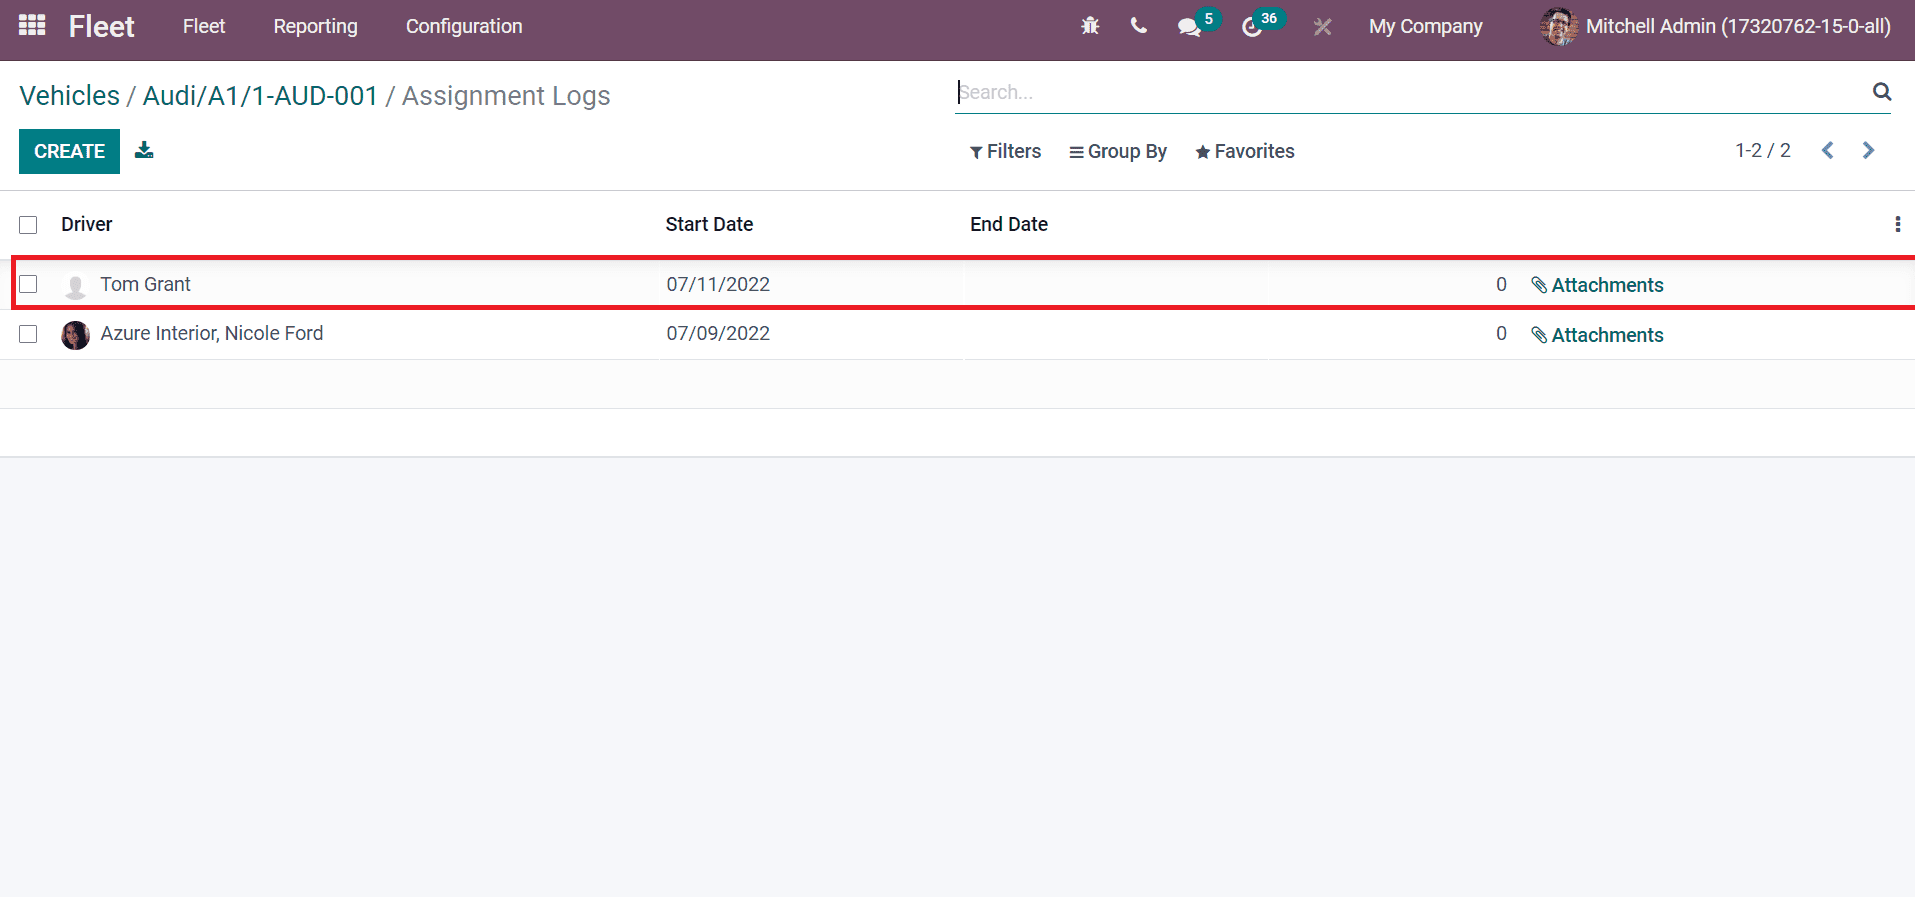
Users can get the contracts, services, and other details to keep track of the car. This way, assigning a vehicle for an employee in your company is easy. Refer to the given below link to learn about Odoo 15 Fleet Module
Time Off for an Employee in the Odoo 15
The necessary part of employee management in a firm relies on Time Off. We get a clear idea about leaves taken by a specific person in a week or month from the Odoo 15 Time Off module. The Time Off Dashboard shows annual leaves for a person in days and compensatory days. Sick Time off and Compensatory Days are two Time Off types available in Odoo. Users can see sick Time off and compensatory days are marked in the calendar on some days, as portrayed in the screenshot below.
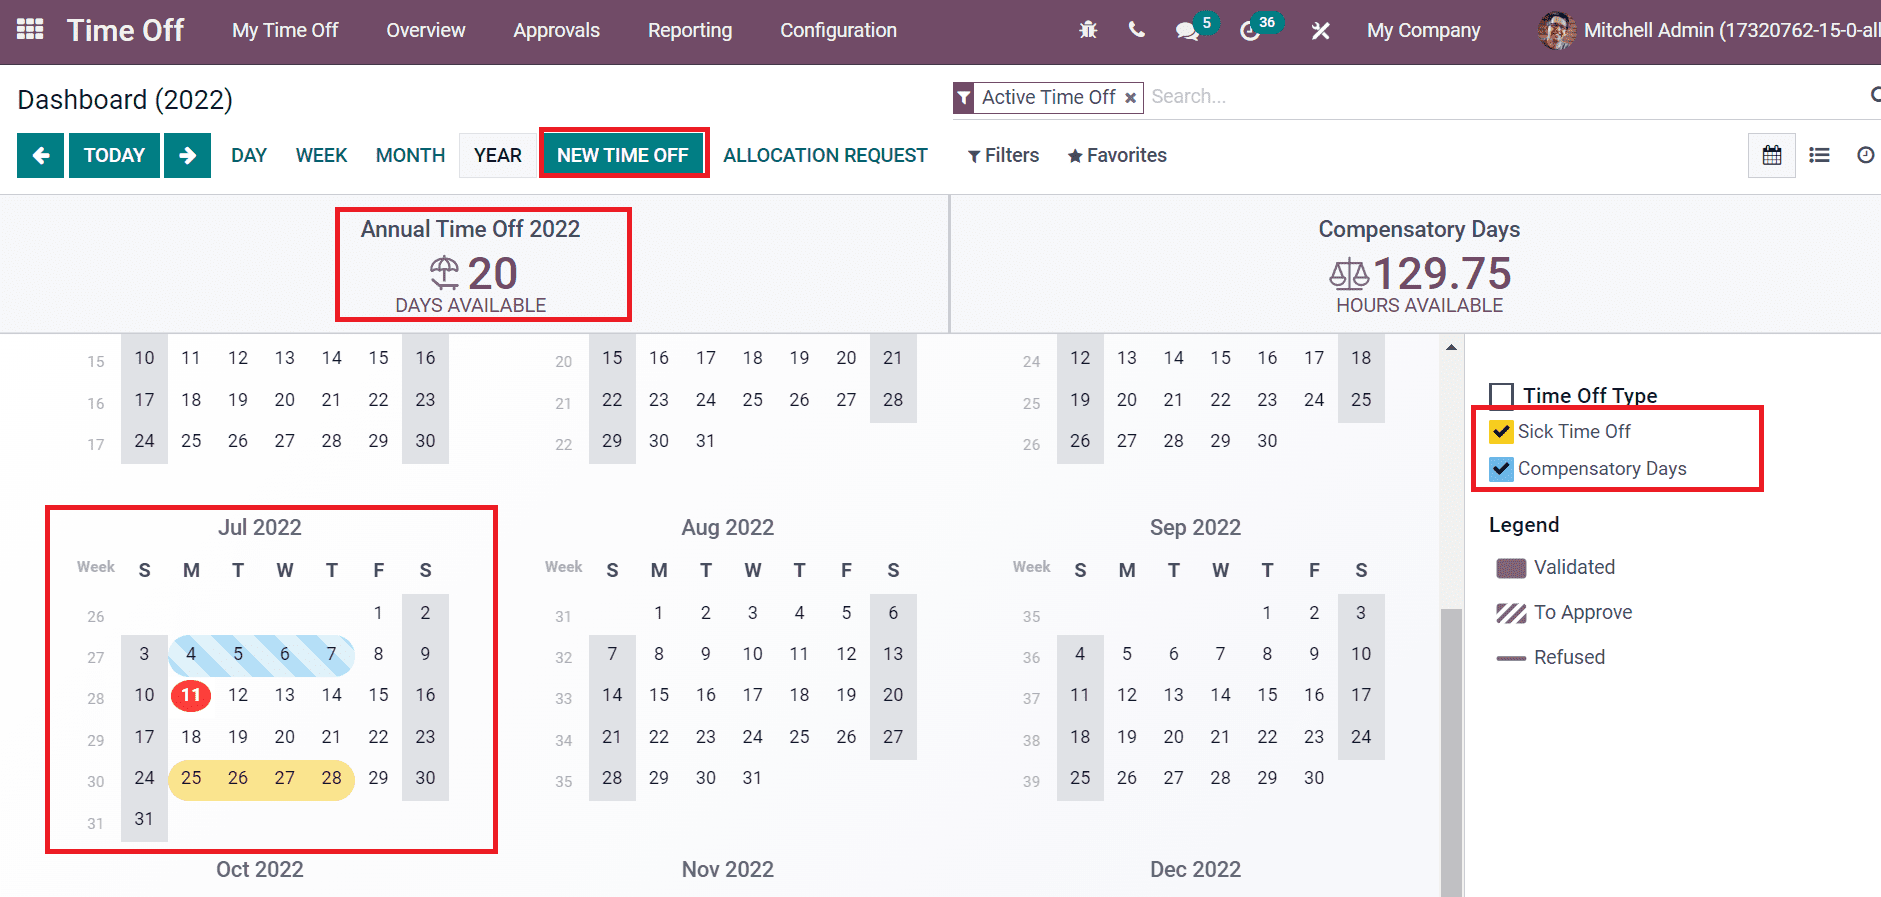
We can formulate a new time off by choosing the NEW TIME OFF icon, as shown in the above screenshot.
To Analyze Time Off of Employees in your Company
Users can evaluate the leaves taken by employees in your firm using the Reporting feature of Odoo 15. Select the by Employee menu inside Reporting tab, and you can quickly analyze employees’ leaves. In the Graph view, Employee data is visible on the X-axis, and Y-axis denotes the Duration in Days. The Annual Time Off 2022 is shown in Blue Color and Sick Time Off contains Orange Color as indicated in the screenshot below.
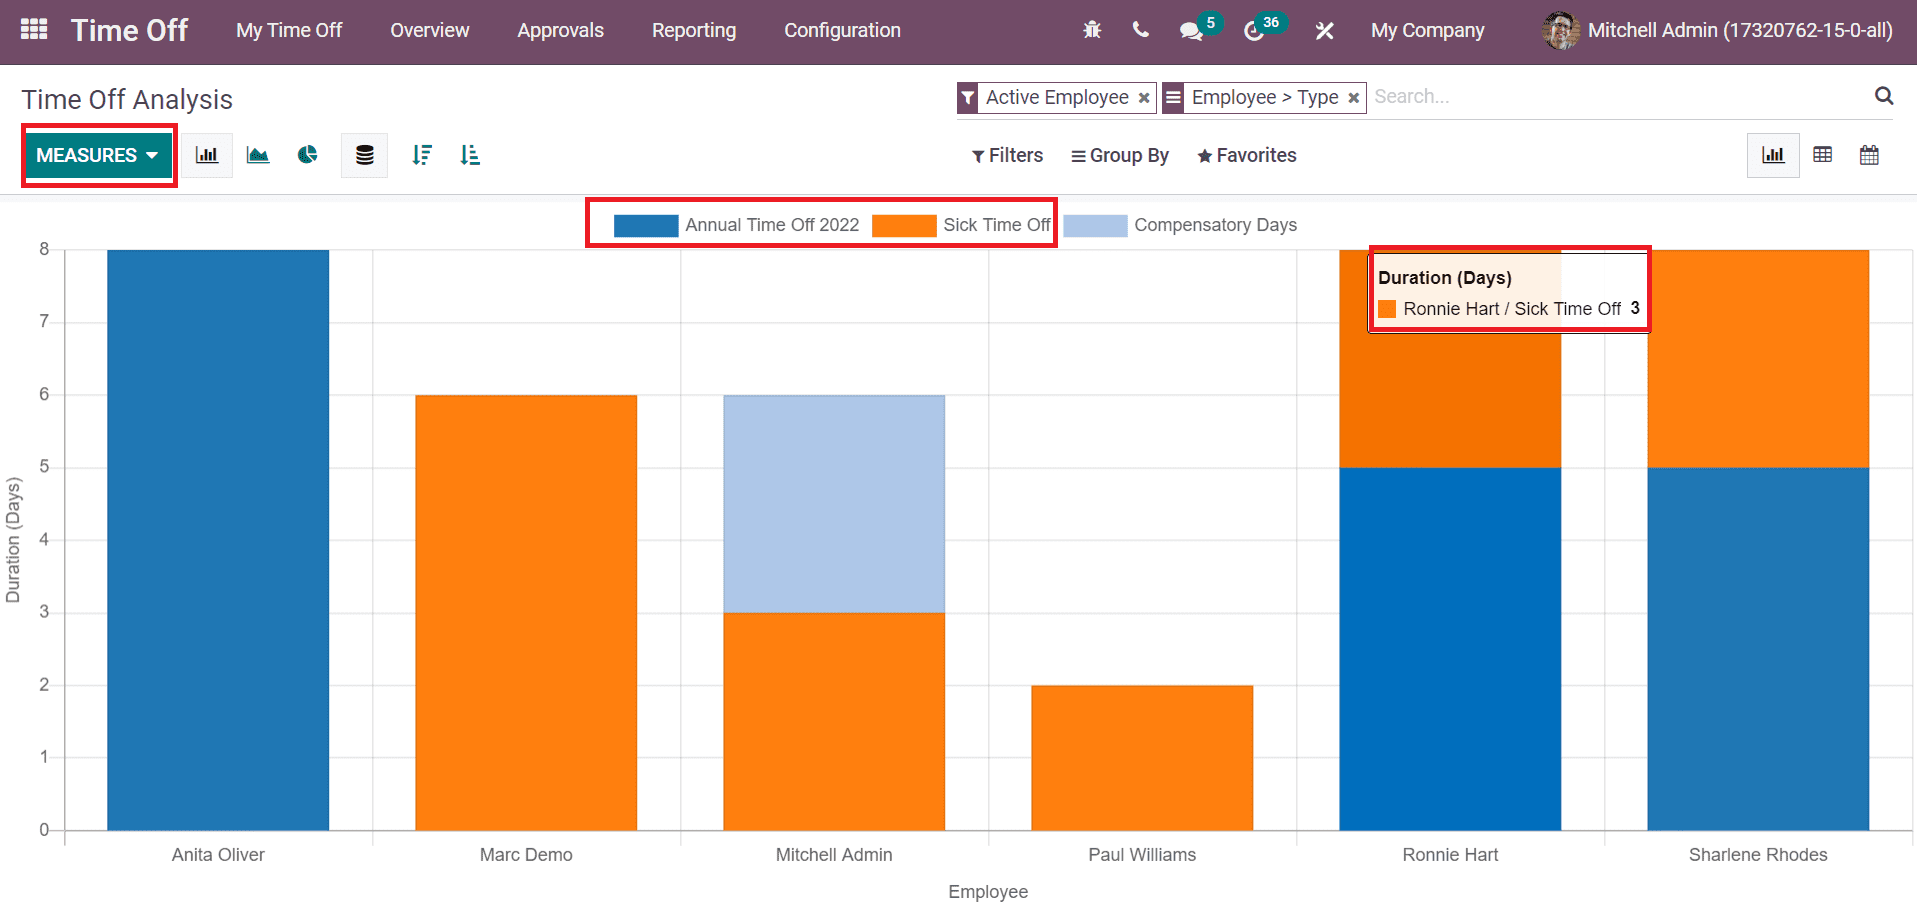
Here, you can view that the Sick Time Off taken by employee Ronnie Hart is three days. Users can apply measures such as Count and Duration to the graphical representation by choosing the MEASURES icon. Hence, we can identify each Employee’s leaves in your company using Odoo 15 Time Off.
To Create a New Allocation for an Employee
Users can give several types of leaves to an employee using Time Off Allocations. In some instances, employees request more leaves than assigned ones. All these are managed efficiently by accessing the Allocations menu from the Approvals tab. The Allocations window display leaves taken by each Employee, including Description, Status, Time Off Type, Allocation Type, Description, and more. Users can develop a new allocation by clicking on CREATE icon as represented in the screenshot below.
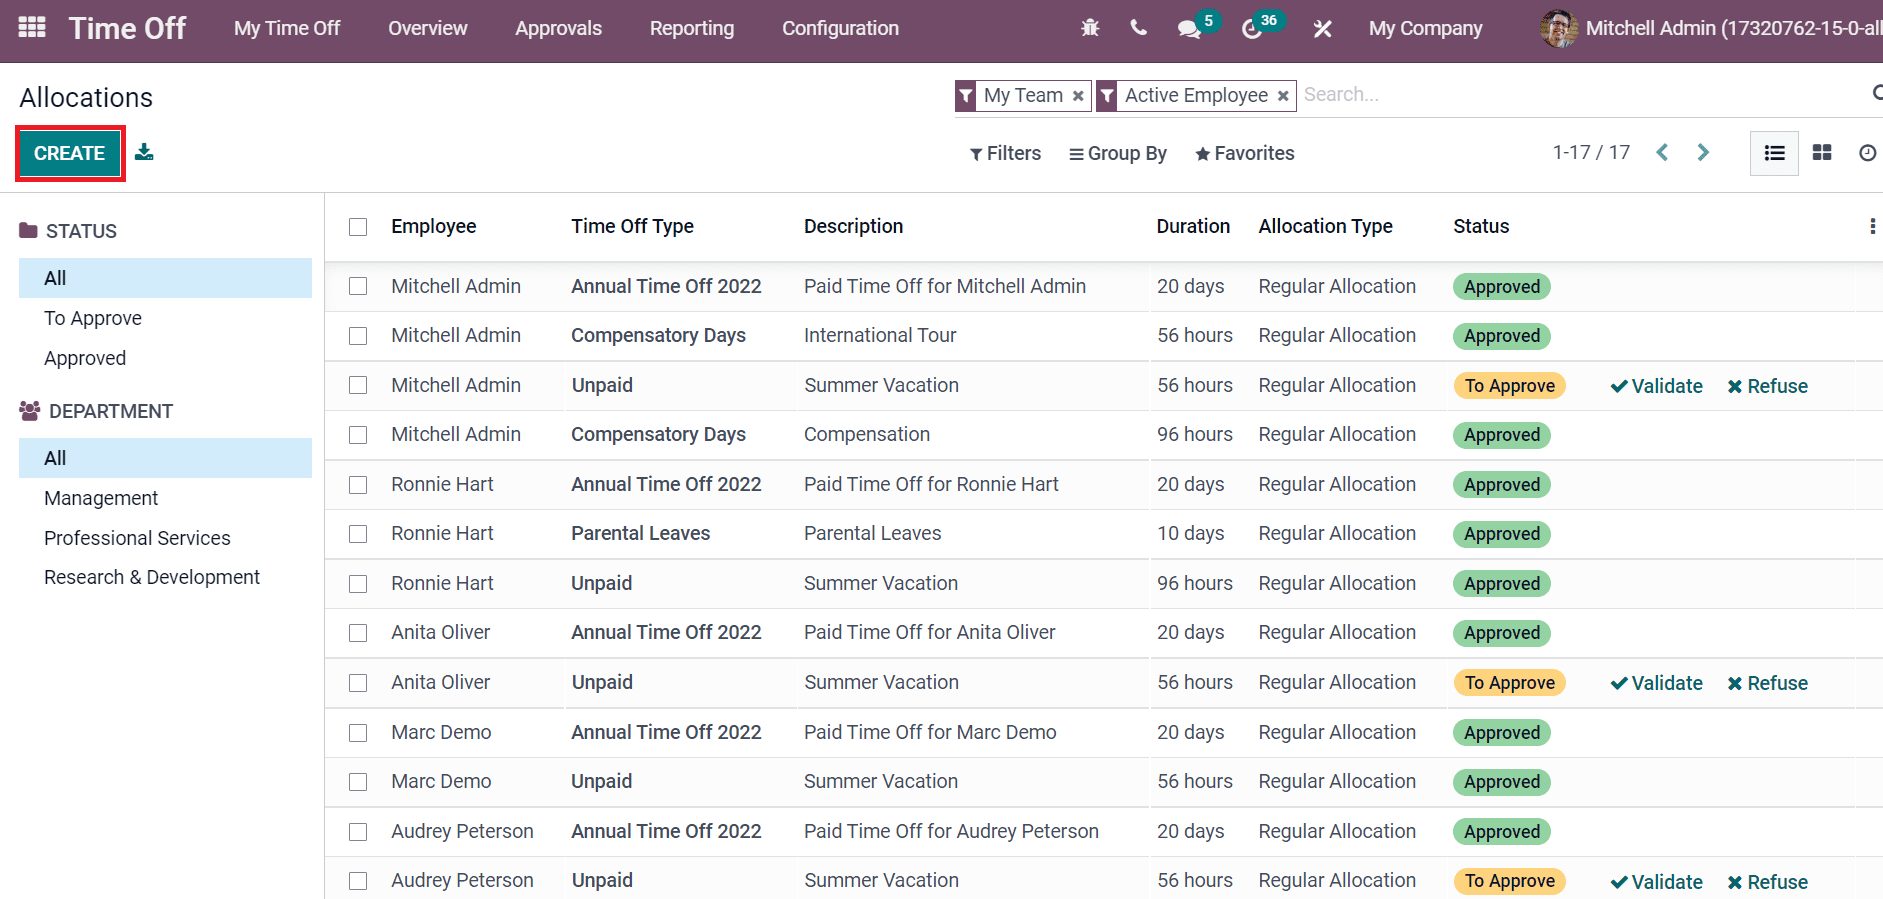
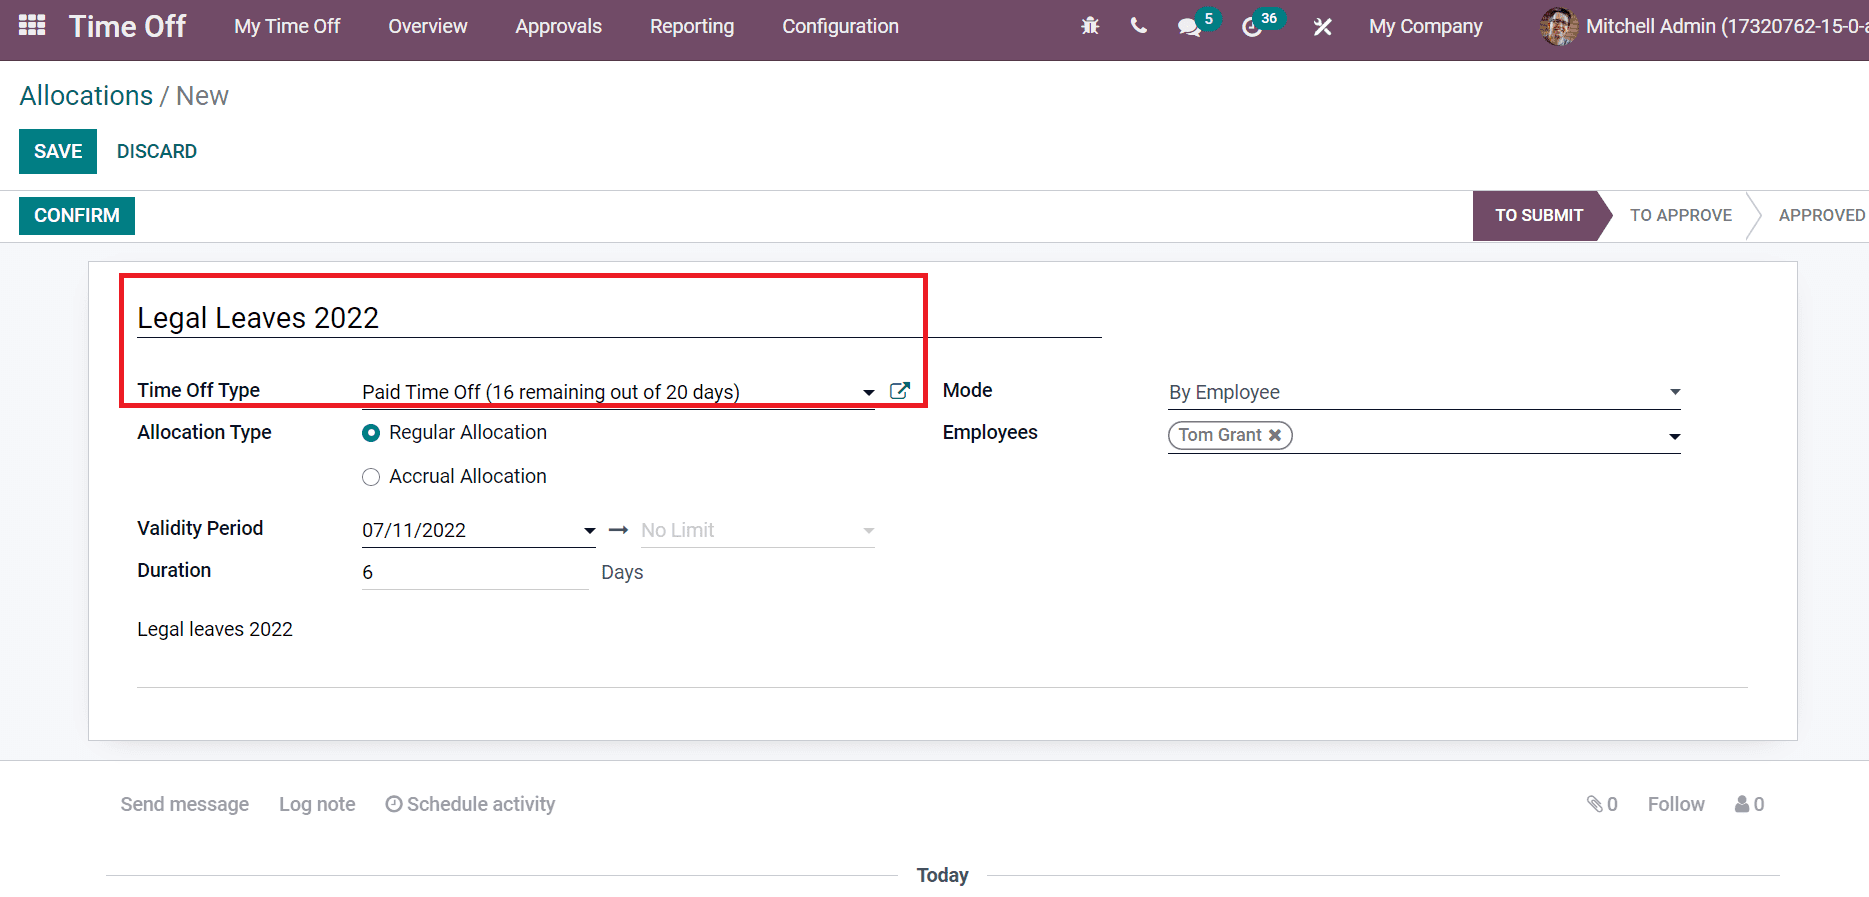
In the Allocations window, add Description as Legal Leaves 2022 and choose the Time Off Type.
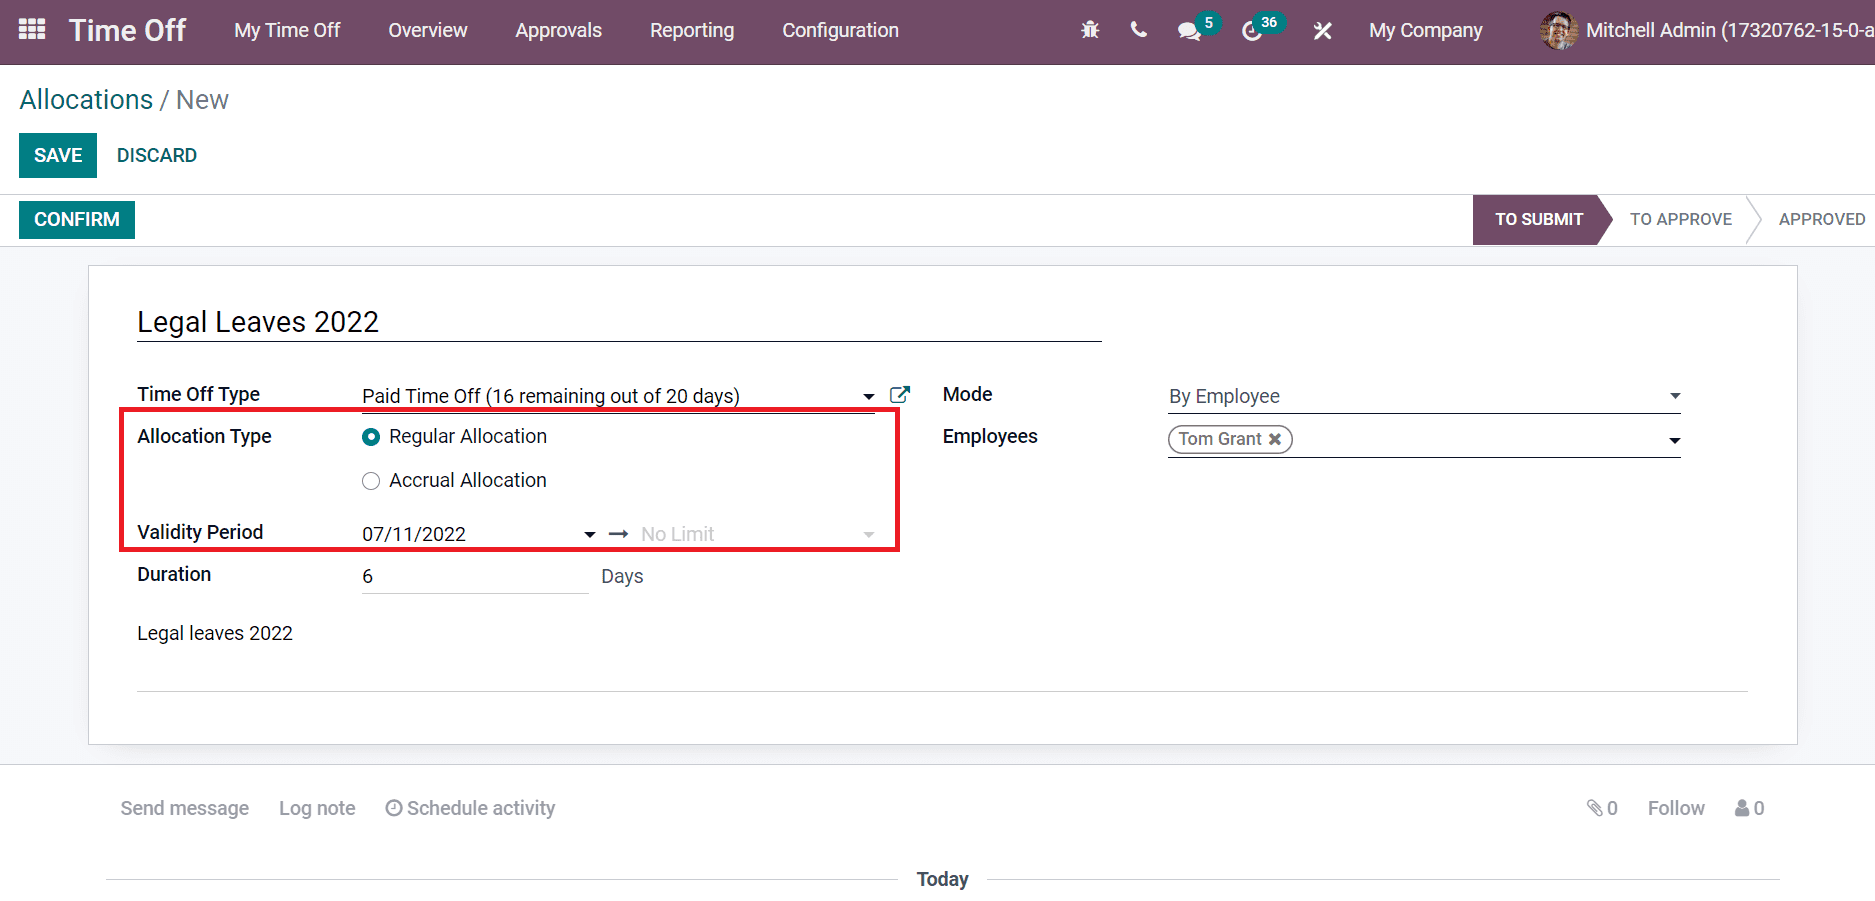
We set the Allocation Type as Regular Allocation and select the start date in the Validate Period field as marked in the screenshot below.
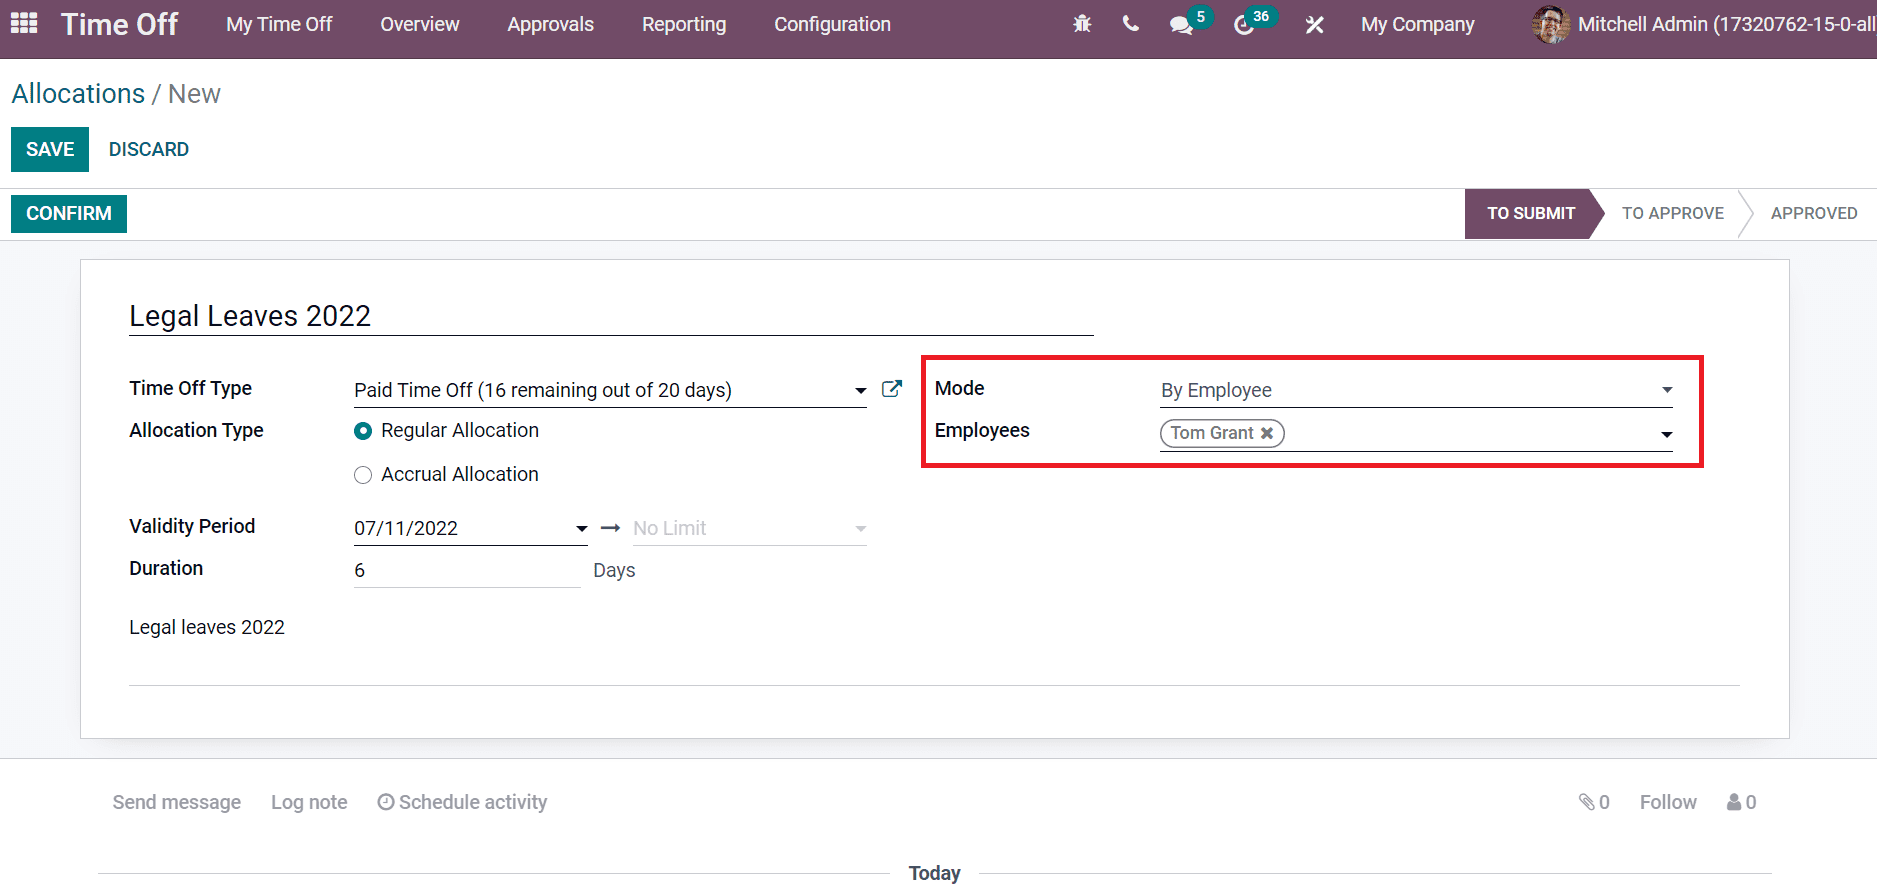
You can allow requests by various modes such as Employee, department, company, and employee tag. We choose the Mode for Allocation as By Employee and pick the Employee Tom Grant.
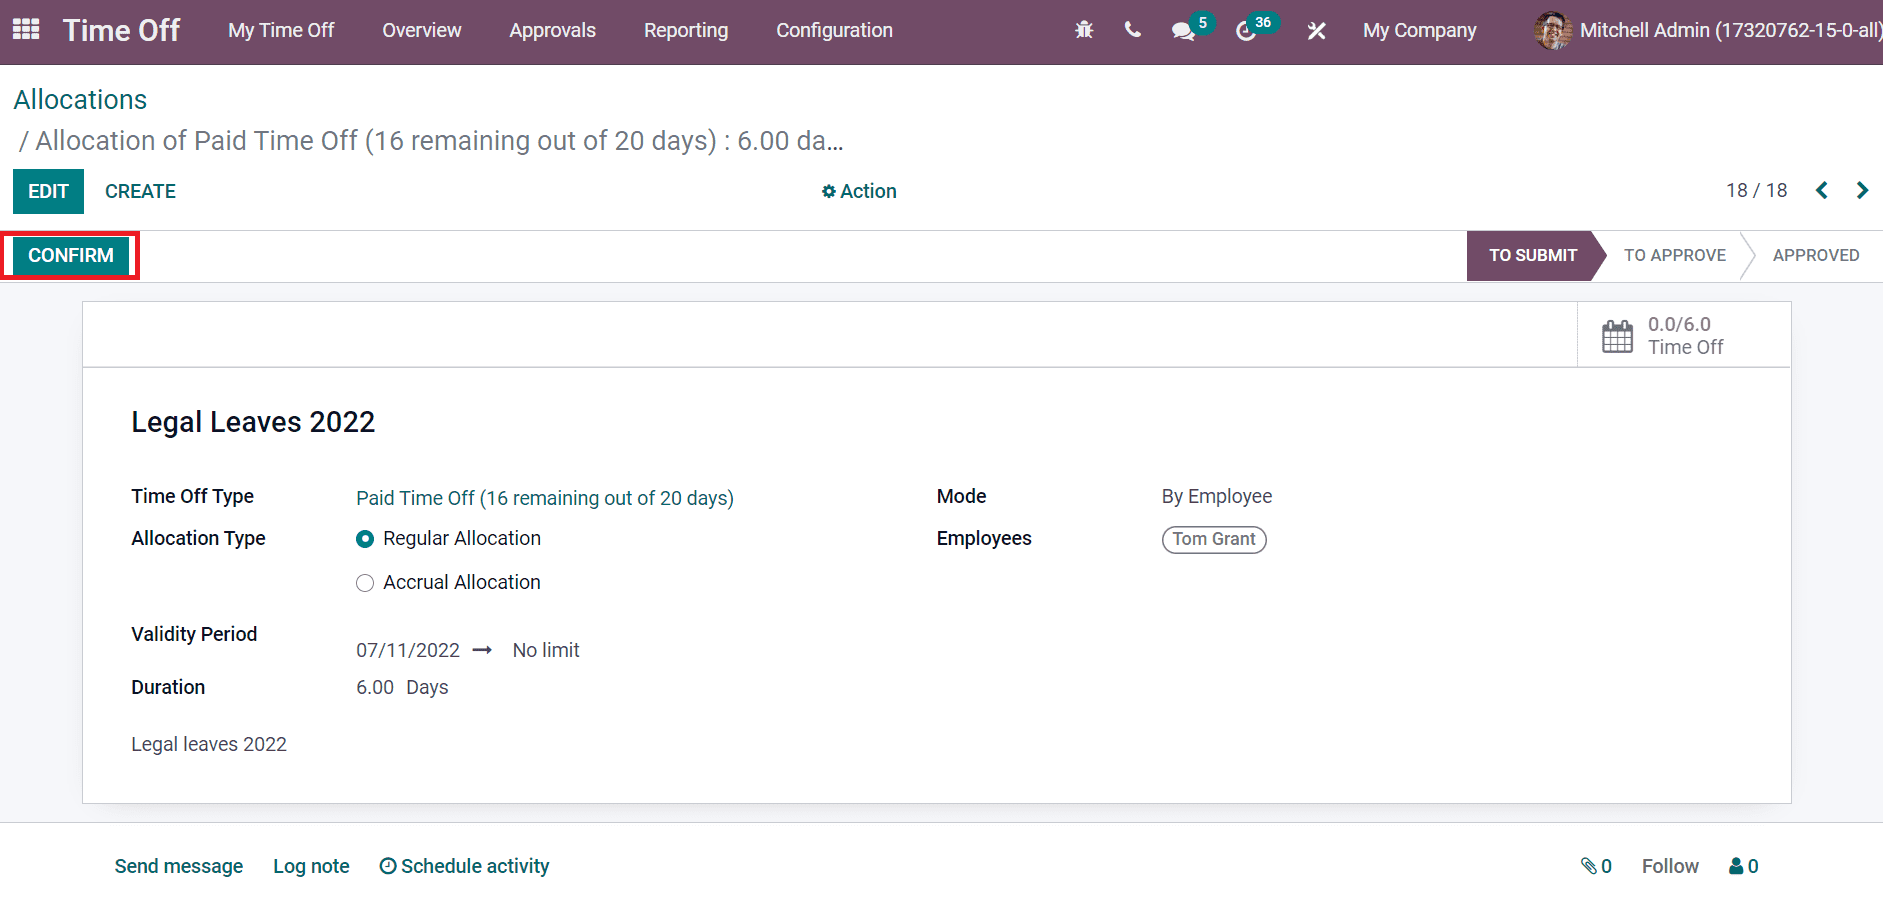
After saving the allocation, select the CONFIRM icon to verify the leave for Tom Grant.
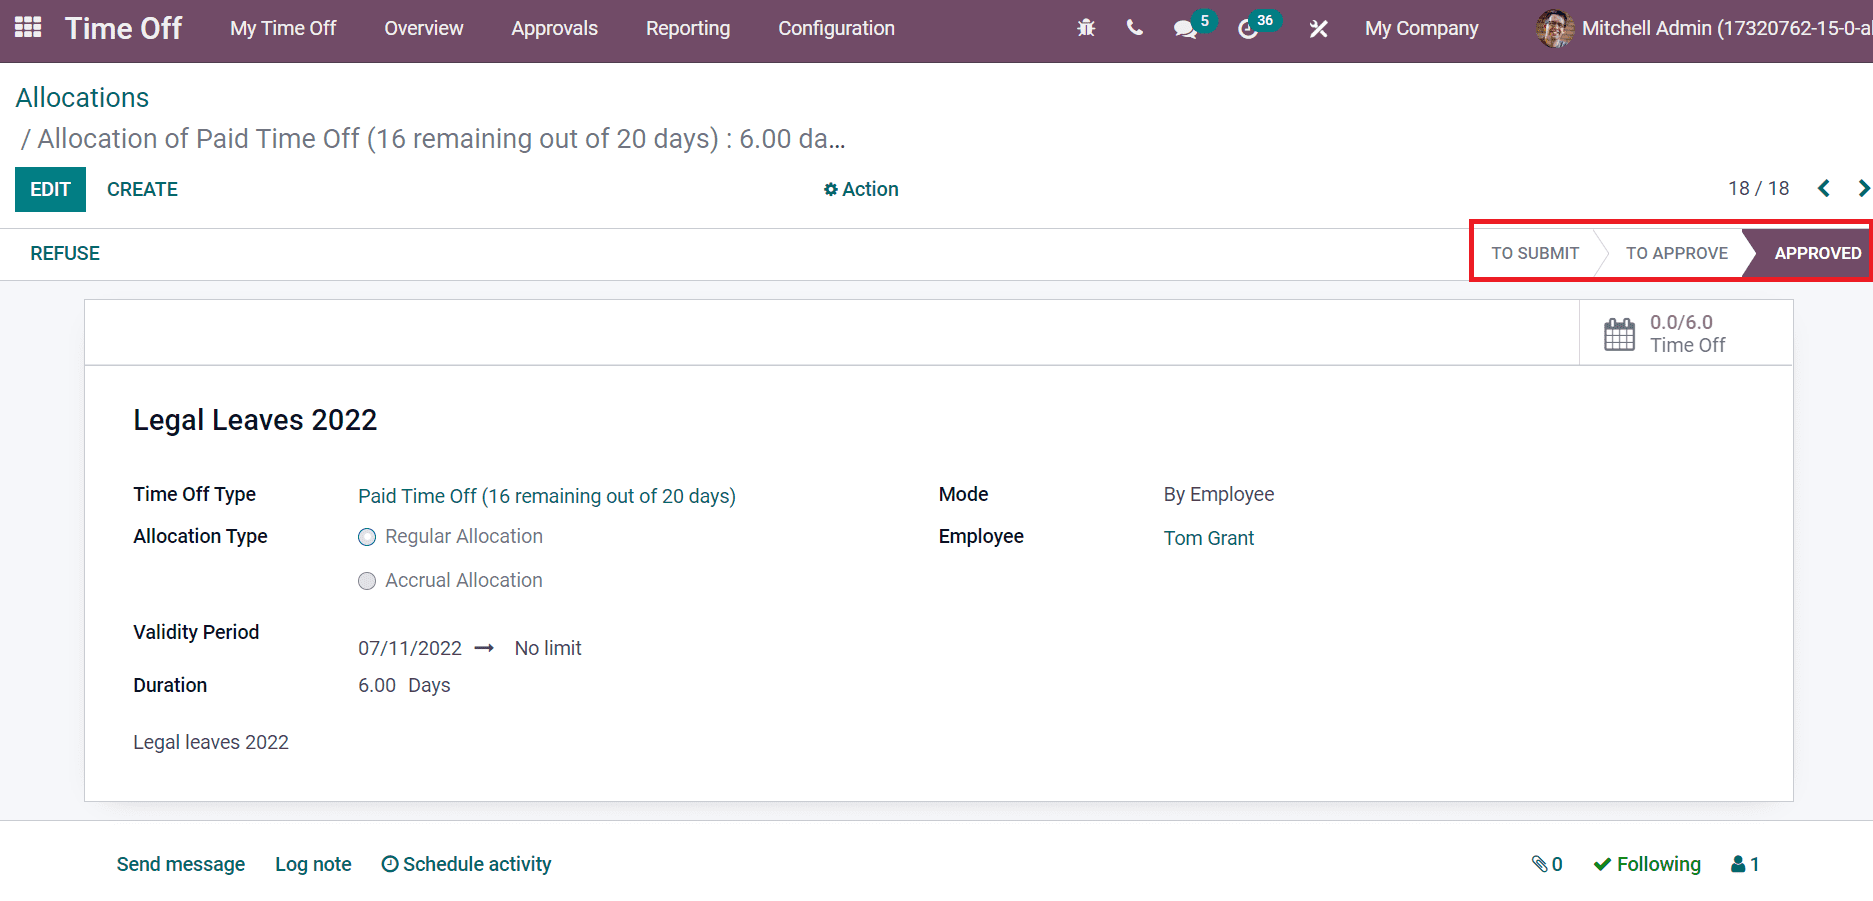
After the approval, the user can see that the stage changed from To SUBMIT to APPROVED.
Look at the below blog link to get an idea about Odoo 15 Time Off allocations
Odoo 15 Approvals
Employees can add requests for company purposes, and managers review them directly from the Odoo 15 Approvals module. An overview of rejected or approved approvals data is accessible for users with the Approvals module tools. Consider a case in which Tom Grant likes to request his manager without going to the manager’s office. An employee can use the Odoo 15 Approvals application to ask any requests for a manager. Odoo 15 Approval module shows different types of requests made by an employee.
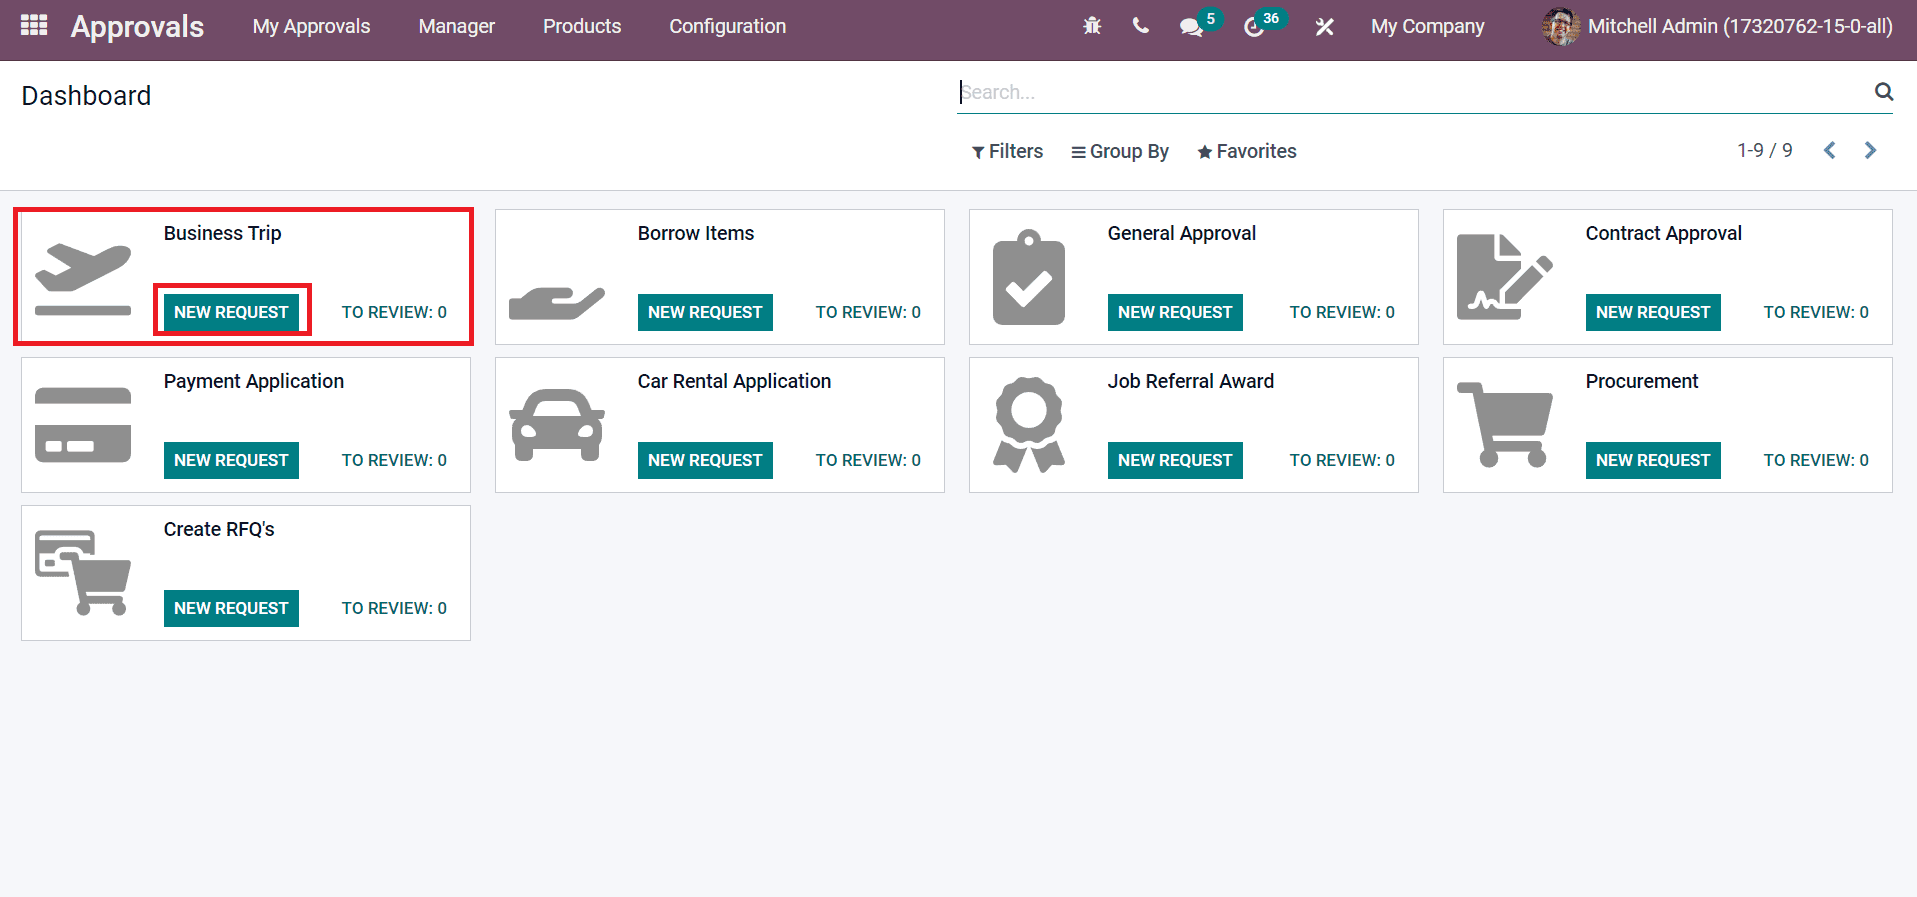
Consider an instance in which Tom decides to go on a business trip as a part of work. For that, select the NEW REQUEST button to generate a new business trip request for Tom Grant, as shown in the above screenshot. In the new window, you can see the Approval Subject as Business Trip and choose the Request owner as Tom Grant, as in the screenshot below.
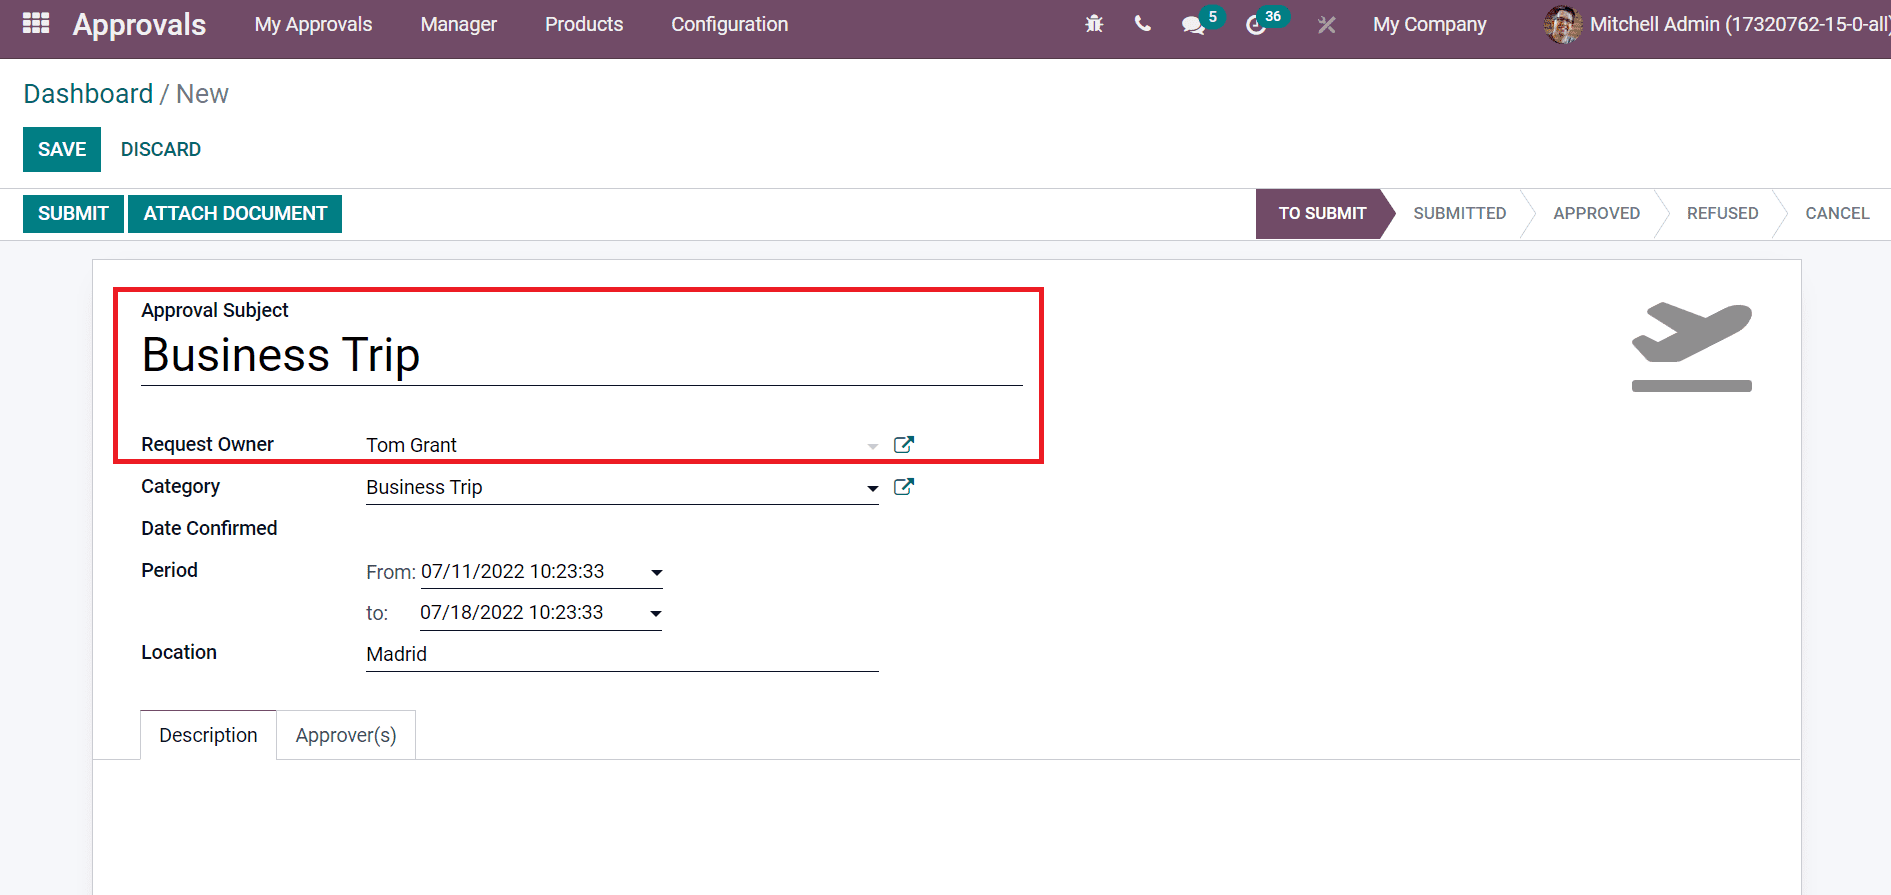
You can add the confirmed start and end date inside the Date Confirmed field and enter your trip location name.
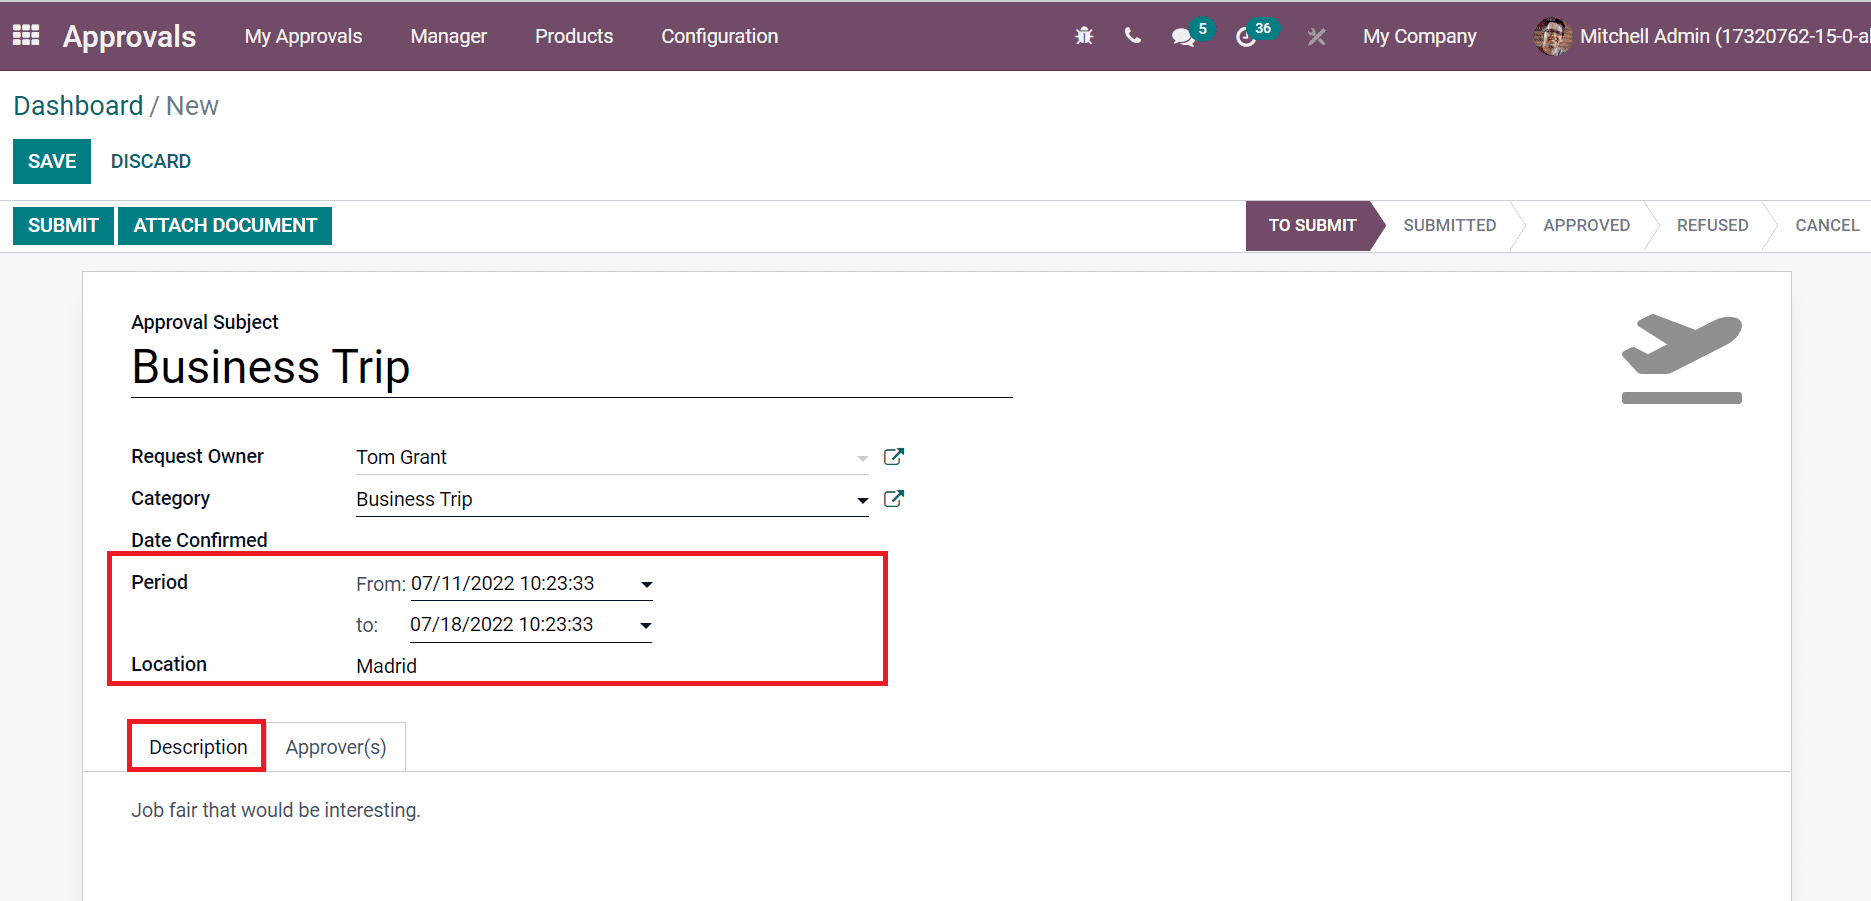
Users can enter details about their business trip below the Description field. After saving the information, you can give it to the manager by clicking on the SUBMIT icon, as portrayed in the screenshot below.
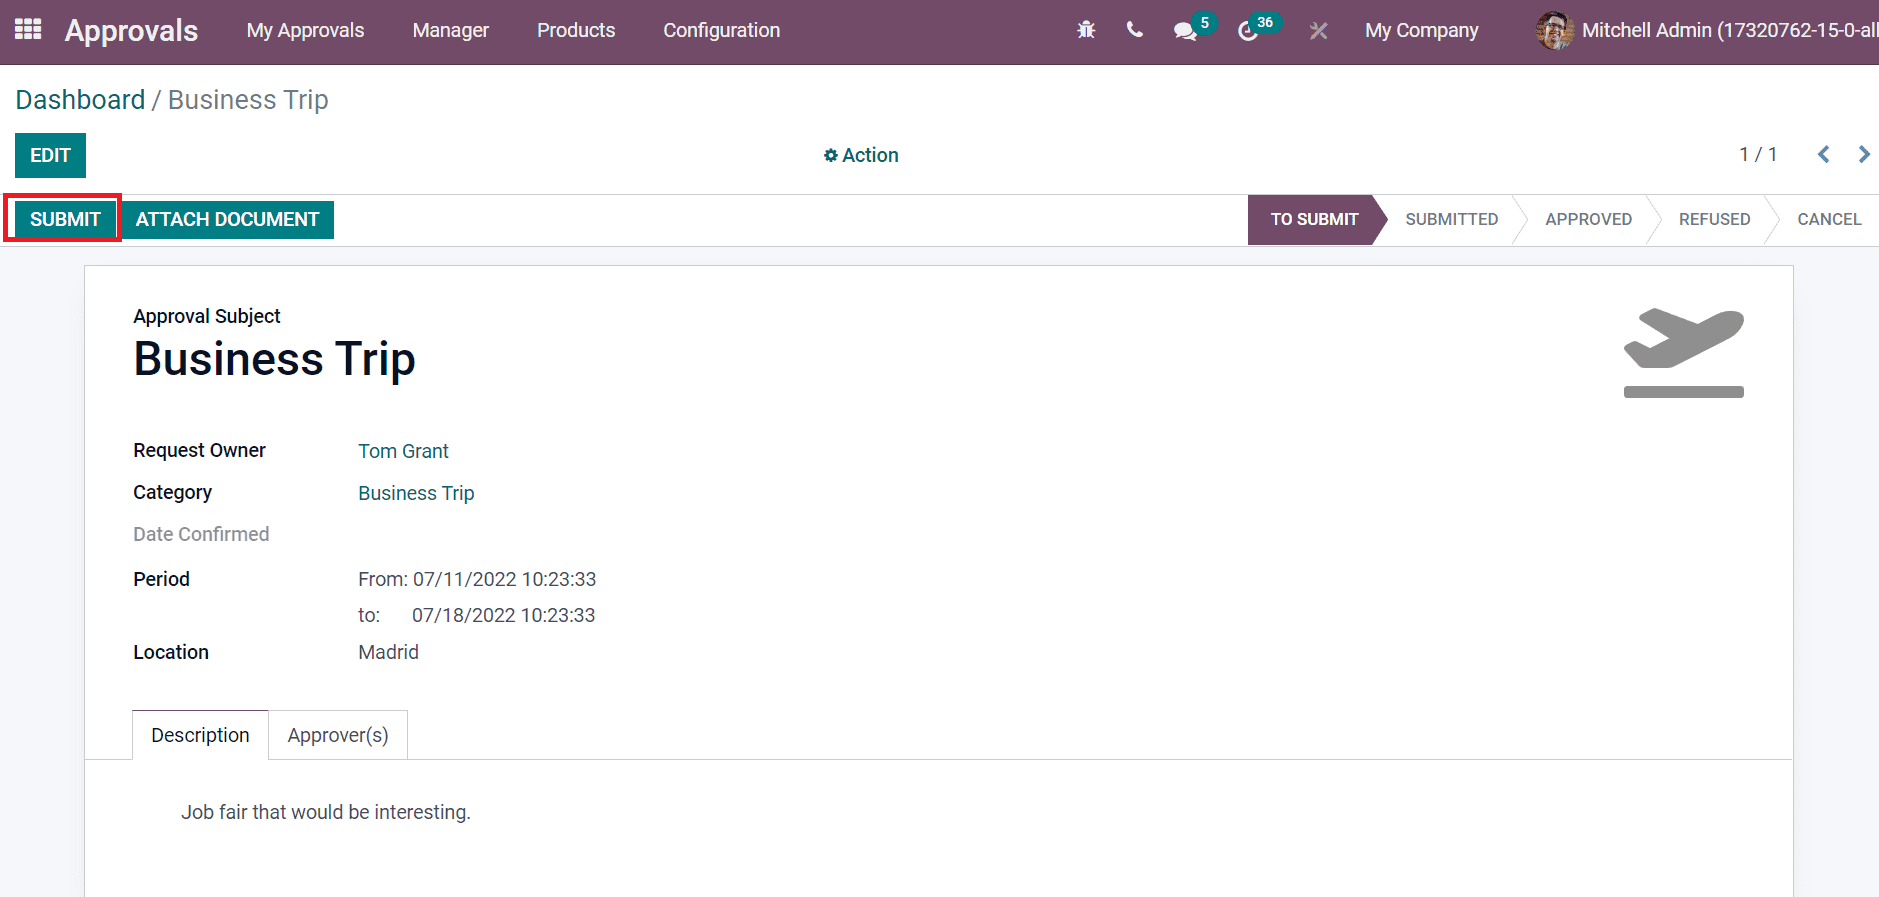
Managers can approve your request from the Approvals to Review menu inside the Managers tab. After a manager approves a request, an employee can see that stage changes from To SUBMIT to APPROVED as available in the All Approvals widow.
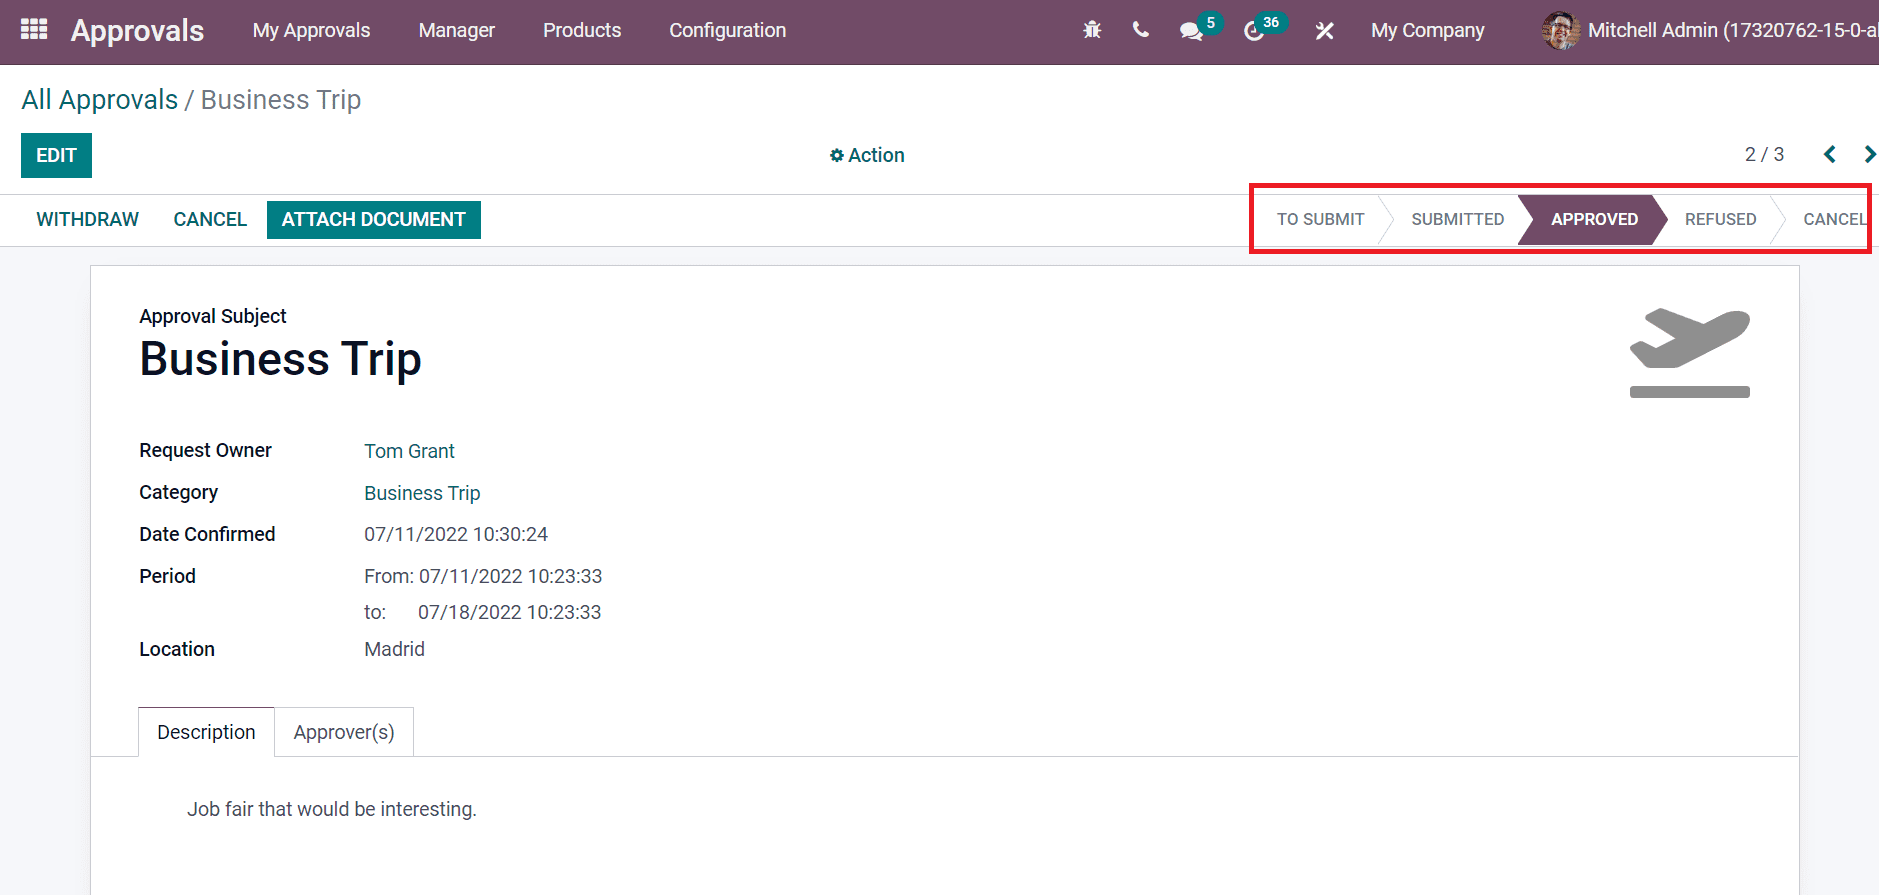
Hence, any request of an employee is approved quickly by a manager within the Odoo 15 Approvals module.
Employee management becomes easy through various integrated applications in Odoo, such as Approvals, Fleet, Time Off, and Employees. It is easy to configure details of all employees in a firm quickly within the Odoo database. Check out the given below link to learn about Odoo 15 Employees Module.


