A business operation that explains all dealings and transactions within a specific company for 12 months is referred to as a fiscal period. Accounting for all matters in a firm over the course of a year is considered a fiscal year. Calculating taxes and financials within an organization is made easy through fiscal period evaluation. Most companies set the fiscal year for financial statement processing and accounting requirements. One of the unavoidable parts of a business is closing the ledgers and accounts at year-end. Users can manage the fiscal period by implementing ERP software into your system. Odoo 16 Accounting module ensures you set the budgetary periods of a company rapidly.
This blog helps you set fiscal years for your company using the Odoo 16 Accounting module.
A company’s opening and closing dates are necessary parts of its fiscal year. Most of the time, it begins on January 1 and closes on December 31. Verifying invoices, balance sheets, revenues, and more is essential before generating statements or ending the fiscal year.
Activate Fiscal Year Feature within Odoo 16 Accounting
Odoo 16 guides users to manage the business using fiscal year terminology. Specifying fiscal year-end dates based on month or year is easy, and you can modify them quickly within the Odoo 16 Accounting module. Users can enable the Fiscal Year feature by clicking on the Settings menu in Configuration. Enable the Fiscal Years field inside the Fiscal Periods section in the Settings window, as denoted in the screenshot below.
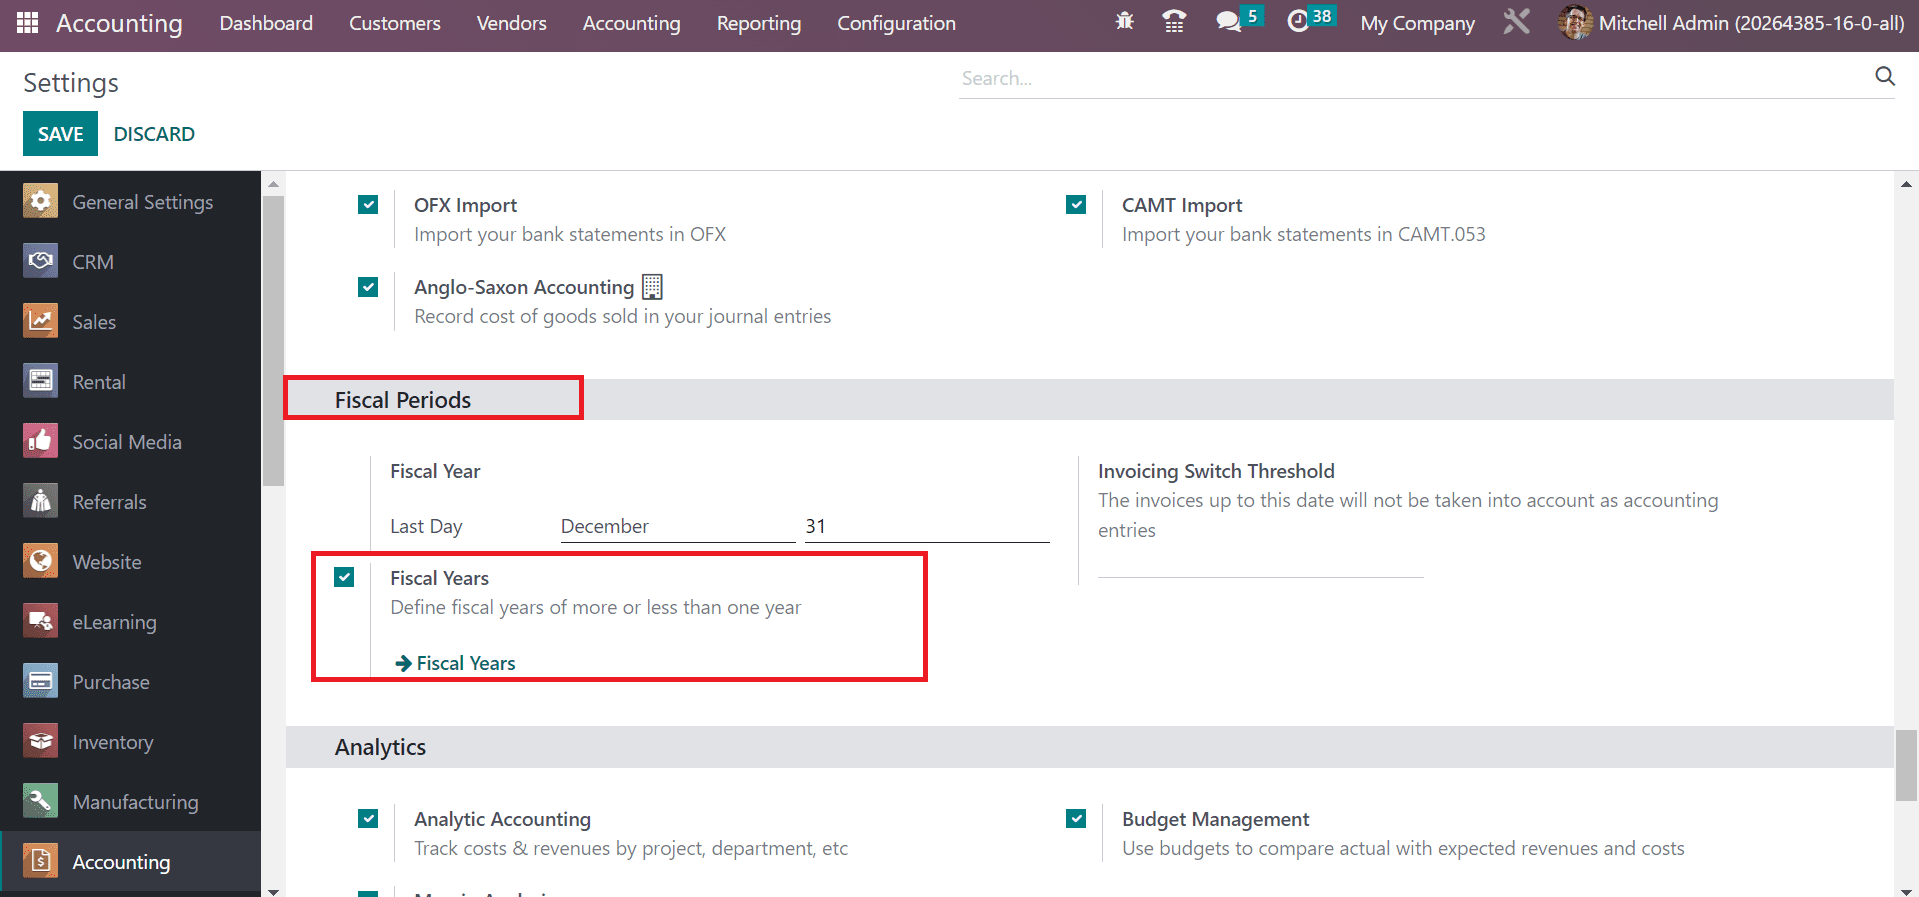
We can describe the fiscal years as more or less than one year after activating the fiscal years feature. Moreover, you can add a fiscal year-end date in the Last Day option below the Fiscal Year section. It sets as December 31 by default, and possible to change the date based on your workflow.
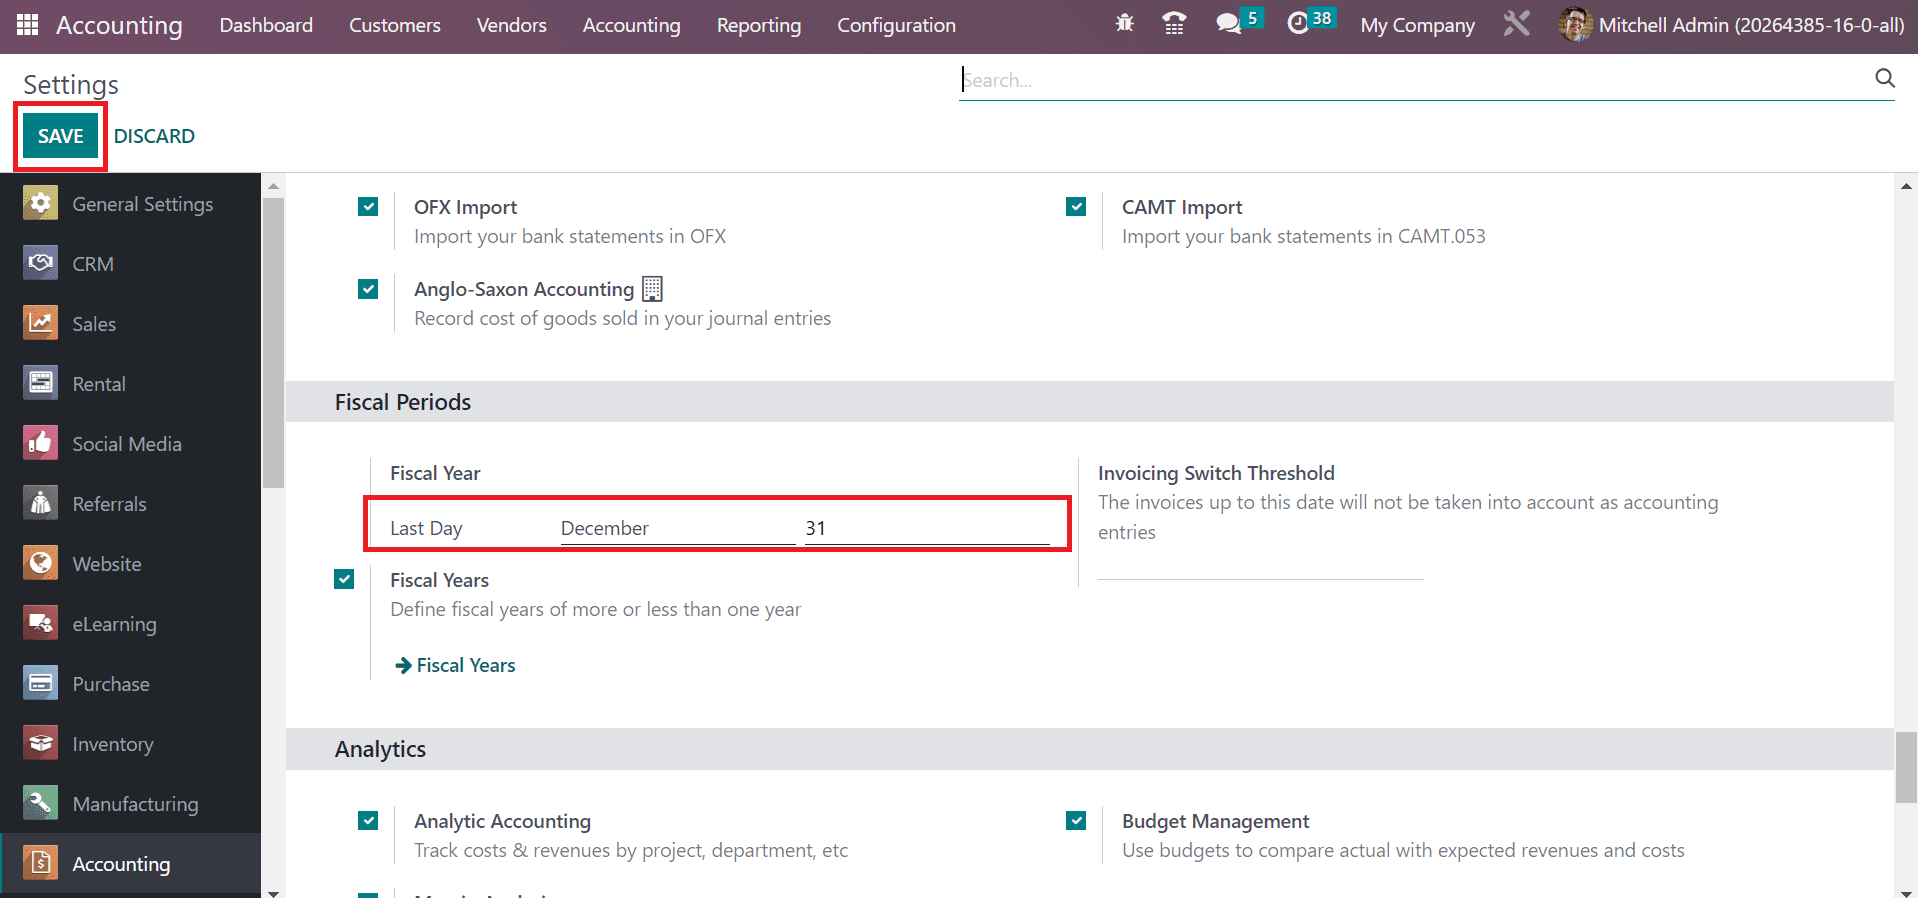
Click the SAVE button after applying the necessary changes related to fiscal periods.
How to Generate a Fiscal Year in the Odoo 16 Accounting?
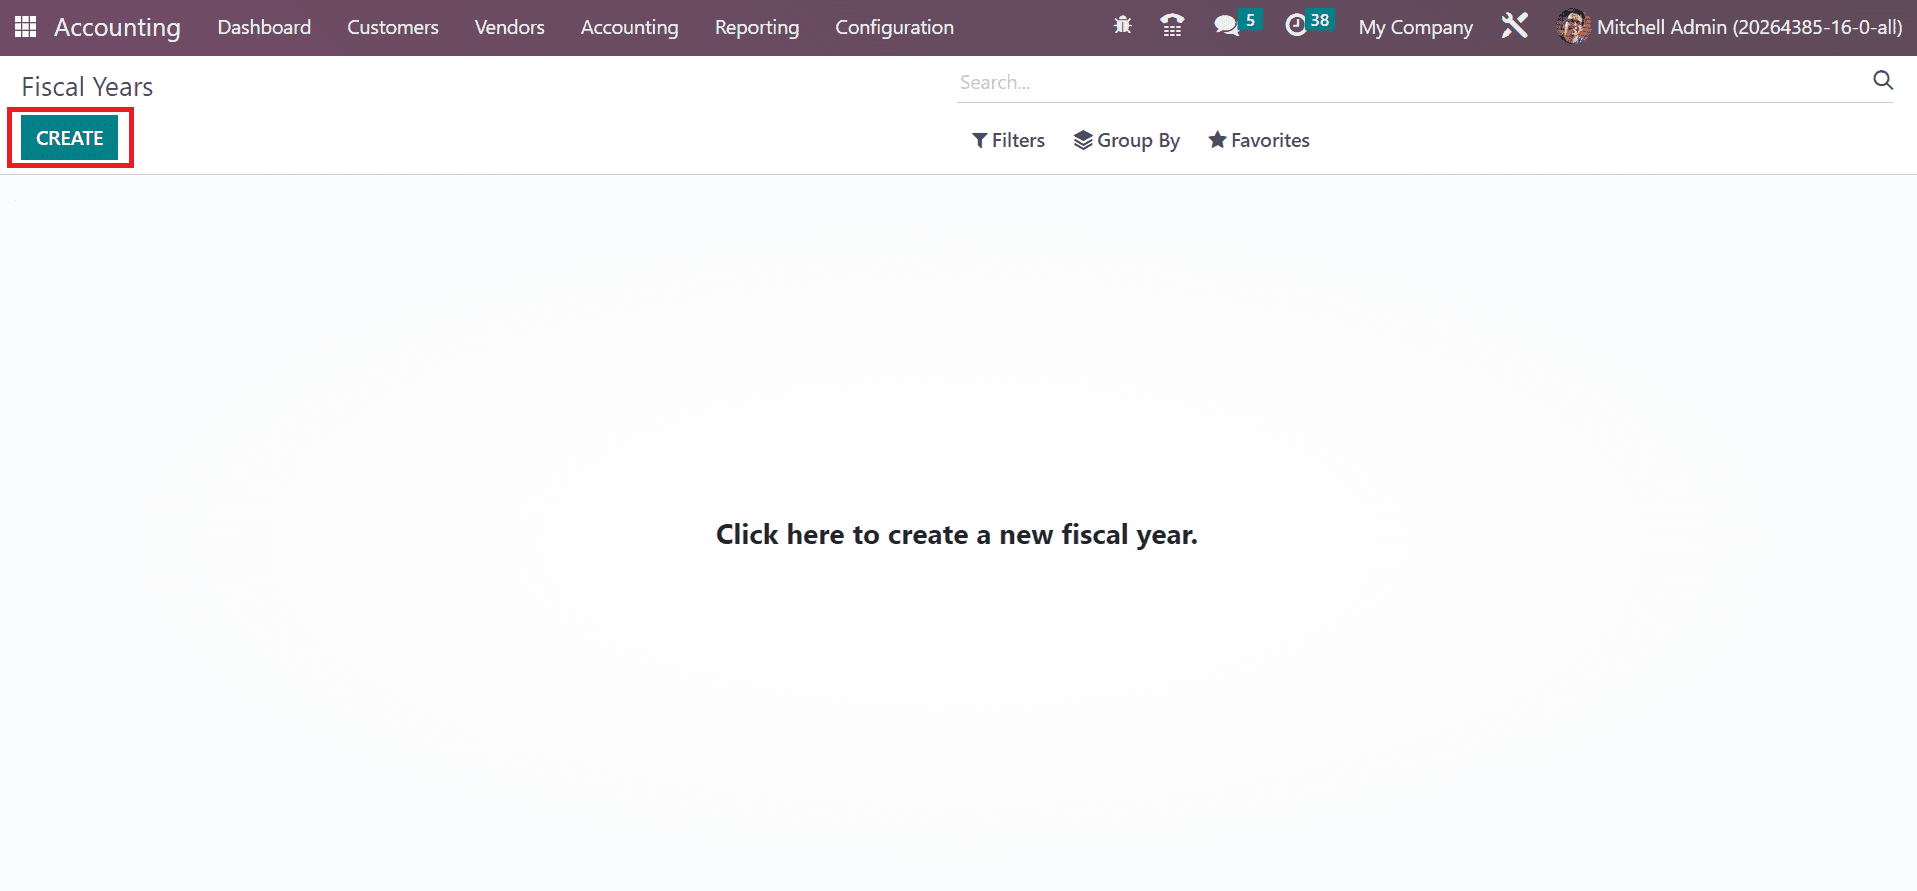
We can configure a new fiscal year by choosing the Fiscal Year menu in the Configuration tab. To define a new one, click the CREATE button in the Fiscal Year window, as specified in the screenshot below.
In the new screen, enter the title of the fiscal year in the Name field. In addition, enter the beginning date of the fiscal year in the Start Date field, as demonstrated in the screenshot below.
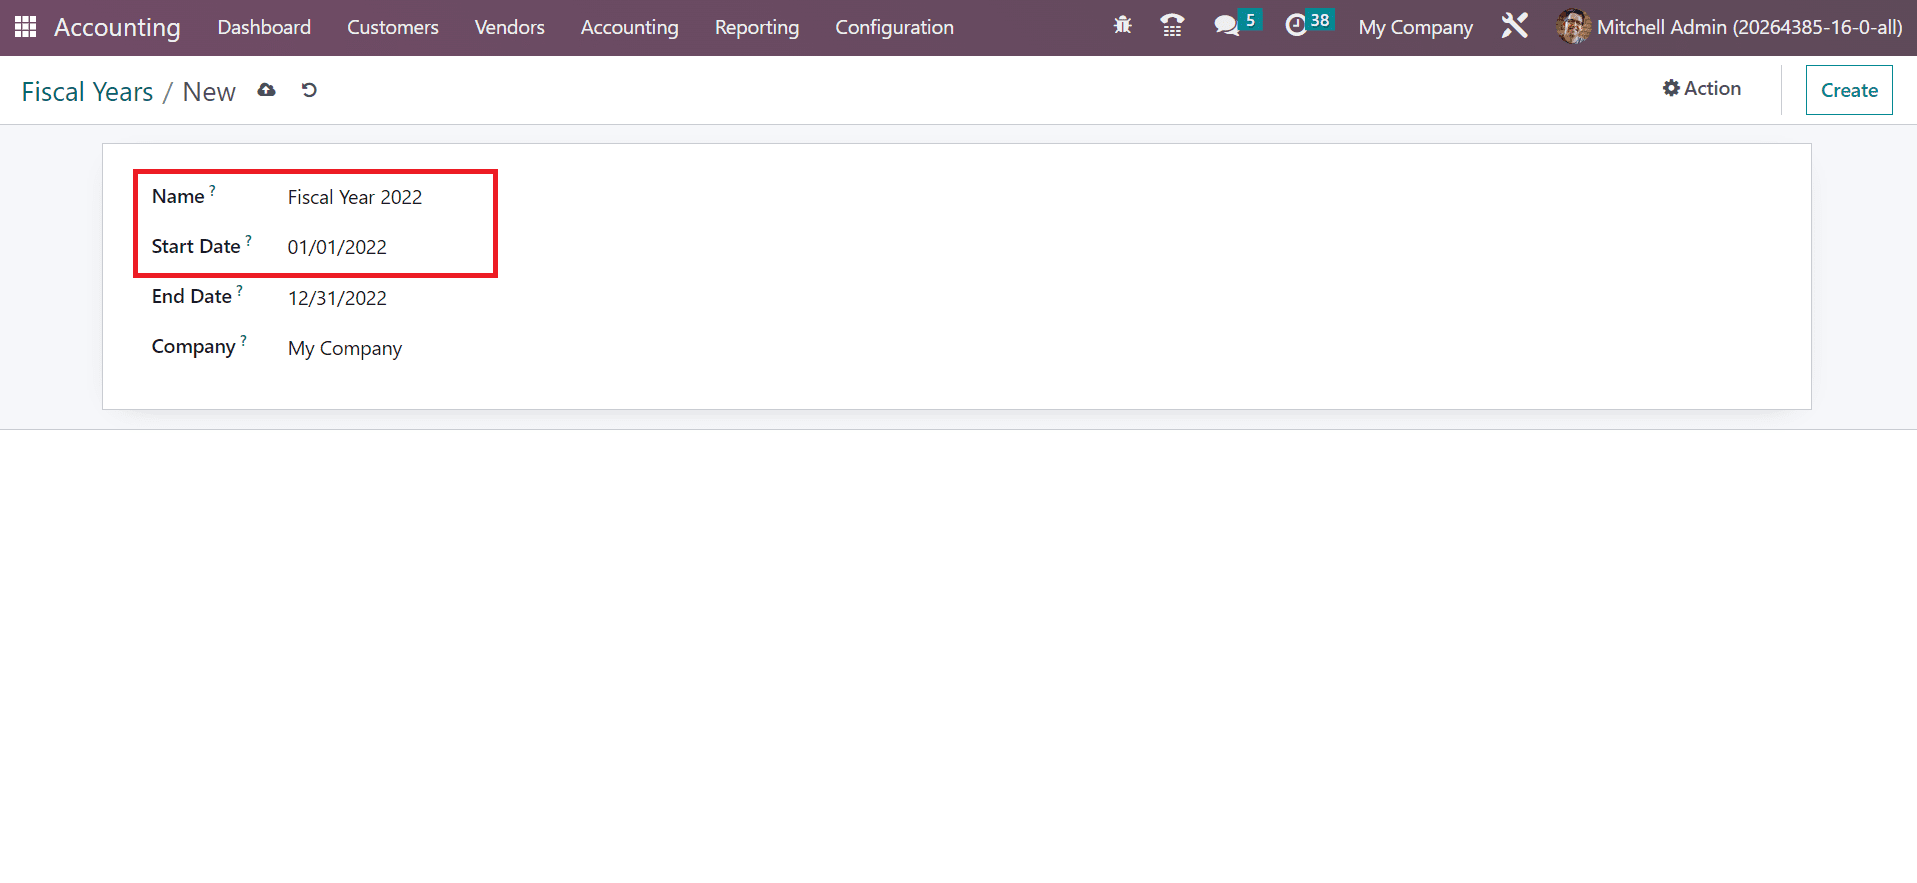
Here, we select the start date as January 1, 2022. Next, mention the last date of the fiscal year in the End Date field; we added it as December 31, 2022. Furthermore, choose your firm name within the Company field, as described in the screenshot below.
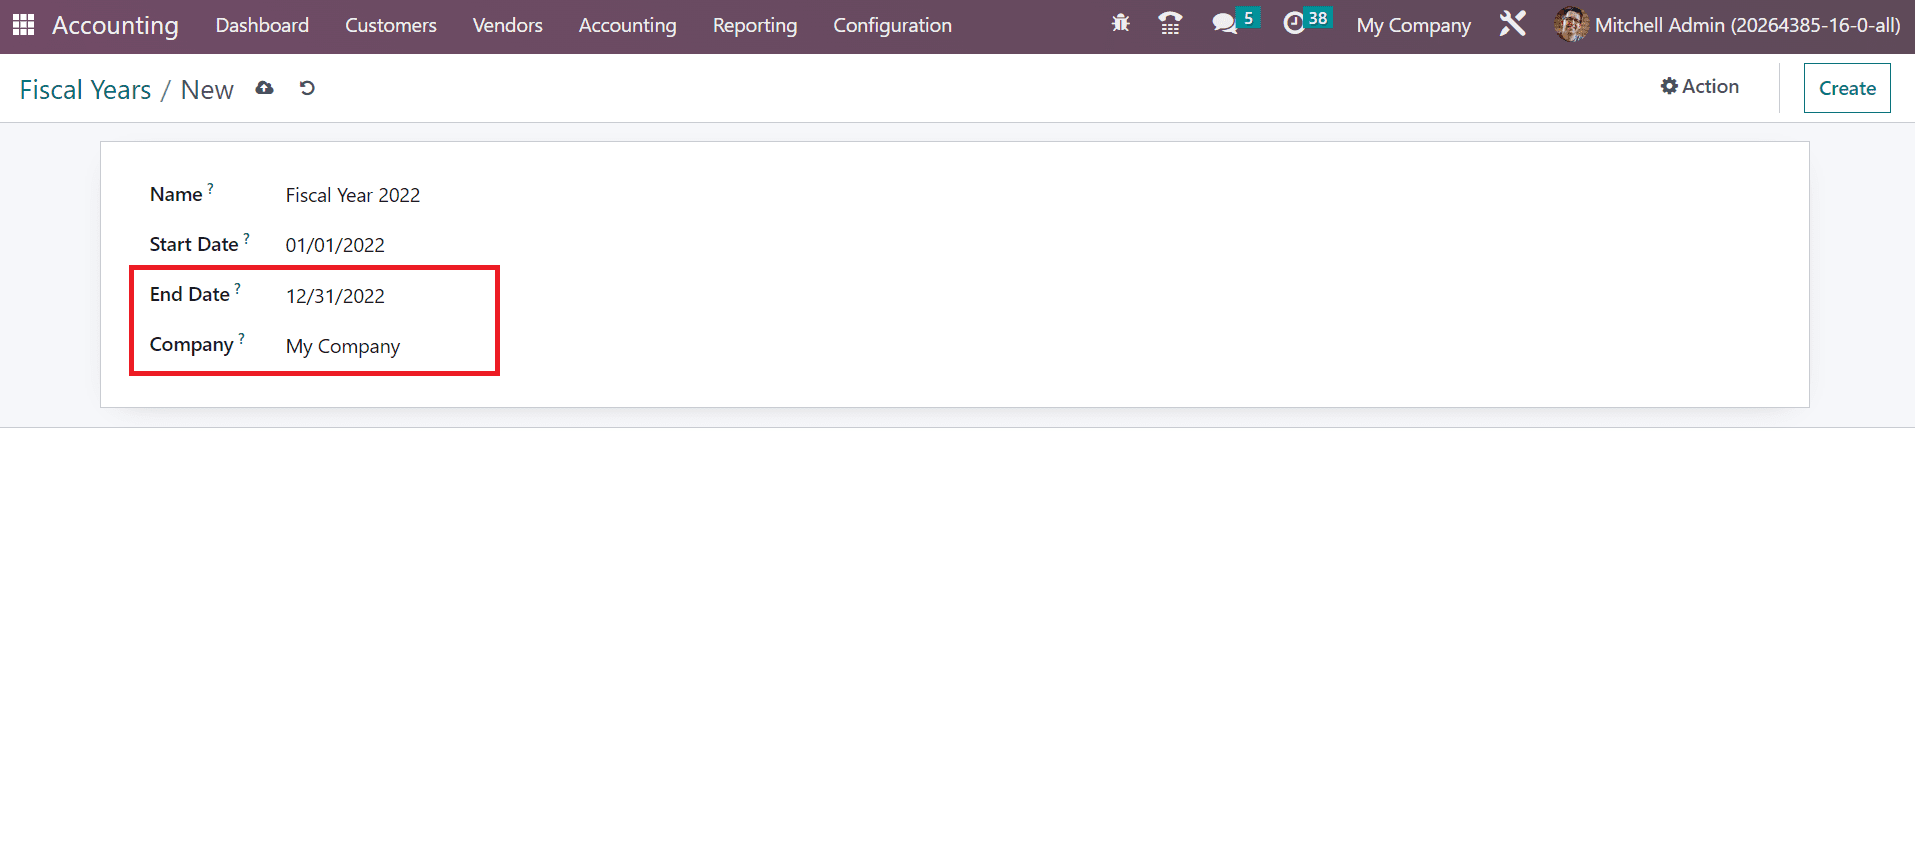
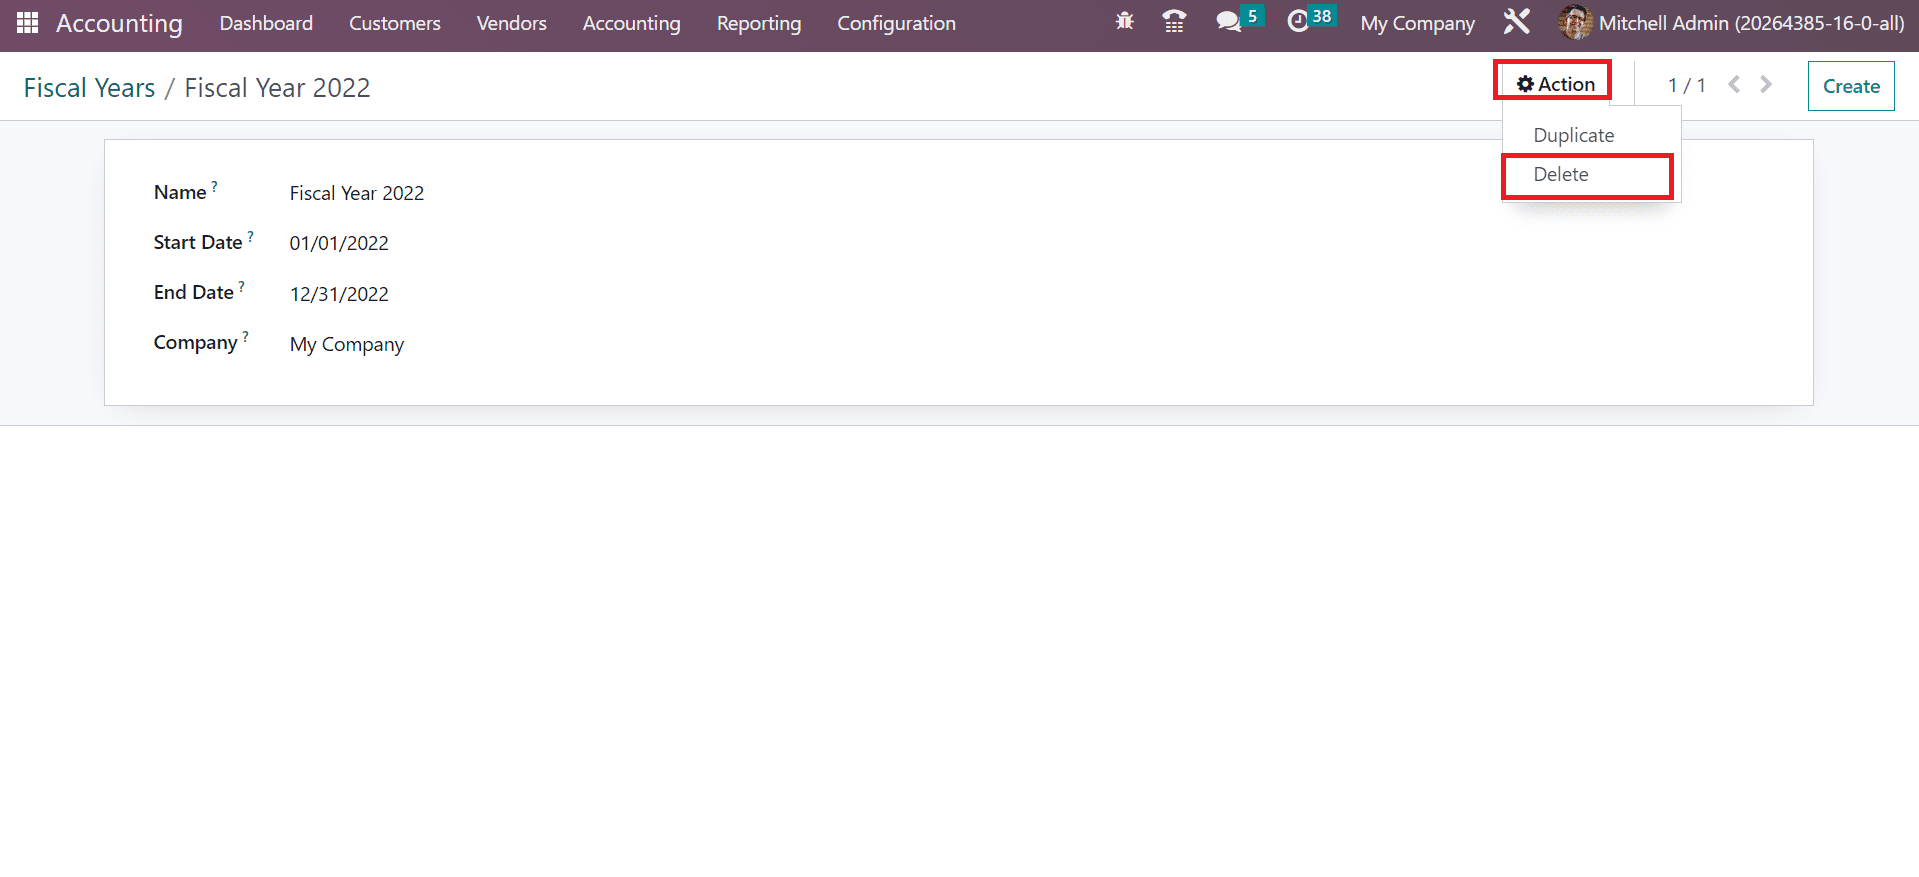
All the details concerning the fiscal year are saved automatically in Odoo 16. Click the discard arrow mark at the top of the window to discard the changes. Choose the Delete button inside the Action menu to delete the fiscal year, as displayed in the screenshot below.
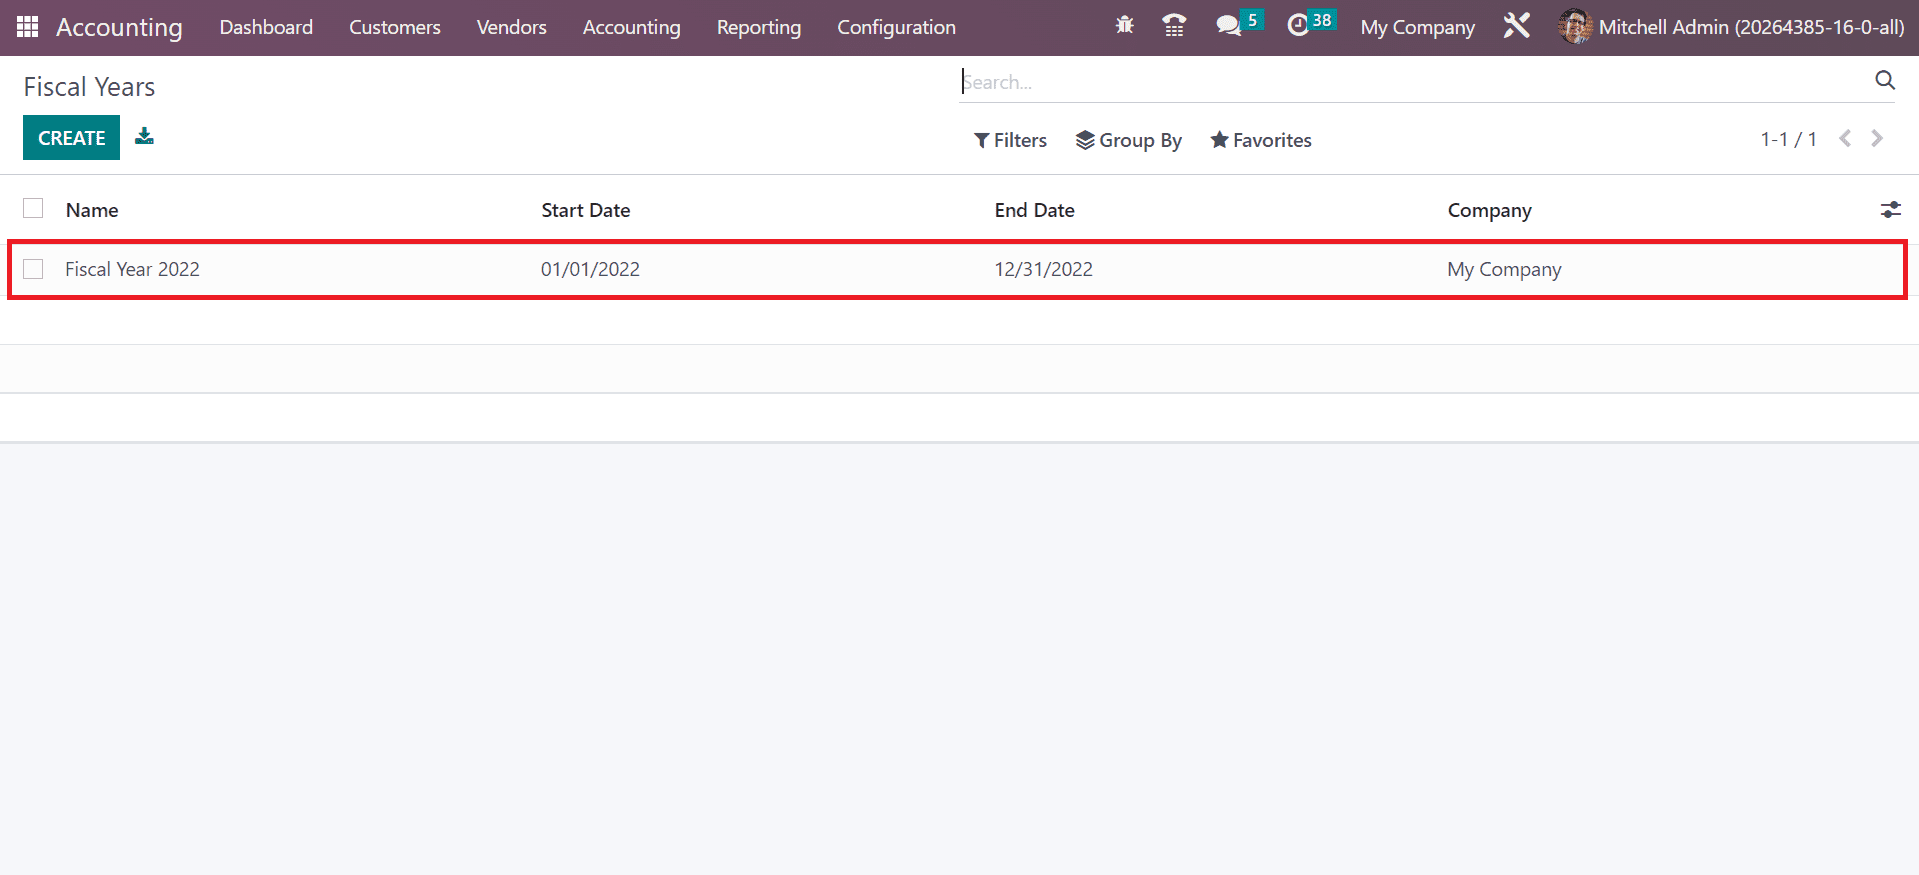
The created year information is accessible within the main Fiscal Years window. So, it is easy to set up the fiscal year data of your firm using the Odoo 16 Accounting module.
To Close your Fiscal Year in the Odoo 16 Accounting
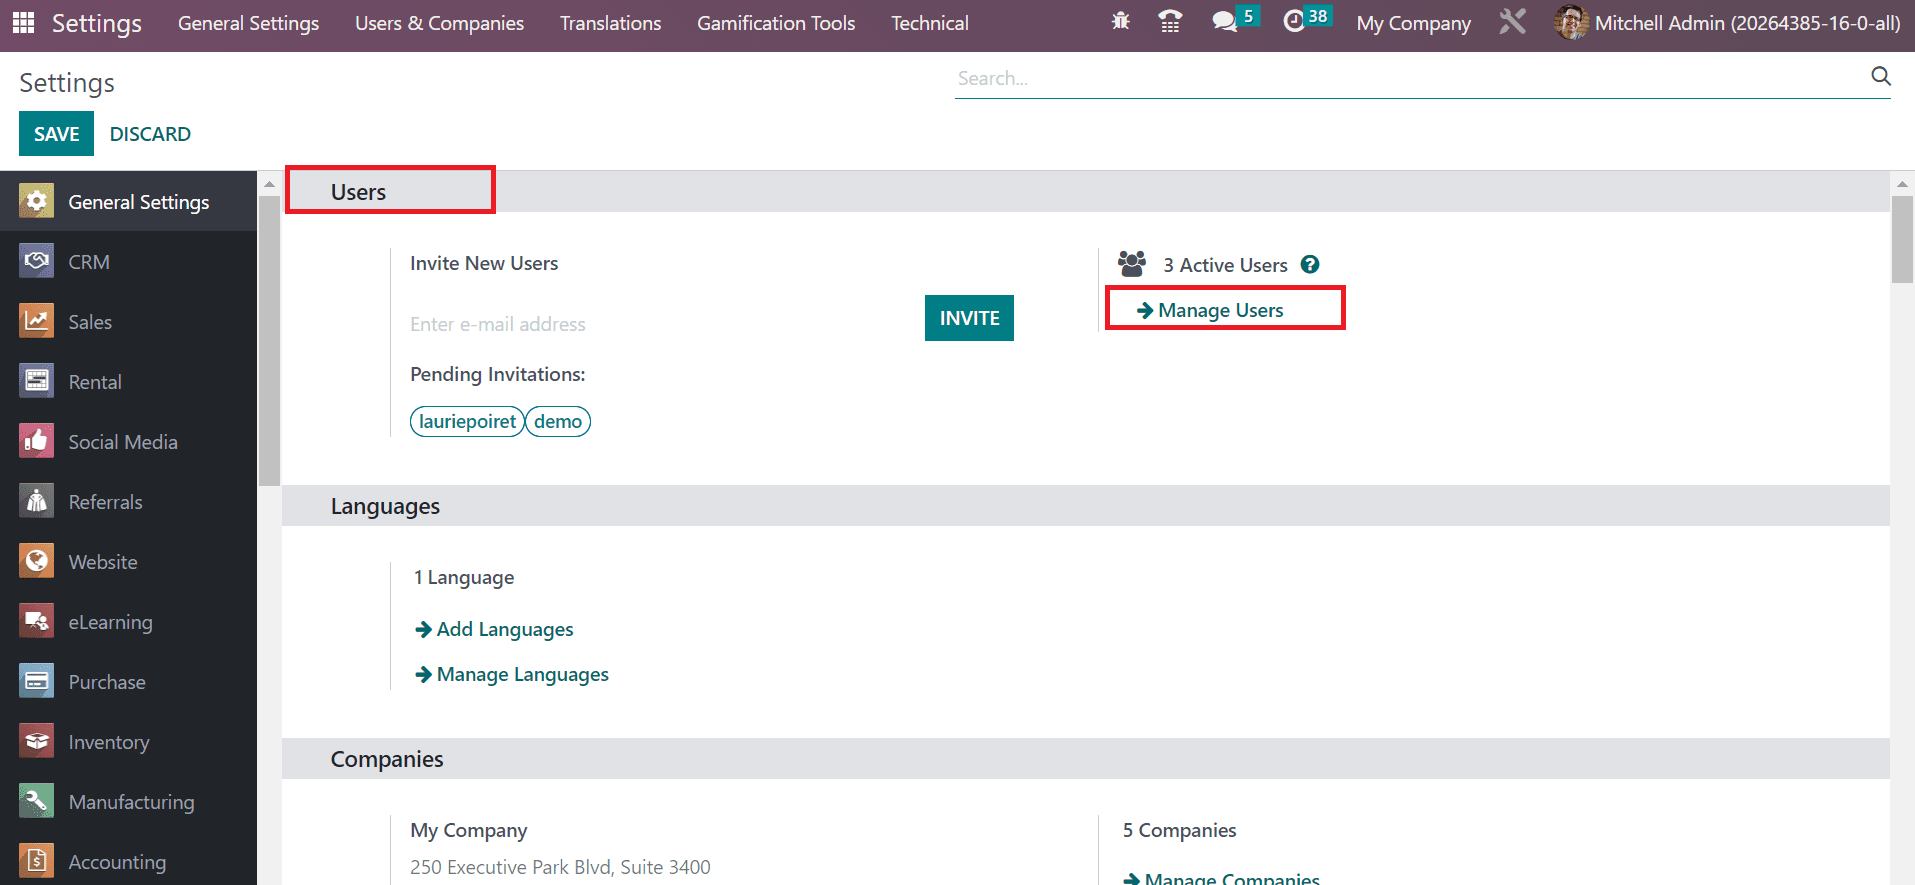
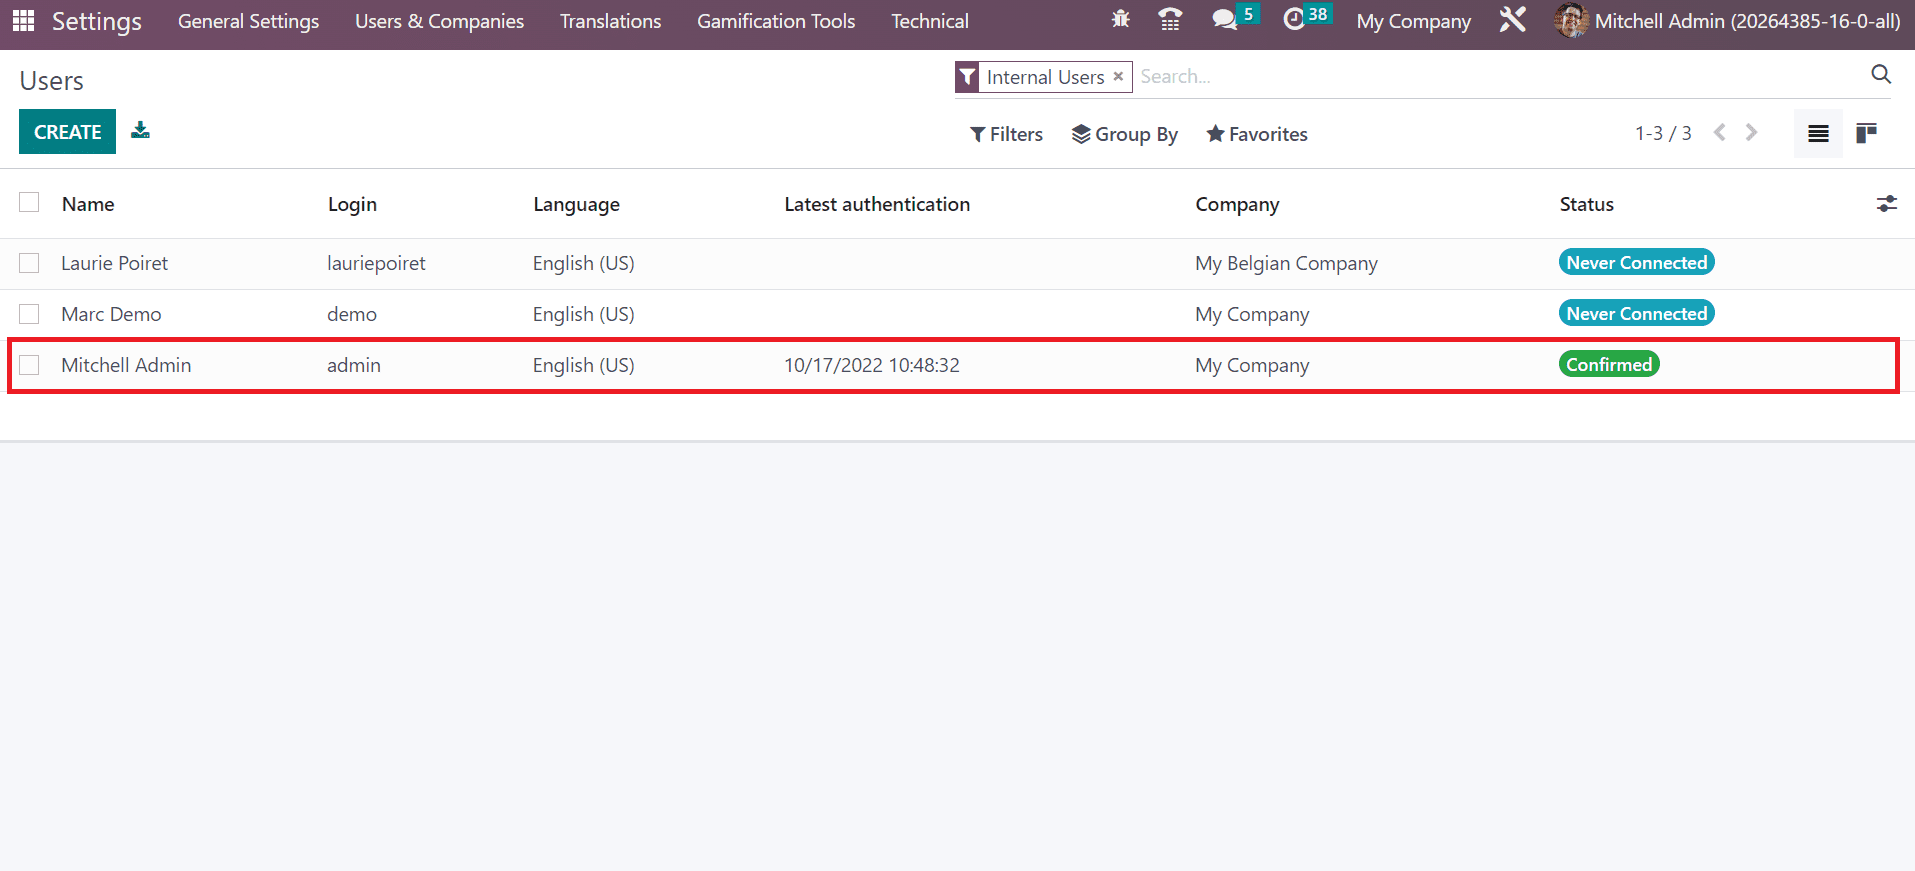
Before closing a fiscal year, the user must consider some requirements, such as verifying customer invoices, validating revenues, confirming vendor bills, etc. You must set permission for the user in Odoo 16 Settings before closing a fiscal year. Select the General Settings tab and click the Manage Users option below the Users section, as presented in the screenshot below.
Select your user within the new window, as noted in the screenshot below.
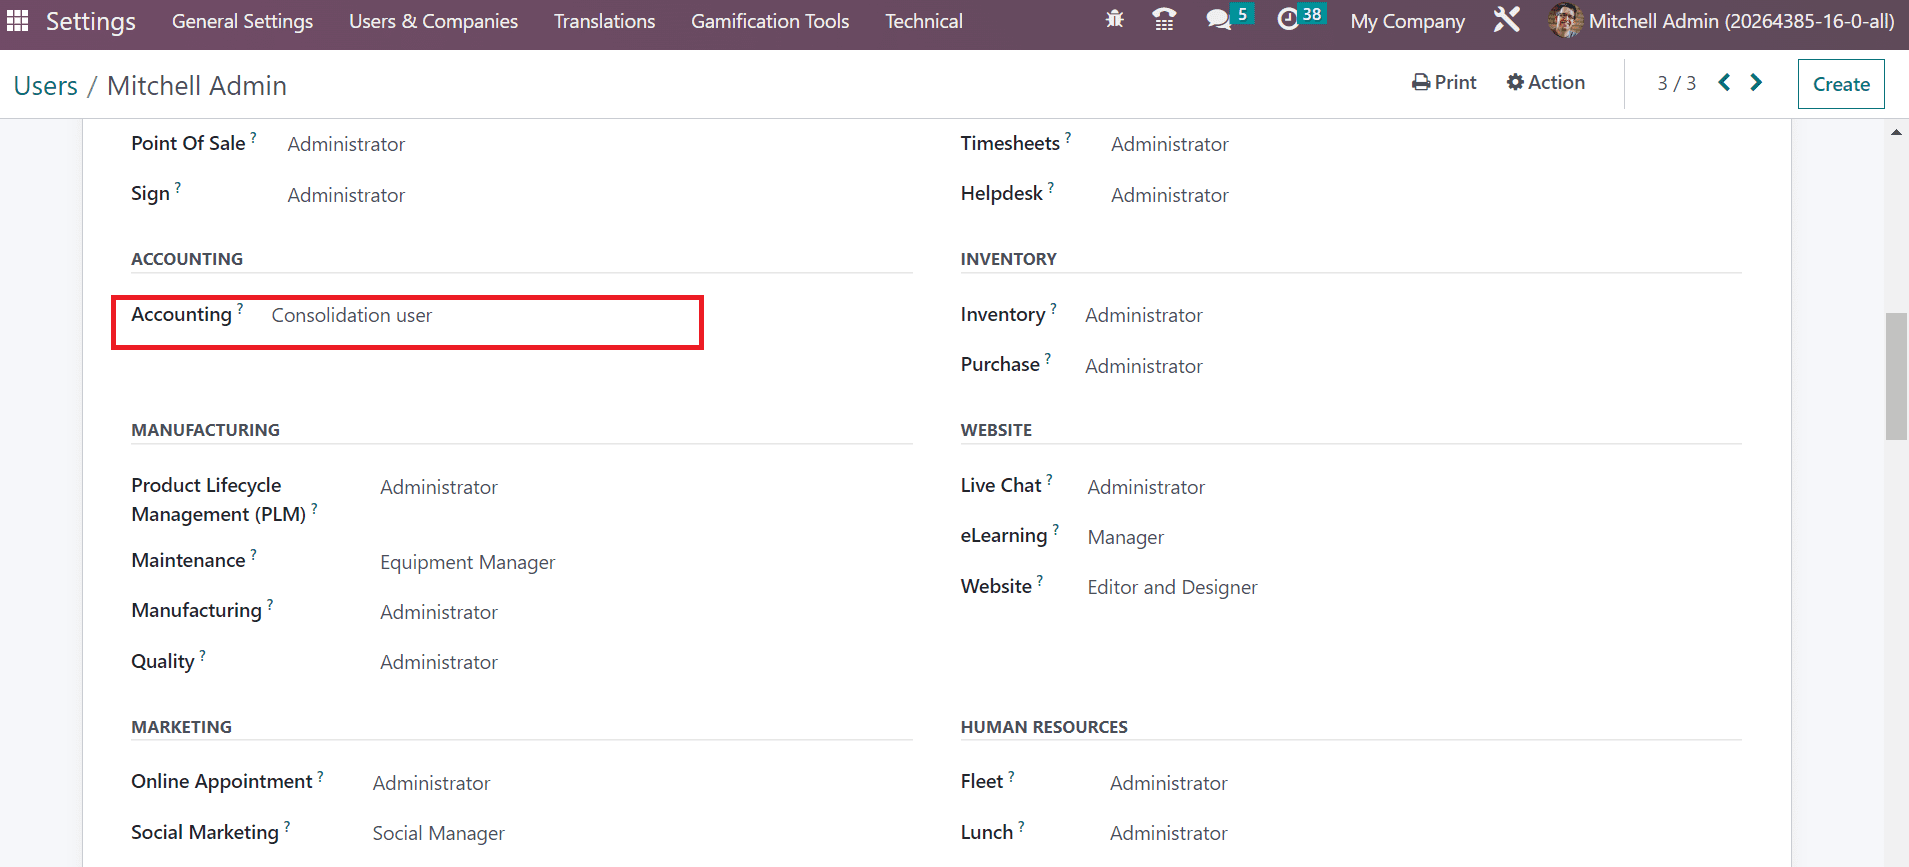
The Users can view the ACCOUNTING section below the Access Rights tab in the Users window. Choose the Consolidation user in the Accounting field of the Users window, as represented in the screenshot below.
After applying essential changes, let’s move to the Odoo 16 Accounting module. The lock date is the last date of the financial year we are closing. It is made possible by choosing the Lock Dates menu below the Actions section of the Accounting tab. An Accounting Closing Dates window appears before the user, and you can view the MANAGEMENT CLOSING section. Apply the lock date for journal entries within the Journal Entries Lock Date field below the MANAGEMENT CLOSING section, as illustrated in the screenshot below.
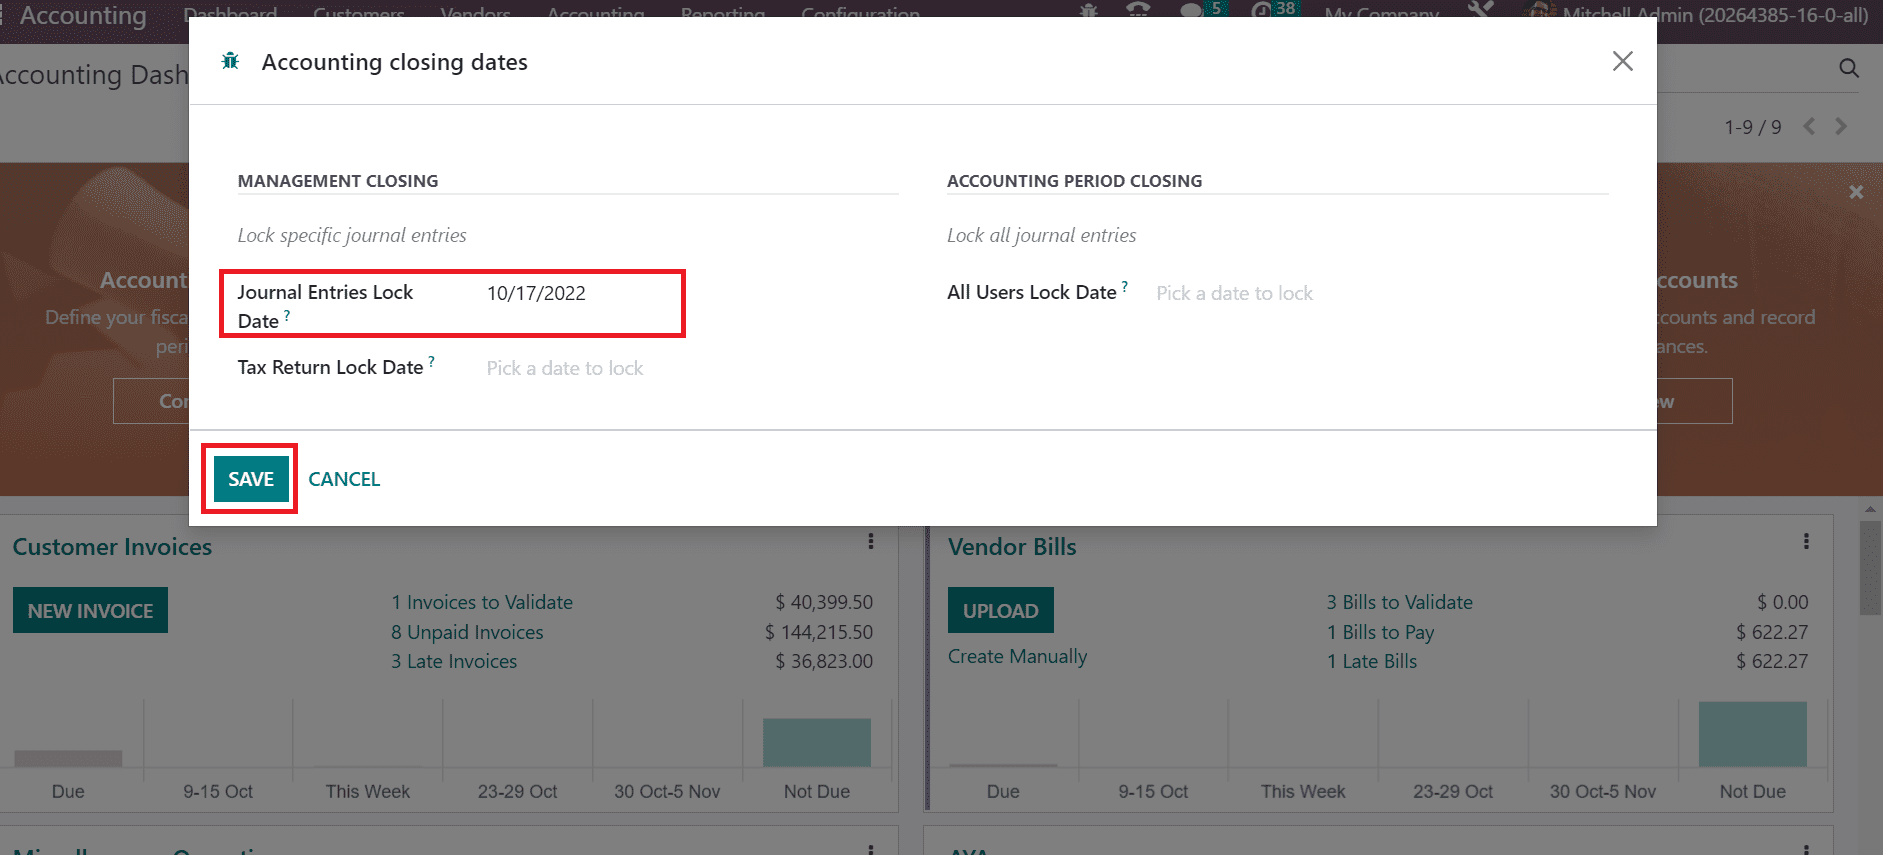
The added lock date is exempt for accountant users. After entering the date, press the SAVE button in the Accounting Closing Dates window, as shown in the screenshot above. The user must ensure that there are no unallocated earnings in the company before closing the fiscal year. To check out the unallocated earnings, select the Balance Sheet menu in the Reporting tab and filter by the expected date of the fiscal year, as exemplified in the screenshot below.
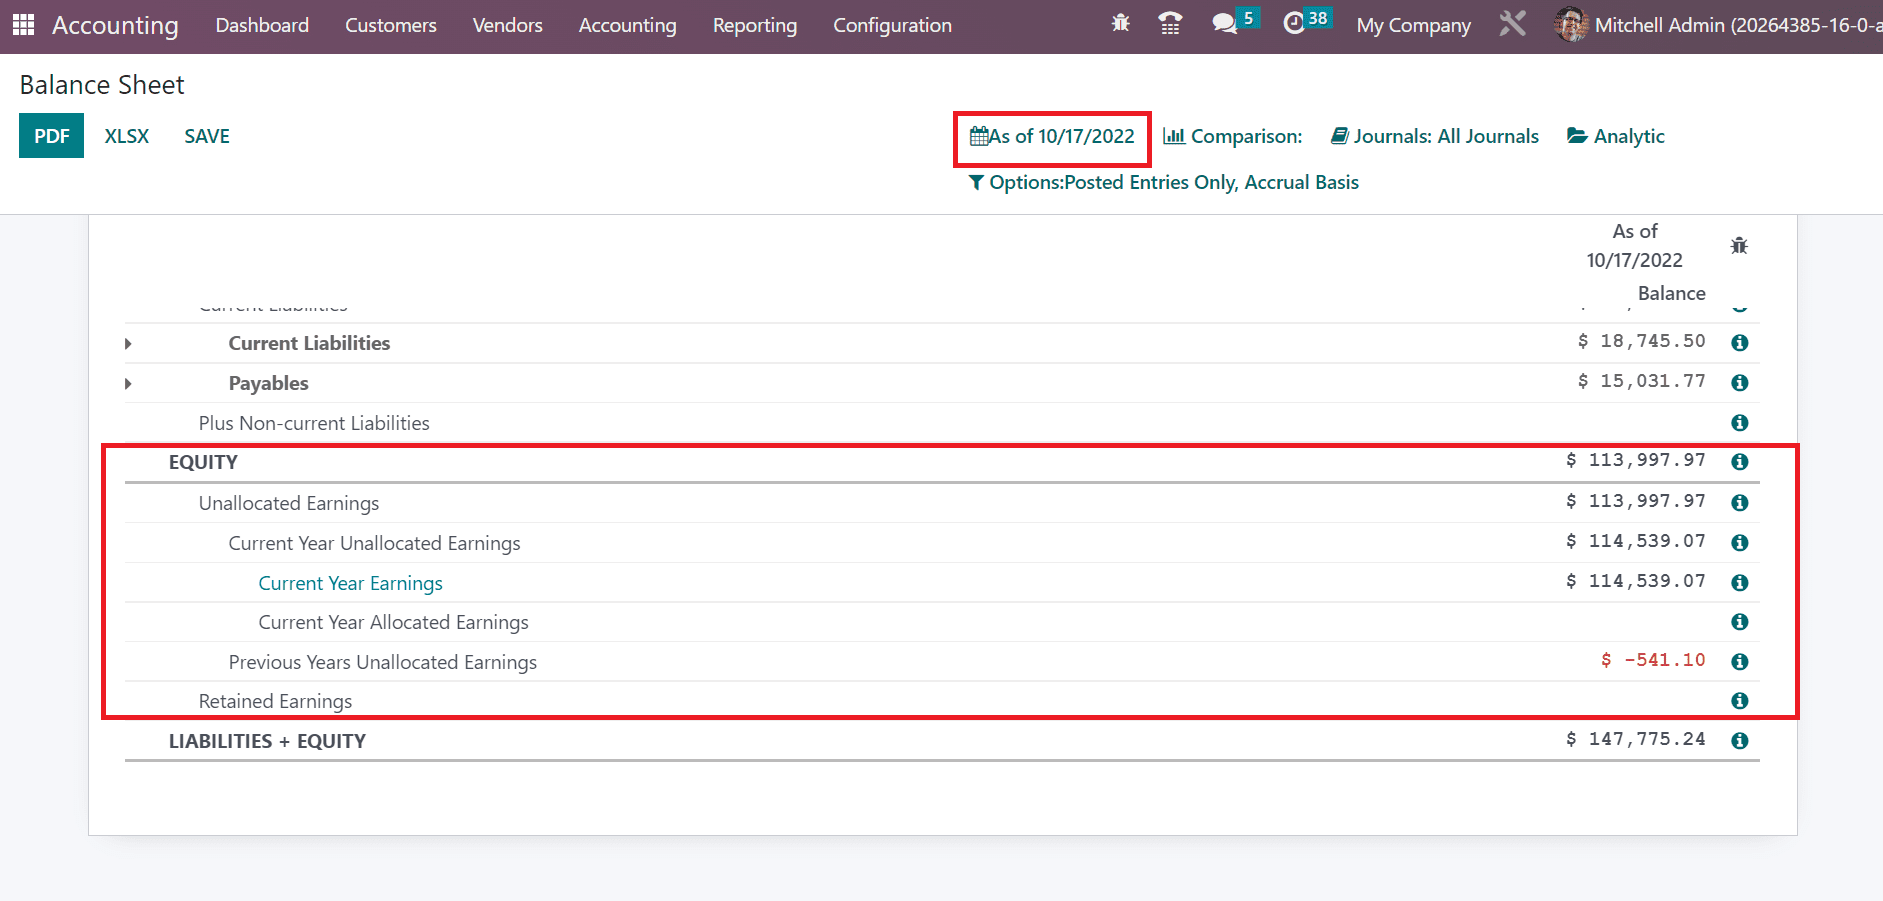
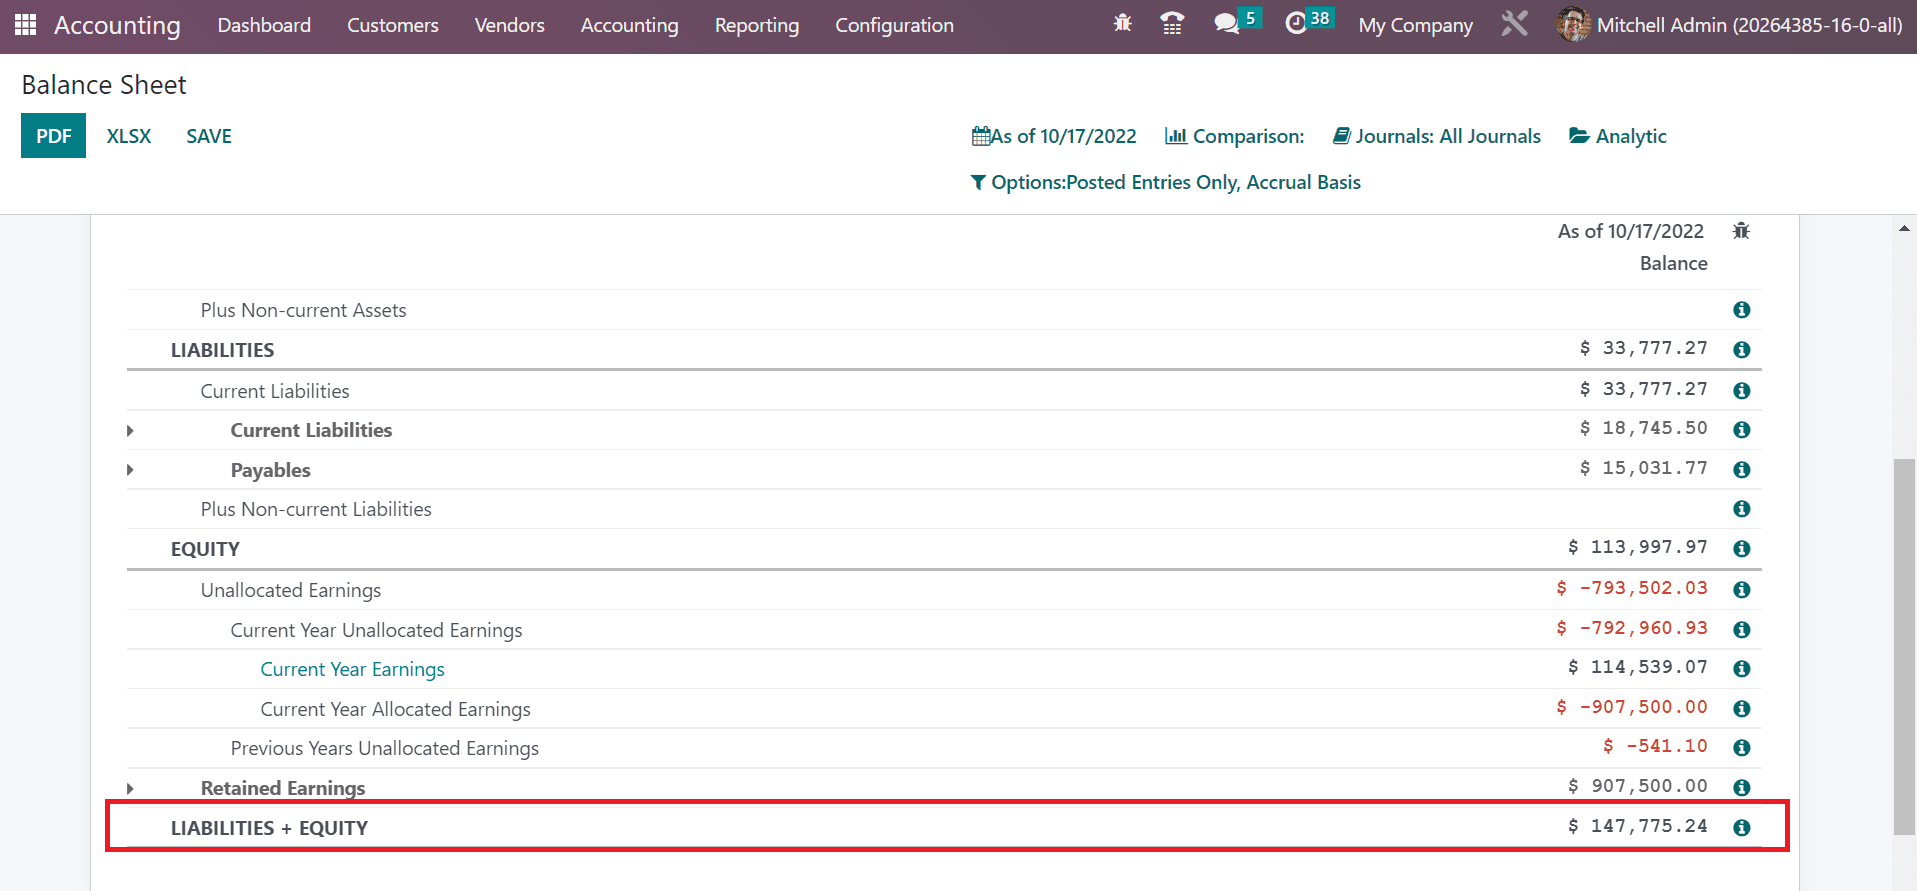
Users can access the unallocated earnings information below the EQUITY section of the balance sheet. It is vital to remove or allocate the unallocated earnings before the fiscal year closes. It would be best to create a new journal by choosing the Journal Entries menu in the Accounting tab to allocate the earnings to an account. A list of all journal entries is visible to the user, and clicking the CREATE button creates a new one.
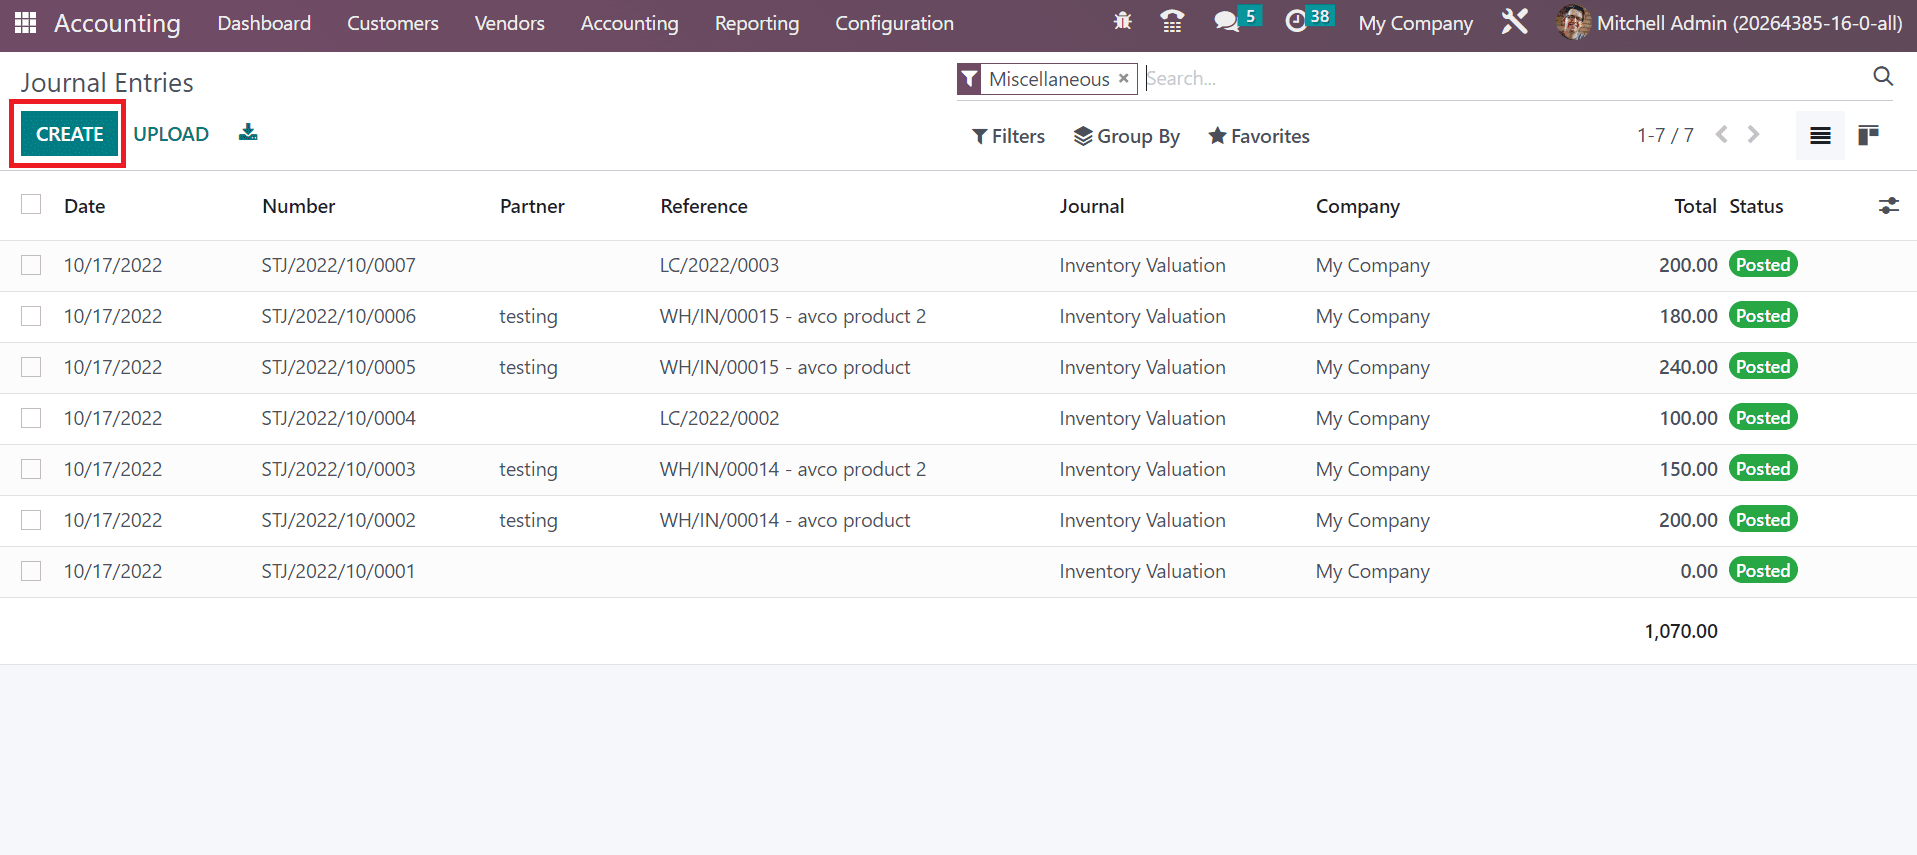
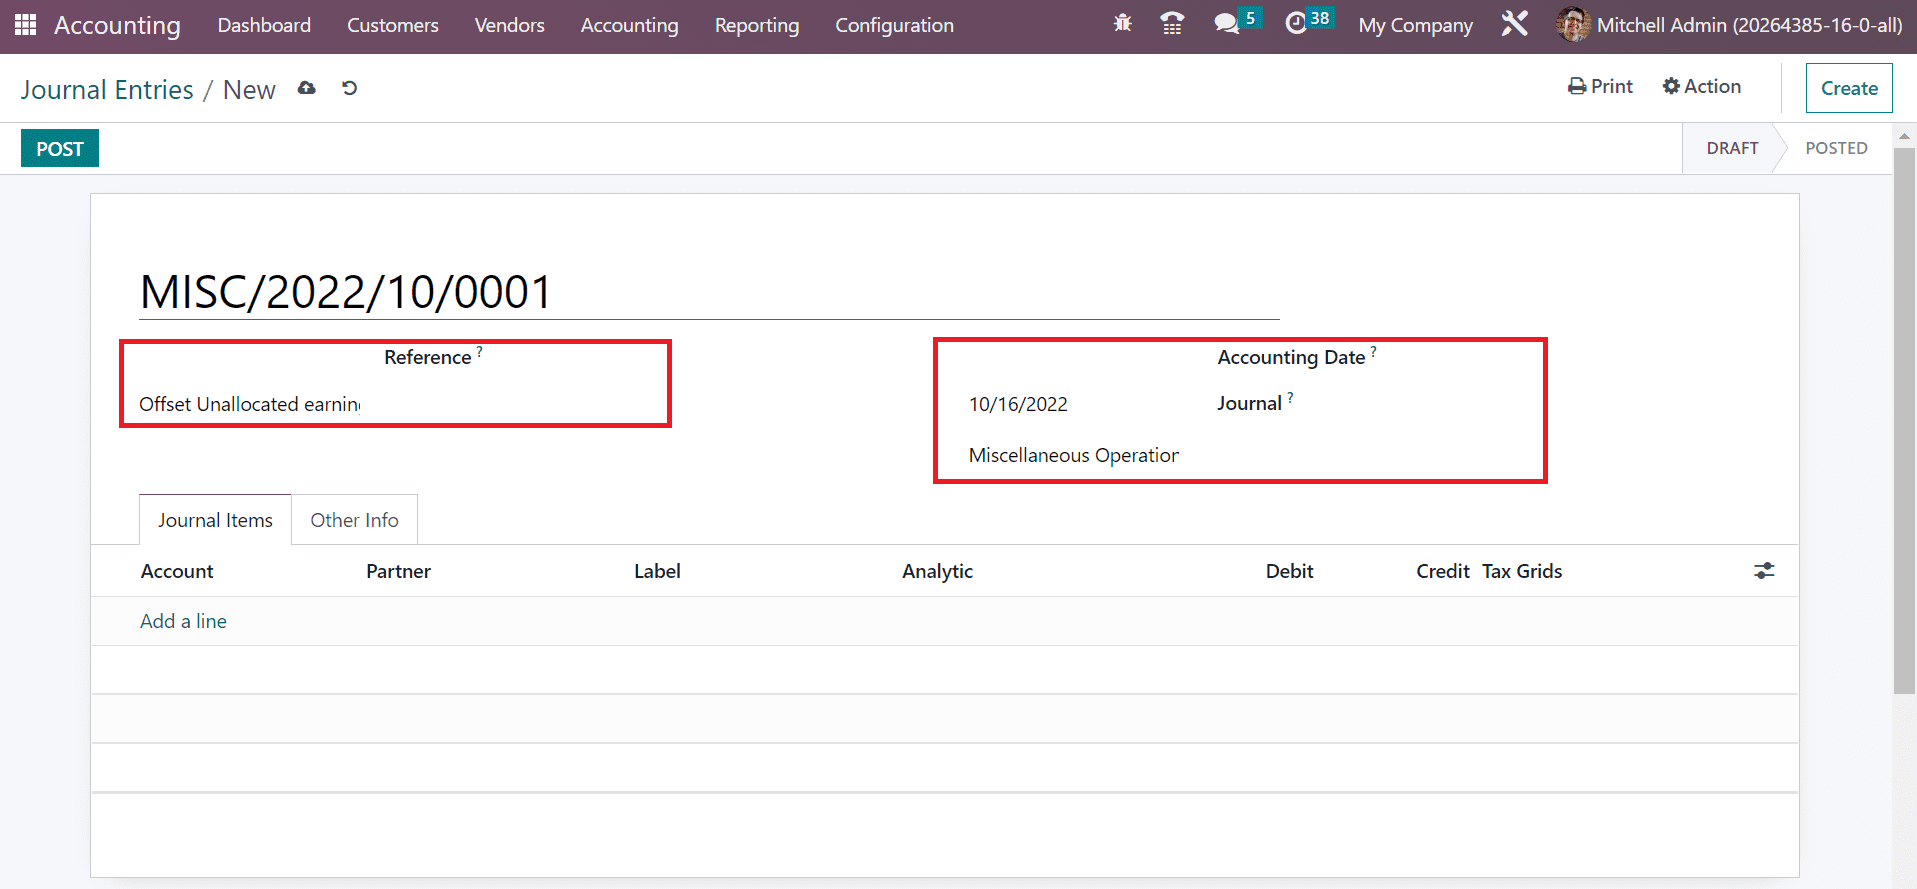
In the new window, add the journal entry as a reference name in the Reference field. Later, set the accounting date as on or before the fiscal year-end and set Miscellaneous Operations in the Journal field.
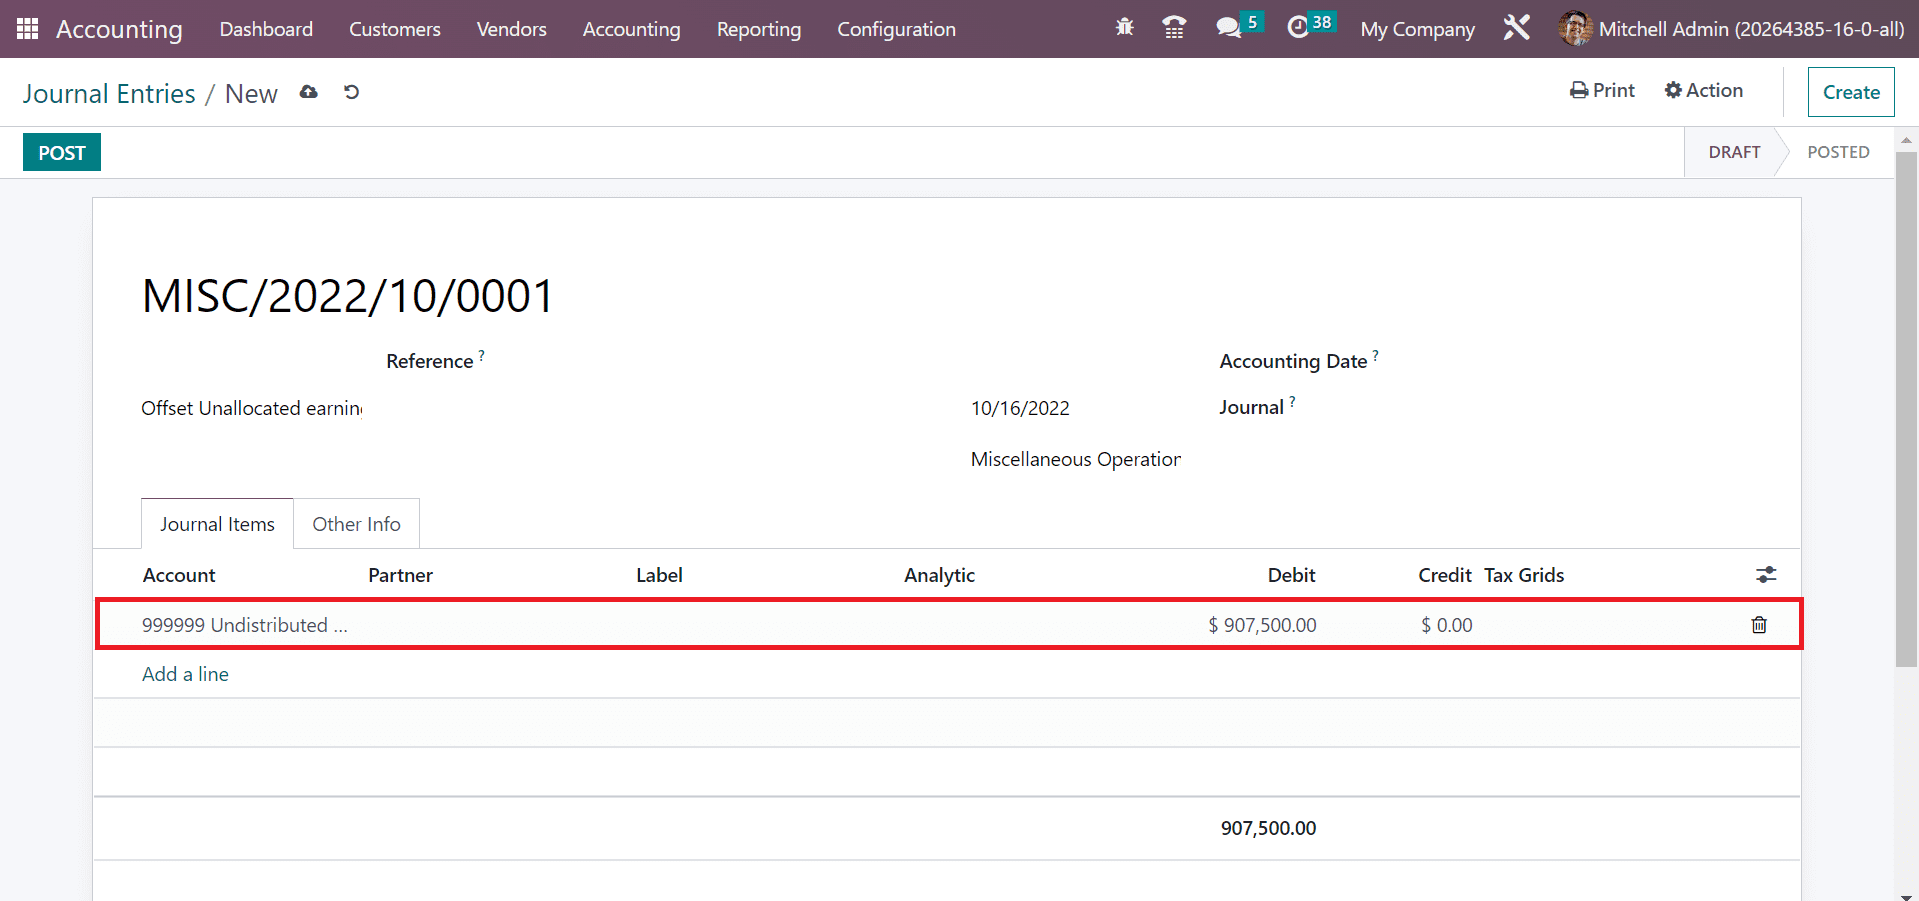
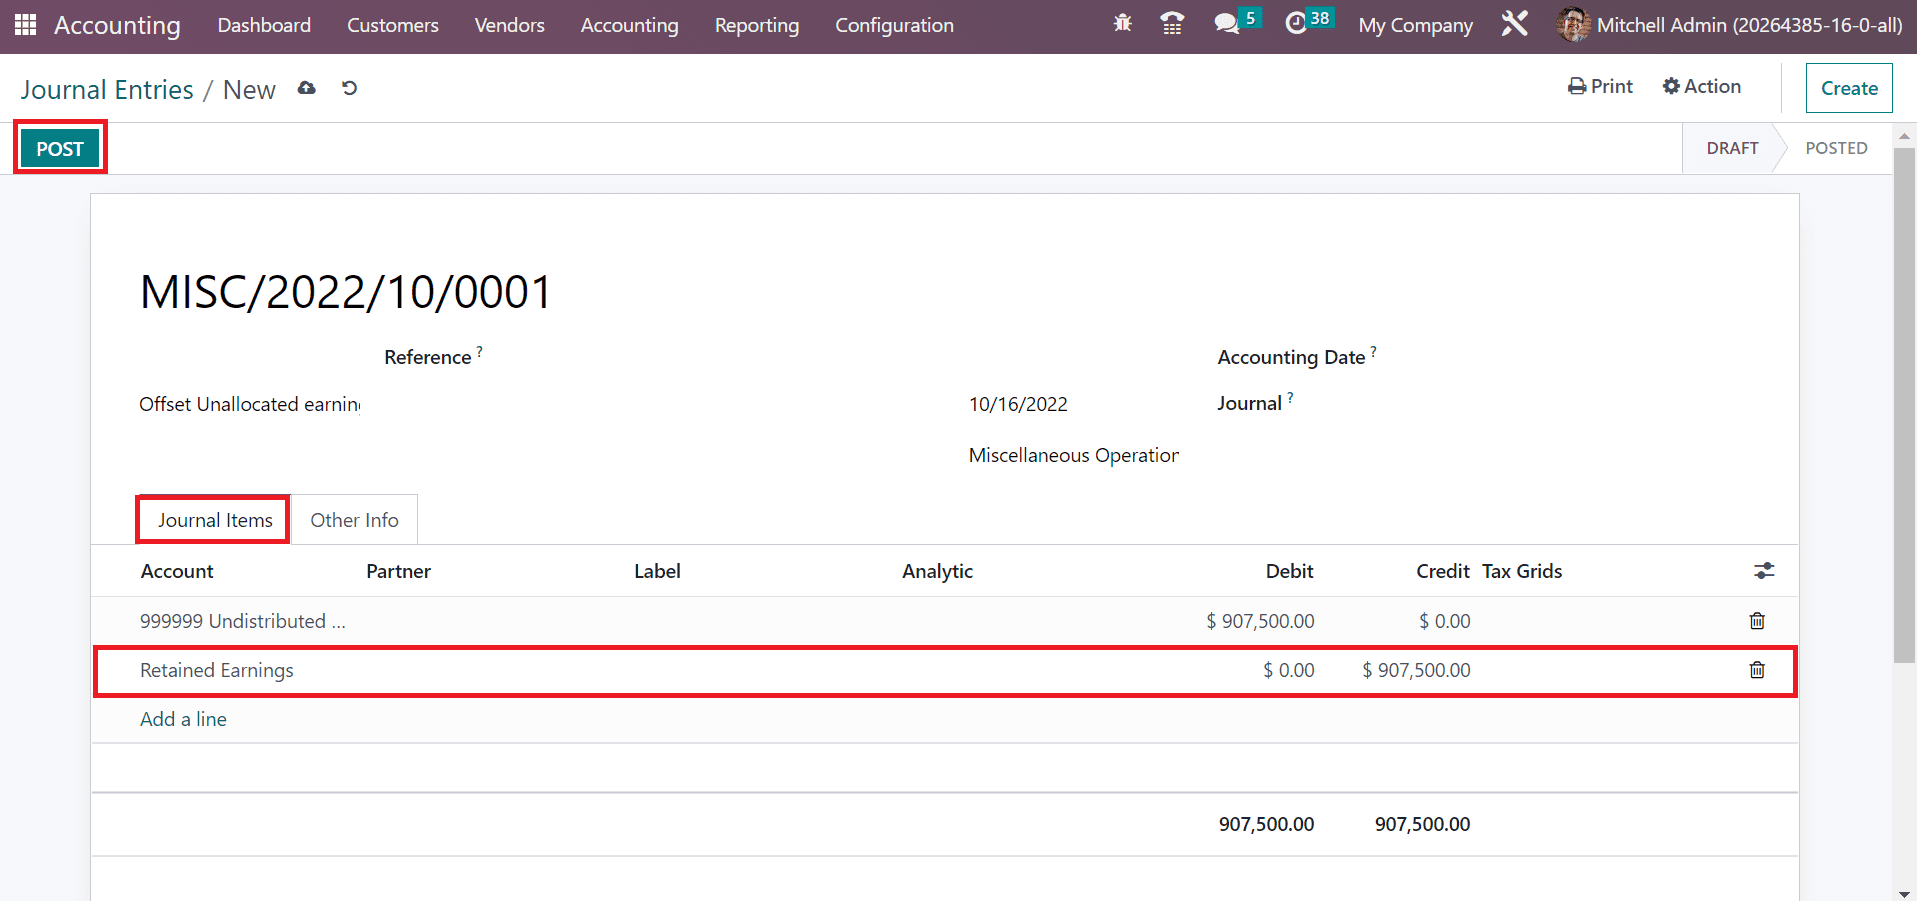
We can add items below the Journal Items tab by clicking on the Add a line option. We use the Undistributed profit/losses account below the Journal Items tab and debit $ 907500 to offset unallocated earnings, as cited in the screenshot below.
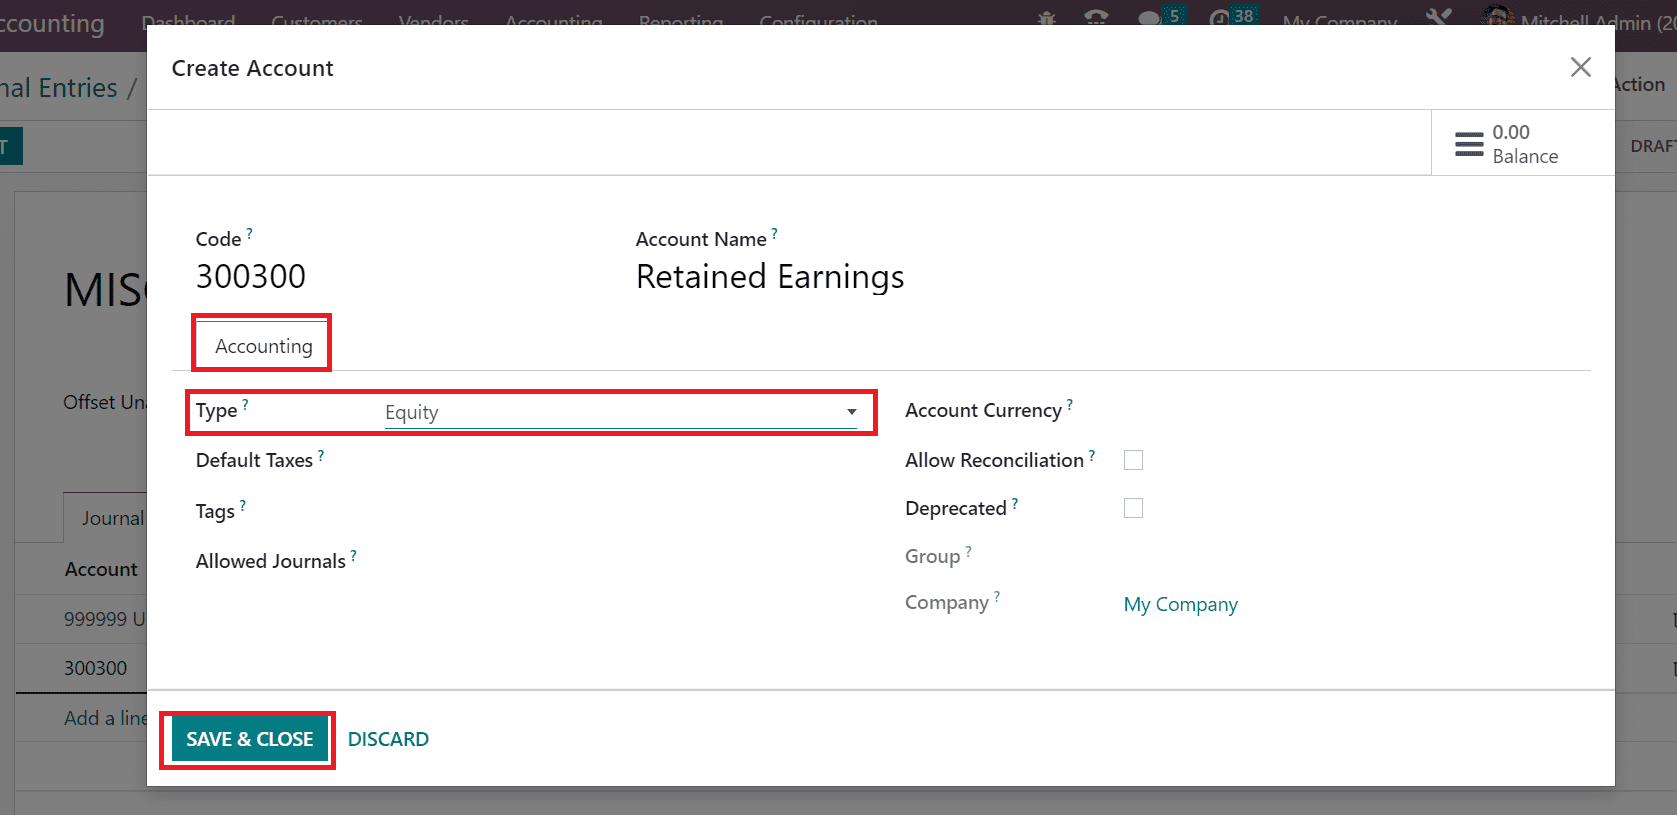
Next, we need to offset this account into retained earnings after clicking on the “Add a line” option. In the Create Account window, enter the code to use for a report in the Code field as 300300. Furthermore, enter the account’s name in the Accounting Name field as Retained Earnings in the Create Account window.
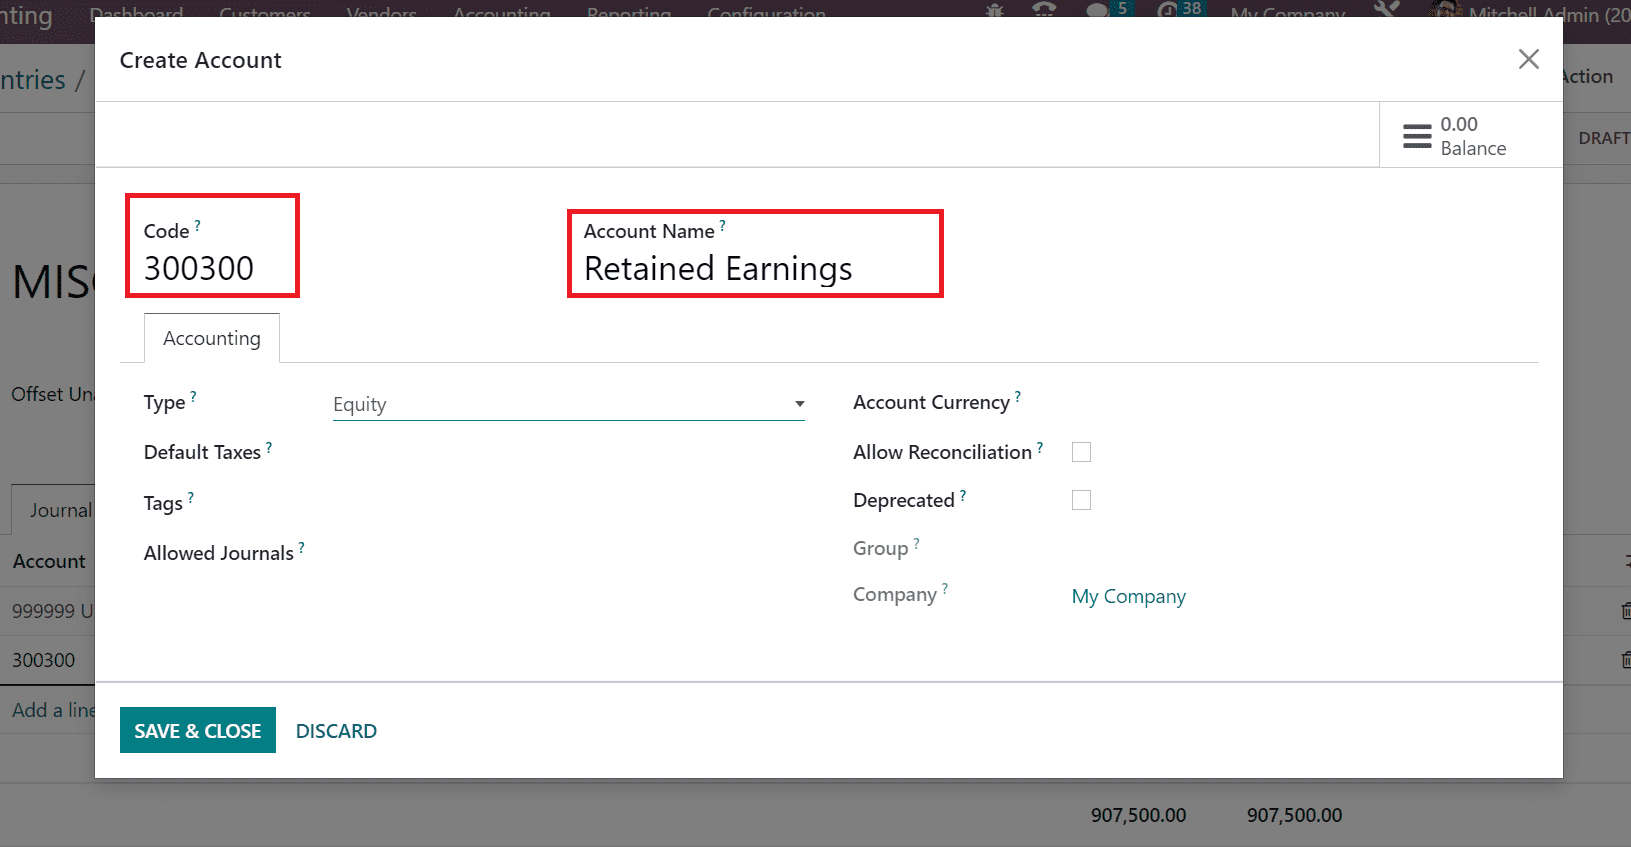
Account type is beneficial for setting fiscal year rules and formulating country-specific legal reports. Below the Accounting tab, the user can select “Equity” in the Create Account window. After mentioning the vital details of an account, click the SAVE & CLOSE icon, as indicated in the screenshot below.
Once the data is saved, a credit line with the same amount is visible in the new account details below the Journal Items tab. All the details are saved automatically, and you click the POST button to publish your journal entry.
Next, choose your balance sheet from the Reporting tab; the assets are similar to liabilities plus equity.
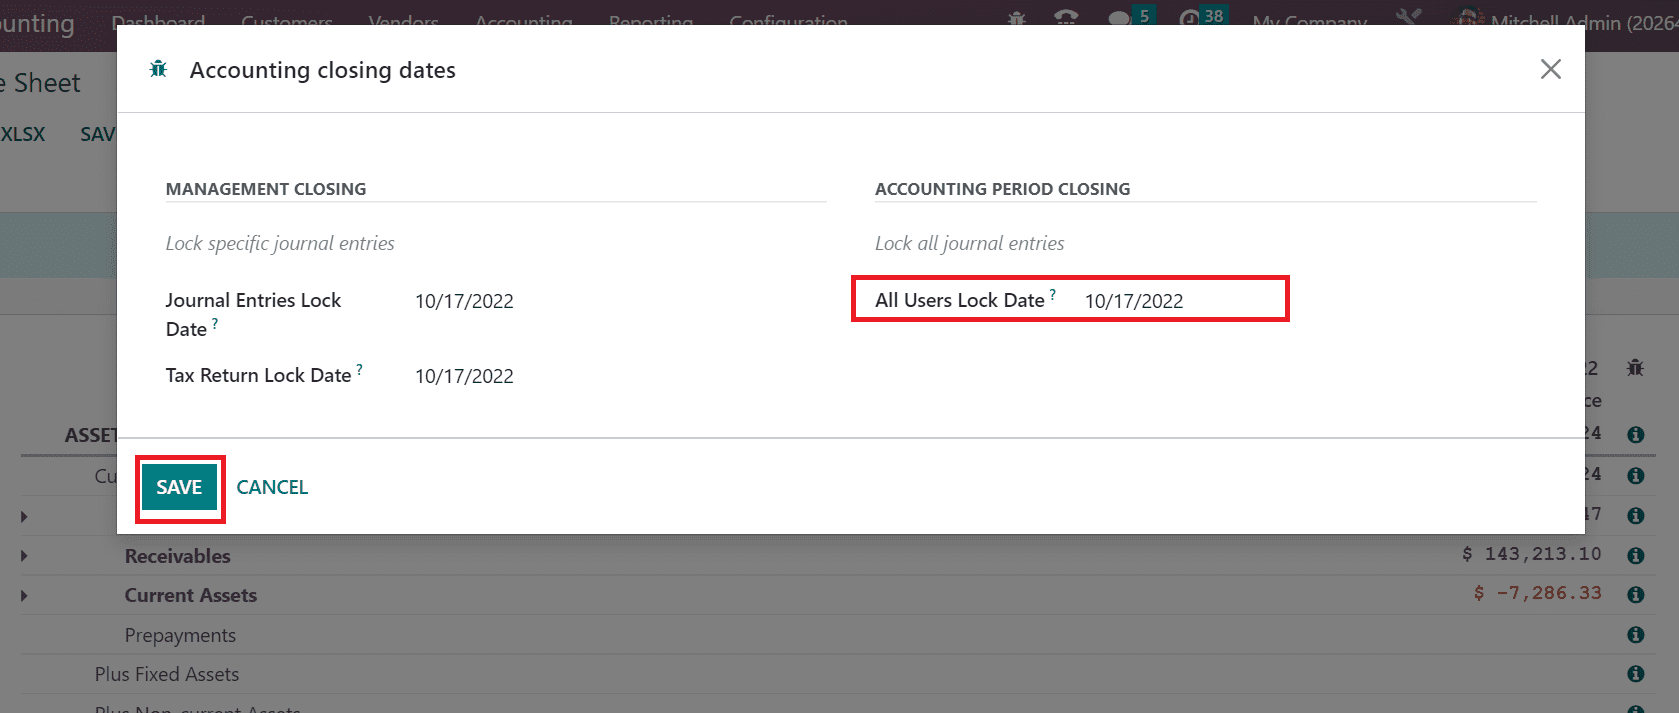
Now, select the Lock Dates menu in Accounting and apply lock dates for all users. In the Accounting Closing Dates window, we set the lock date for all users below the ACCOUNTING PERIOD CLOSING section. It prevents the creation of journal entries before generating a list of all users. Select the SAVE icon after specifying the dates for closing.
All reports are automatically generated by odoo once saving the closing dates of accounting. The balance account will be zero at the beginning of a new fiscal year in Odoo 16.
Management and closing of a fiscal year in a firm are handled through the Odoo 16 Accounting module. We can boost the workflow transactions in a company by running ERP software.


