One of the fast-paced operations occurs in the retail environment of a business, and management of operations is difficult due to an overload of work. Accurate planning is needed for the smooth functioning of retail administration. Nowadays, we can quickly manage a retail business with automated software, and Odoo ERP is beneficial for handling advanced operations. Odoo database is well equipped with various tools for your retail management industry. Users can run a retail shop or Business with the support of the Odoo 15 Point of Sale module. This module is also integrated with other Odoo modules to boost business management procedures.
This blog gives an idea about managing POS Order Interface using the Odoo database.
For restaurant and store management, Odoo 15 Pont of Sale is a practical module to maintain cash flows, daily sales, floor plans, split bills, stock, and inventory. We can also balance payment methods, accounting, invoicing, offline payments, and credit or debit cards for customers. All your business operations are equipped quickly within the POS order Interface available in Odoo 15.
POS Interface in Odoo 15 to run your Business
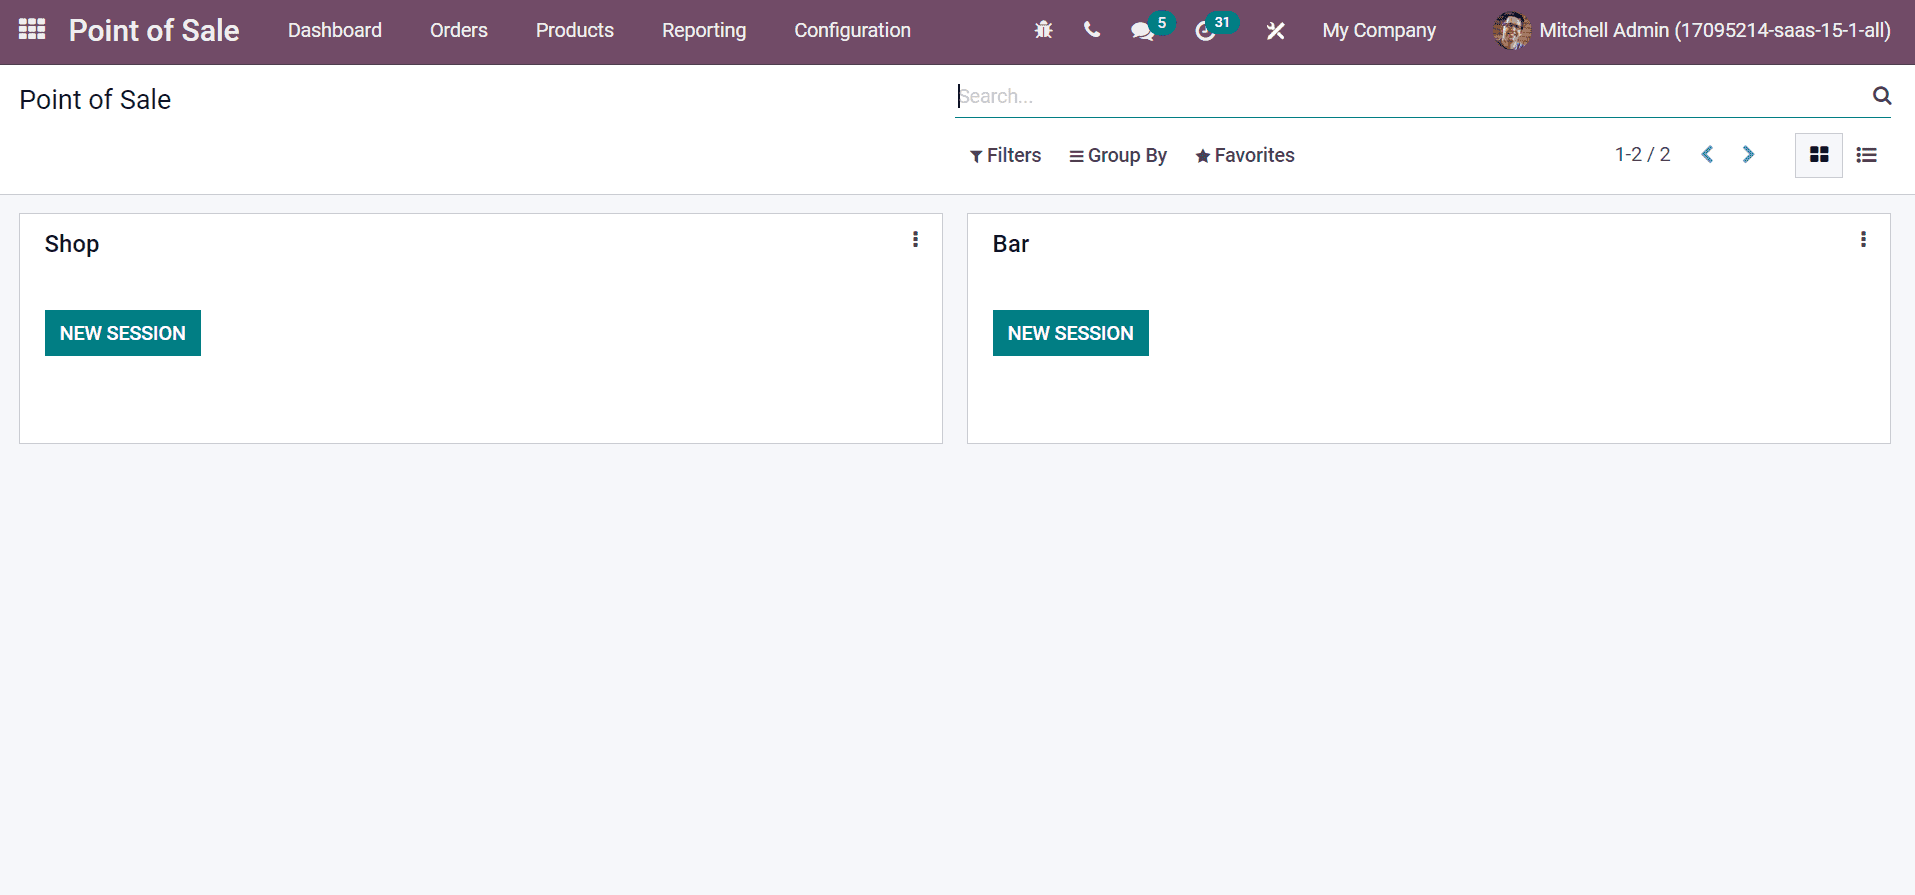
Users can set a new POS session to deal with your company operations from Odoo 15 Point of Sale. The dashboard of the Odoo Inventory module provides data of your created sessions, as denoted in the screenshot below.
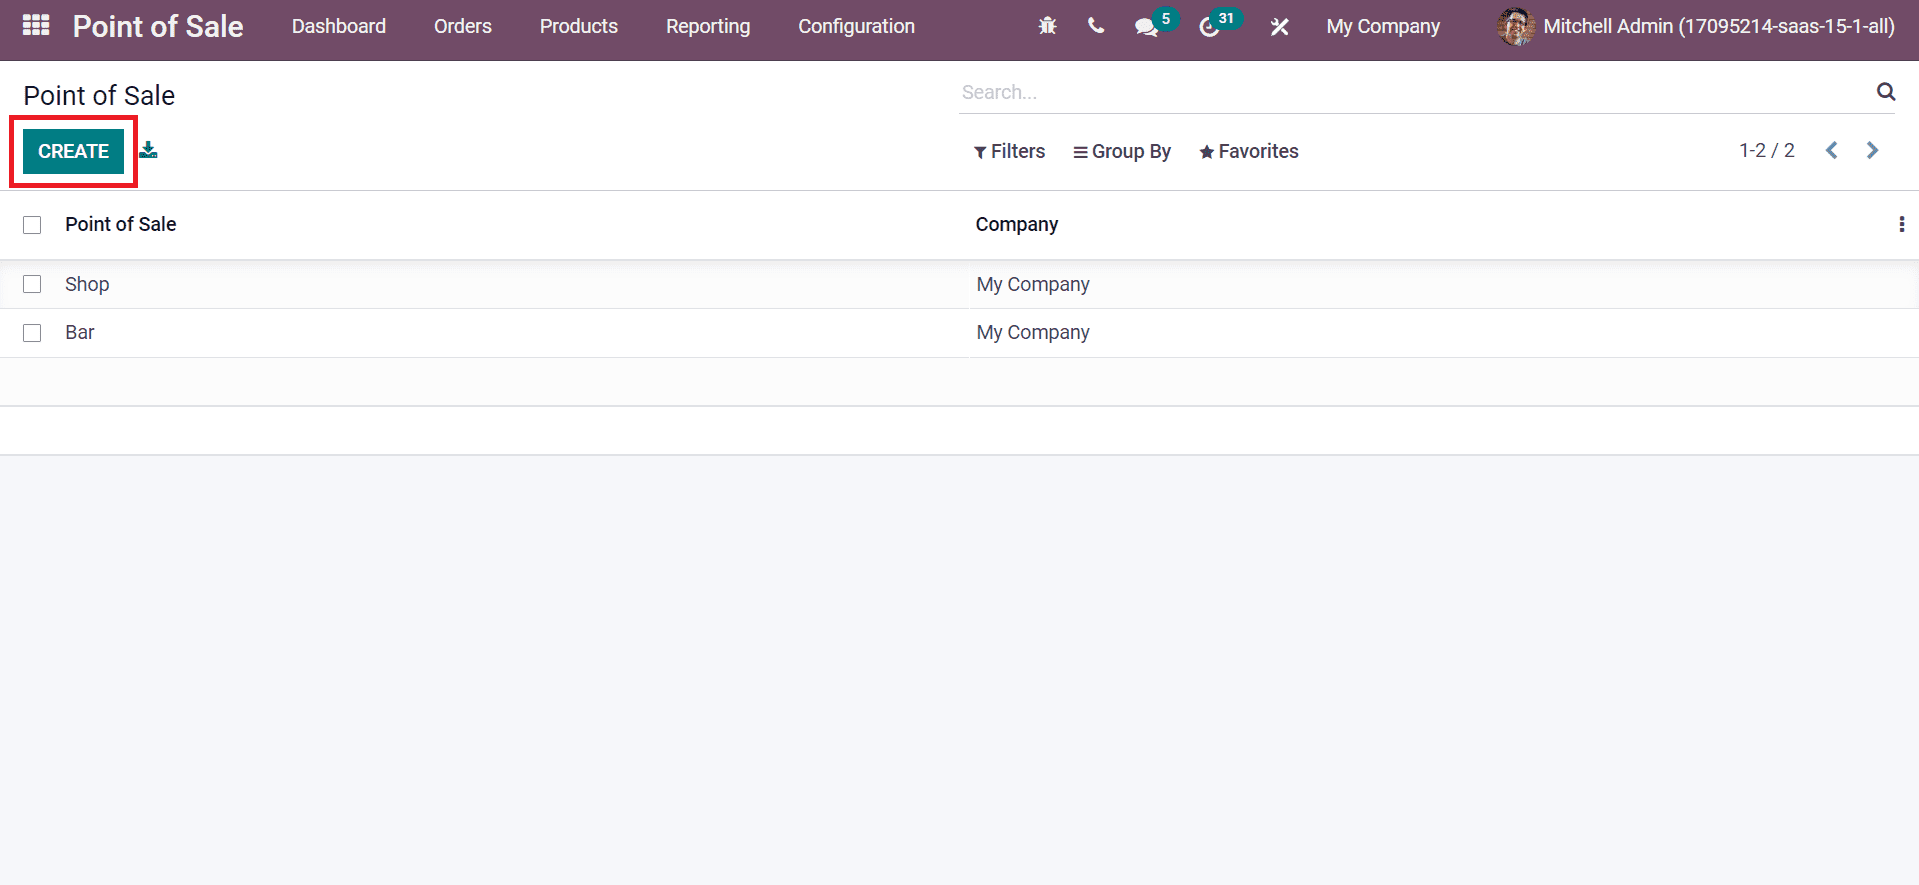
The configuration feature of Odoo Inventory ensures users generate your required Point of Sales for the company. Select the Point of Sales menu inside the configuration tab and click on CREATE icon to produce new POS data.
You can also select any one of the created PoS to manage the point of sale order interface. The Point of Sale window shows details, including the Company and Point of Sale name. Let’s see the point of sale operations for a Bar from the Odoo 15 Point of Sale module. In the new window, we can view an internal identification of the Point of Sale, which is given as Bar.
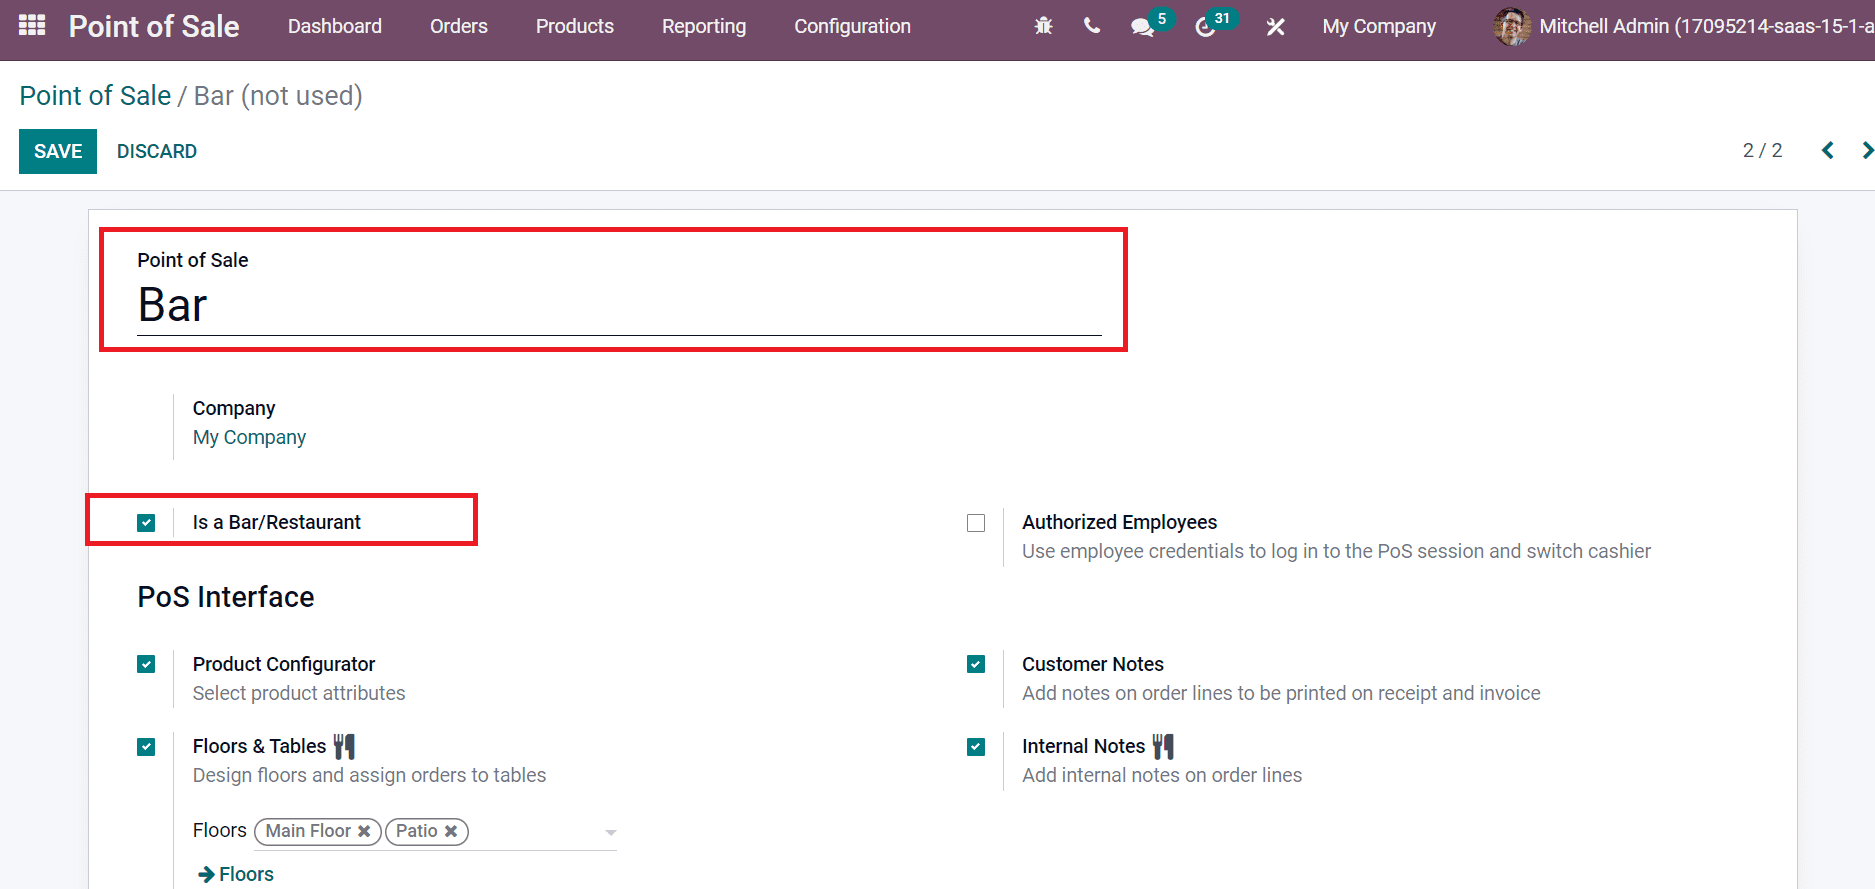
Users can choose the company and activate the Is a Bar/Restaurant field, as shown in the above screenshot. We can see various features such as Product Configurator, Floors or Tables, Start category, Internal Notes, and more below the PoS Interface section. Next, let’s look at each Pos Interface in the Odoo Inventory module.
Product Configurator
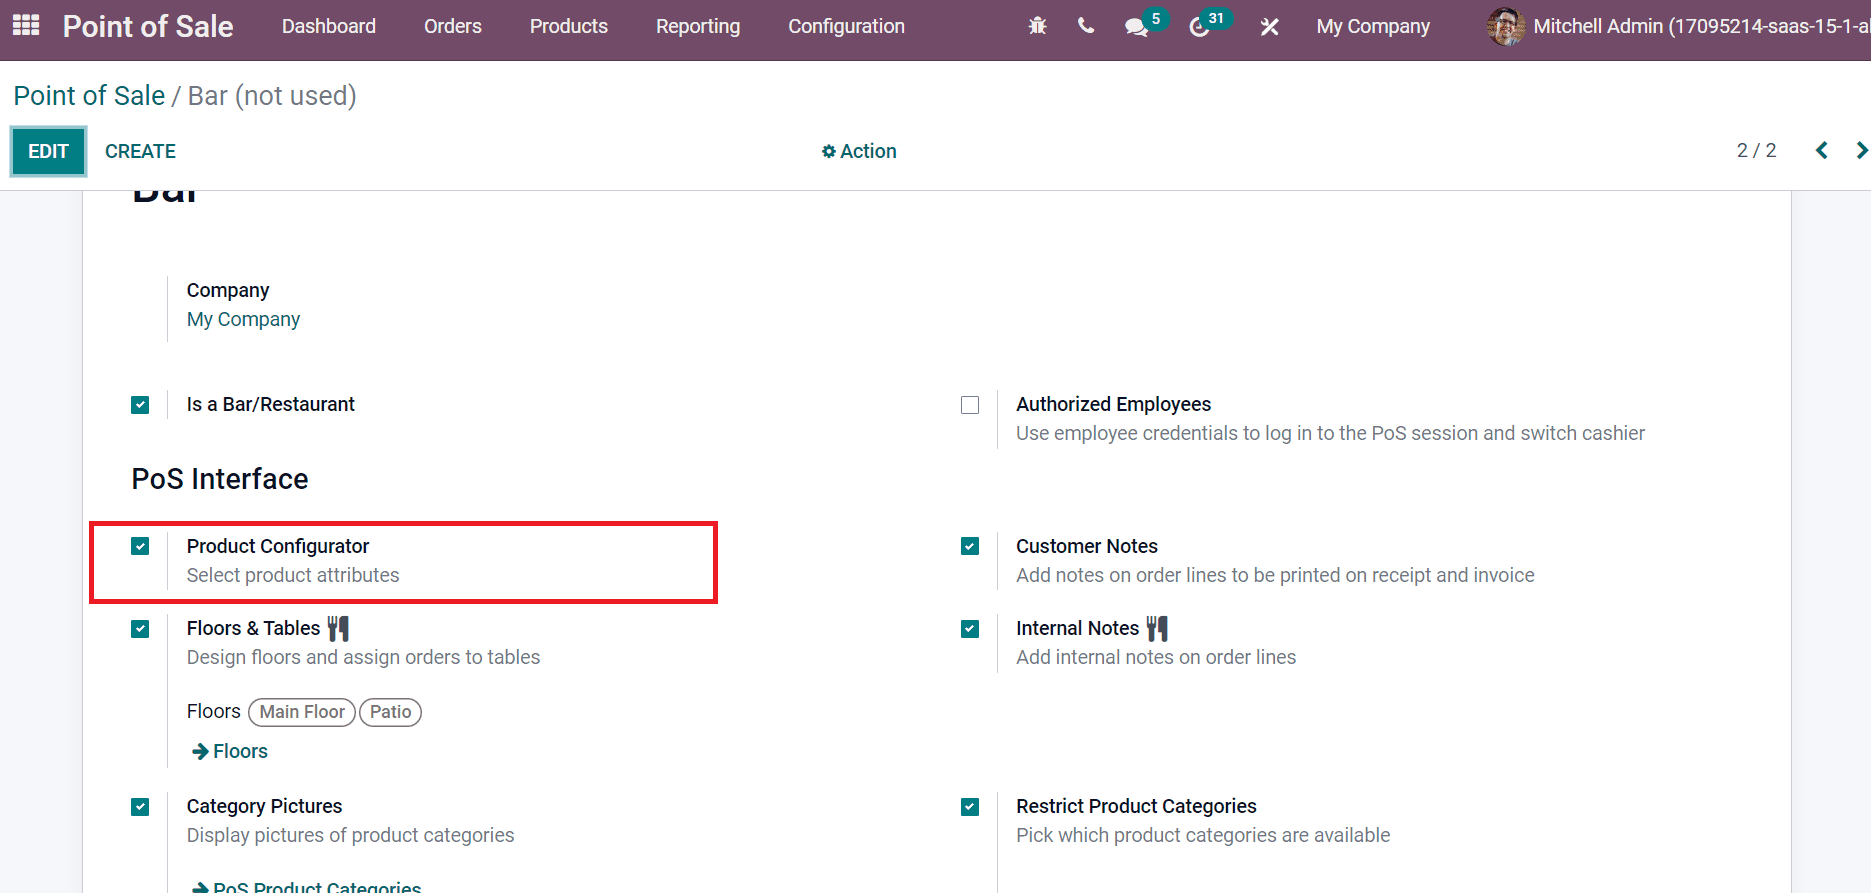
We can choose different attributes of products for customers through the Product Configurator feature. Users can activate the Product Configurator option below the PoS Interface section of your Bar.
Now, we can see product attributes by opening the session of Bar. In the session window, you can find variants for the product Customizable Desk with white or black color in a steel and aluminum model, as displayed in the screenshot below.
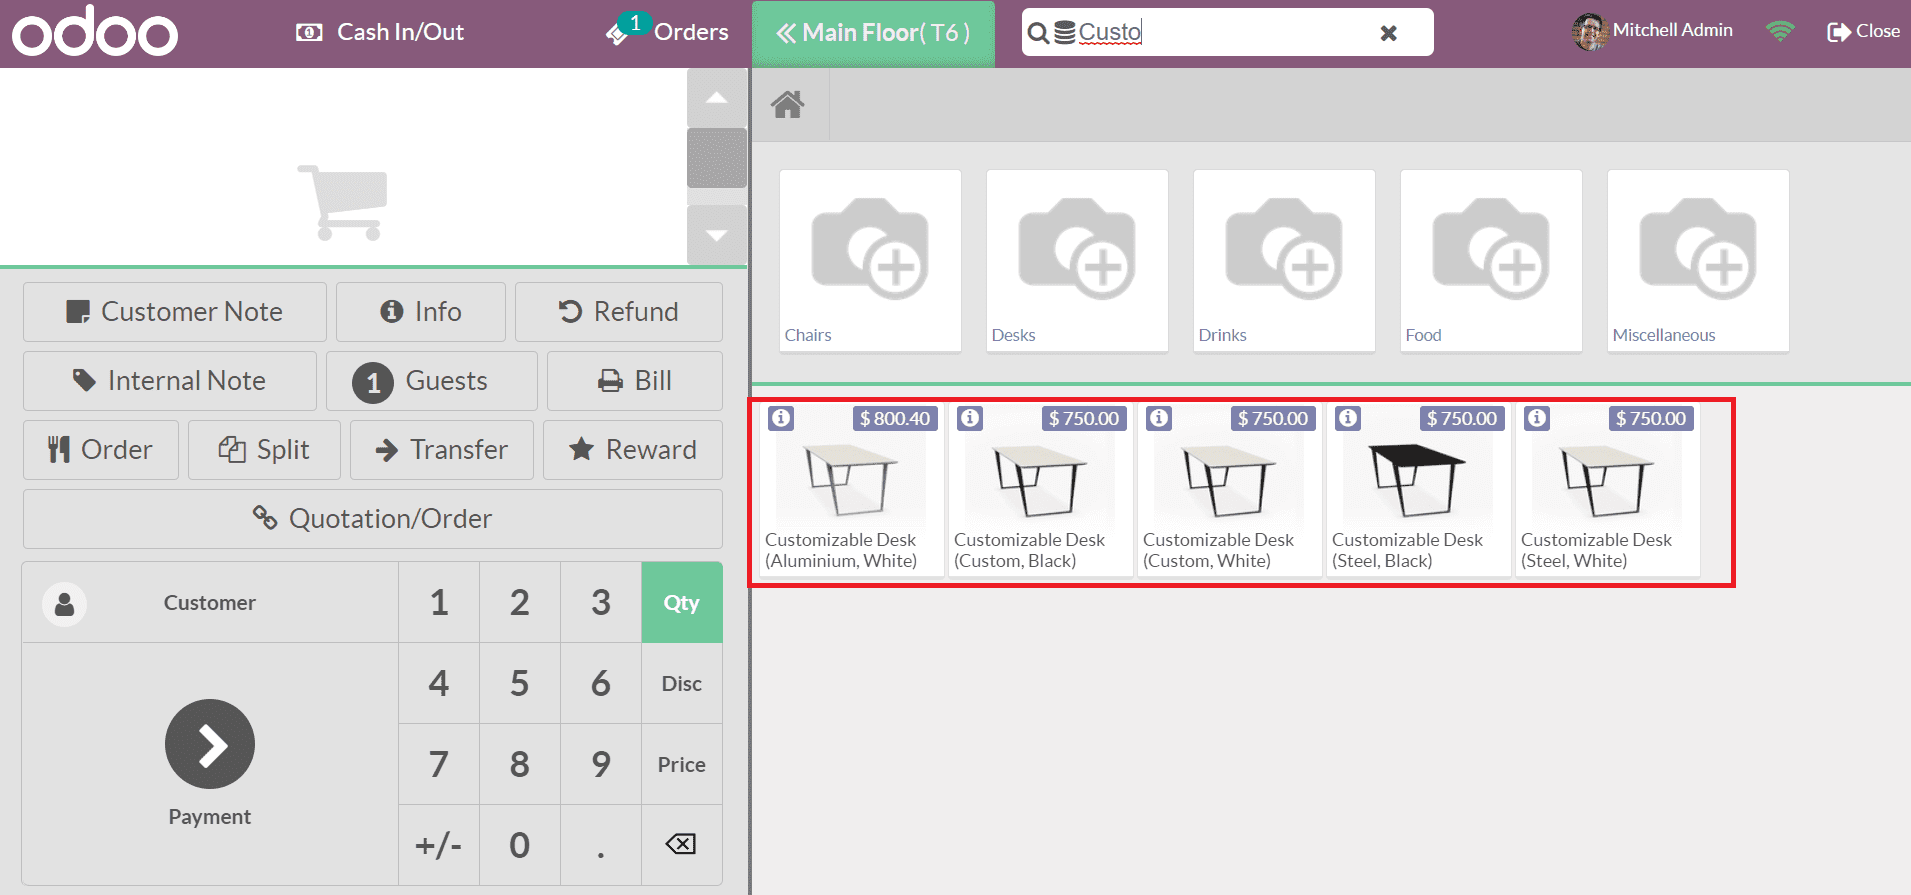
Based on created requirements for a product, it is visible in a particular session window of PoS.
Customer and Internal Notes
In some cases, customers need to know about additional requirements such as different offers for food, spices, and sweets in your restaurant/bar. You can enable the Customer Notes option to add notes related to orders below the PoS Interface section, as mentioned in the screenshot below.
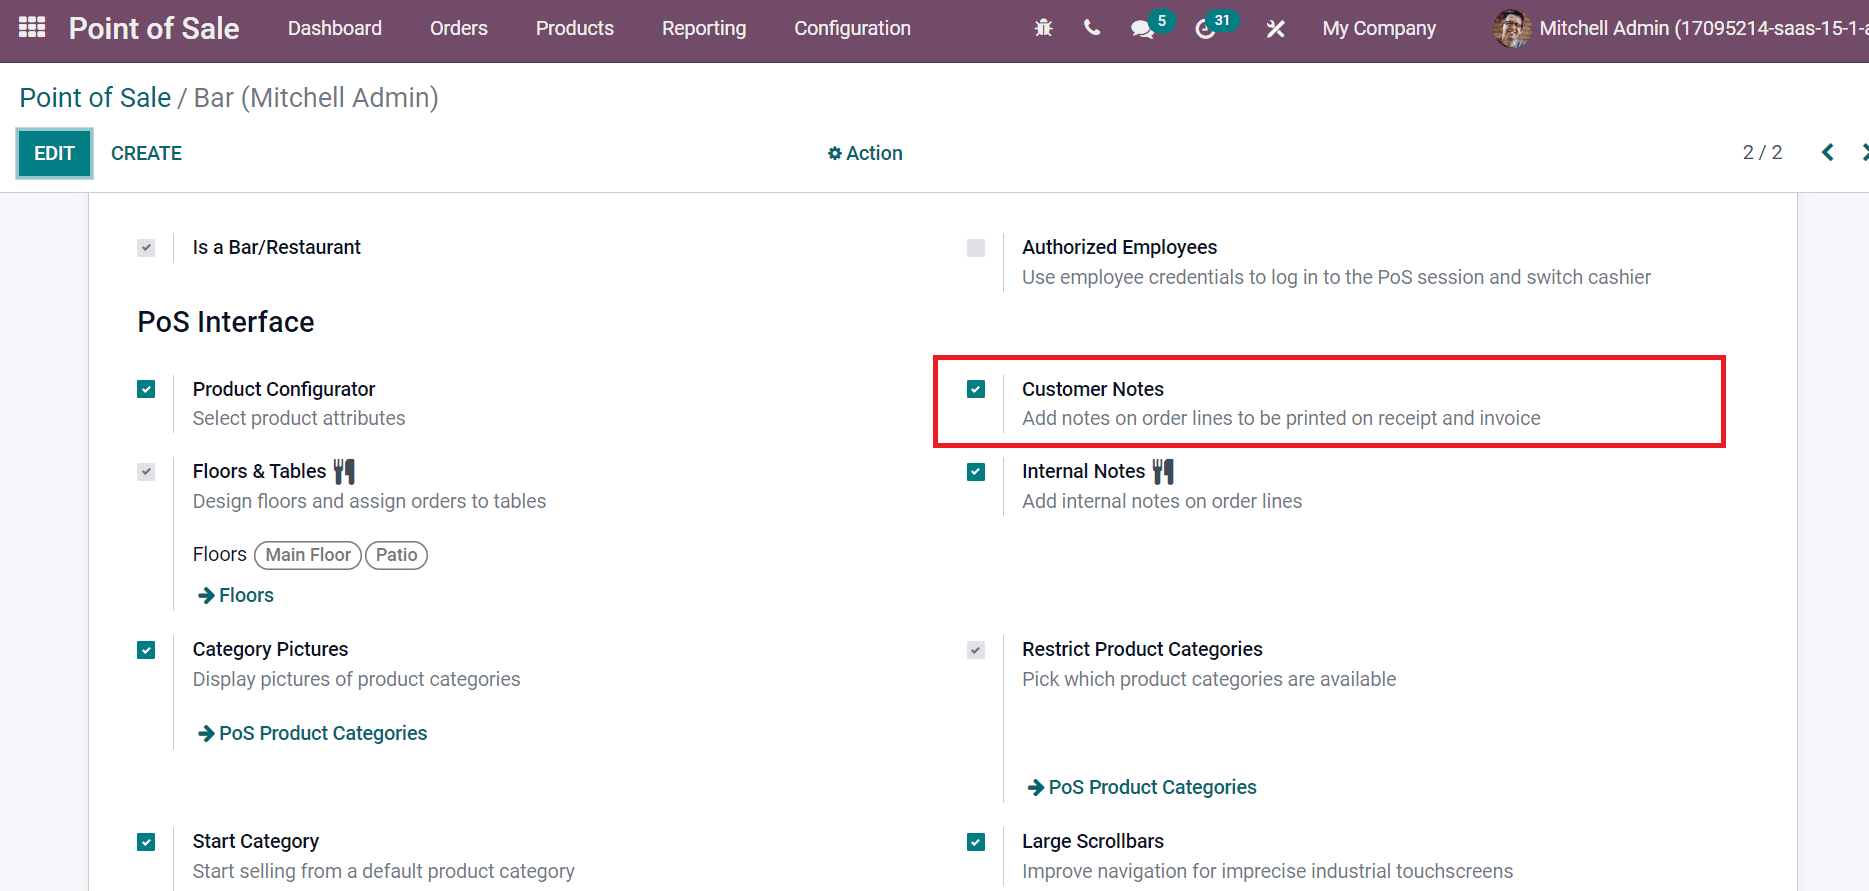
By activating the Customer Notes field, added notes are printed on the receipt and later invoiced. We can access the notes option from the Bar session in Odoo 15. You can see the Customer Note option after selecting your order, as specified in the screenshot below.
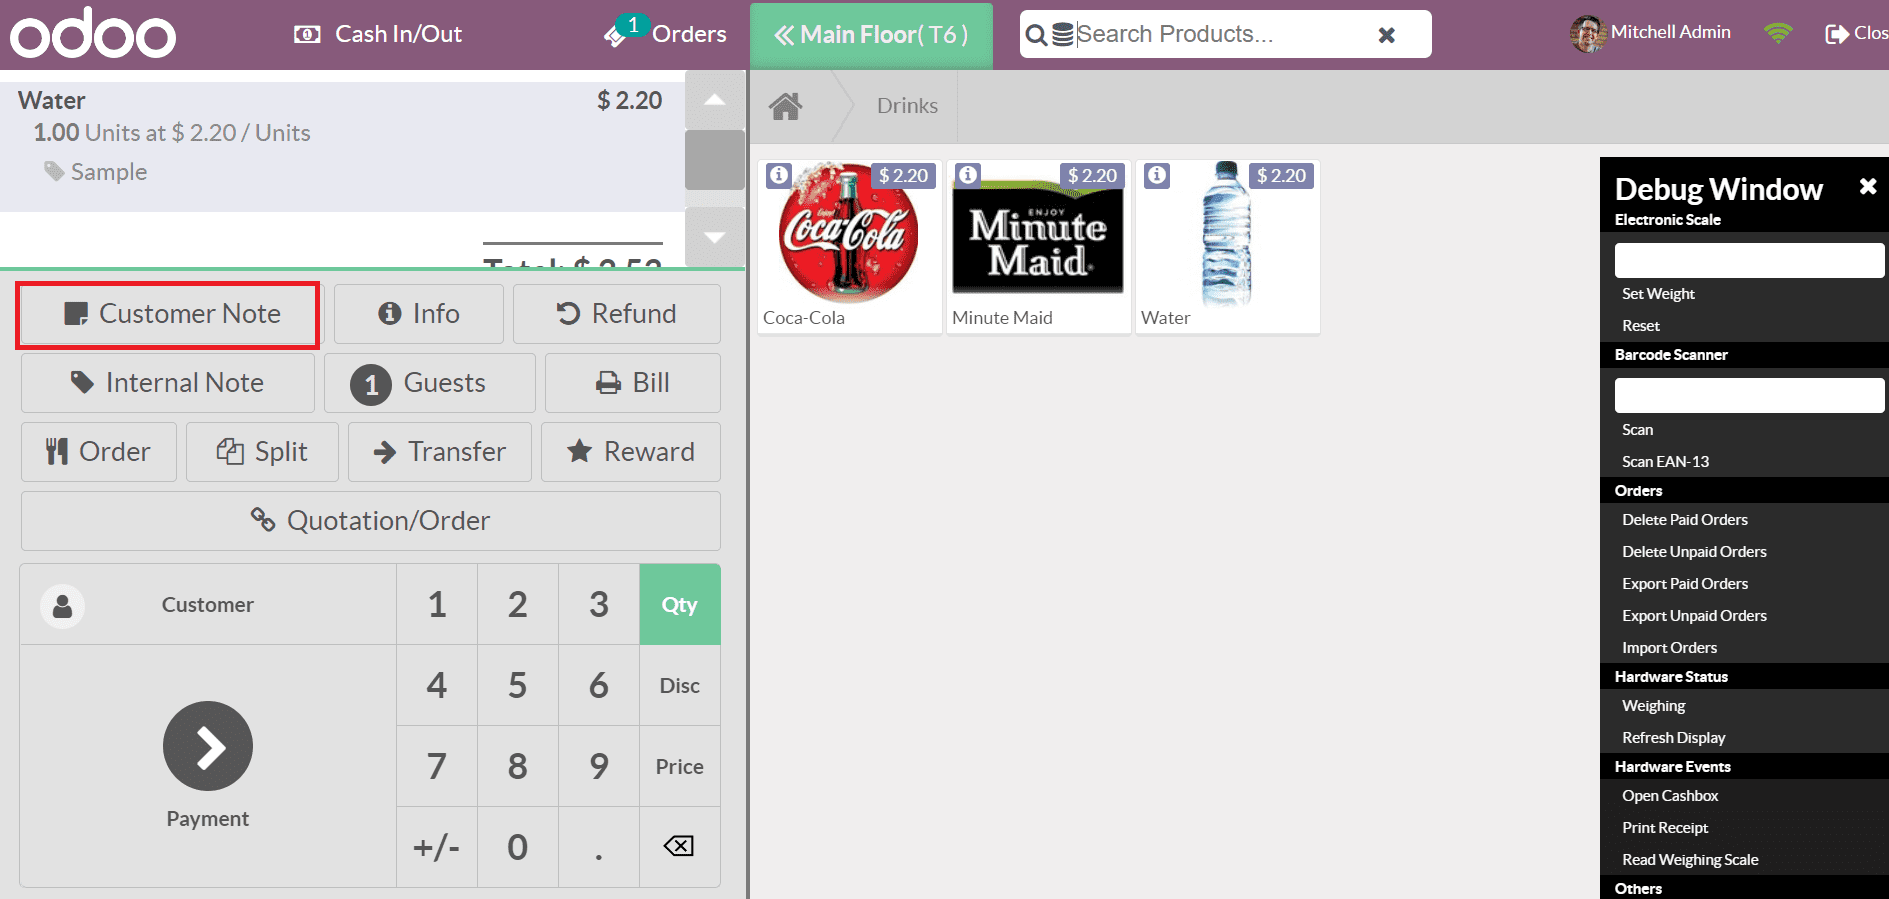
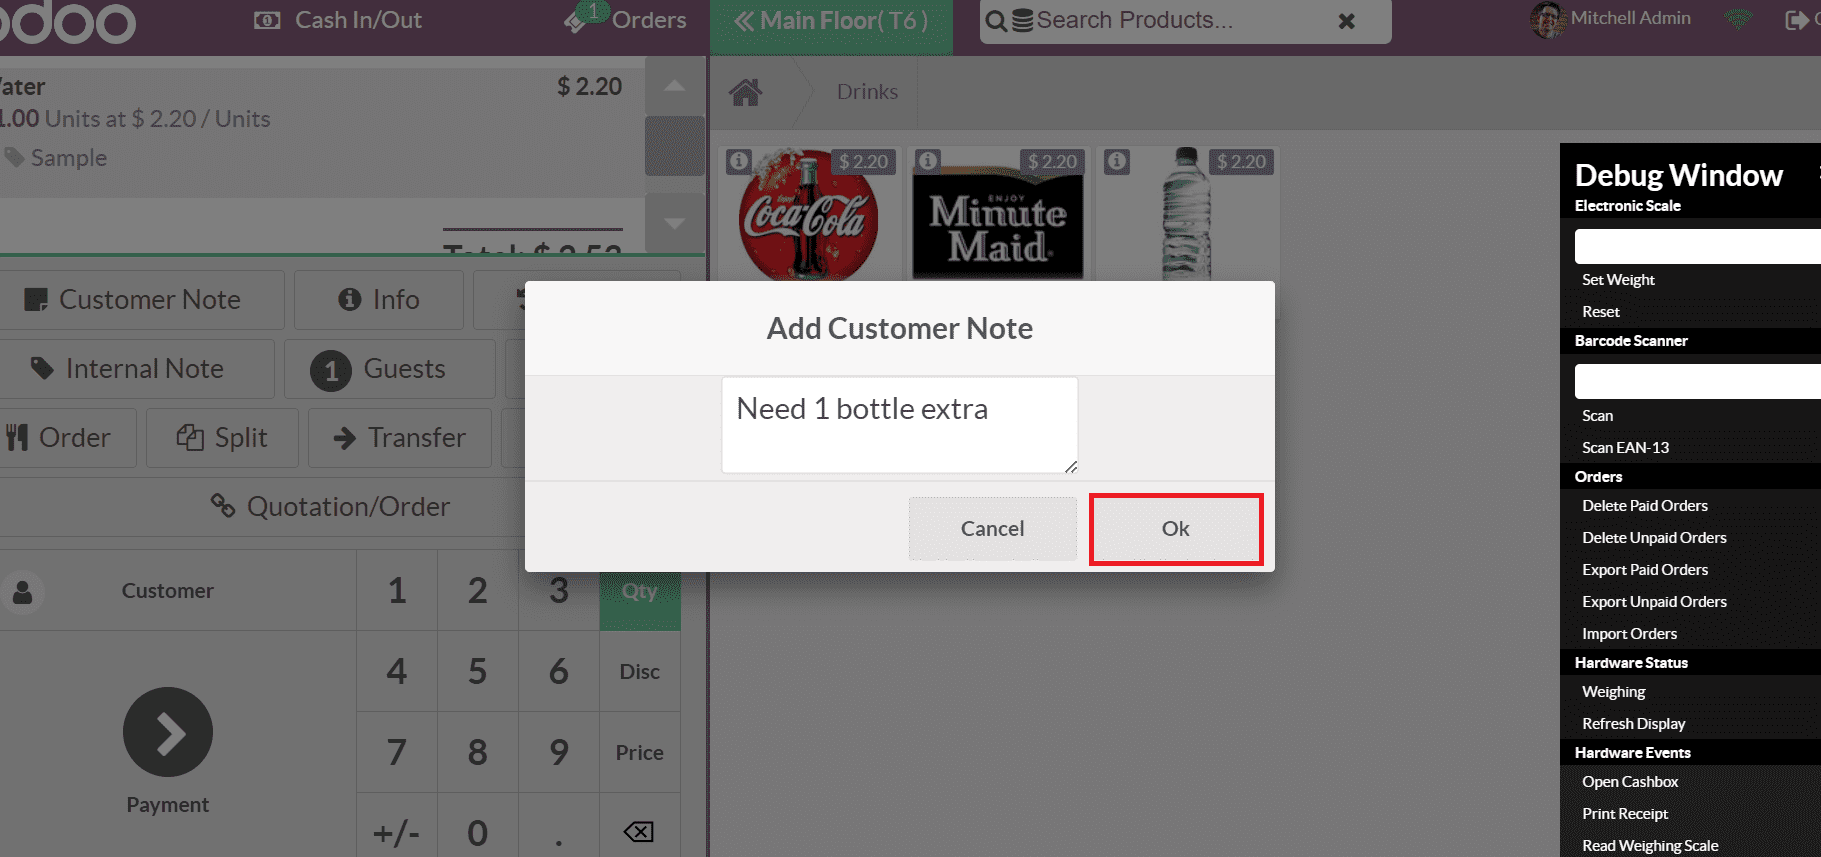
An Add Notes box appears before you after choosing the Customer Note option. You can enter notes here and click on the Ok button, as illustrated in the screenshot below.
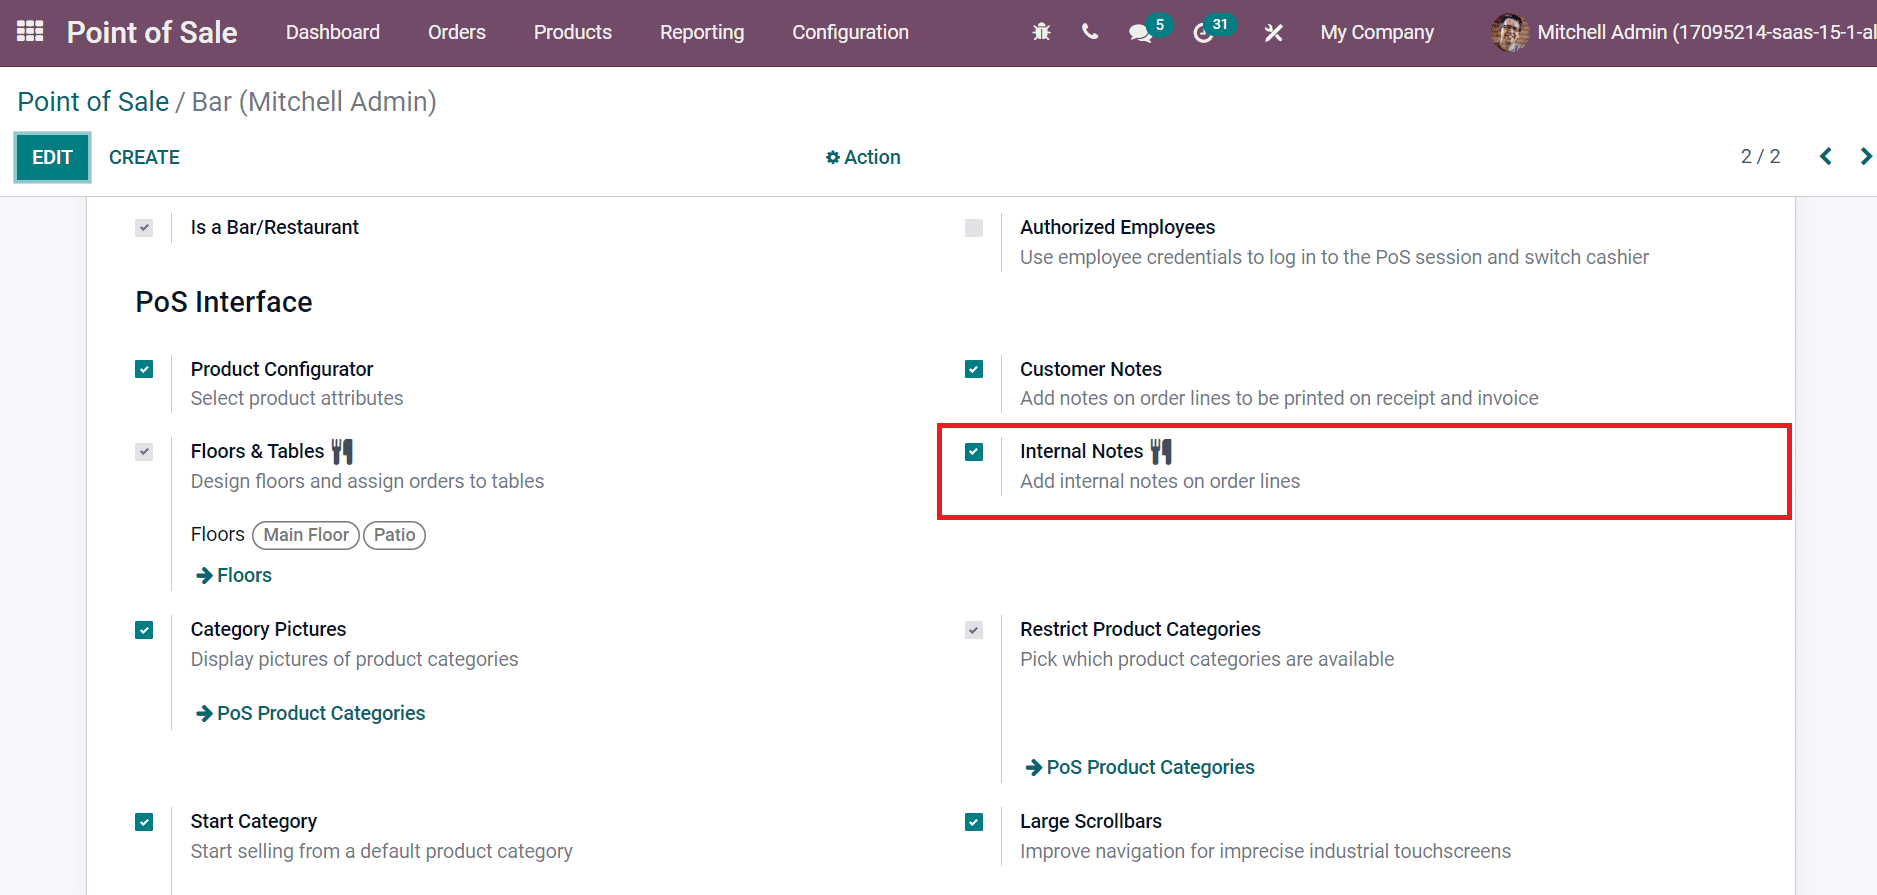
Similarly, a user can enable the Internal Notes option from the PoS Interface section. By enabling Internal Notes resection, it is possible to enter internal notes based on order lines, as portrayed in the screenshot below.
You can get the Internal Notes option from the Session window inside an Order. After choosing the Internal Notes option, a box opens before you; enter the details related to your order, as demonstrated in the screenshot below.
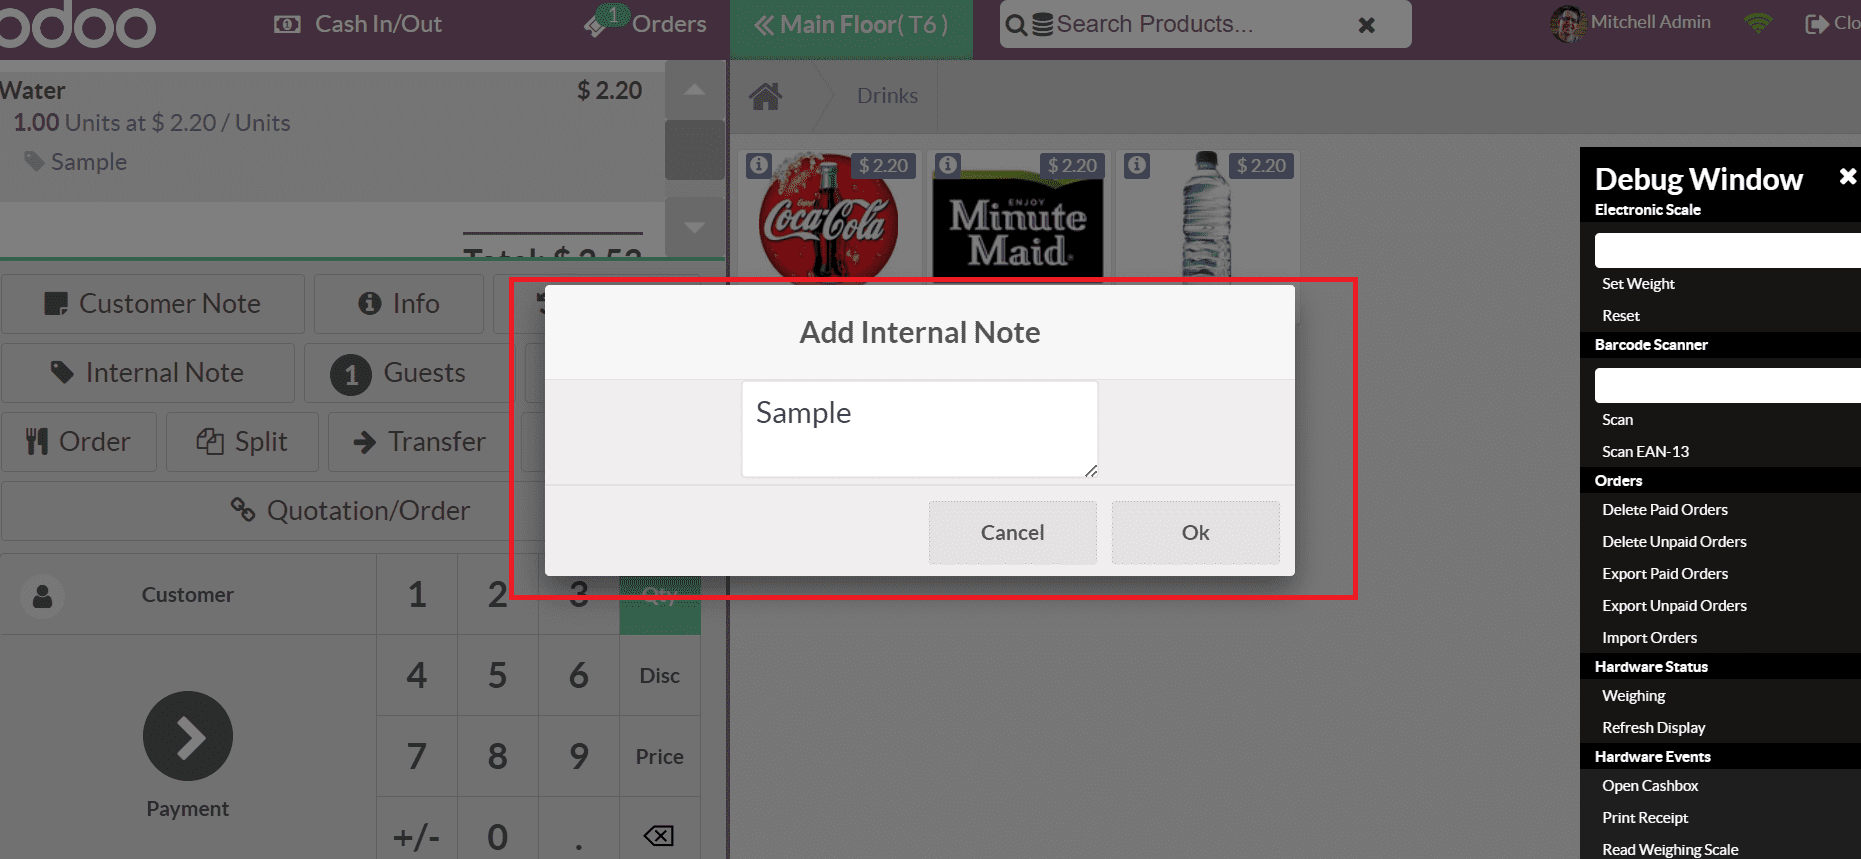
Choose the OK icon to add your internal note regarding the order lines. Hence, you can quickly develop an internal and customer note for an order in a PoS session.
Floors and Table Management
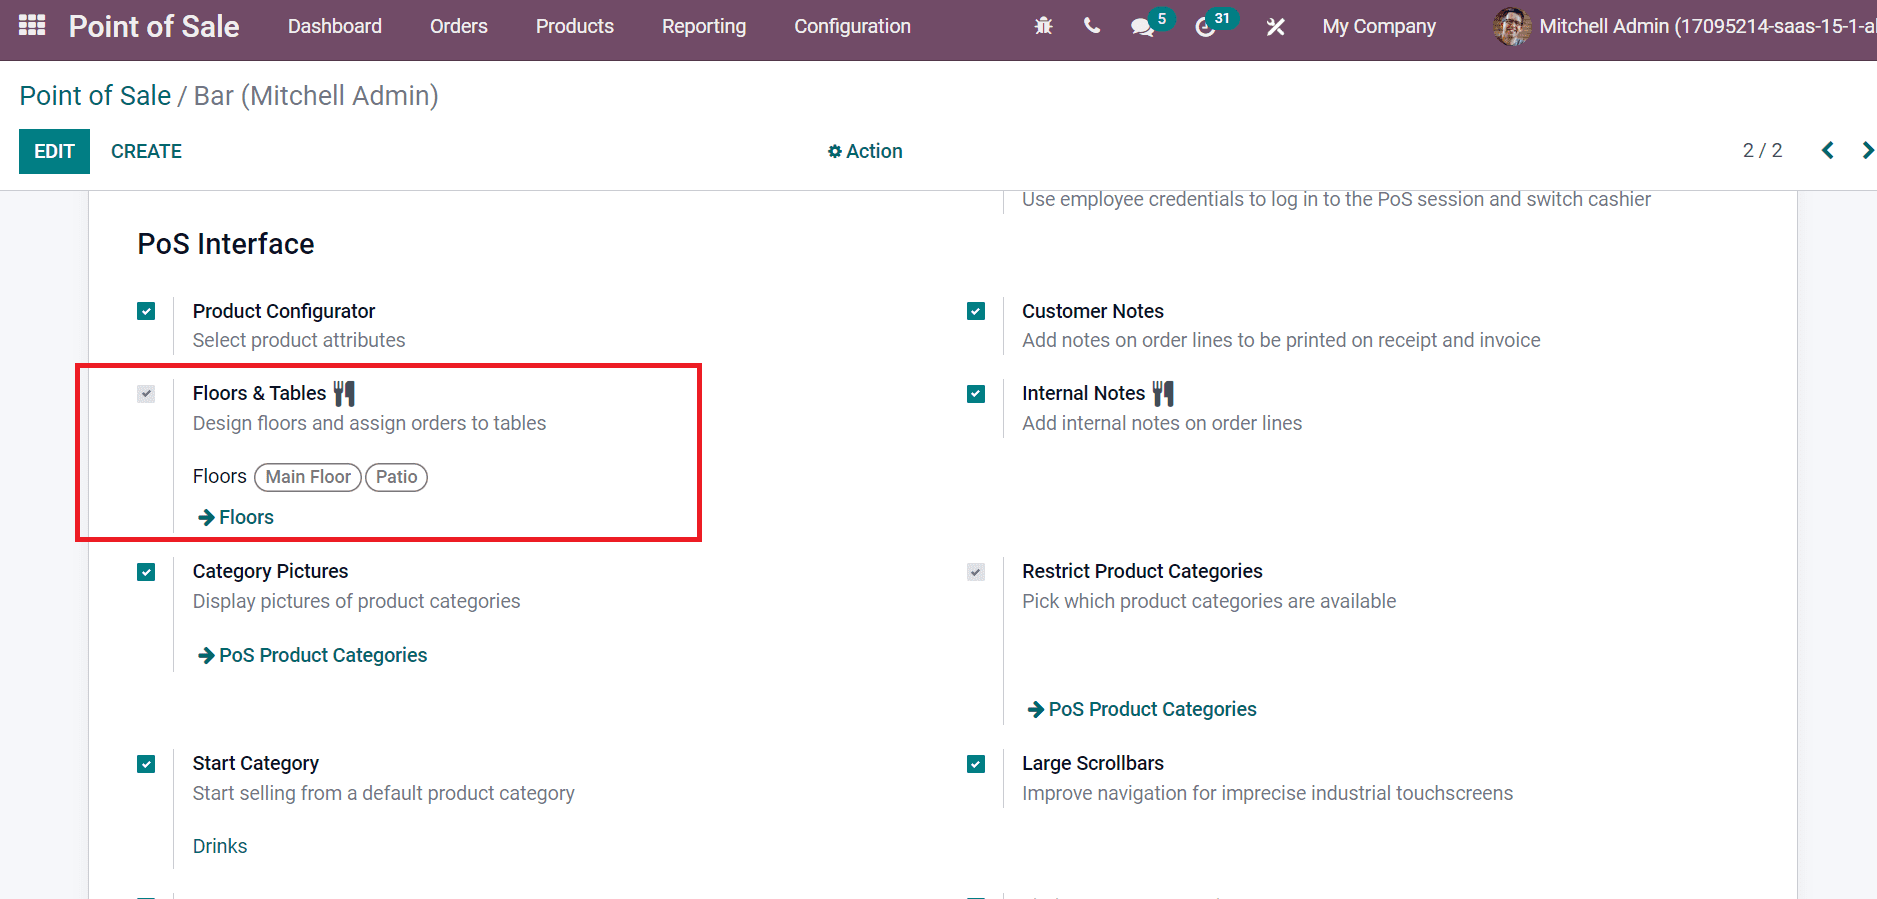
It is easy to configure table management for a bar/restaurant using the PoS session of Odoo 15. Users can describe various tables and floor operations in a customizable manner. You need to activate the Floors & Tables option from the Point of Sale window to design and assign orders to tables.
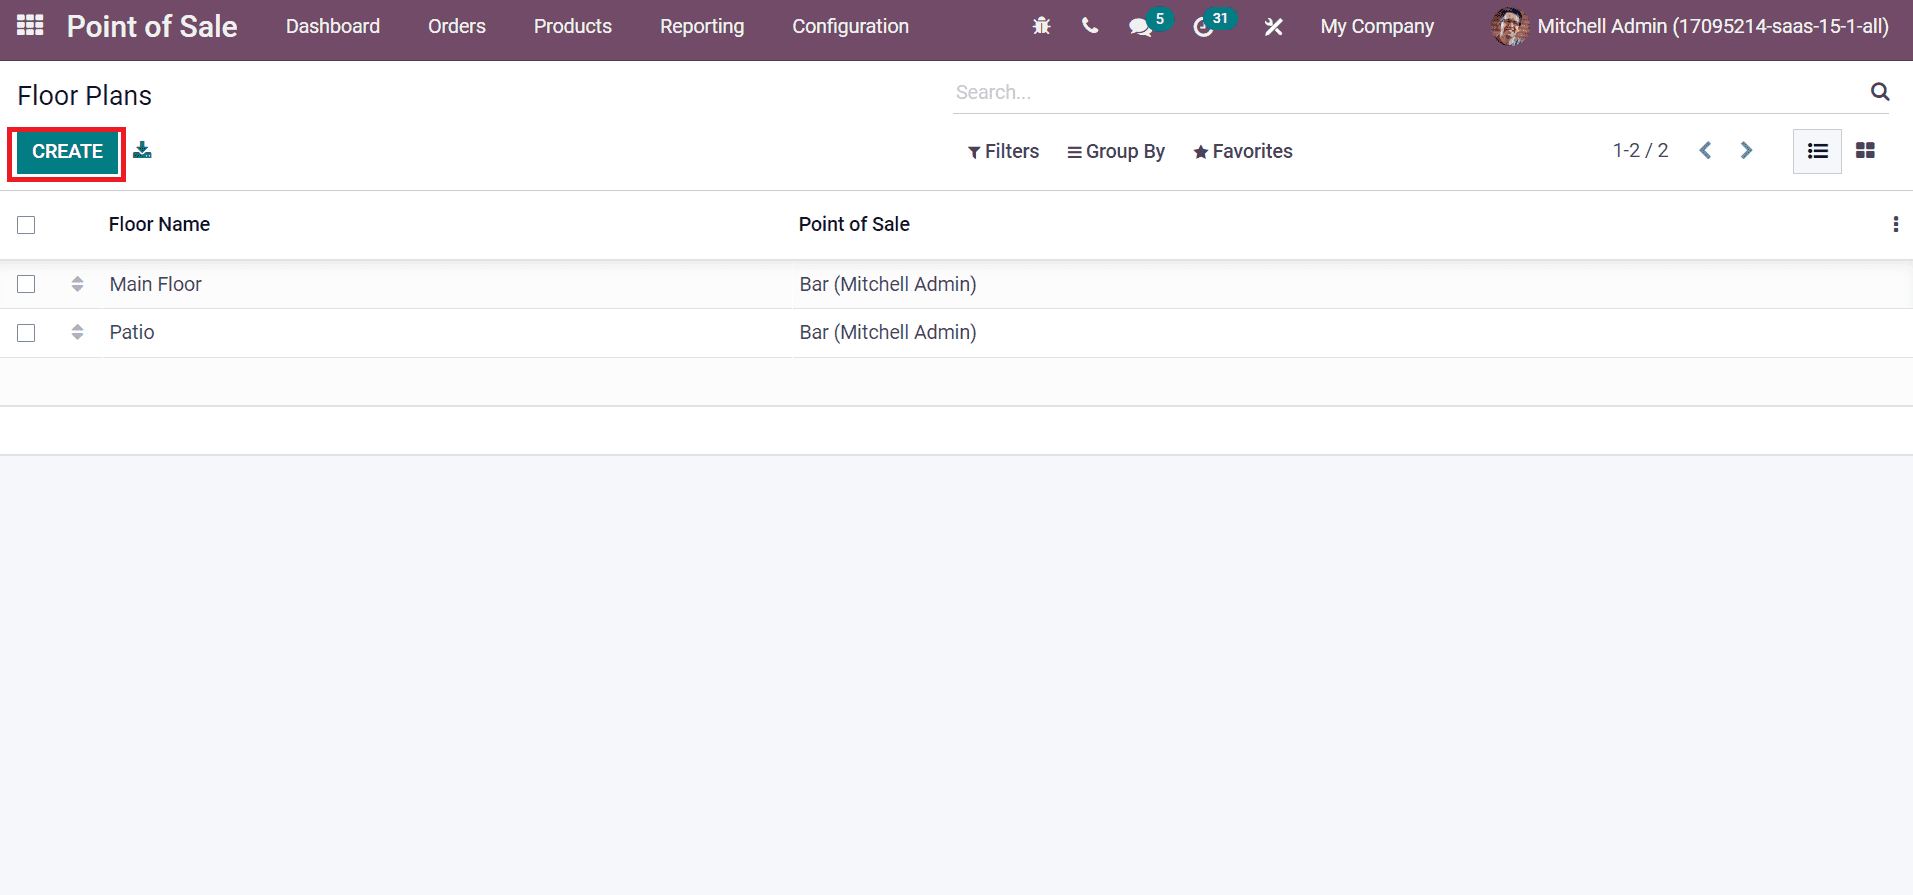
Users can generate floor details by clicking on the Floor Plans menu in the Configuration tab. All created floor plans of your company are visible in the new window, and you can formulate a new one by selecting the CREATE icon, as presented in the screenshot below.
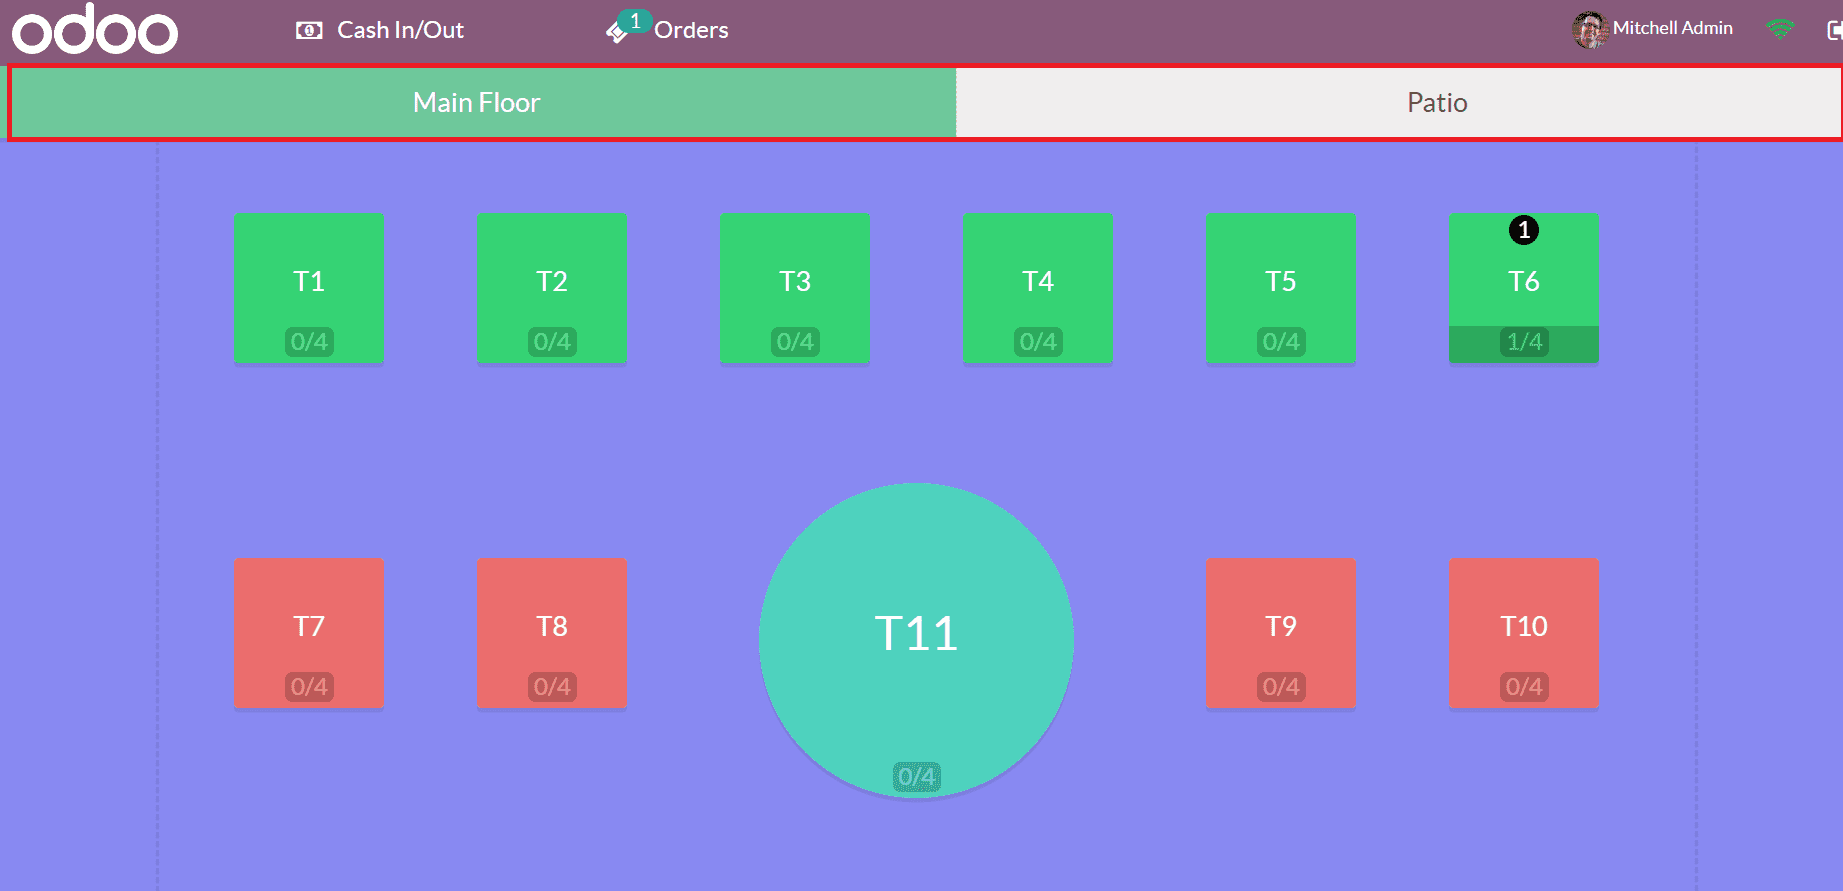
Users can see the created floor plans in the PoS Session window, as in the screenshot below.
To Set a Product Category and Start Category
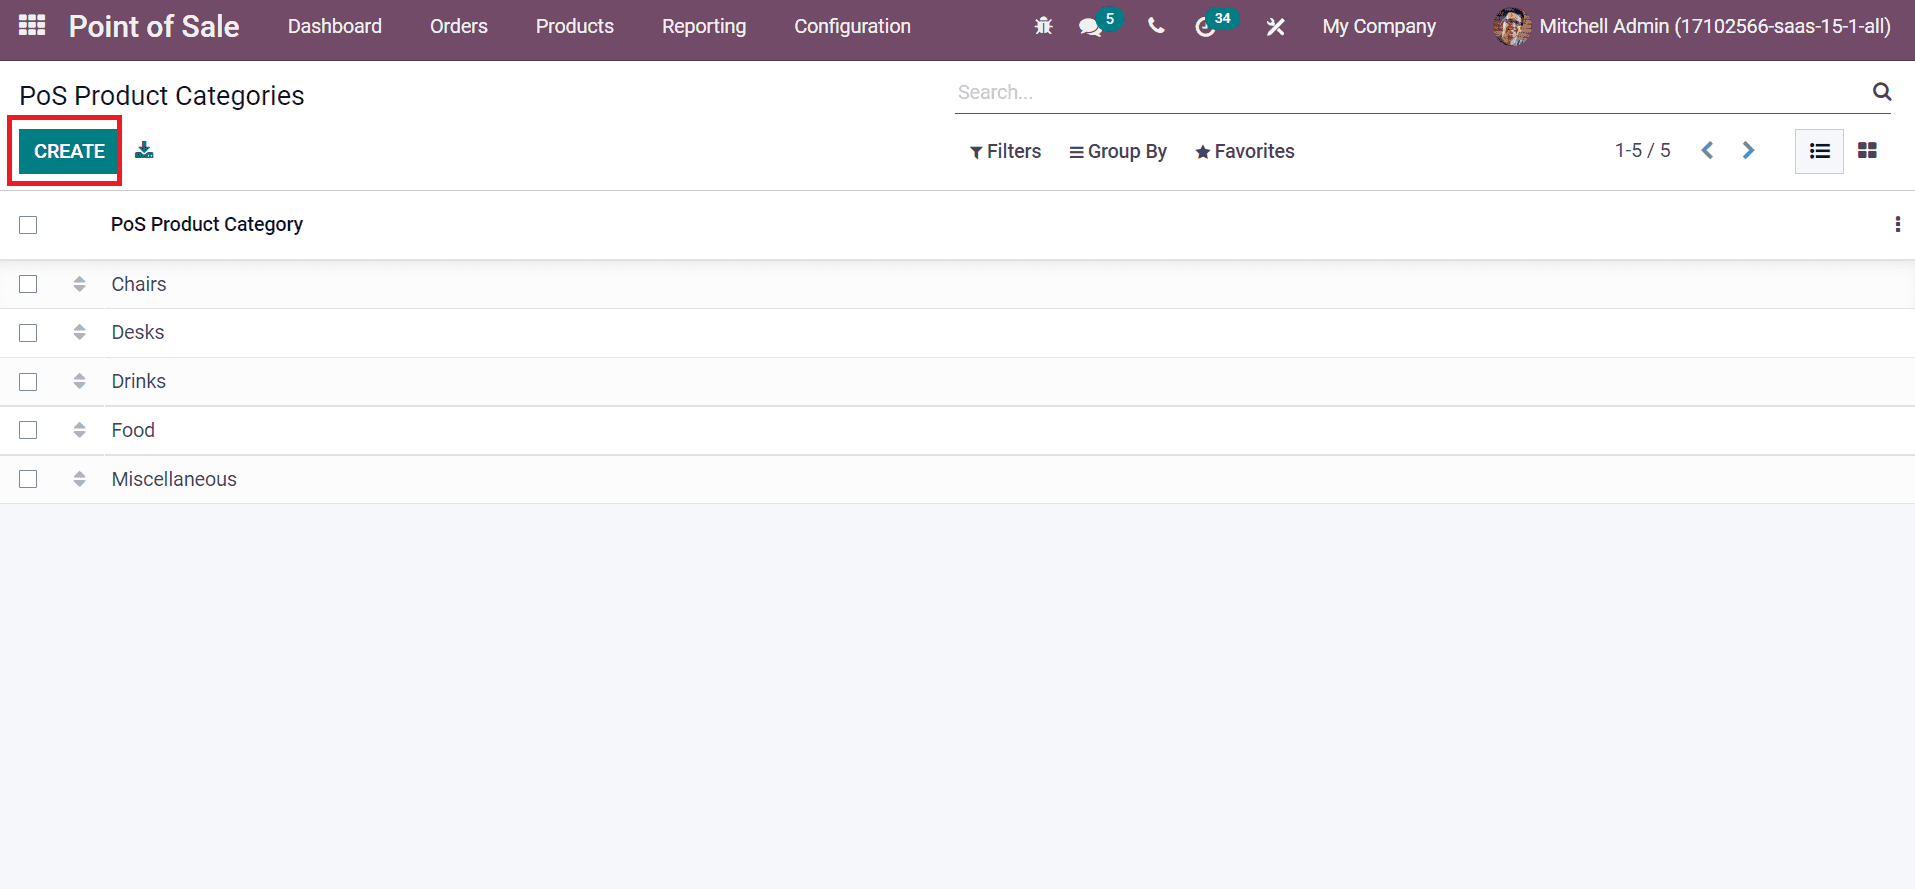
The description of a product group is a product category, and users can create various categories from the Odoo 15 PoS module. Select the PoS Product Categories menu below the Configuration product section, and you can access the list of created categories as represented in the screenshot below.
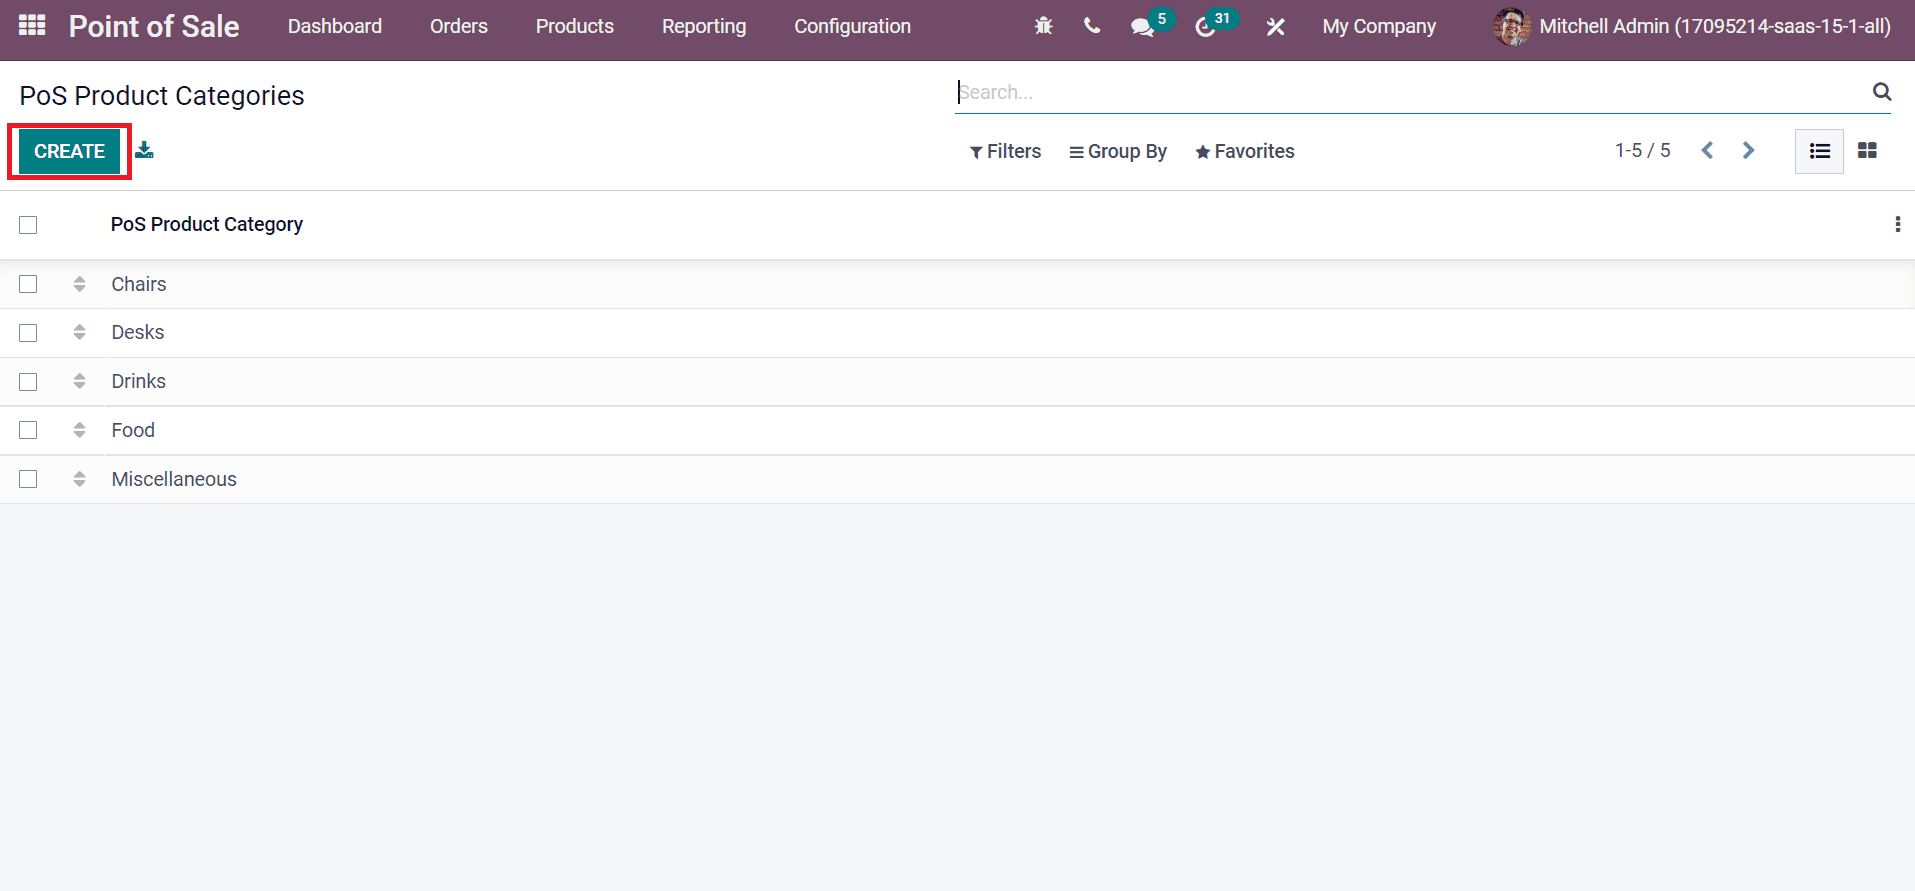
Click the CREATE icon to add a new category for your PoS session. You can also access these categories from your PoS Session window, as indicated in the screenshot below.
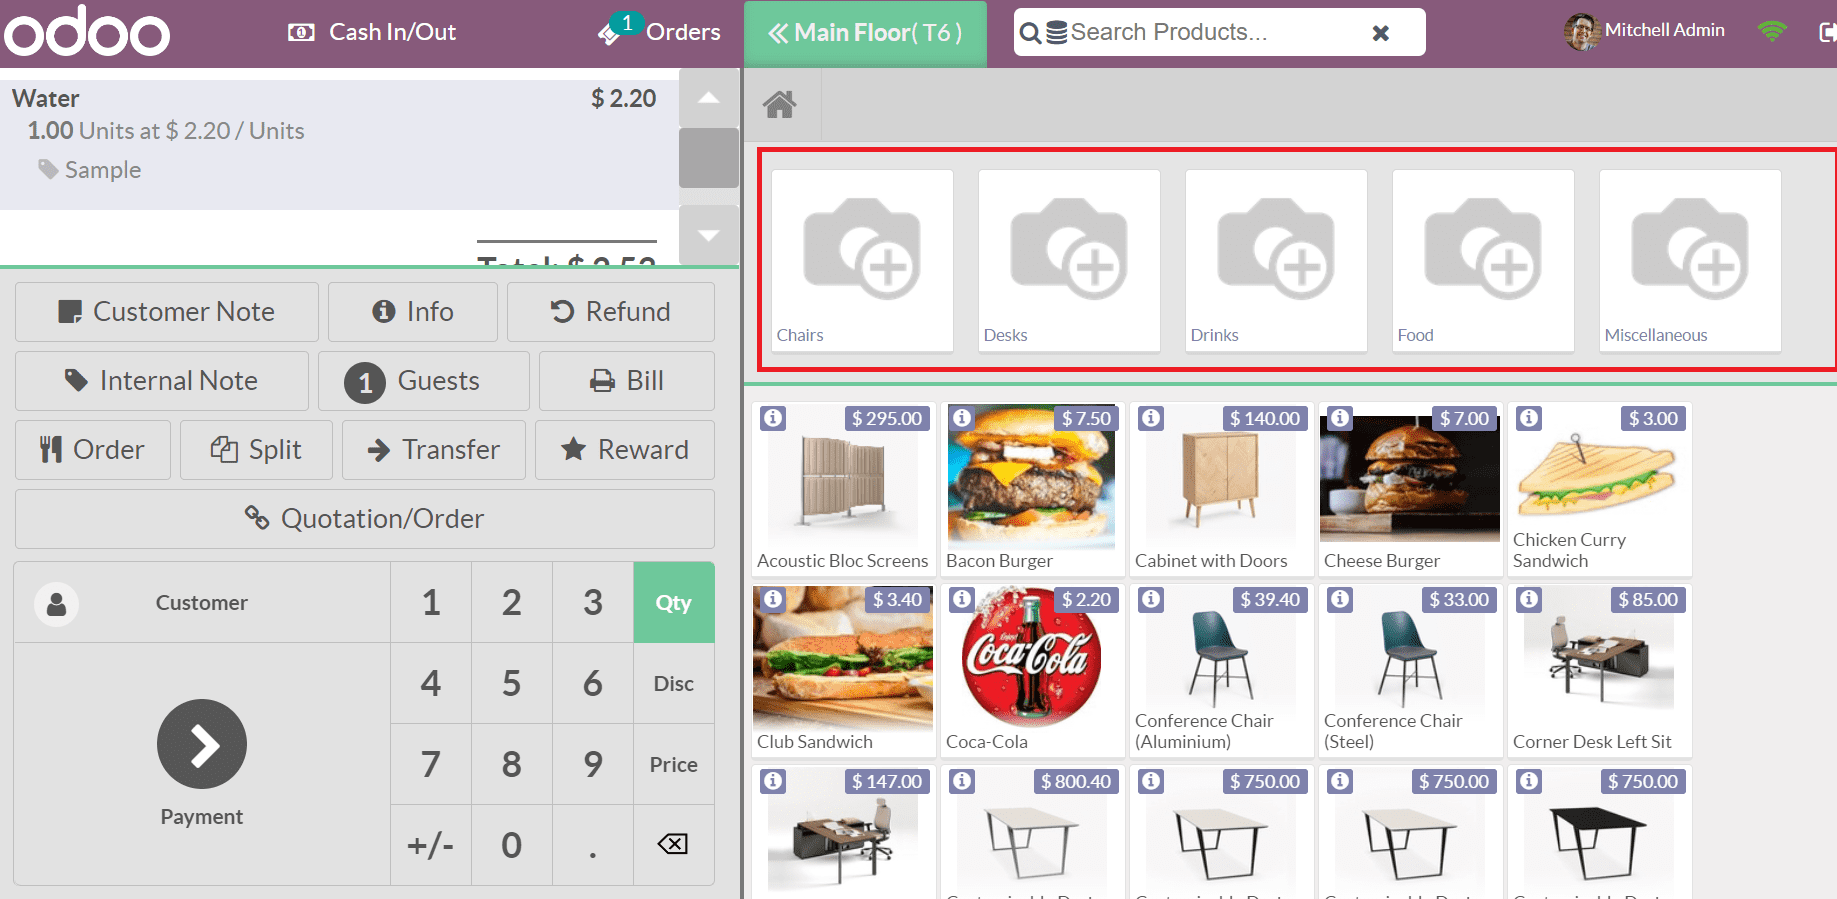
If you select the Desks category, all available products inside this category are visible before you at the session window.
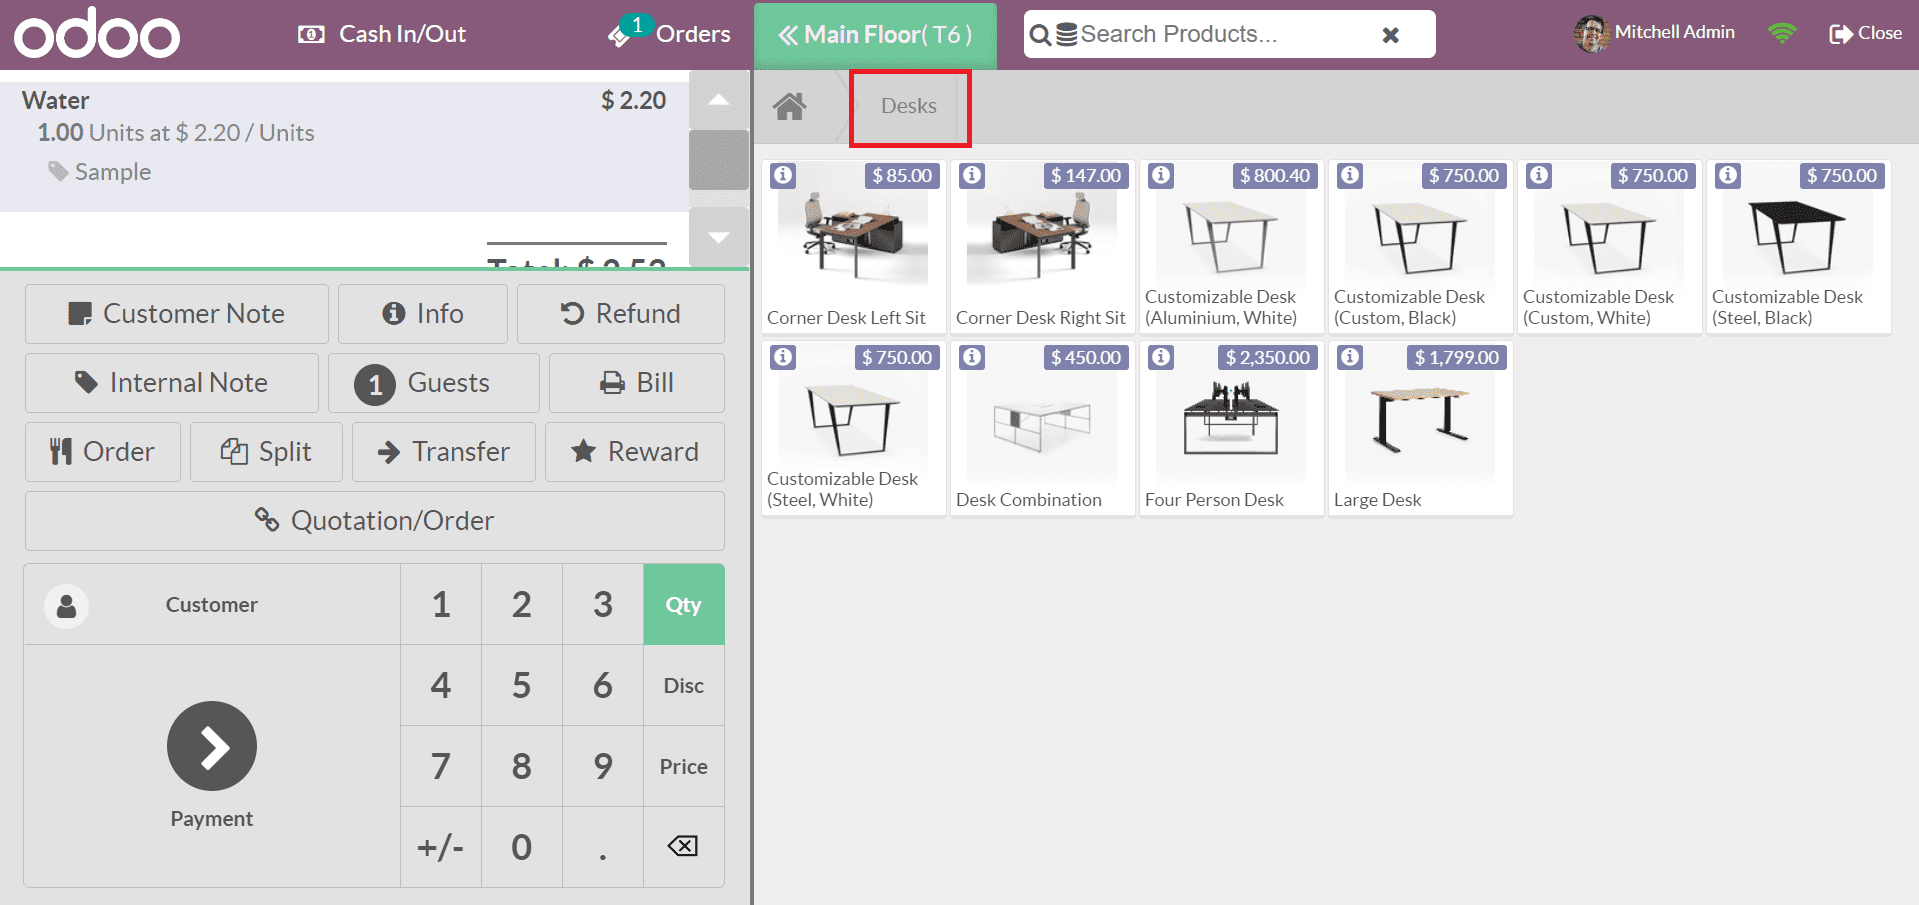
As marked in the screenshot below, we can activate the Start Category feature from the PoS Interface section.
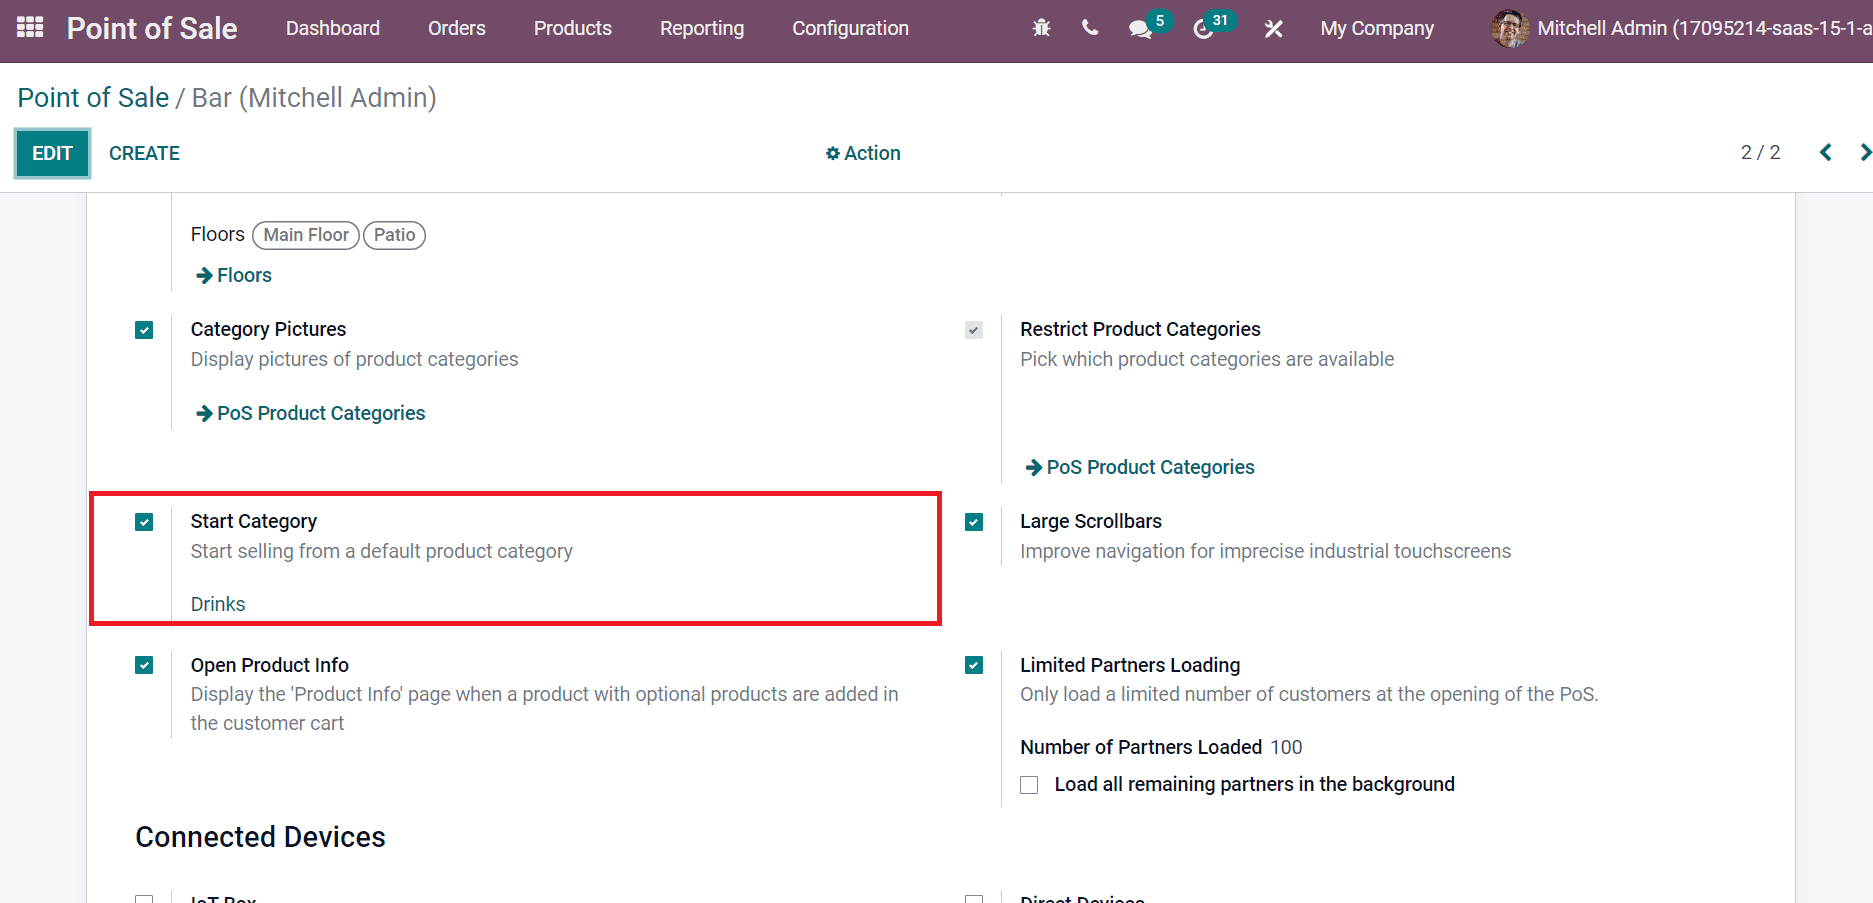
You can begin selling inside a default product category by enabling the Start Category feature.
Large Scrollbars and Open Product Info
Customers can easily navigate between products, categories, and menus by enabling the Large Scrollbars option in the PoS Interface section.
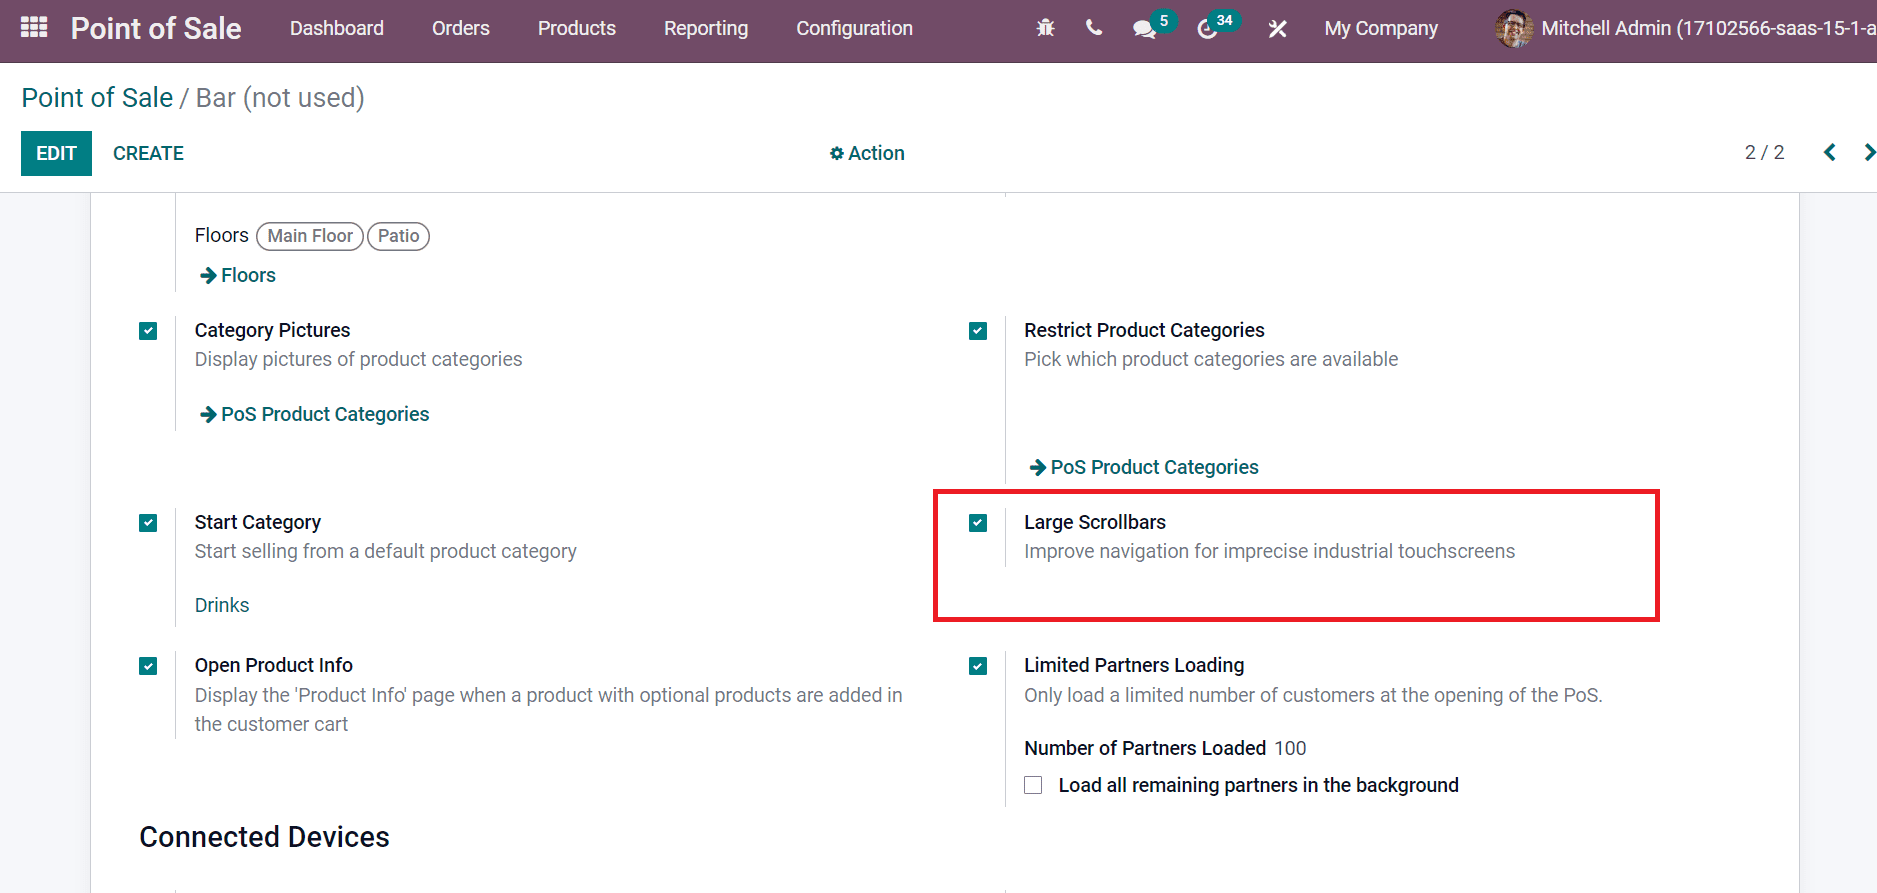
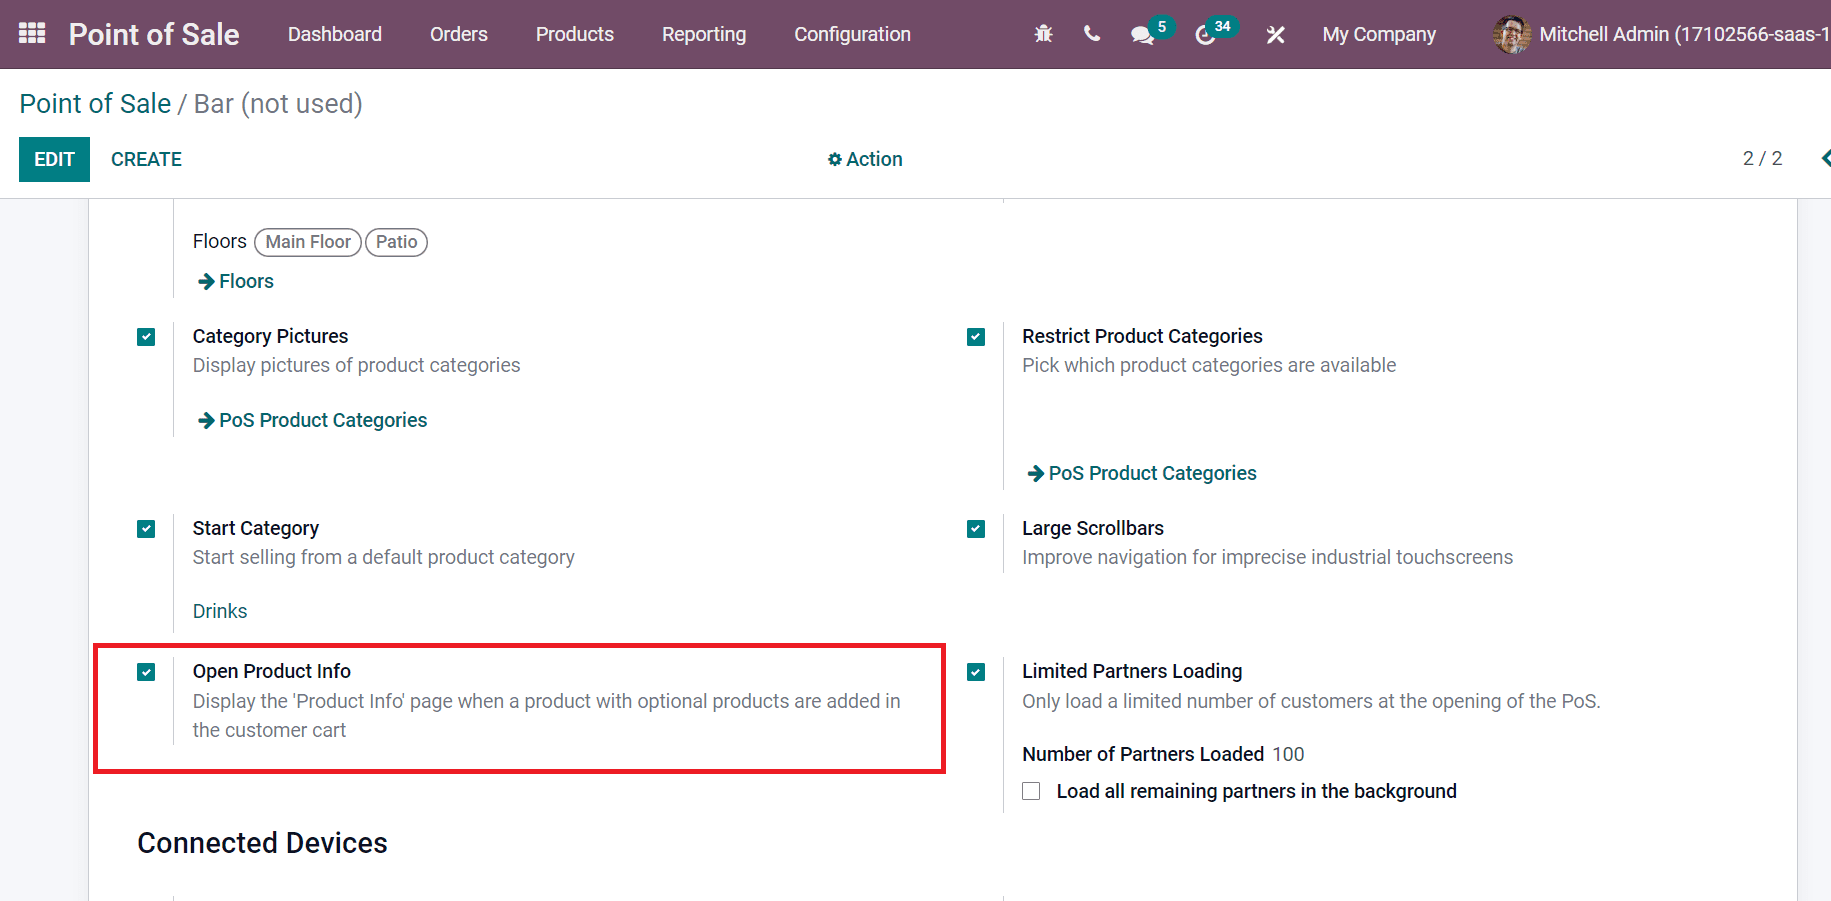
You can increase navigation for touchscreens in the session window by enabling the Large Scrollbars option. The product details related to your specific product are depicted as product information. Users can activate the Open Product Info option to view the product info page when a product is added to a customer cart in your PoS session.
To activate Category Pictures and Limited Partners Location
We can apply a specific image for a product category by enabling the Category Pictures option from the PoS Order Interface section, as denoted in the screenshot below.
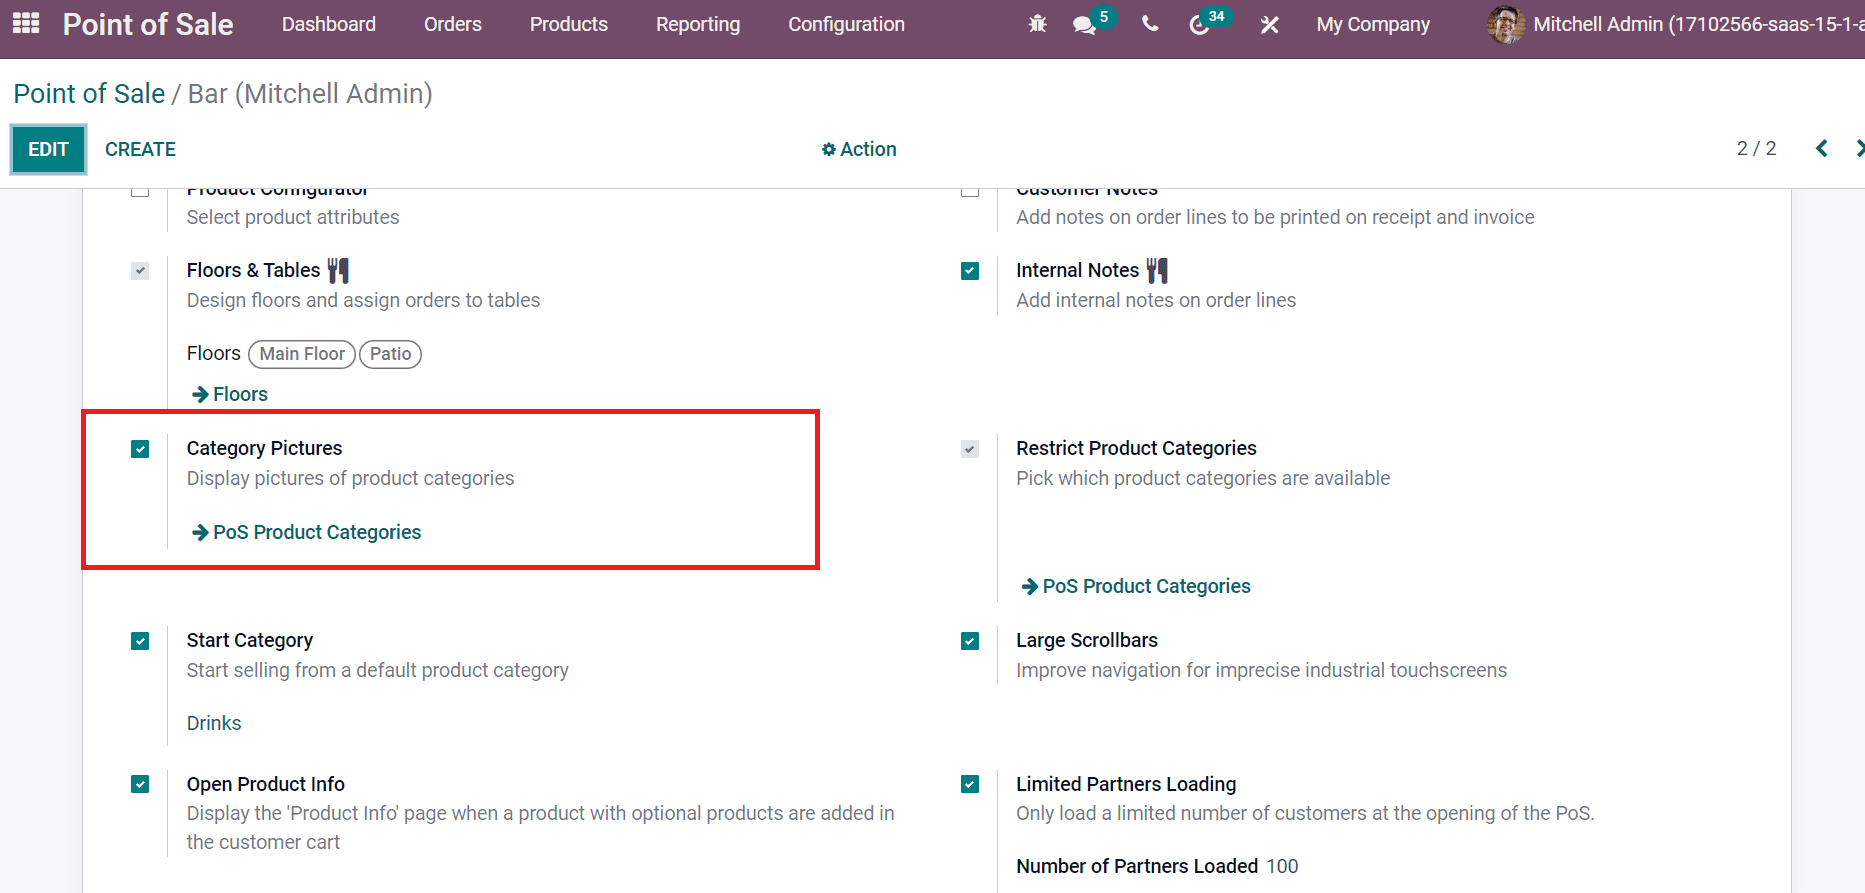
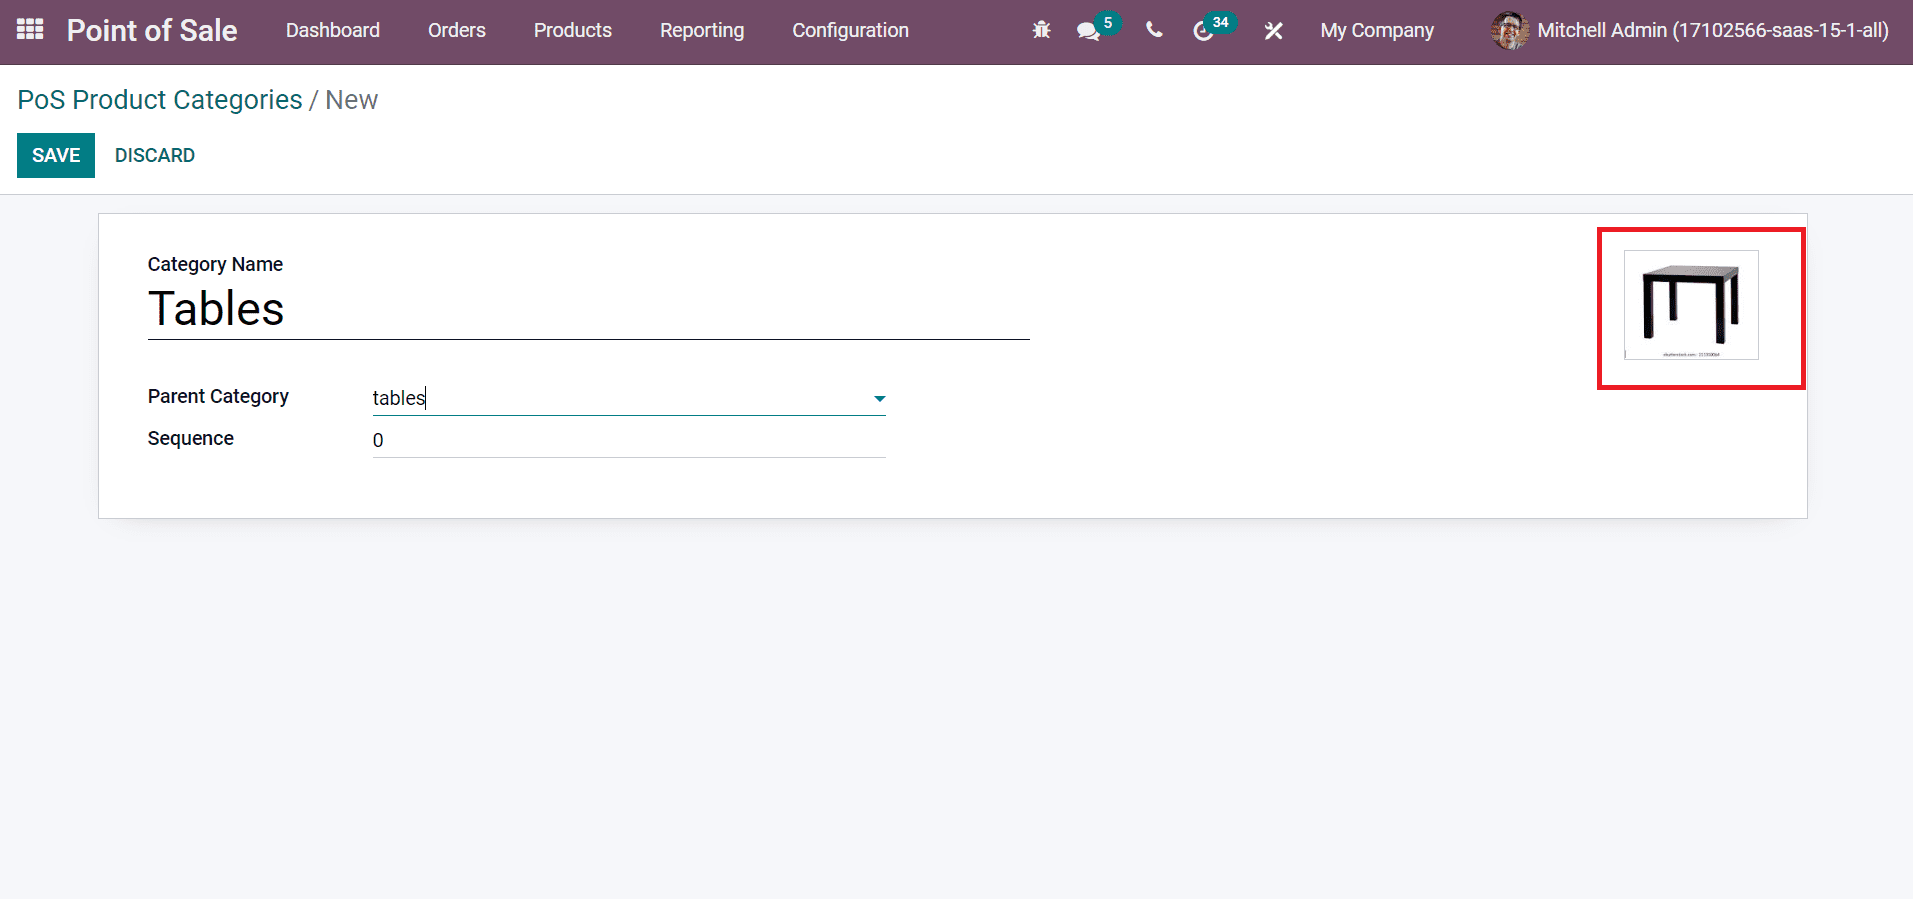
Category Pictures option ensures users display pictures of your product categories. After activating this feature, select the PoS Product Categories menu inside the Configuration tab and click on CREATE icon to add an image for your product category.
In the new window, you can enter the Category Name and apply an image for the product category on the right side, as described in the screenshot below.
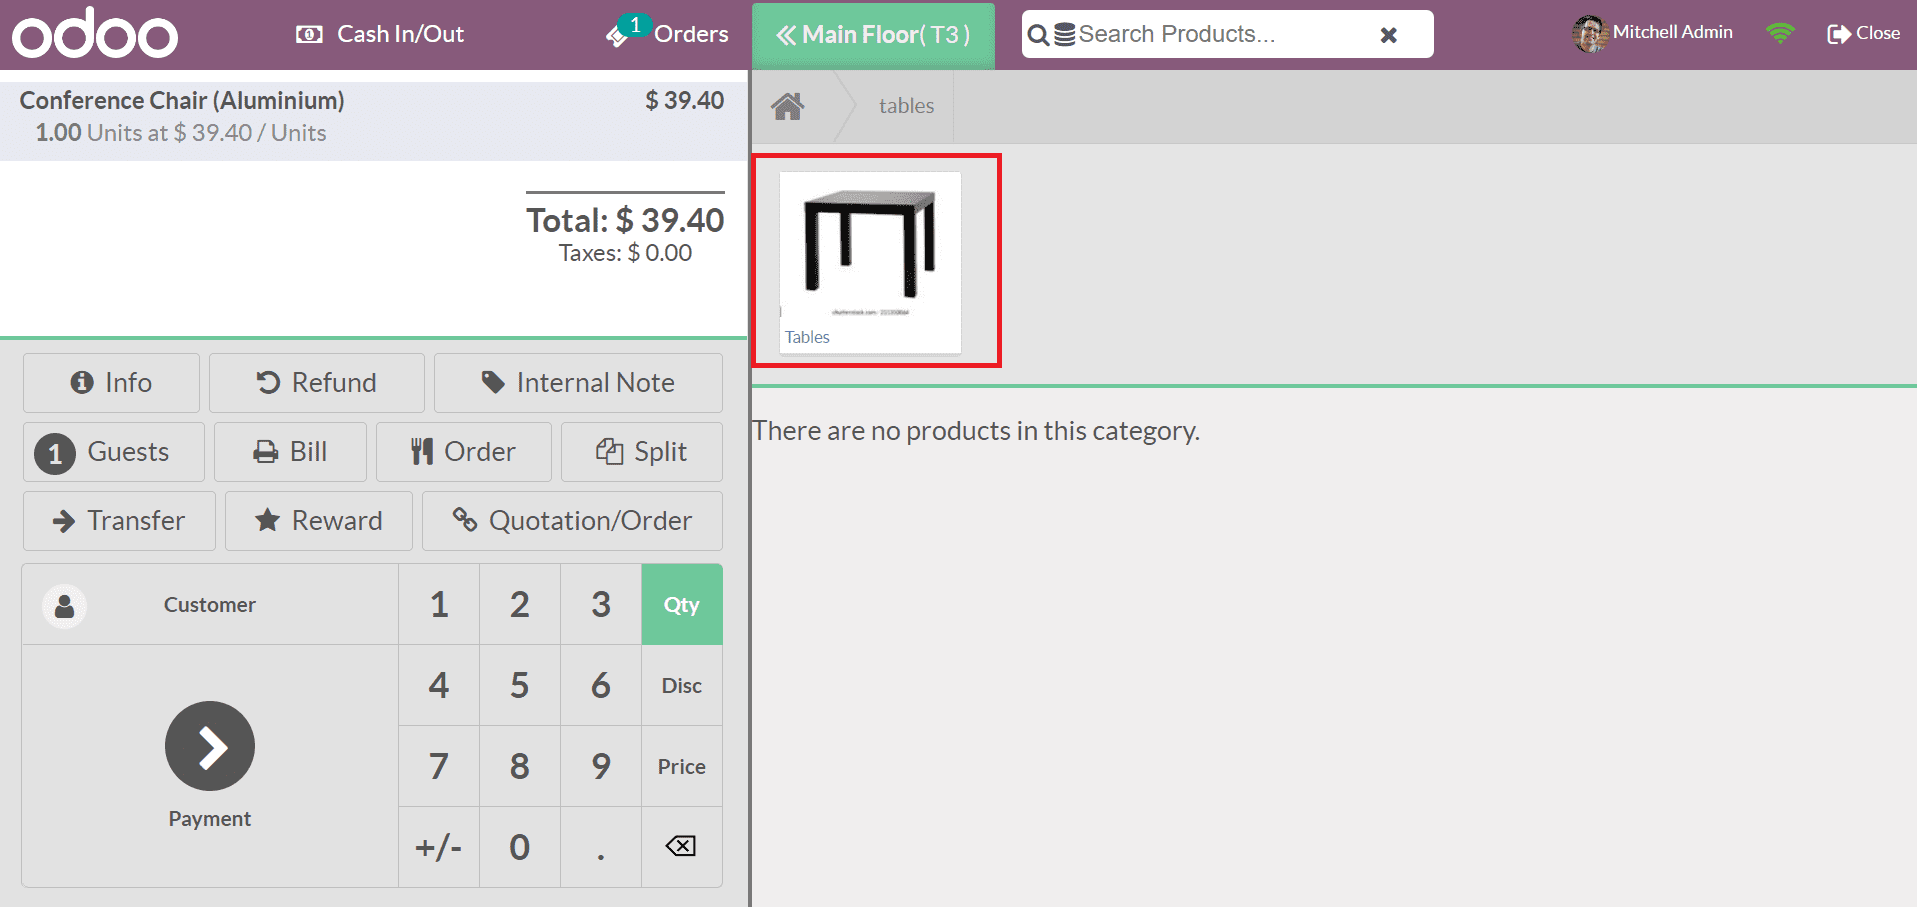
Hence, the user can apply a specific picture for a product category, which is also visible at the front end of the PoS session.
We keep loading a limited number of customers in PoS sessions. The remaining partners are available in the background by enabling the Limited Partners Loading option below the PoS Order Interface section.
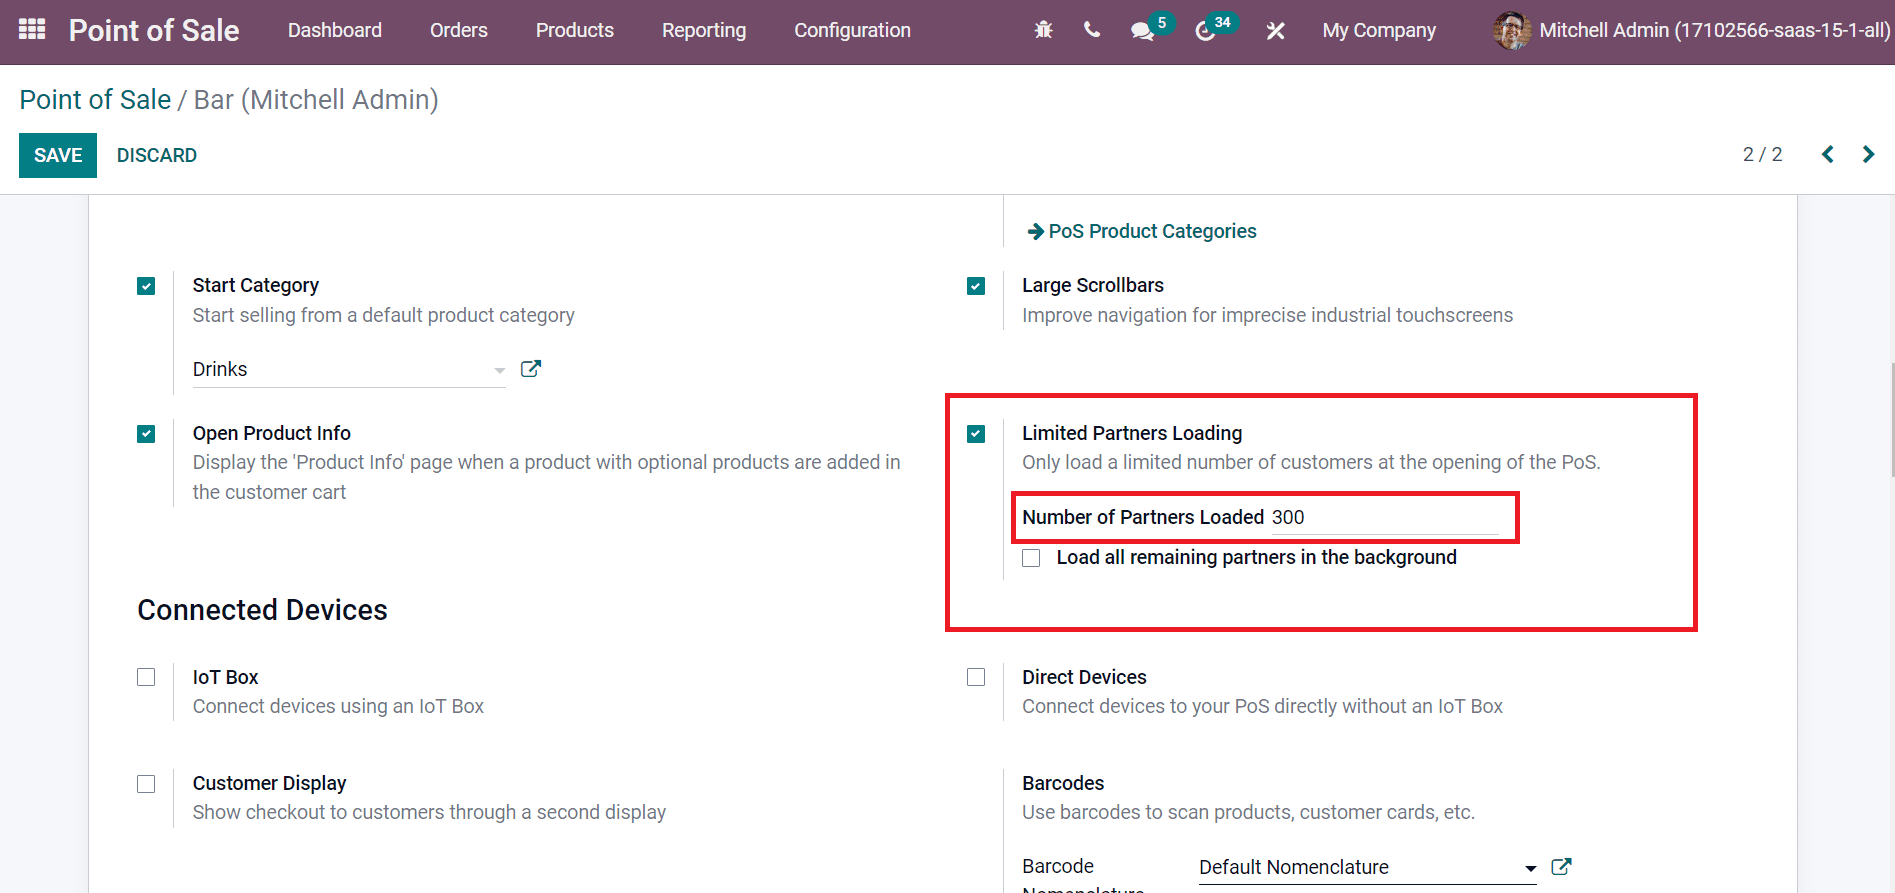
Users can add the partners count inside the Number of Partners Loaded option, as in the above screenshot. The added number of partners can enter into your PoS session. In this method, we can limit customers’ numbers by default.
Odoo 15 PoS module enables users to manage PoS Order Interface for your shop or Bar. Users can manage various features in PoS sessions, such as product categories, Customer Notes, Floors & tables, and more.


