In the world of web development and testing, it is crucial to ensure that your application’s email functionality is working correctly. However, testing emails in a local development environment can be challenging. This is where MailHog comes to the rescue! MailHog is an open-source email testing tool that allows you to capture and view emails sent from your application without actually sending them to the recipients. In this blog post, we will explore how to use MailHog to test emails locally in Odoo, a popular open-source ERP and CRM platform.
Step 1: Installing MailHog
To deploy MailHog on a Linux system such as Ubuntu or Debian, follow the steps outlined below:

Step 2: Running MailHog
1. Open a new terminal window.
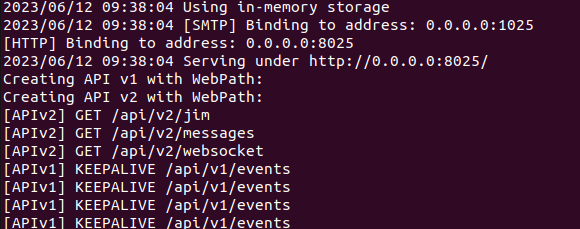
2. Run the following command to start the MailHog server:

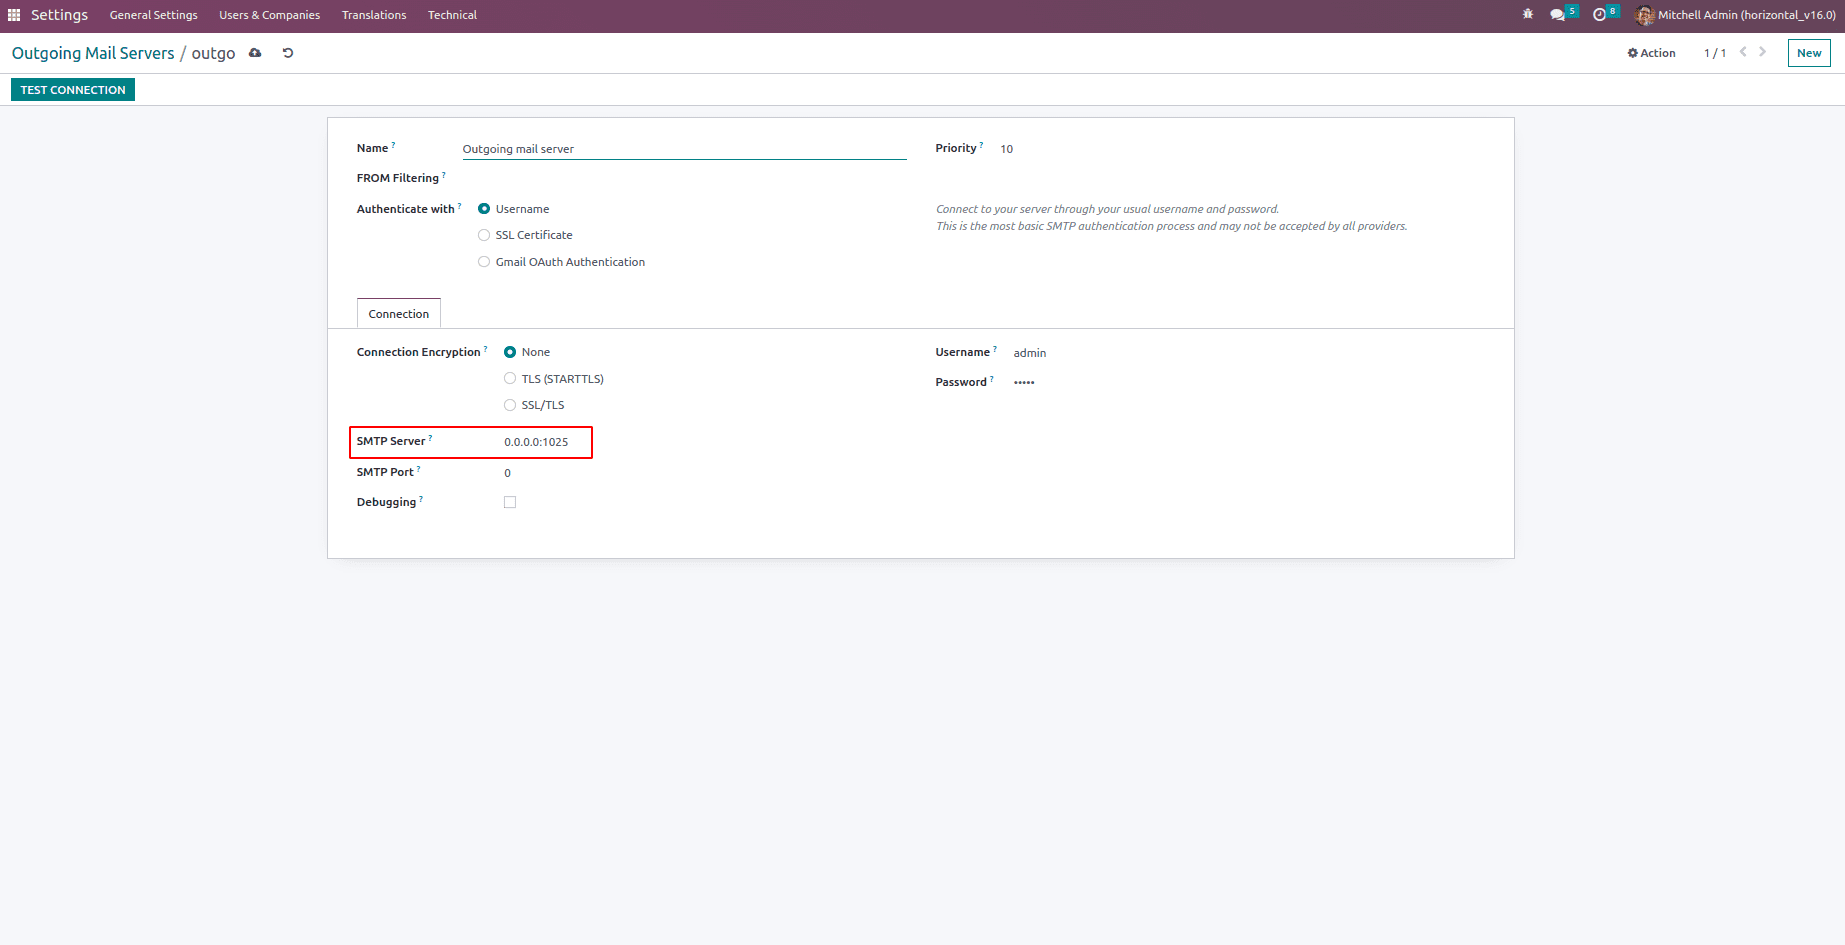
1.MailHog will start listening on port 1025 for incoming SMTP traffic.

Step 3: Testing Emails in Odoo
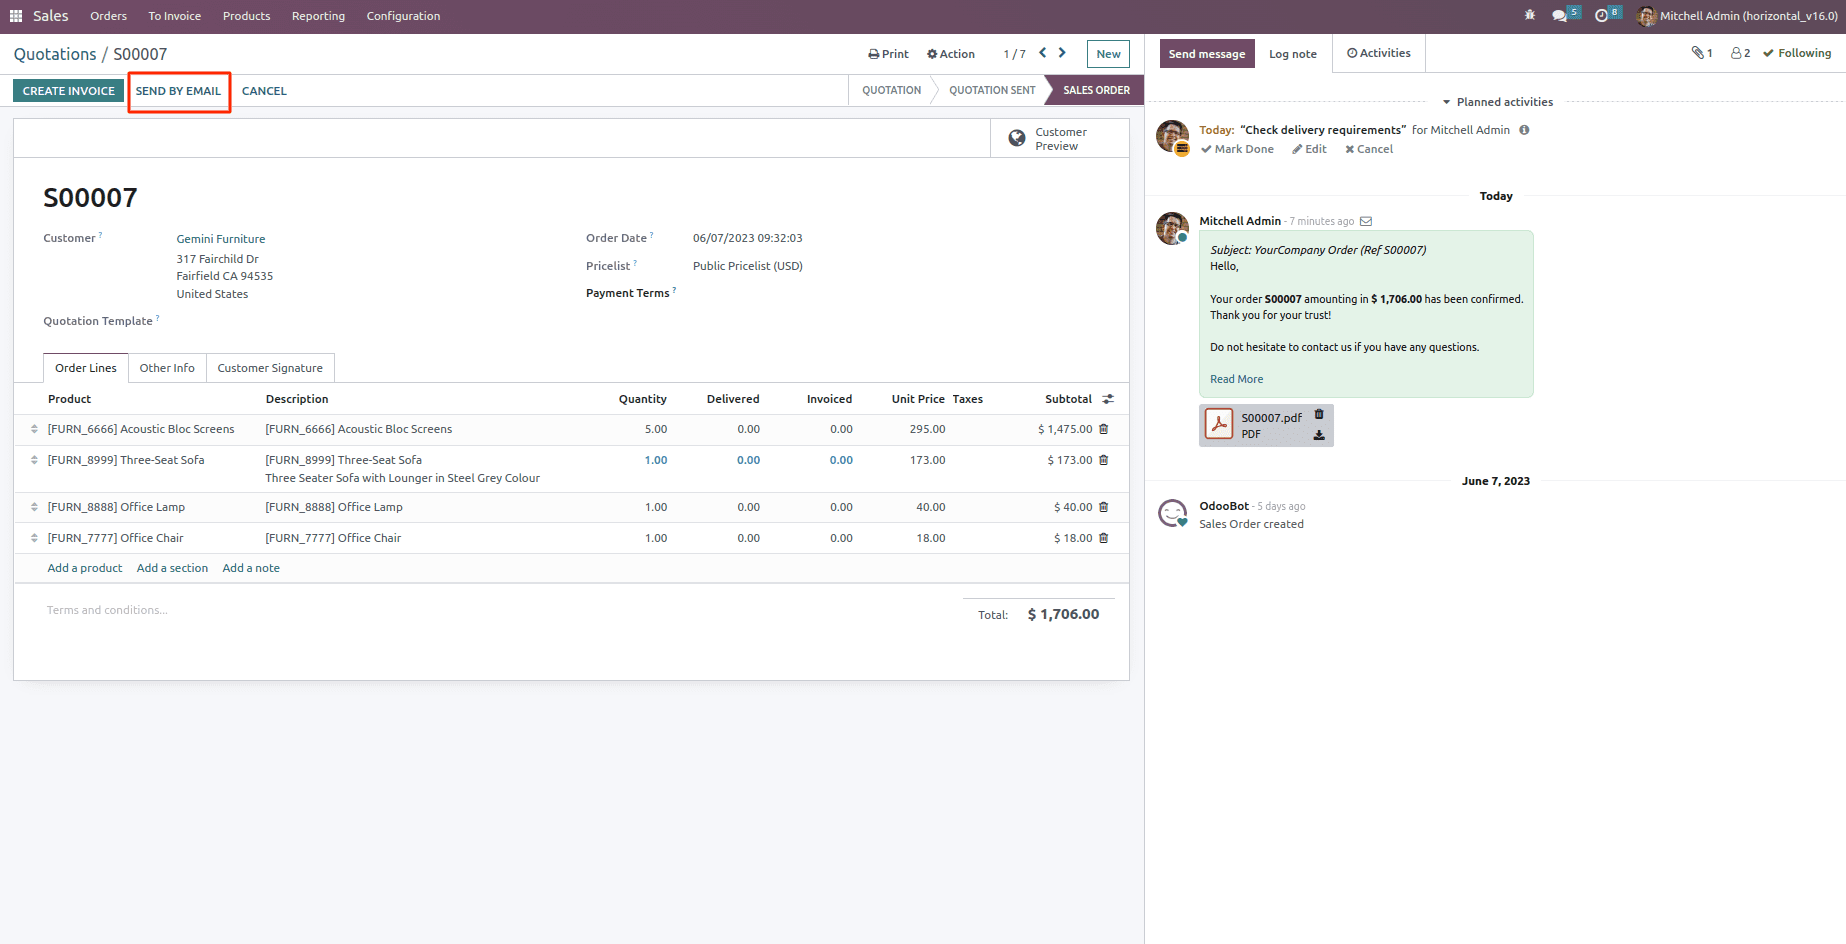
1. Access your Odoo instance and navigate to the module or feature that triggers email notifications.

2. Perform the action that should trigger an email notification, such as creating a new user or sending an invoice.

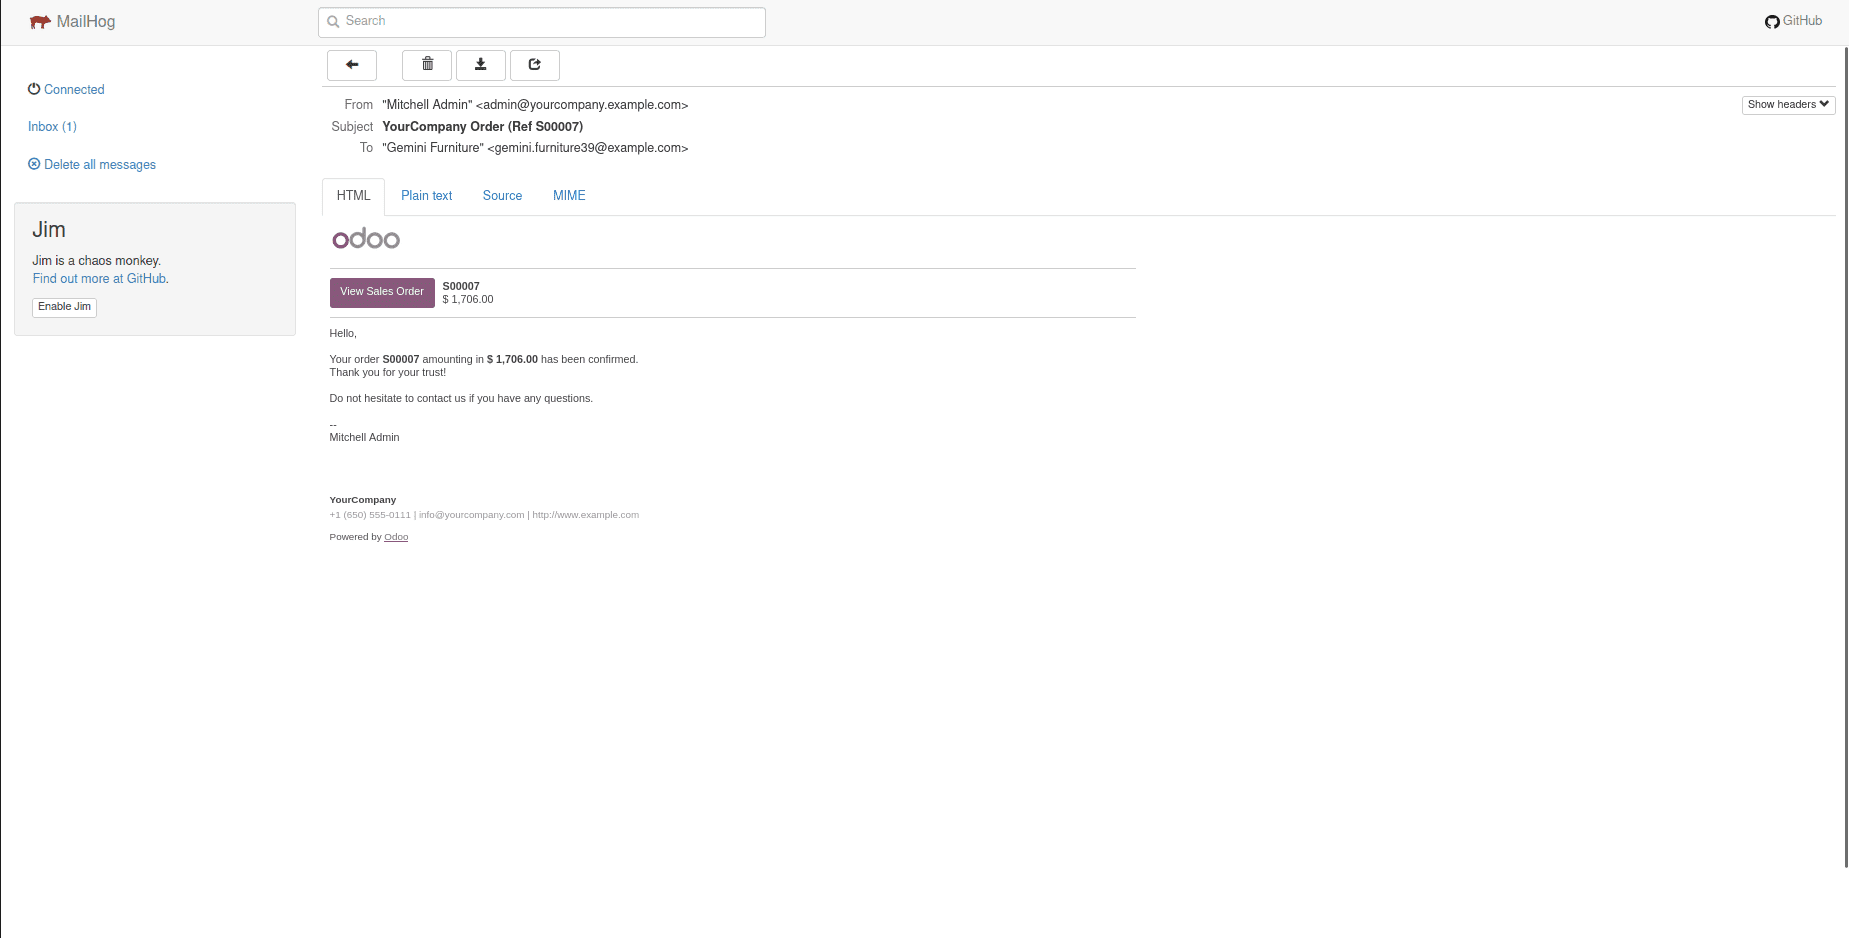
3.Open your web browser and go to http://localhost:8025. This is the MailHog web interface

4.You should see the captured email(s) in the MailHog interface. Click on an email to view its details, including the sender, recipient, subject, and content.
5. Verify that the email appears as expected, with correct formatting, images, and links.
6. Repeat the necessary actions in Odoo and check the MailHog interface to validate the email notifications.
Conclusion:
By using MailHog as a local SMTP server, you can test email notifications in Odoo without actually sending emails to real recipients. This ensures that your emails are properly formatted and contain the correct information before being sent to your customers or internal users. Implementing this testing approach can help you deliver a seamless email experience within your Odoo environment. Happy testing!


