Managing the food distribution system inside an organization can sometimes get messy. But an efficient ERP application for managing food supply can help. The lunch module of Odoo 14 will help a business to manage all food supply related worries. This application can be of great use to organizations that arrange food for their employees. The cafeteria or the lunch and snack serving system of the organization can manage employee requirements, orders, and delivery with Odoo Lunch. The system will help the organization to prepare in advance to meet the requirement as an advanced order placing facility can be used. Payment tracking and price management can also be done with Odoo 14 Lunch.
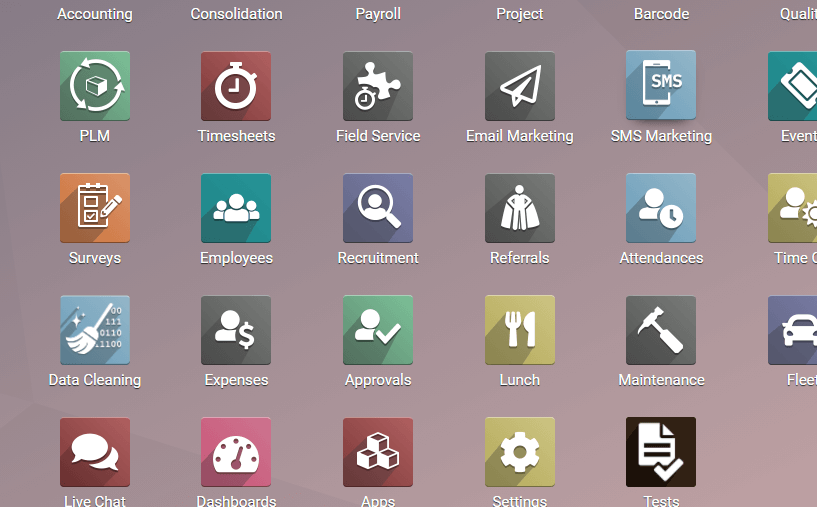
The app can be accessed with ease after installing the App from Odoo Apps.
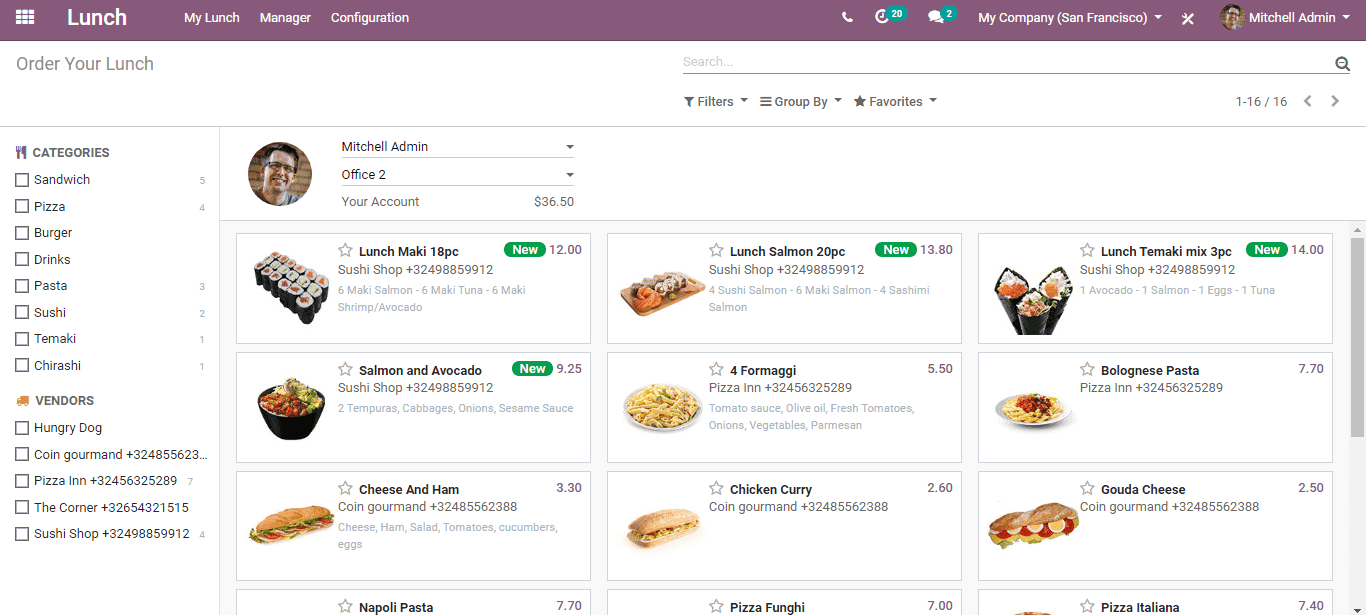
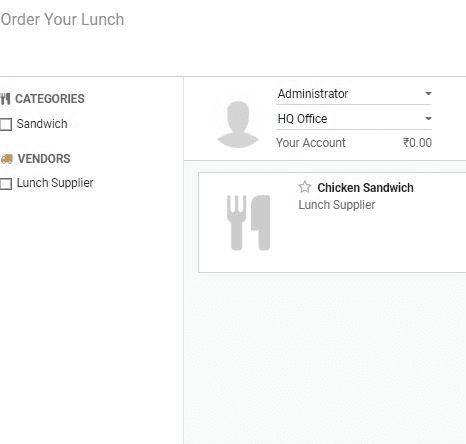
On entering the app, the user can find a dashboard. This gives a view of the orders created by the employee. With Odoo support a user can also categorize food items available. Sorting of food varieties based on the list provided on the left hands’ side also is possible. Besides, we can also take a glance at the vendors’ list.
Food Product Management
To make use of this we can first configure products. This can be done by moving to Lunch> Configuration> Product.
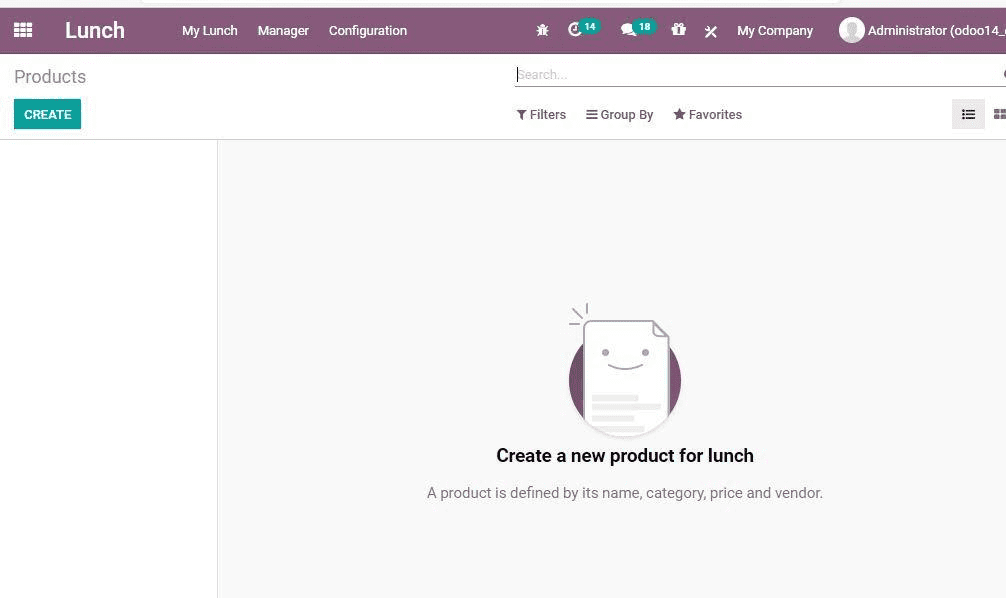
Now I am going to create a new food product by clicking the CREATE option
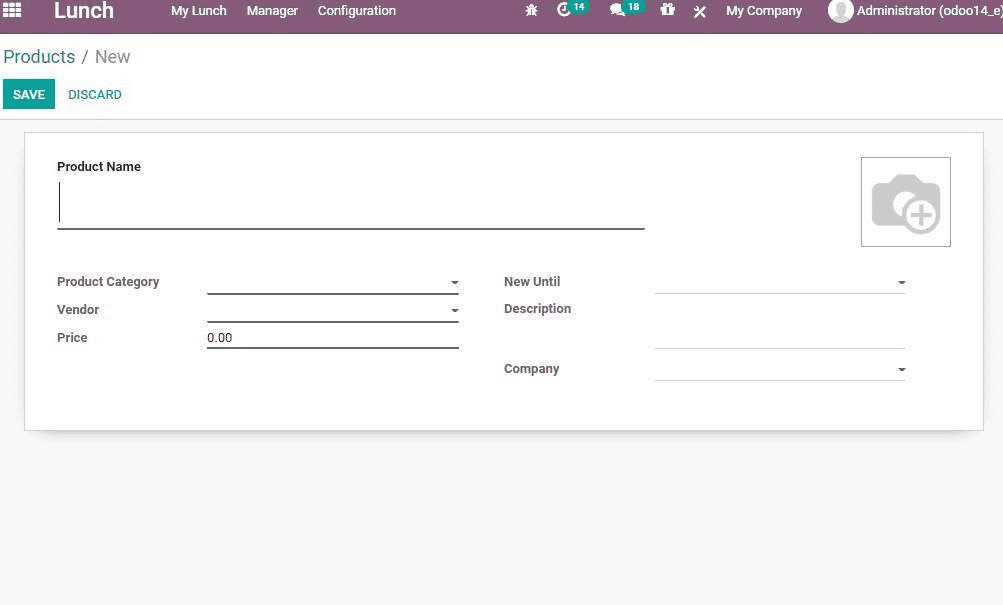
I will be adding all required details including the product name here. I can also add product images and product categories. The setting of the default vendor for the above-mentioned product and managing the price of the product also will be done here.
Can you see a field – New Until. This feature proves helpful to set the validity of orders for a product.
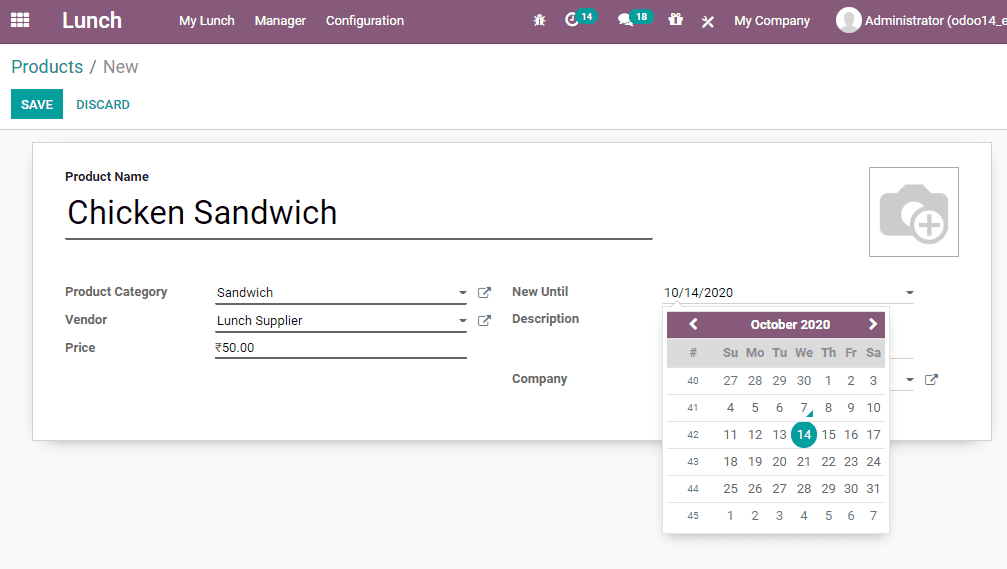
Now I have completed the filling of all required fields. I have also used the Save option to save it.
What I am going to do next is to create a Product category. For this, I will go to Lunch > Configuration > Product categories.
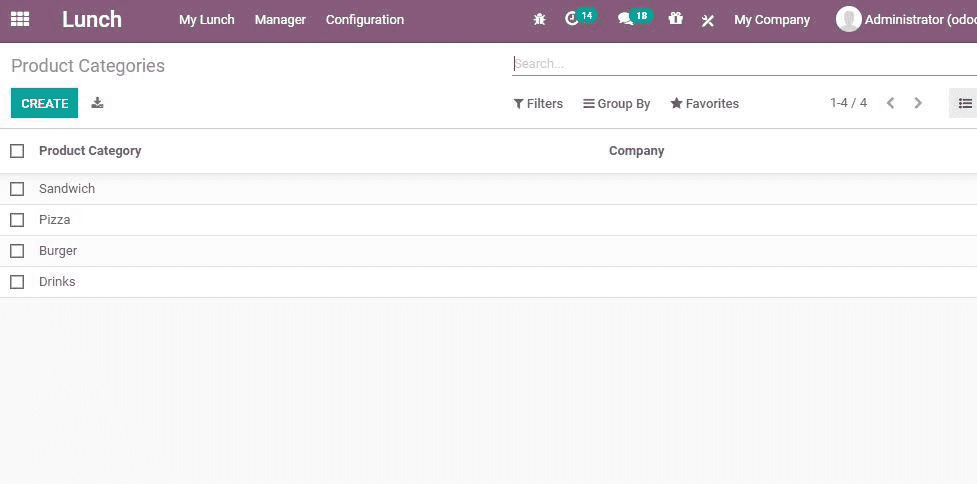
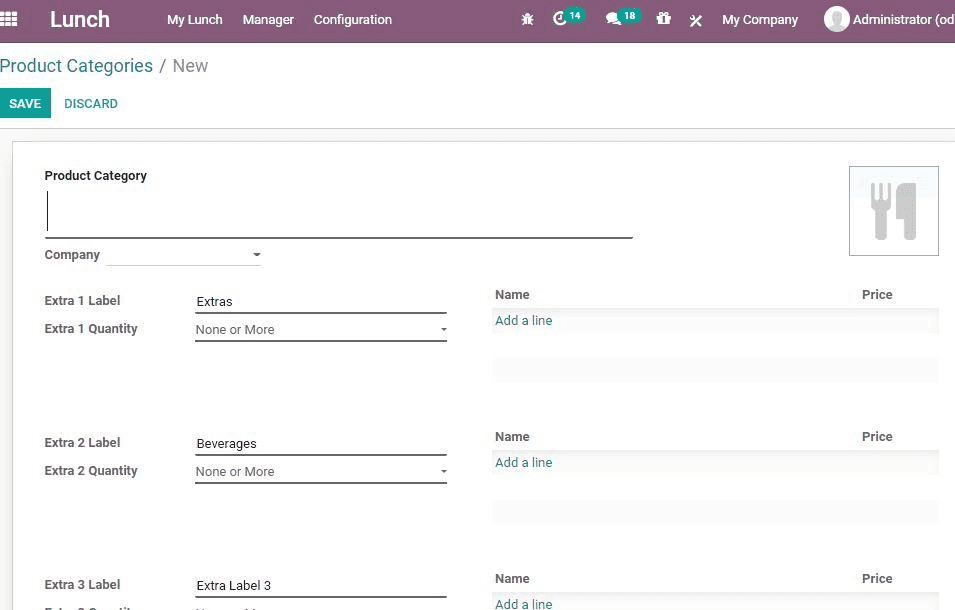
Generate Alerts Now
I want to alert the employees or remind the employees to order food. This alert feature will be very helpful as the chances are high that the employees may forget to order the food as they get engaged in office work. If I set the alert, the employee will be reminded to order food. This will be beneficial for the food distributors also as they can ensure timely delivery. Let us see how to generate alerts.
For this I will go to Lunch > Configuration > Alert > Create.
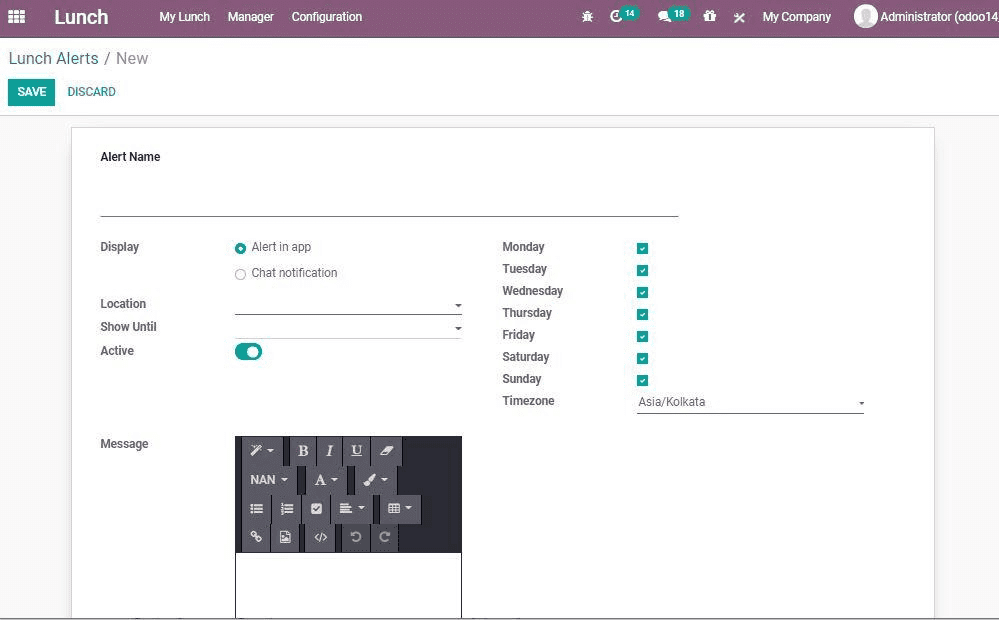
How will the employee be alerted? It can either be an alert in the app or an alert as a chat notification. If you want to set it as a repeated alert, that can also be done.
How to Creating Order?
We can select a food product from the list and directly place the order. We can manage the activity from the dashboard itself.
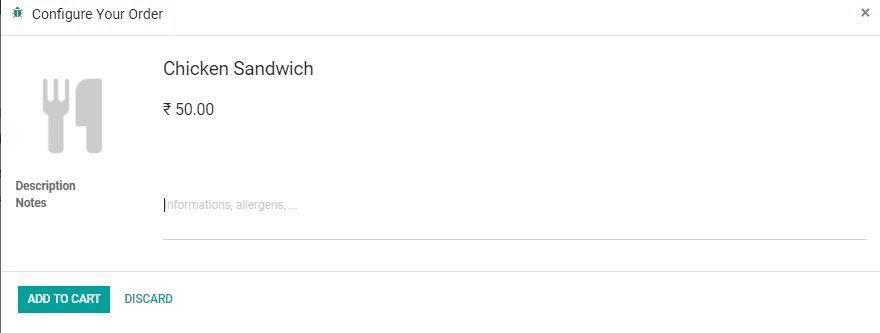
Now I am going to add my preference also here. I have added spicy to the Chicken Sandwich order before ordering.
As I have selected the food product, I am going to add it to the cart now. Once I do this. The product will appear on the menu.
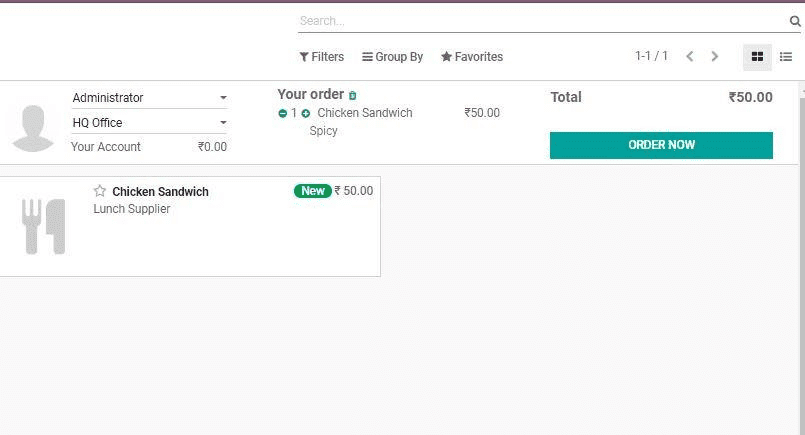
Then you can find a tab ‘Order Now’. I am using this tab to place the order.
Find the change. Ordered is the status now.
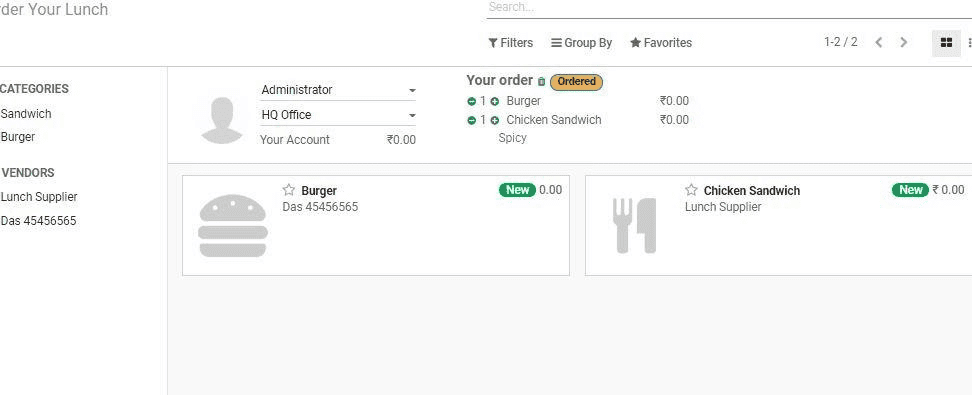
How to Manage Today’s Order?
Go to Lunch > My Lunch > Today’s to view created orders.
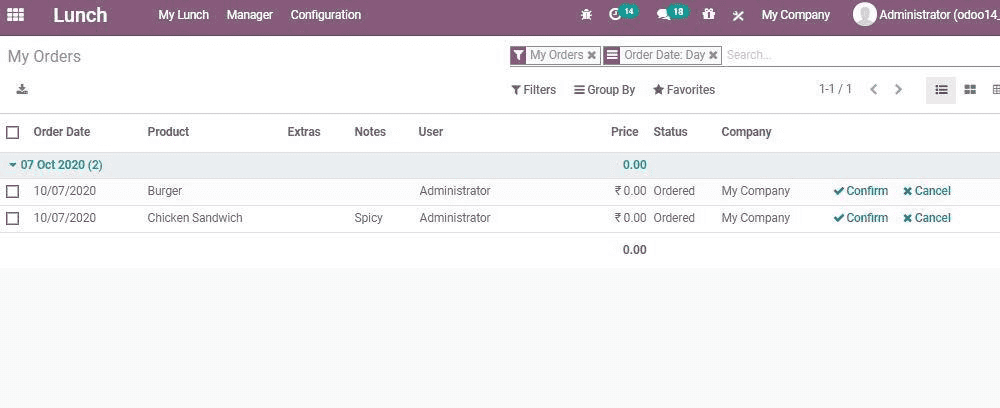
As we can see the orders listed in the above image we can either confirm the order or cancel it. For this, the user can use the tabs given next to the order.
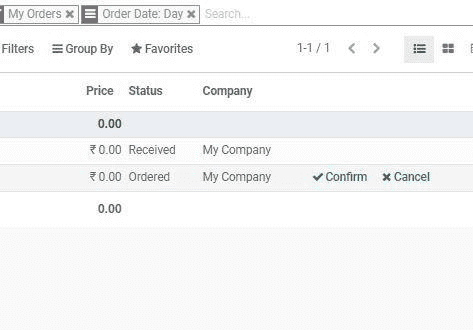
Order History Management
Now we can look at how to manage order history. We can go to Lunch >My Lunch > My Order History for this.
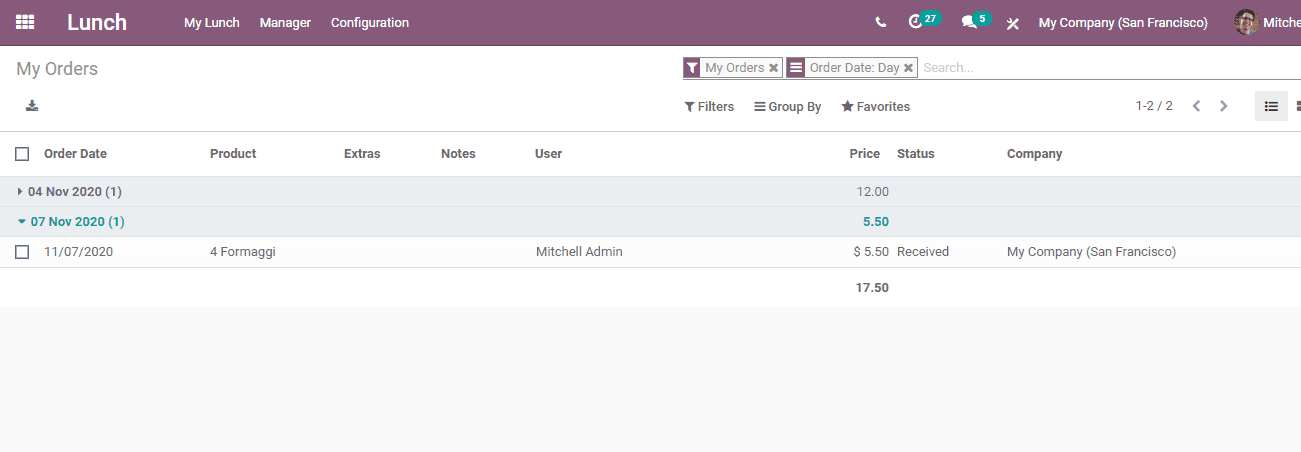
Can you find the orders? In the same way, we can view product names and payment details. Besides. Order status and product status can also be accessed.
My Account History
I will show you how to view the account detail using this module. Check Lunch > My Account
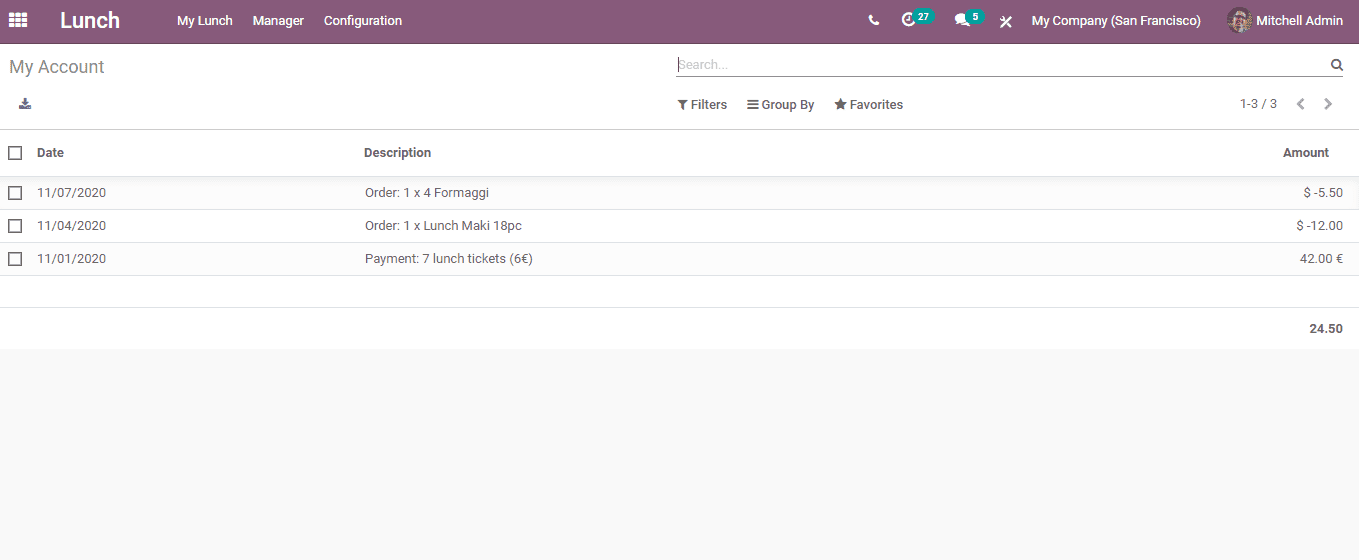
There you can find the purchase amount and the total amount spent.
Benefits for Managers
Managers can create vendors, manage cash flow, and control accounts.
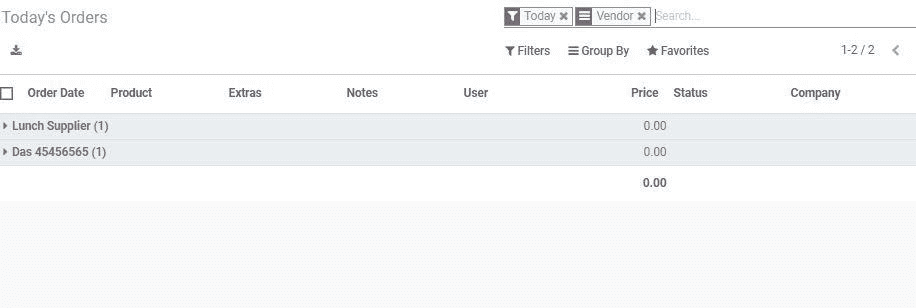
First, we can check how to manage today’s order
Lunch > Managers >Today’s Orders.
Create Vendor
Vendors are an important part of the food distribution system inside an organization. Now we can check how to create vendors. Go to Lunch > Configuration > Vendor

Now I am going to create a new vendor by clicking create
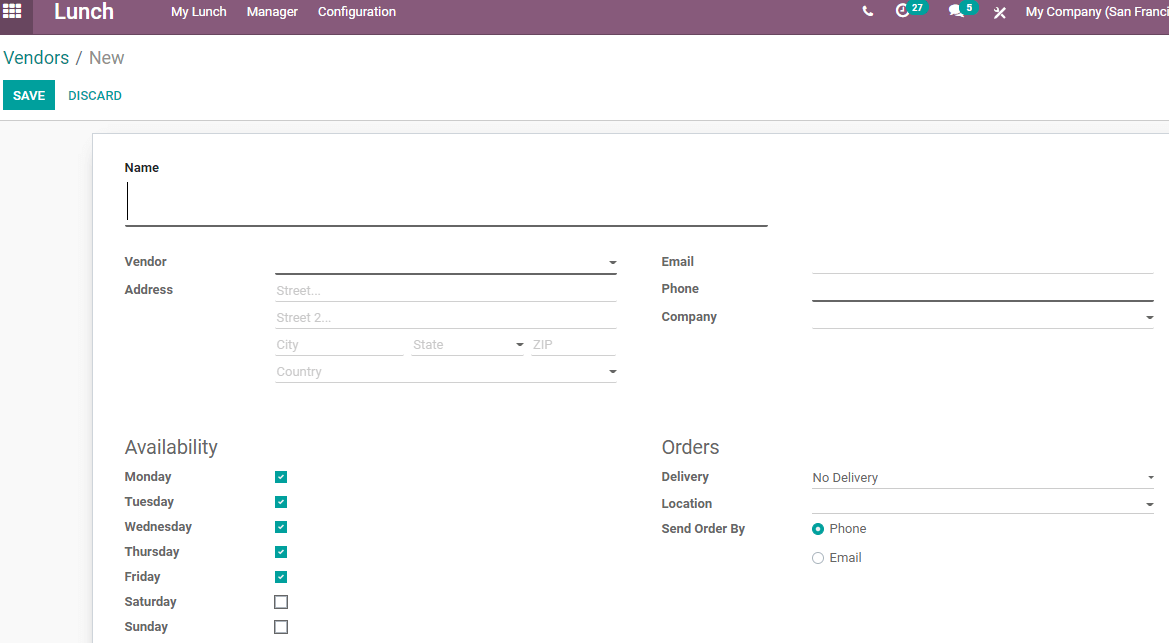
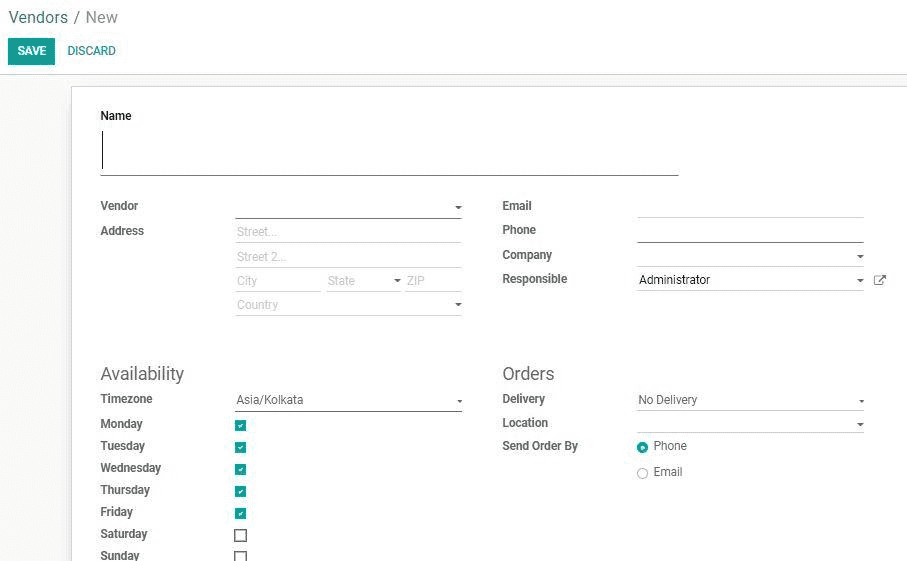
I will fill in the details in the above-given form. I will have to add the shop name, and vendor details. As some vendors may not operate on all days availability factor can also be set.
Control Vendors
This feature helps to manage more than one vendor.
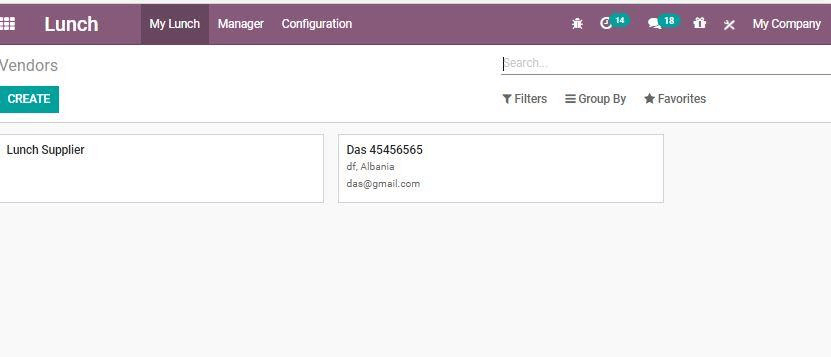
Check Lunch > Manager > Control Vendors.
I am going to control the vendor for each product. A user, if not satisfied with a vendor, can configure a new vendor.
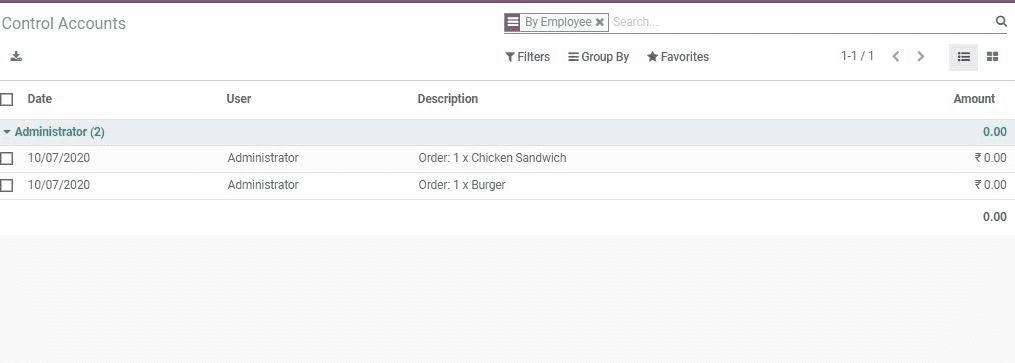
Control Accounts
For this, I will first configure Control Accounts.
Configuration
Lunch > Manager > Control Accounts
Track Cash Moves
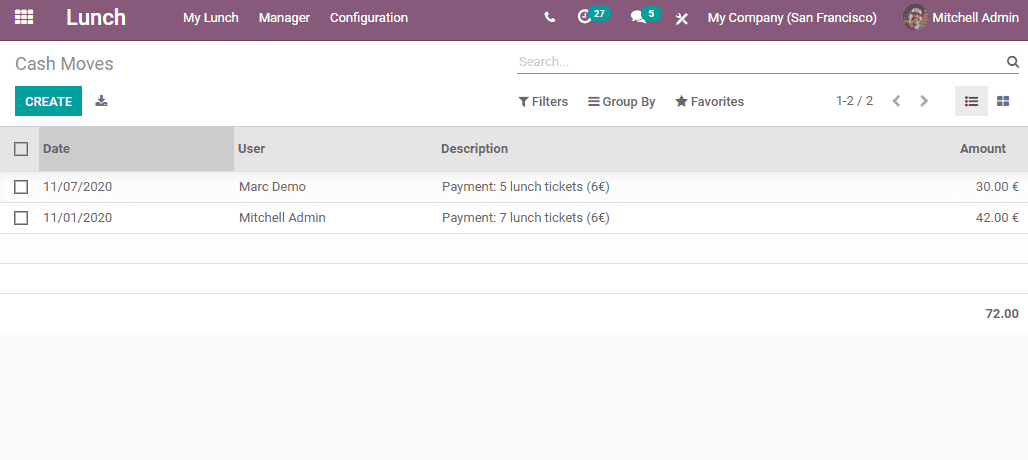
Do you want to track cash moves? A manager can track this with Odoo Lunch. Check cash moves in the dashboard. As given below, the description, amount, and date can be viewed here.
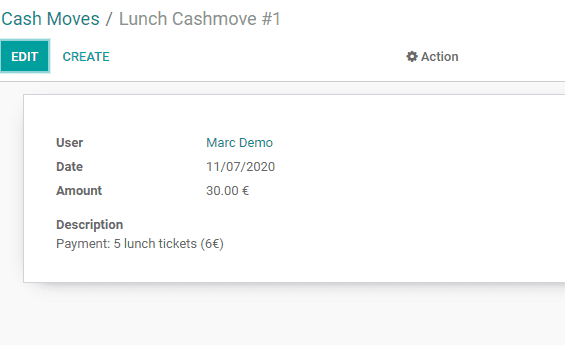
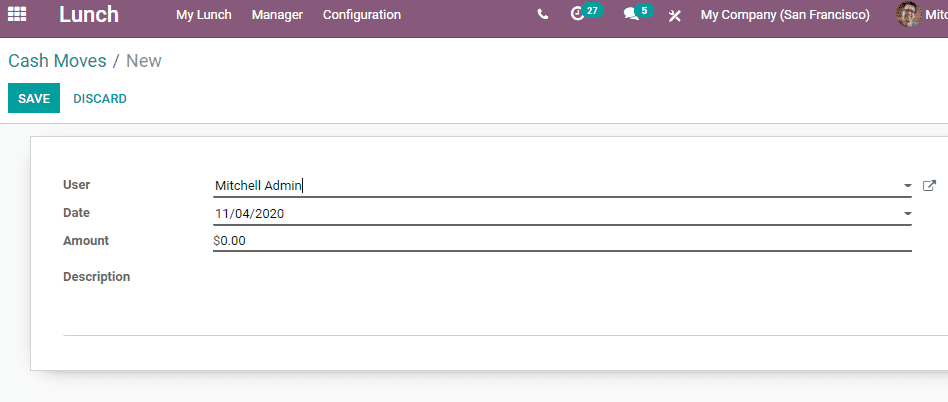
To complete the process, fill in the details. A cash move will be created when you mark the changes.
Lunch Locations
For this, go to Lunch > Configuration > Locations
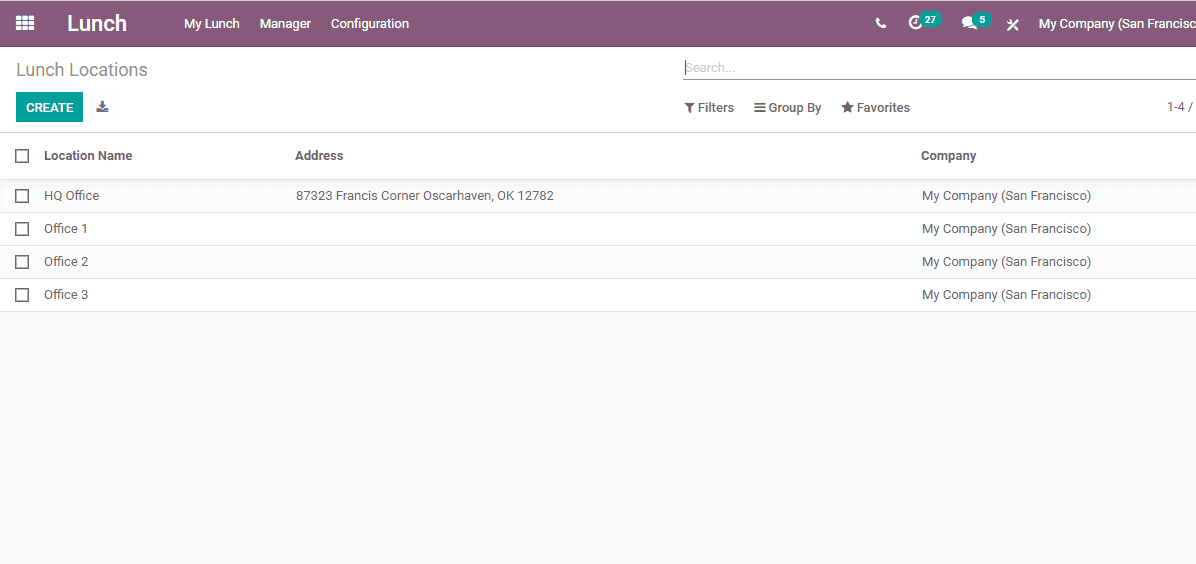
In the below-given image, we can find the already given locations. If you want to create a new location here.
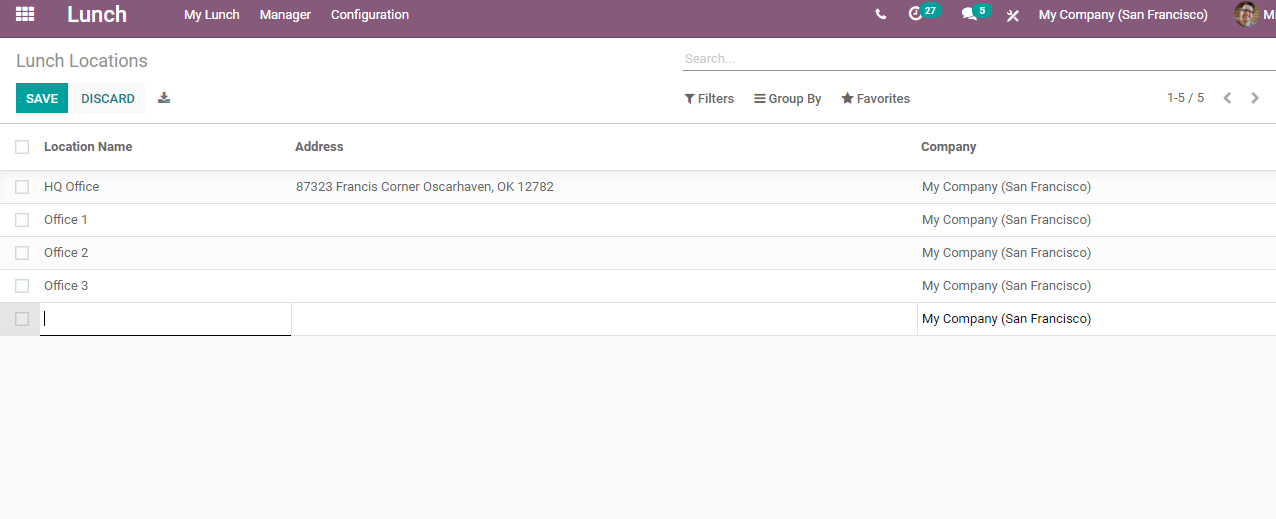
This way any organization can manage the food network and offer healthy and nutritious food to the employees.
Also Read: Odoo 14 Lunch Module for Establishments


