Odoo 15 encompasses various effective tools for ensuring the easy and successful management of products. One such advanced feature offered by Odoo is the configuration of barcodes for products and product locations. Just by scanning a barcode, you will be able to get access to the necessary details regarding the product within seconds. When a product is shifted to inventory, you can assign a distinctive barcode for the product with the help of Odoo which will enable you to store the details of the product in digital format.
This blog will discuss how to validate delivery orders with the help of barcodes in Odoo 15.
Configuration of Barcode
In order to get access to the features of Barcode in Odoo 15, you have to install the module from the Odoo AppStore as shown in the image below.

In the Odoo ERP system, the Barcode feature works integrated with the Inventory module. So, make sure to install the Inventory module also into your database. Once you complete the installation procedures, you can select the Inventory module from the Odoo dashboard and go directly to the Settings menu of the module.

Under the Settings menu of the Inventory module, you can find the Barcode tab as shown in the screenshot above. As soon you enable this option, the features of the barcode will be activated in your database. Don’t forget to click on the Save button to save the new changes.
Product Barcode
It is easy to configure barcodes for products in Odoo 15. While activating the Barcode option, you will be able to get an extra button called Configure Product Barcodes.

You can click on this button as highlighted in the image above. Odoo will lead you to a new window that contains the list of products configured in your Inventory module.

As you can see in the image above, the list shows the Name, Reference, Barcode, and Company of each product. In order to add a barcode for a product, you can simply click on the product and mention the Barcode in the given space. Click the Save button.
Location Barcode
Apart from product barcodes, it is possible to configure location barcodes also in the Odoo ERP system. By configuring barcodes for locations, you can effortlessly identify the location of products in warehouses. In order to configure location barcodes, you can select the Locations option given under the Warehouse Management tab in the Configuration menu.

As shown in the image above, the list of already configured locations will appear on your screen. You can add barcodes for existing locations by selecting the required location from the given list. Or else, click on the Create button that will direct you to a new Location creation window where you can create a new location for products and mention the barcode for the corresponding location.
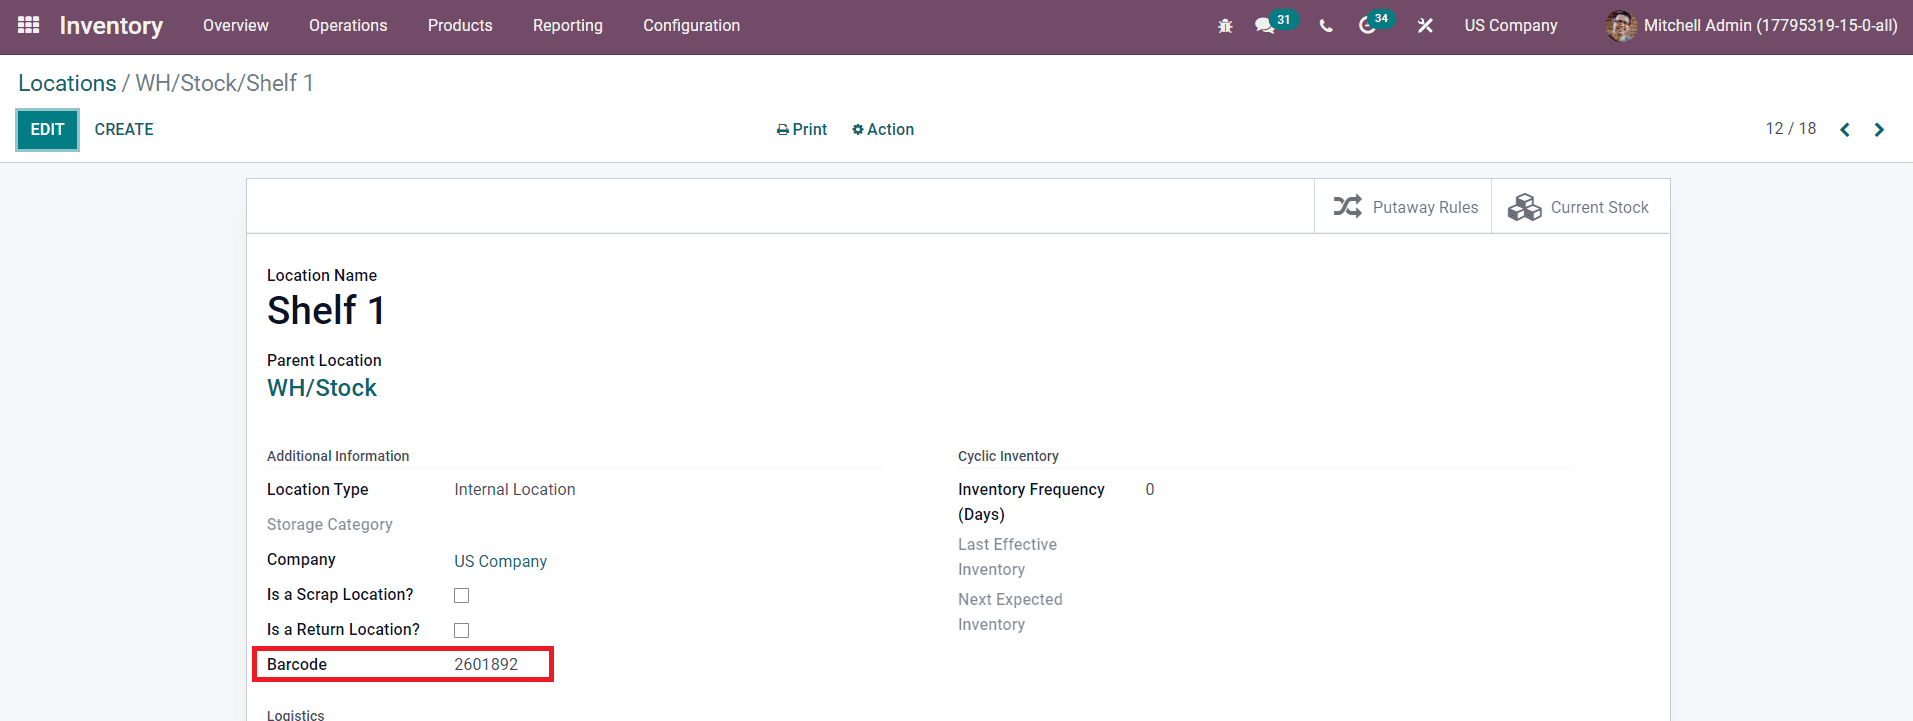
Now, the user can identify the location of the product using the barcode feature. To make it easier, you can print the location barcode by clicking on the Print button and paste it onto the product for tracking.
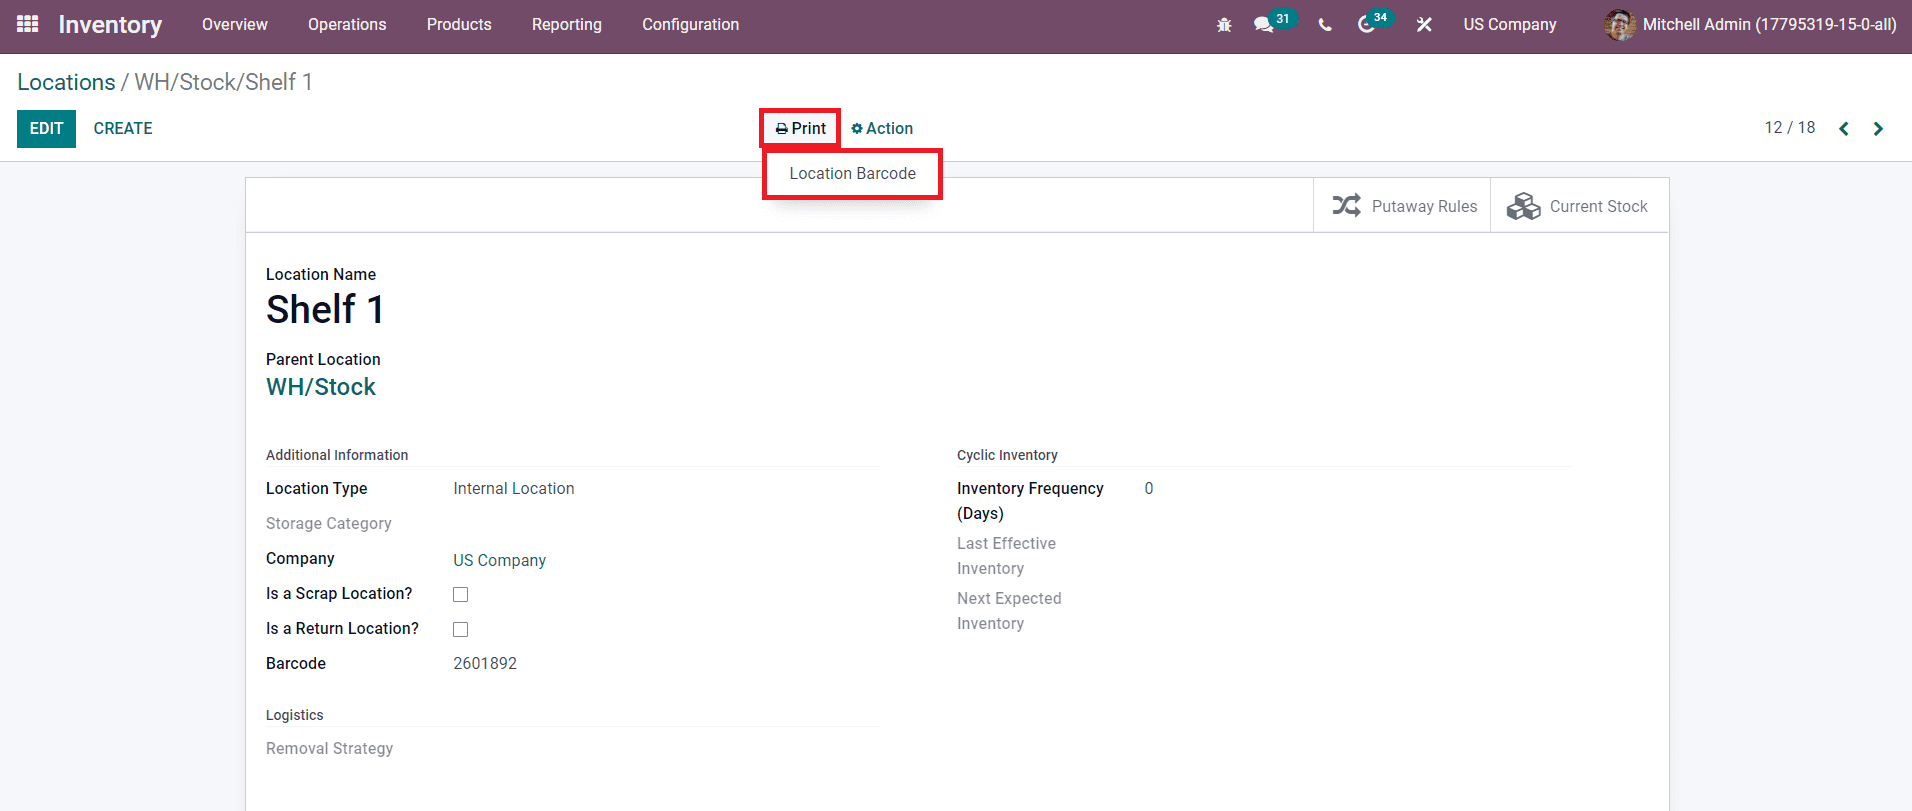
When you take the printout of the location barcode, it will be shown as displayed in the image below.
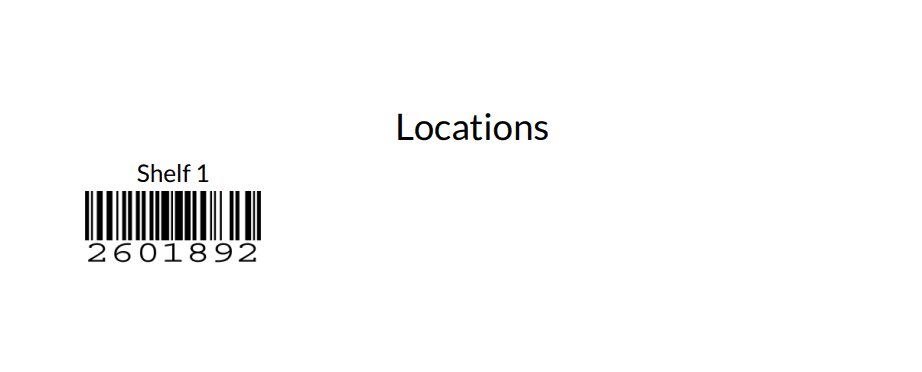
You can stick this barcode on products to simplify the tracking process.
After configuring the product barcode and location barcode, you can go to the Barcode module by clicking on the corresponding module icon from the main dashboard of your database.
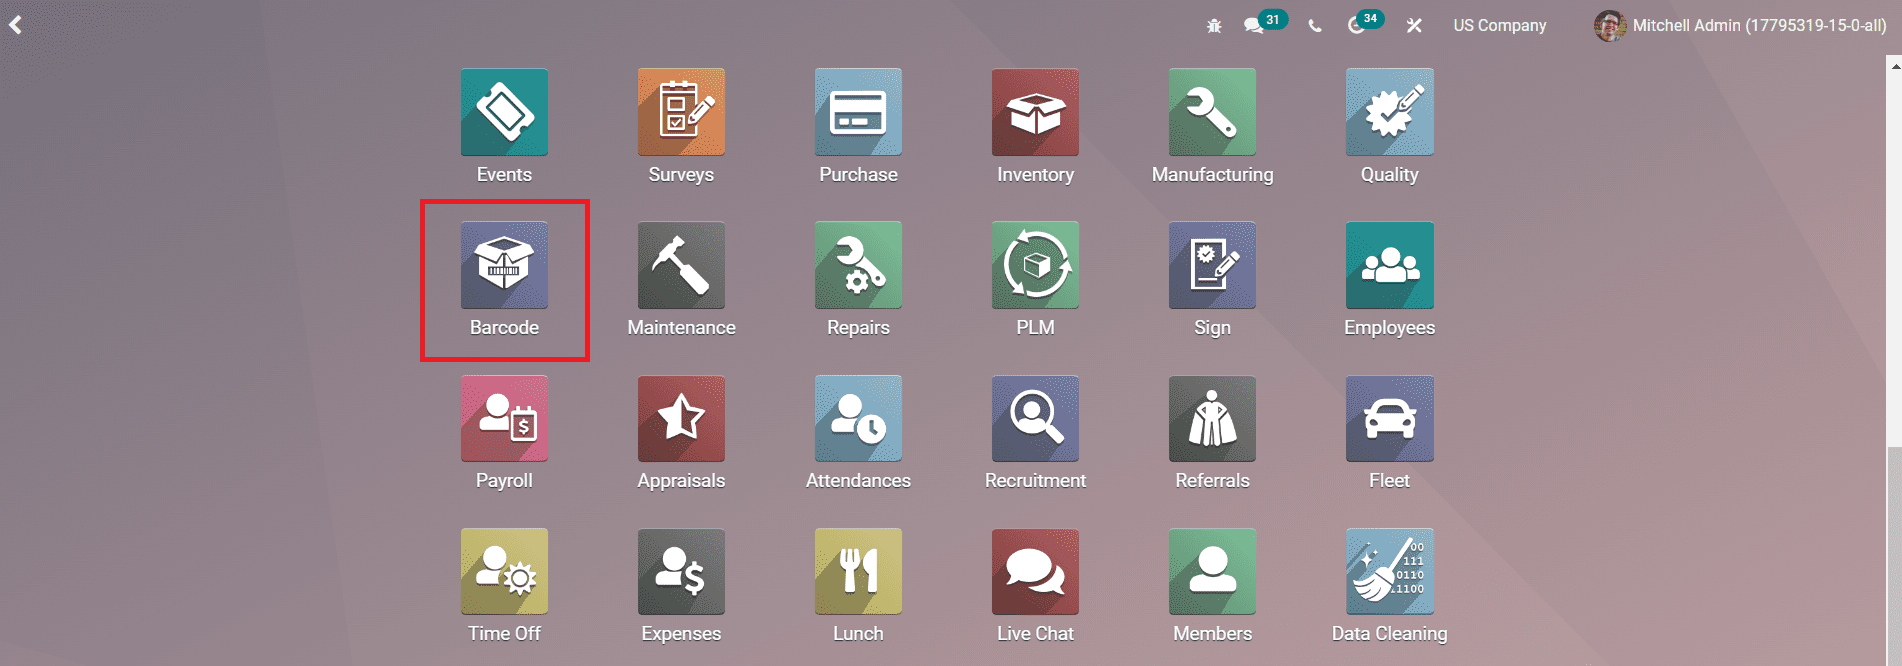
As soon as you enter the Barcode module, Odoo will display the features of the module as shown in the screenshot below.
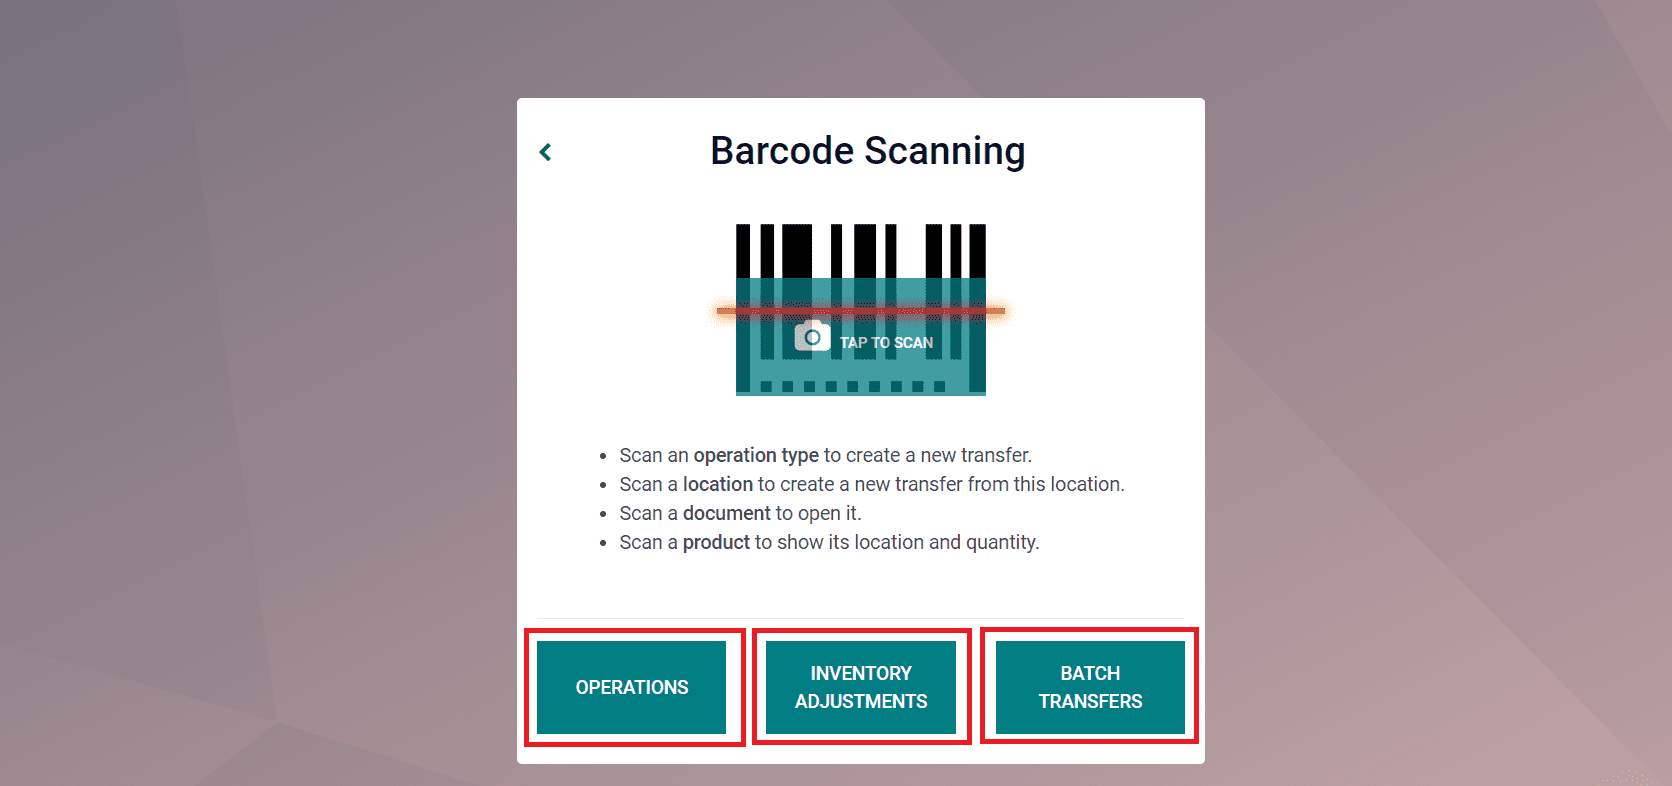
You can use the Barcode Scanning feature to scan an operation type to create a new transfer, a location to create a new transfer from this location, a document to open it, and a product to show its location and quantity. The Barcode module will assist you to manage mainly three types of activities as Operations, Inventory Adjustments, and Batch Transfers.
Validating Delivery Order Using Barcode
Since this blog deals with the usage of barcodes for validating delivery orders, you can click on the Operations button for further procedures. Odoo will lead you to a new platform with the details of various operations of different companies as shown in the image below.
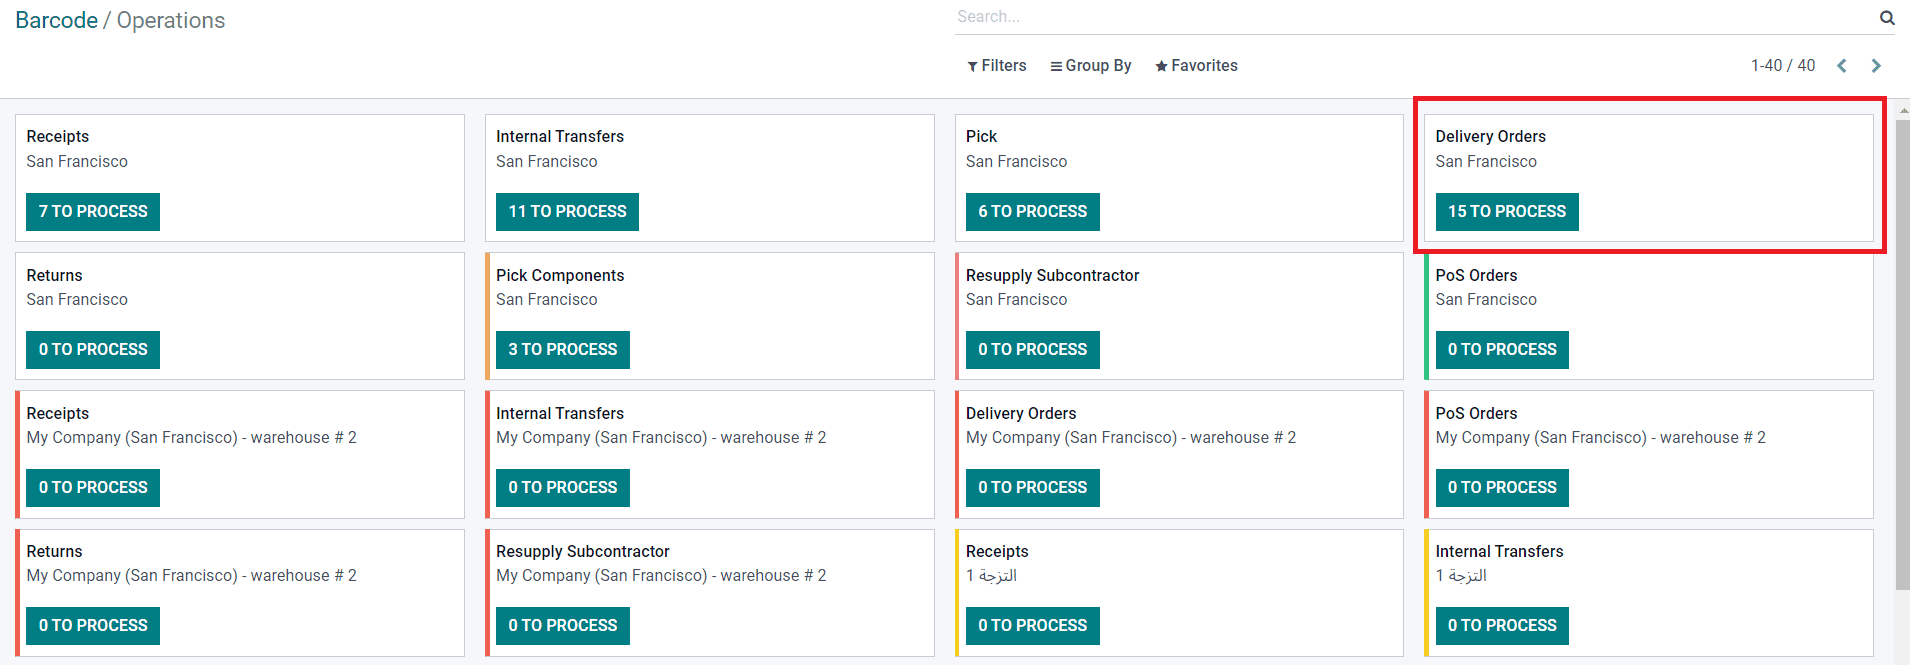
You can use barcodes for confirming the order while delivering the product to the respective customer. To understand how the delivery orders are managed with the help of barcodes, you can click on the Delivery Orders option as highlighted in the screenshot above. The list of delivery orders generated in your company will appear on your screen.

From this screen, you can create a new delivery order using the Create button. By clicking on the Create button, Odoo will show a new screen to add products to the delivery order. There are two methods available to add products to a delivery order. As shown in the screenshot below, you will get an icon on the top right corner of the screen to scan the product barcode. As soon as you scan the barcode, the details of the product will be displayed.
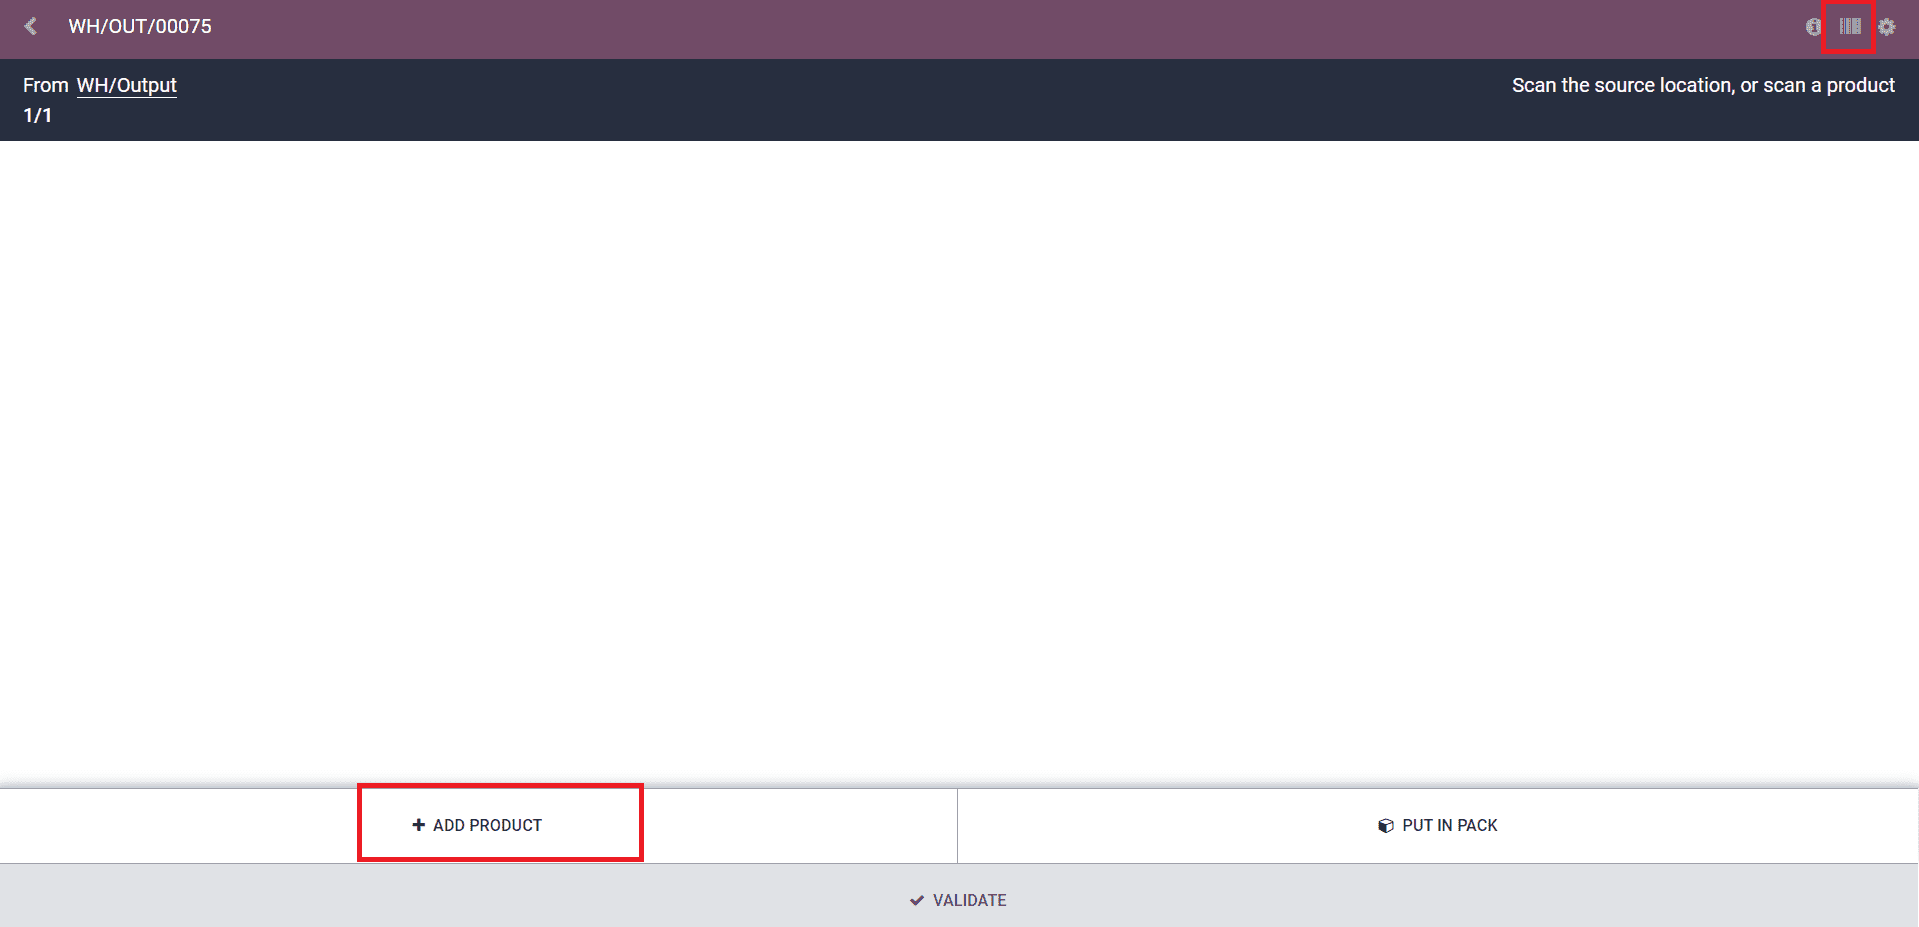
Apart from the barcode scanning method, you can also add products to the delivery order manually. For this, click the Add Product button.
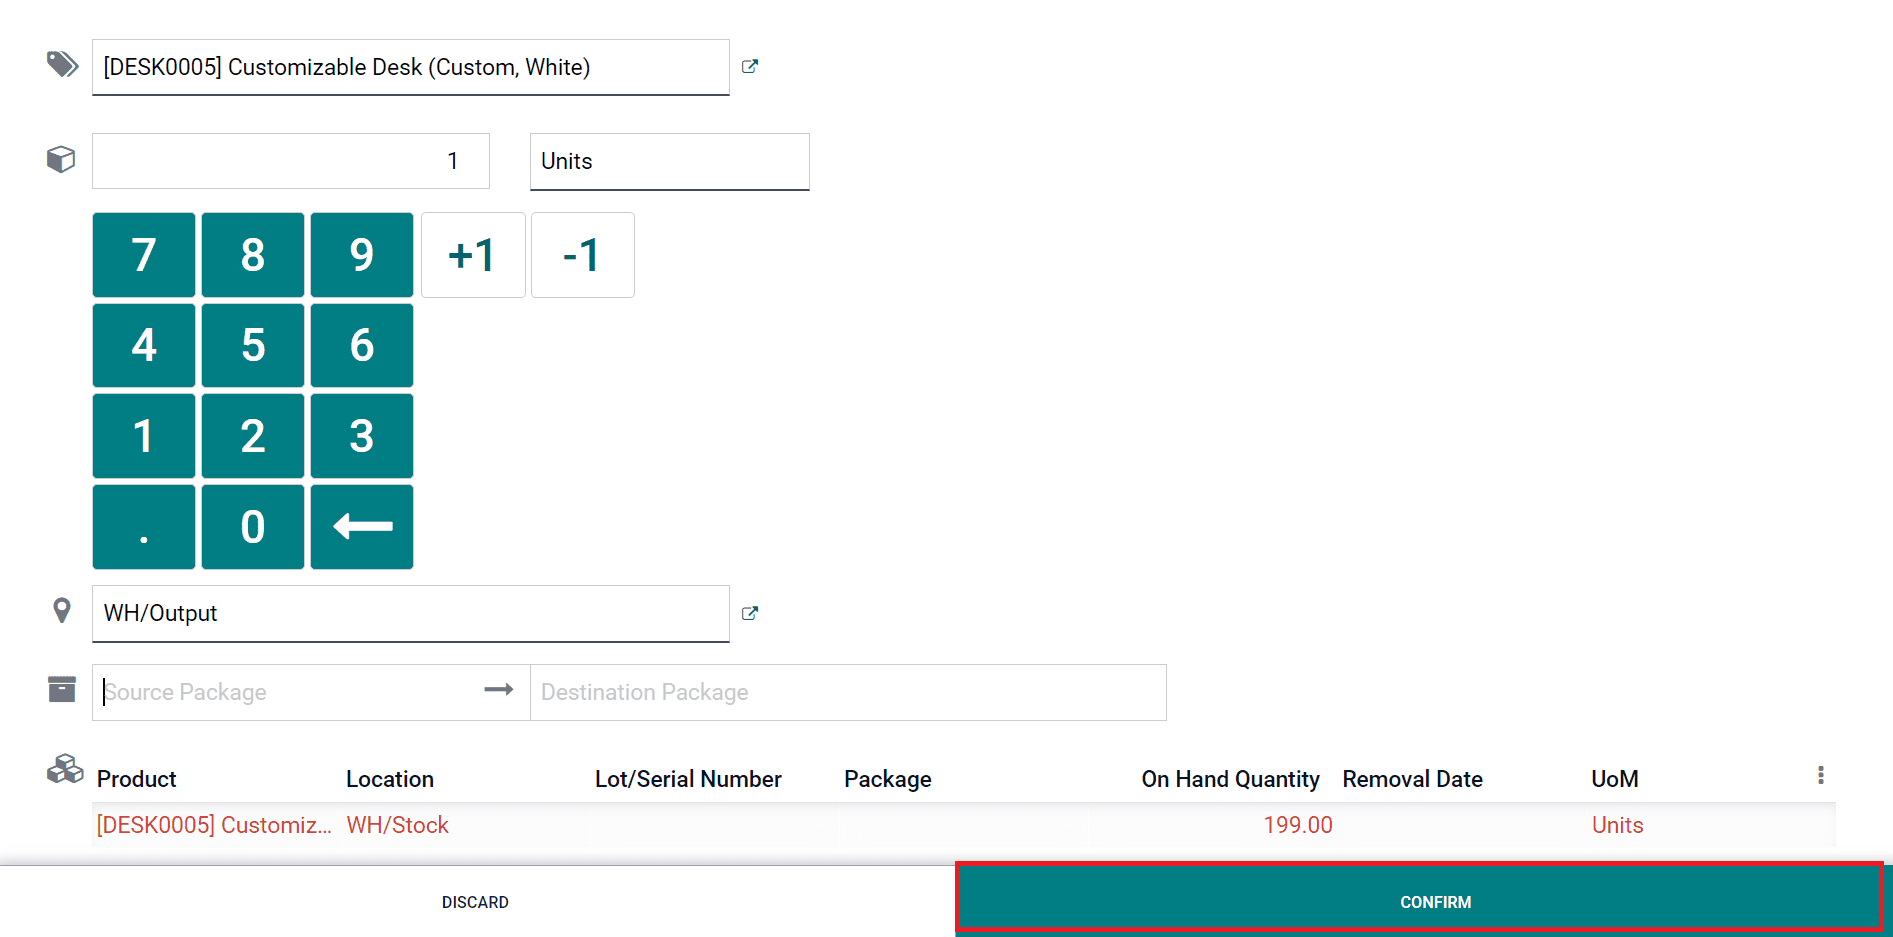
The name of the product required quantity, and warehouse location can be mentioned in the corresponding fields. After mentioning the necessary details, the Confirm button can be clicked to confirm the delivery order.
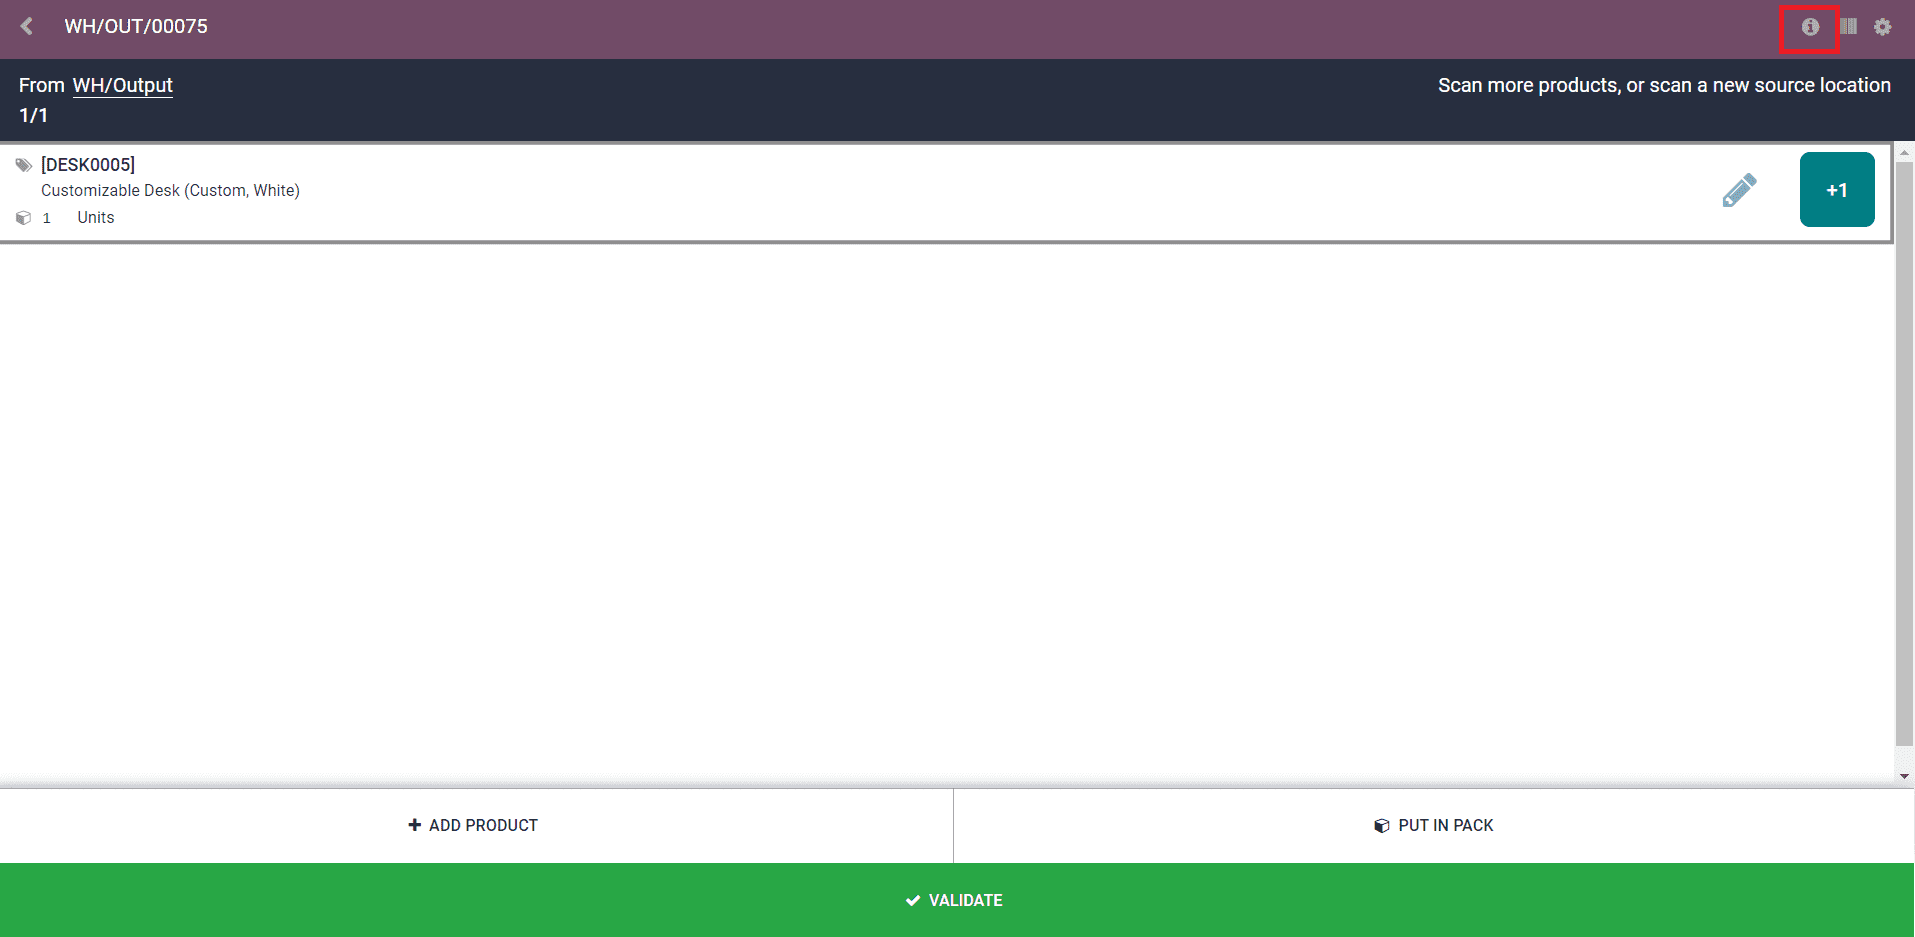
As you can see in the image, the “i” icon shown on the top right corner of the screen will give the details regarding the delivery order.
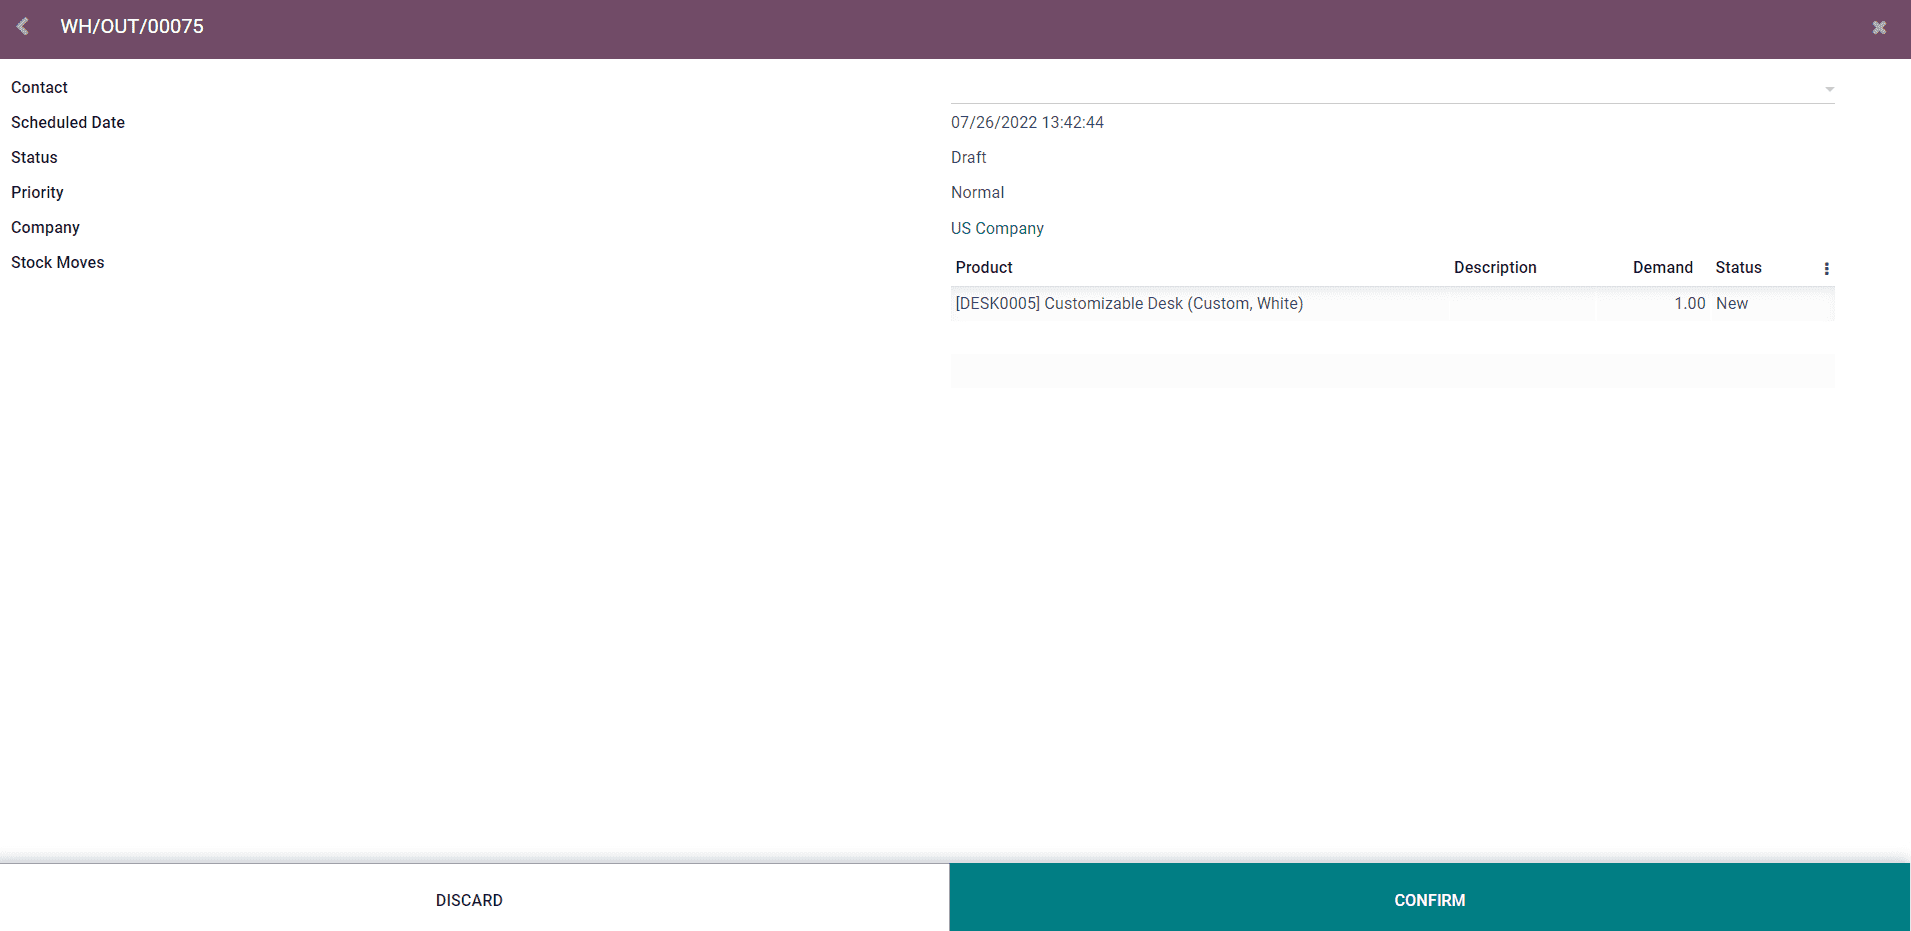
This includes the Contact details, Scheduled Date, Status, Priority, Company, and Stock Moves. You can click on the Confirm button to confirm the order.
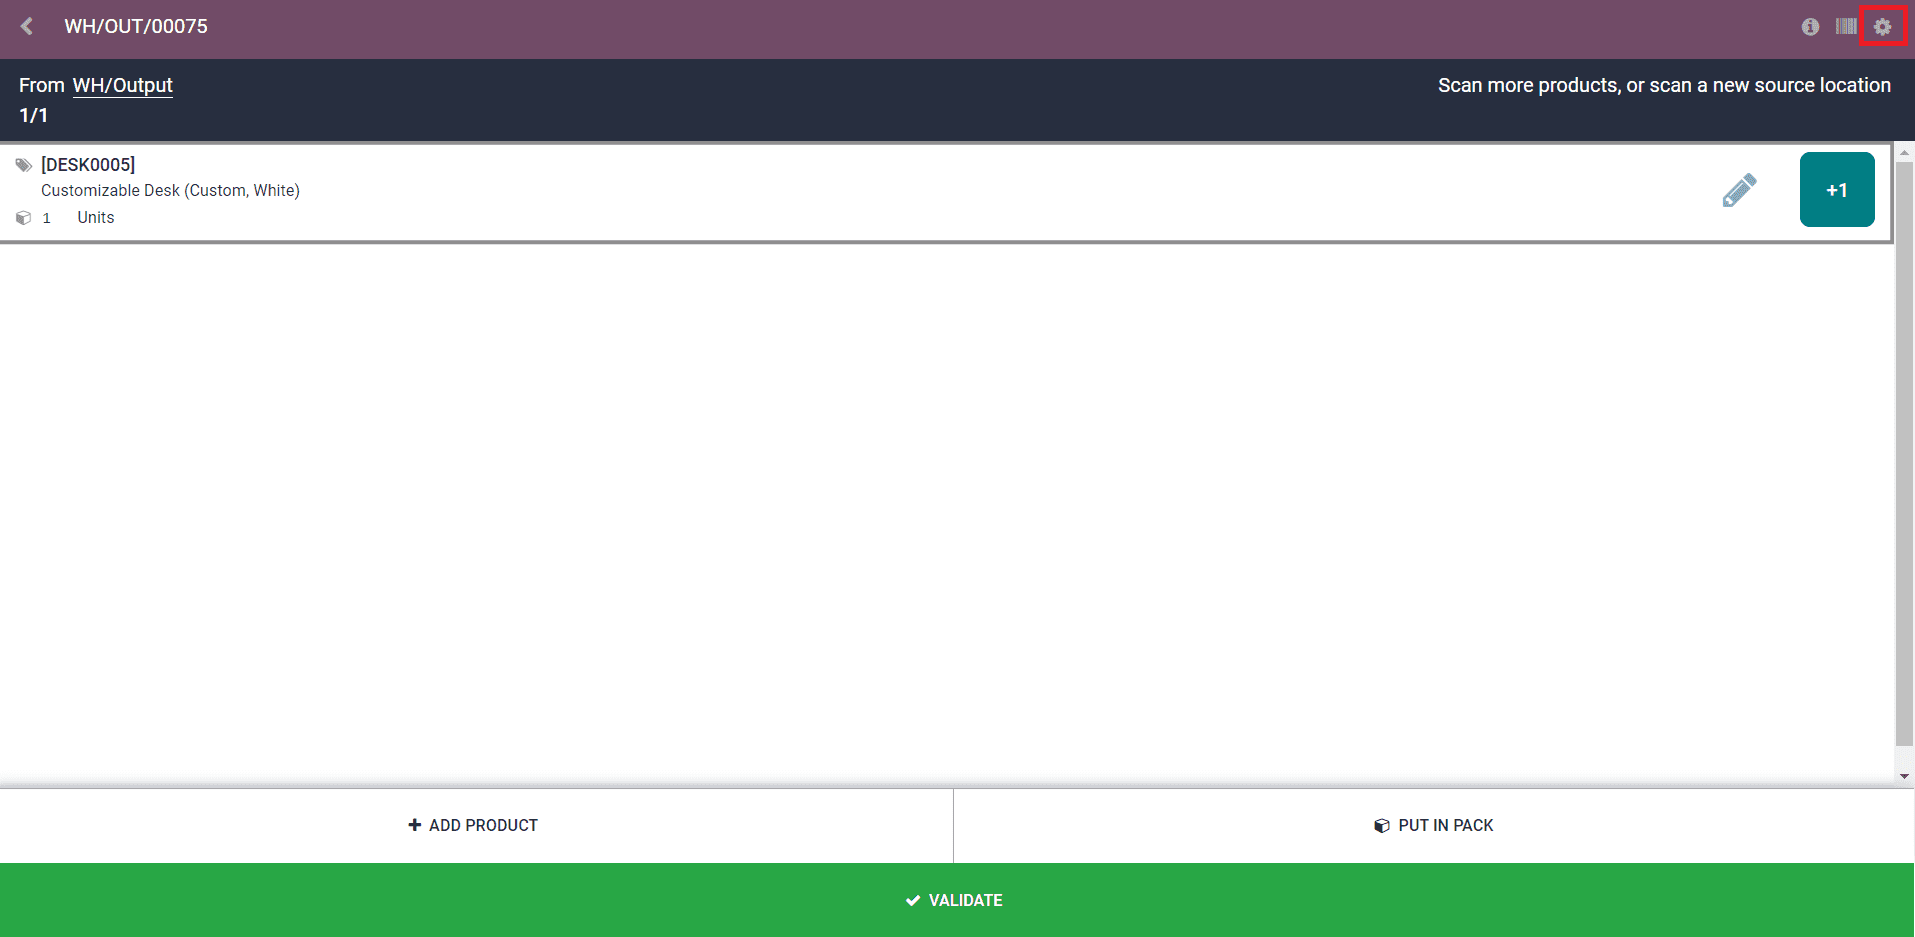
There is another icon available on the top right corner of the screen as highlighted in the image below which includes various settings options.
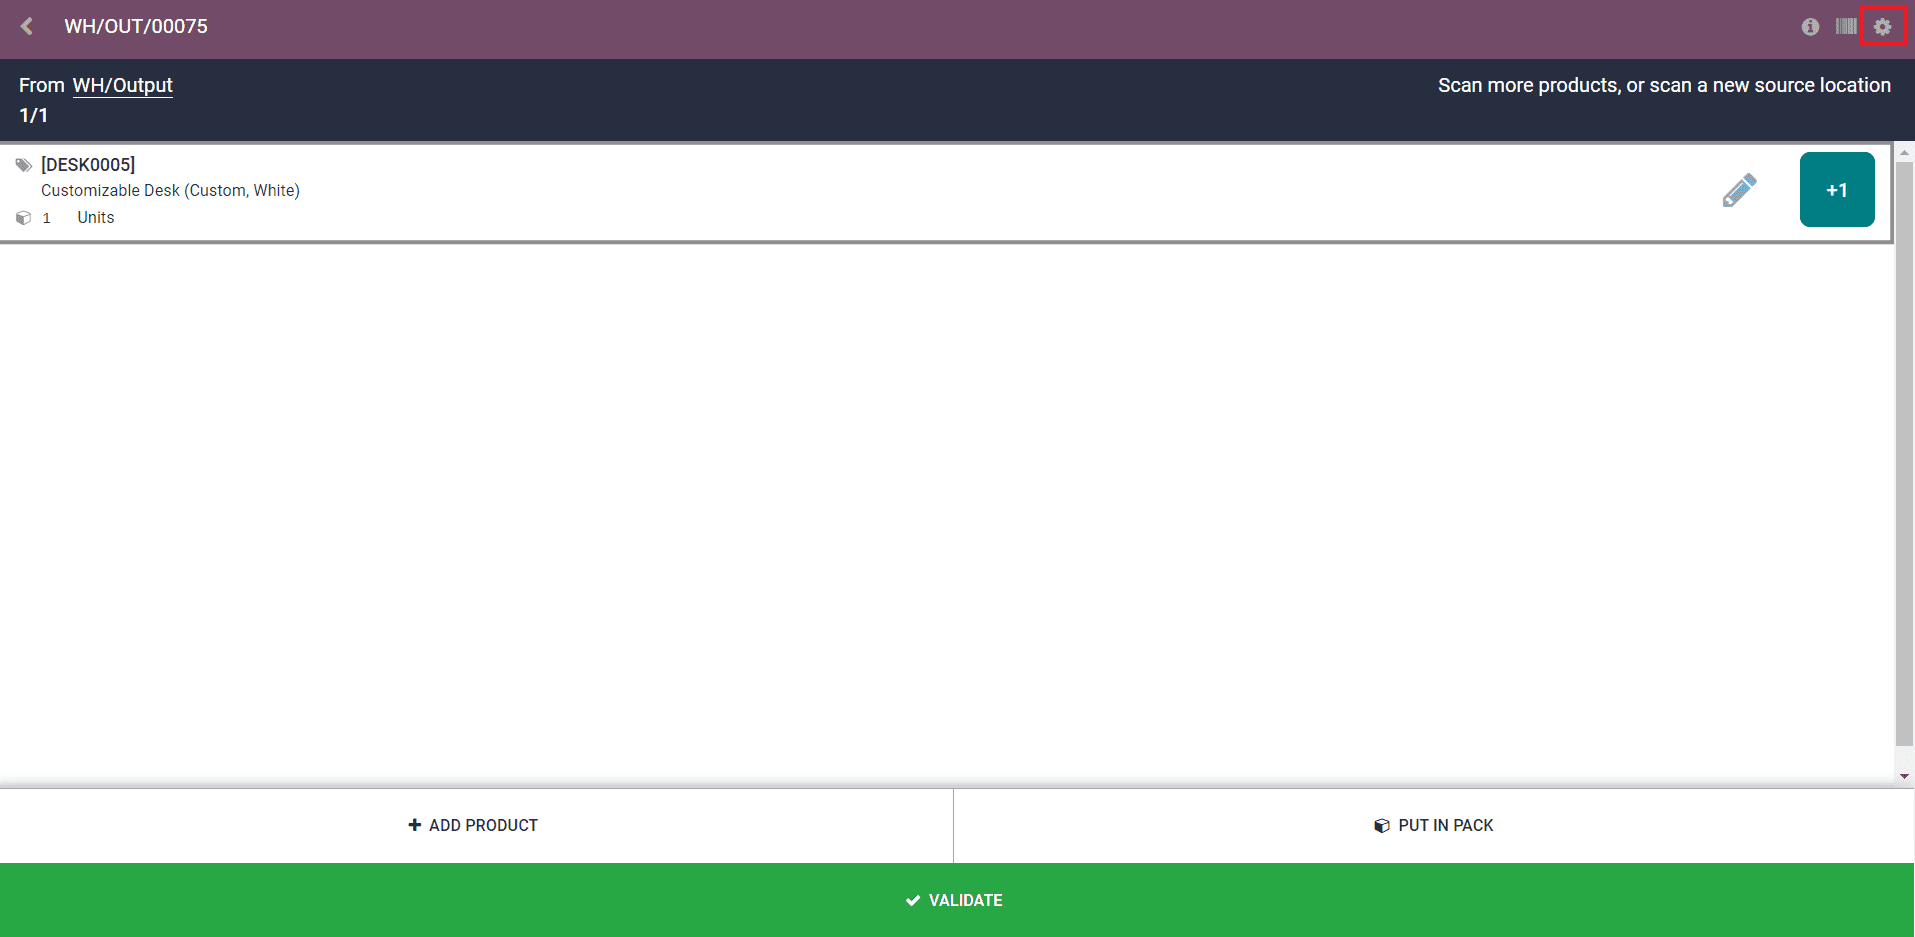
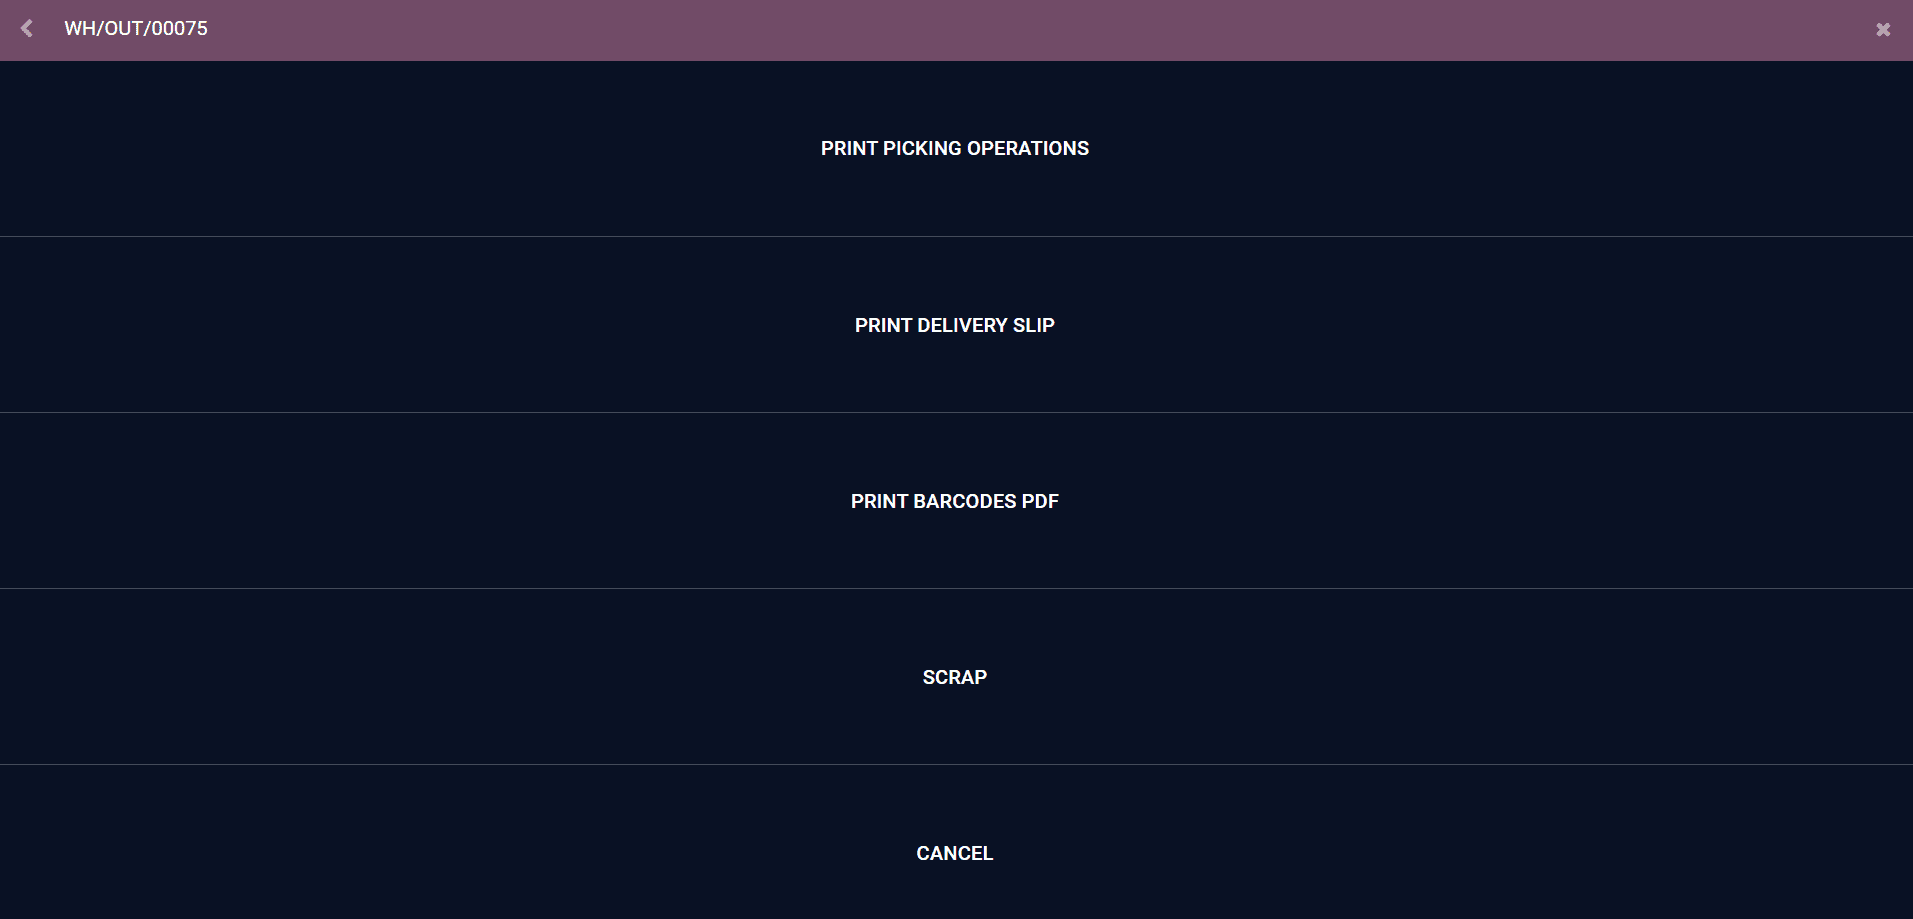
Using this button, you can print picking operations, delivery slips, and barcode pdf. You will also get options to send the product to scrap as well as cancel the order in the same menu.
When you take print of the picking operation, you will be able to get the product barcode on the slip as shown below.
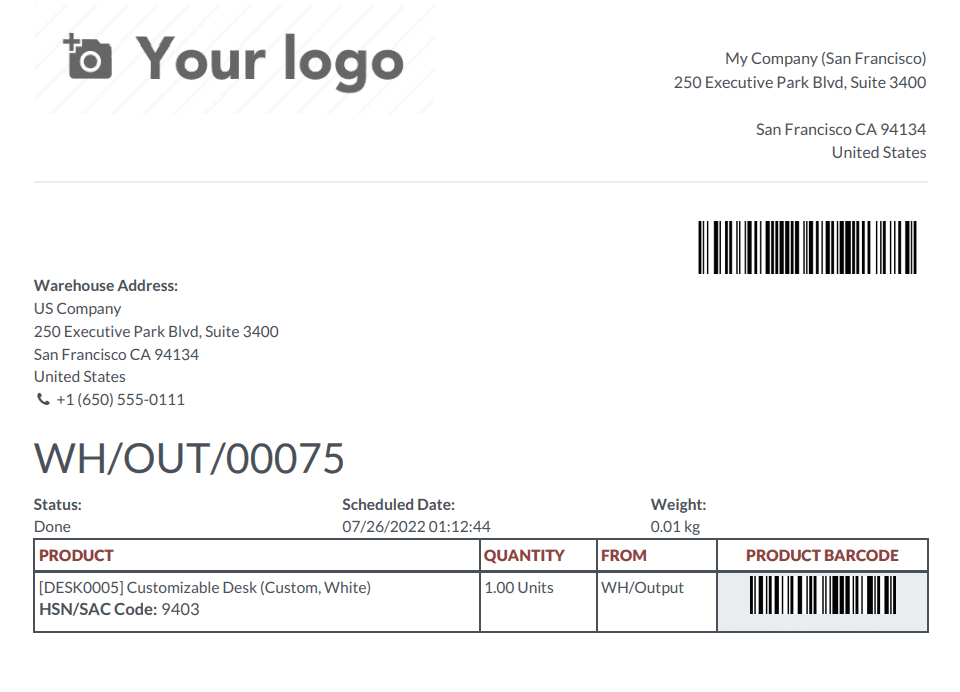
Similarly, you can click on the Print Barcode PDF to take a printout of the product barcode which can be glued on the product for easily validating the delivery order.
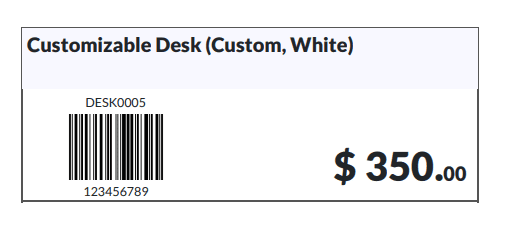
The above-shown image is an example of a product barcode that is used at the time of delivery to validate the order. Once you complete all operations, you can click on the Validate button in order to validate the delivery order at the time of delivery.
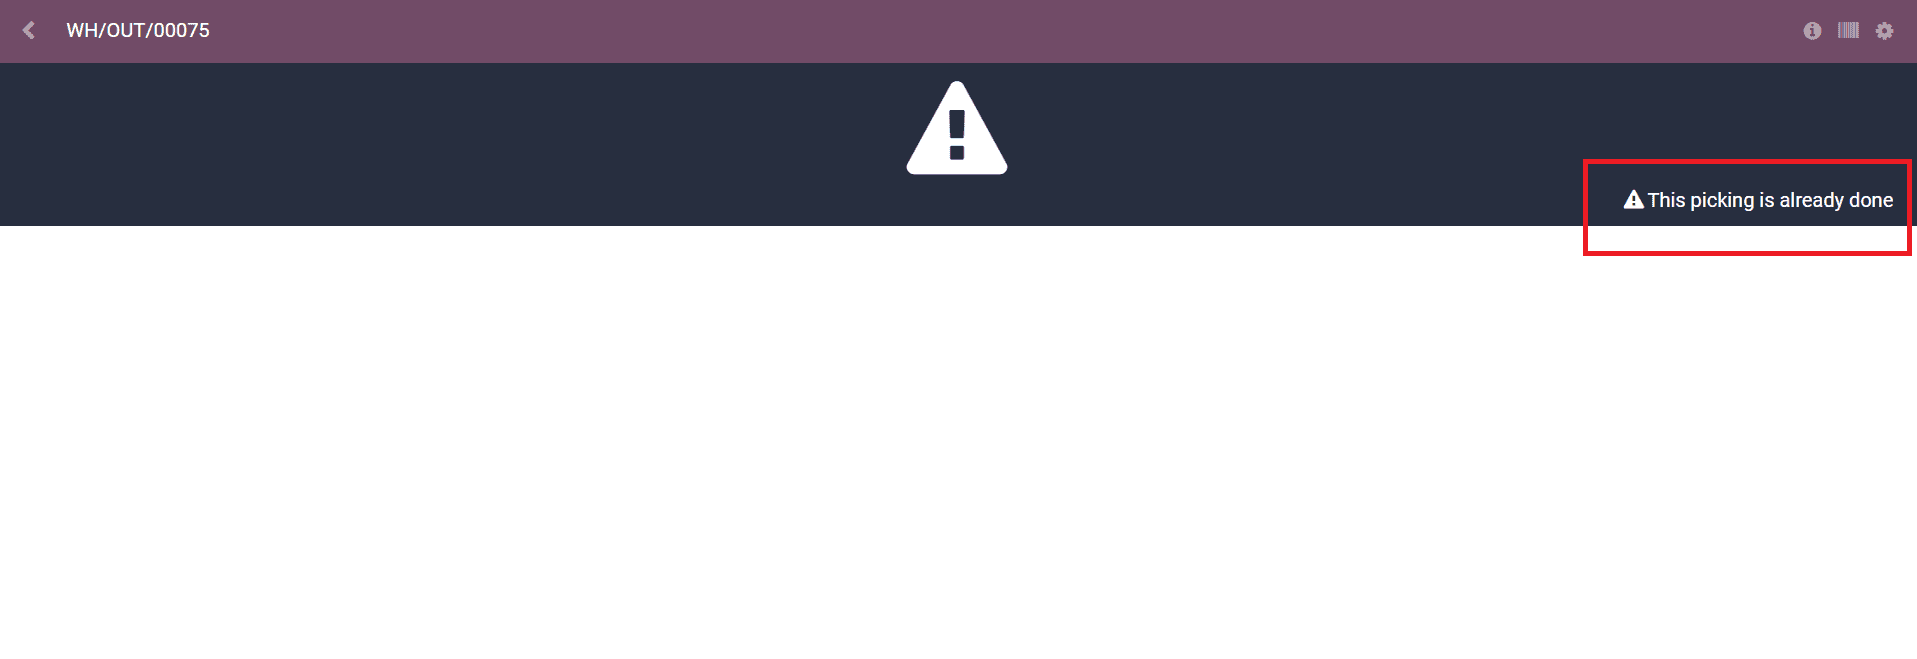
As soon as you validate the order the delivery will take place and the status of the delivery order will change from Ready to Done.
This is how we use barcodes in Odoo 15 in order to validate delivery orders successfully.


