Managing purchase orders is very important in any business. With Odoo support a user can easily manage purchase orders in a way that will benefit the user. Odoo Purchase module helps to manage purchase orders in two different ways.
1.Blanket Order
2.Call for Tenders
Now let us check what a blanket order is,
In a simple way, we can define a Blanket Order as a type of purchase order. When we go into detail, a blanket order is an order that an individual customer or retailer places with a manufacturer or supplier. This kind of order allows the delivery of the same product multiple times. That means certain units of the same product will be delivered to the customer over a period of time. Blanket orders are placed to avoid repeat orders and to manage unprecedented price changes.
[wpcc-iframe loading=”lazy” width=”789″ height=”409″ src=”https://www.youtube.com/embed/1Z04reeV7vg” frameborder=”0″ allow=”accelerometer; autoplay; encrypted-media; gyroscope; picture-in-picture” allowfullscreen=””]
How to configure Blanket Orders
For this, you have to first install the Purchase Module. Then go to Purchase> Configuration> Settings
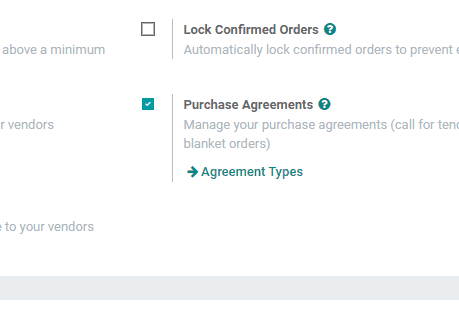
Here, you can activate a purchase agreement feature.
Now, let us start a blanket order.
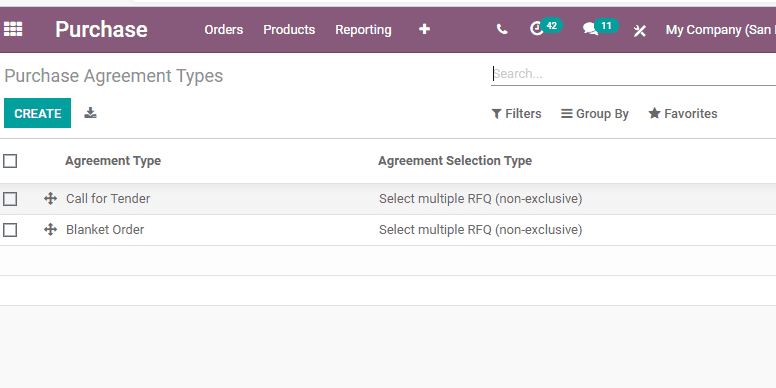
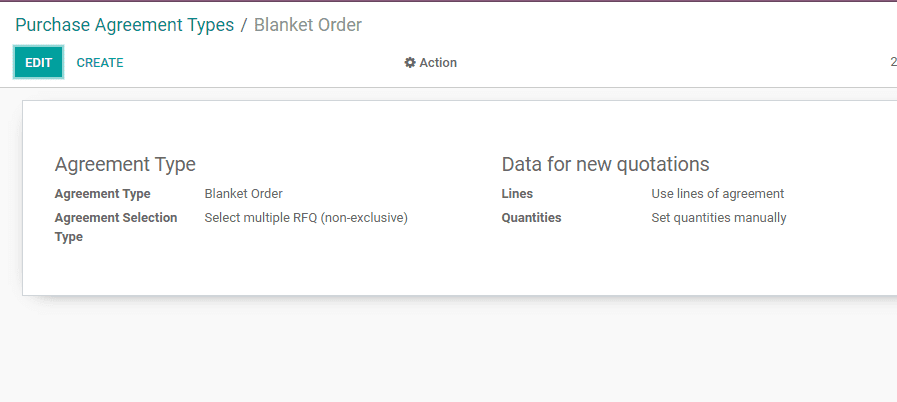
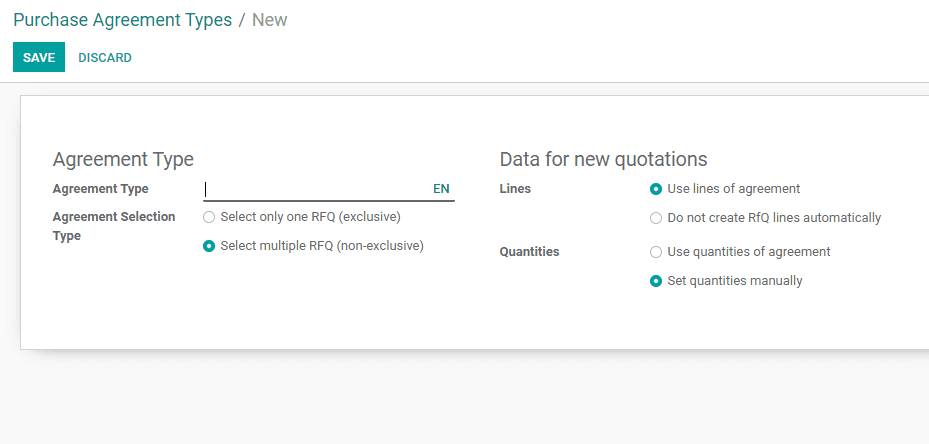
After configuring the agreement go to Purchase> Purchase Agreements
The user can easily create a purchase agreement. Then go to agreement type by clicking to select Blanket Order.
The next step is to create a blanket order. This can be done by selecting the vendor, product, and agreement details like a deadline, date order, and the delivery dates.
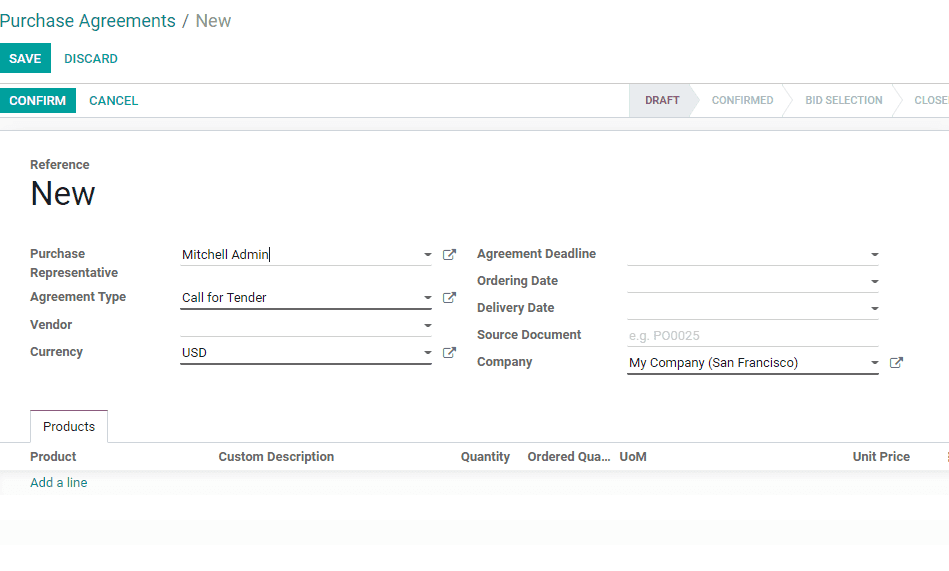
On completing the purchase order confirm the order.

On doing this the status will change from Draft to Confirmed. Then new RFQs / Orders will appear on the right corner of the document.
Generate RFQ from the Blanket Order
It is easy to create a quotation from a blanket order. Here, the user can auto-fill the document with the product details given in the blanket order. The user will only have to choose the quantity of the product to be delivered before confirming it.
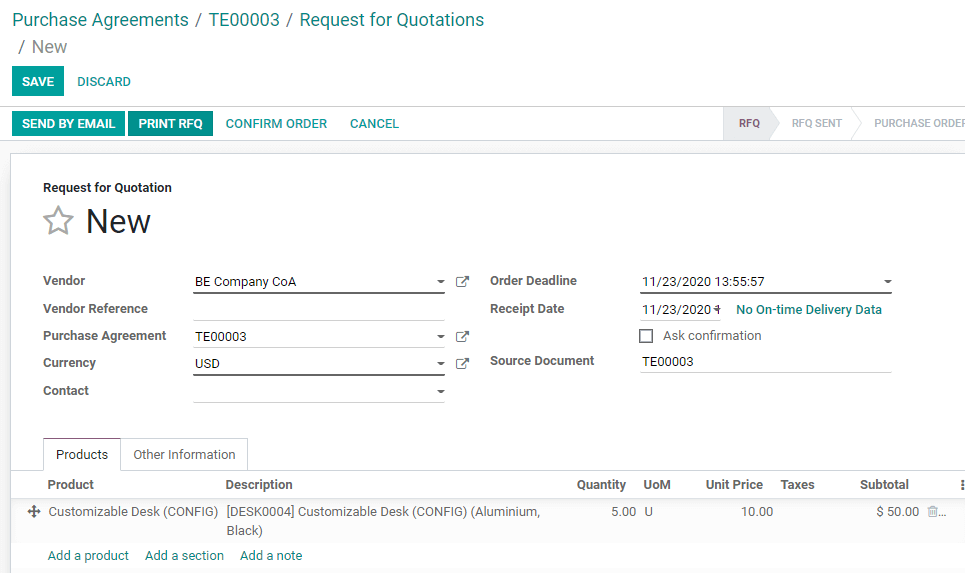
Now, go back to blanket order. Here, you will find the quantity ordered from the blanket order.
Vendors’ prices on your product
After validating the blanket order, the user can find vendor lines added to new products. Here, the user can prioritize the vendor. This Blanket order feature helps to replenish the stock automatically.
Call for tender
Now we can look at the second type of purchase order, which is Call for Tender. It is used to call for quotations from multiple vendors. This will help to purchase products at the lowest price.
How to Configure Call for Tender
Go to Purchase> Configuration> Settings. Then enable Purchase Agreement features.
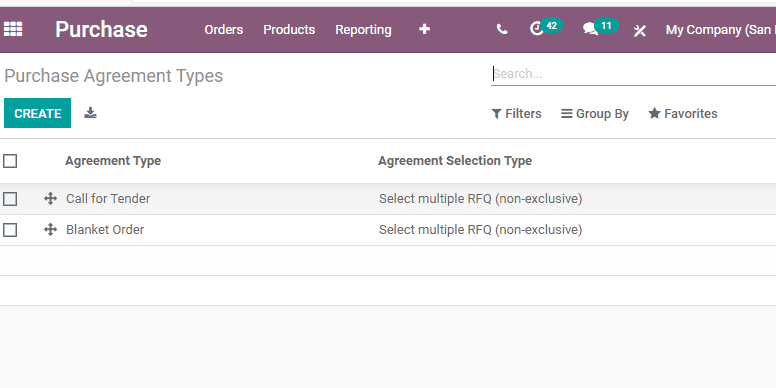
After doing this the user can create a call for tender by going to Purchase> Purchase Agreements
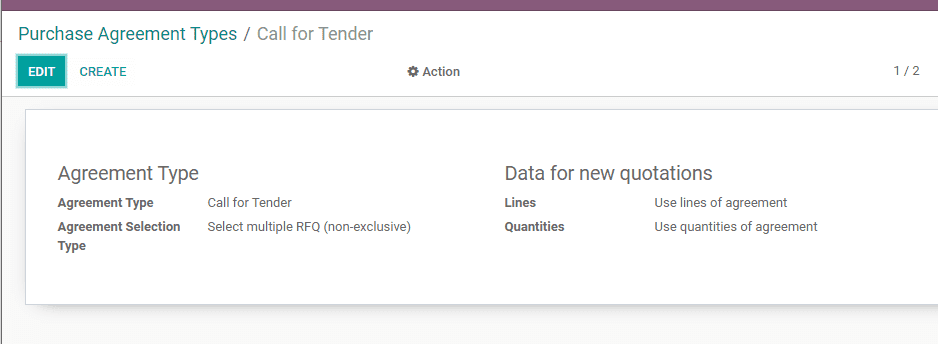
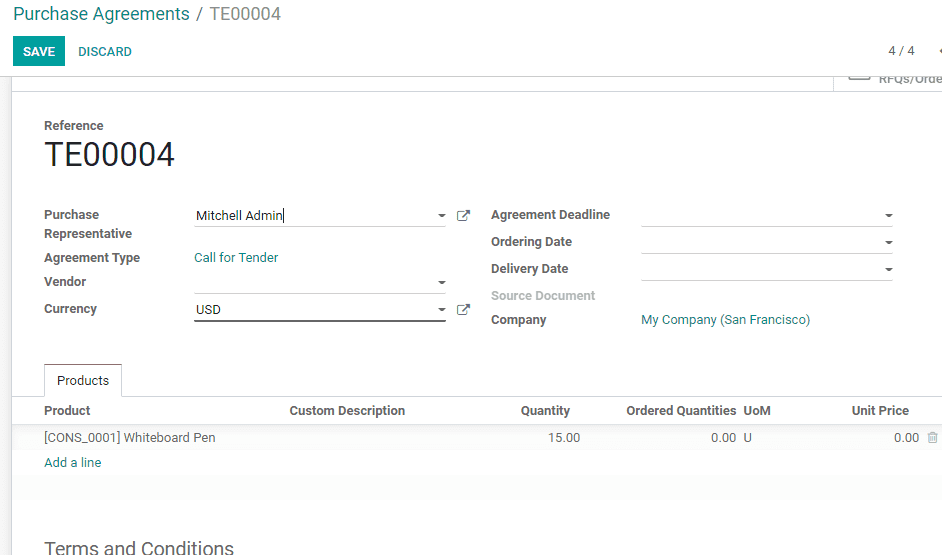
Here, the user can create a new purchase agreement Call for Tender.
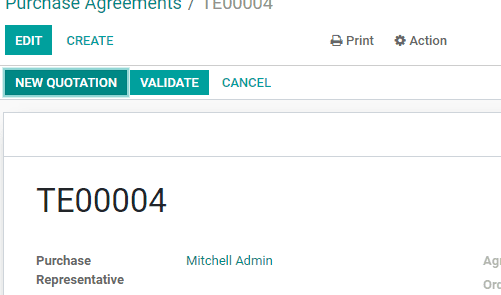
Once you complete the purchase order Click Confirmed. Then the order will be move from Draft to Confirmed. Now add a new request for quotation.
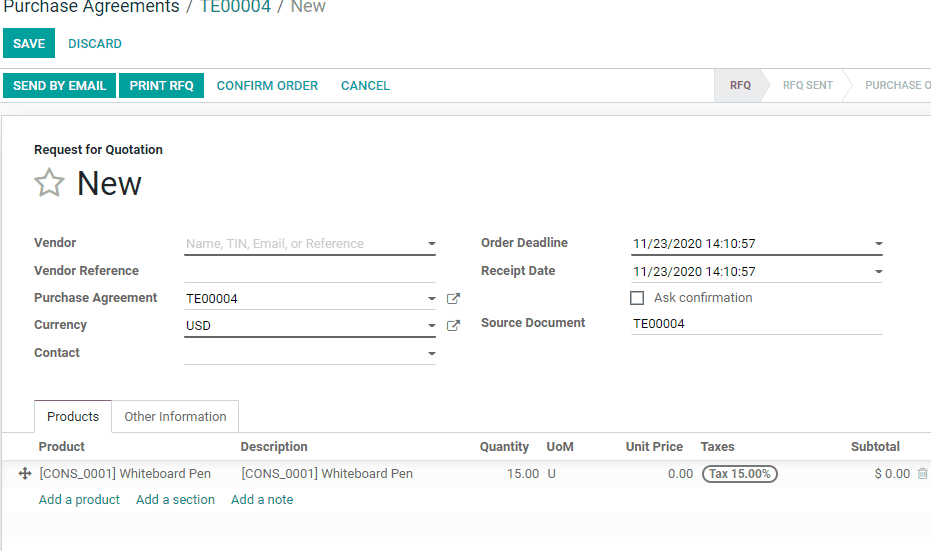
Generate Request new quotations from the Call for Tender
Odoo enables you to auto-fill the RFQ from the agreement details.
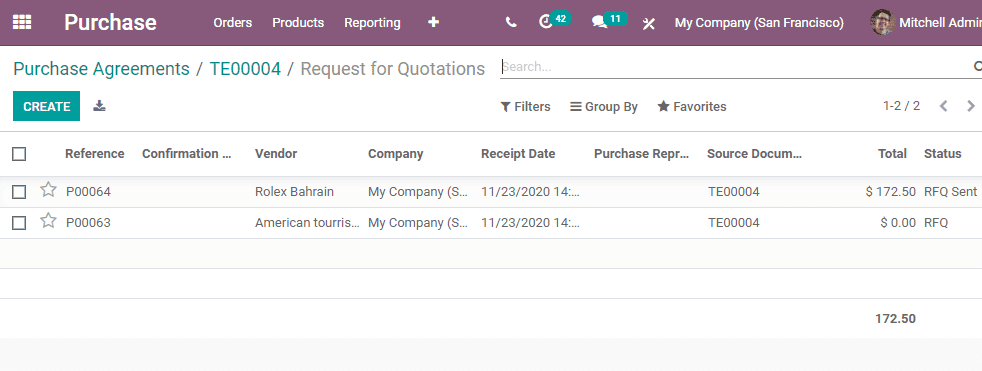
Select the best price
You can find all RFQs received under the RFQ / Order button. There you can choose the best offer and confirm the order or RFQ.
Close the Call for Tender
A user can close the call for Tender once you select the best tender from the set of tenders.


