You can create a mailing list in the Odoo website module to interact with your website’s users and clients in an efficient manner. Go to the backend of the Odoo website and select the “Mailing” option to start a mailing list. Here, you can specify the list’s name, description, and different settings, including subscription preferences, access limitations, privacy settings, and privacy settings. You may manually manage subscriptions and import existing contact lists. In order to streamline lead nurturing and customer engagement through your email list, Odoo also enables connectivity with CRM and marketing automation platforms.
Rules for moderation are crucial to preserving the value and quality of user-generated content on your Odoo website. You can regulate and filter user reviews, forum posts, and comments using these rules. You can set moderation criteria based on keywords, user roles, or other factors to flag or block improper information. The Odoo website will continue to maintain a respectable and professional online community if you set up notification alerts for moderators to review flagged content. You may improve customer communication and make your website’s visitors feel comfortable and engaged by implementing mailing lists and moderation policies efficiently.
Mailing List
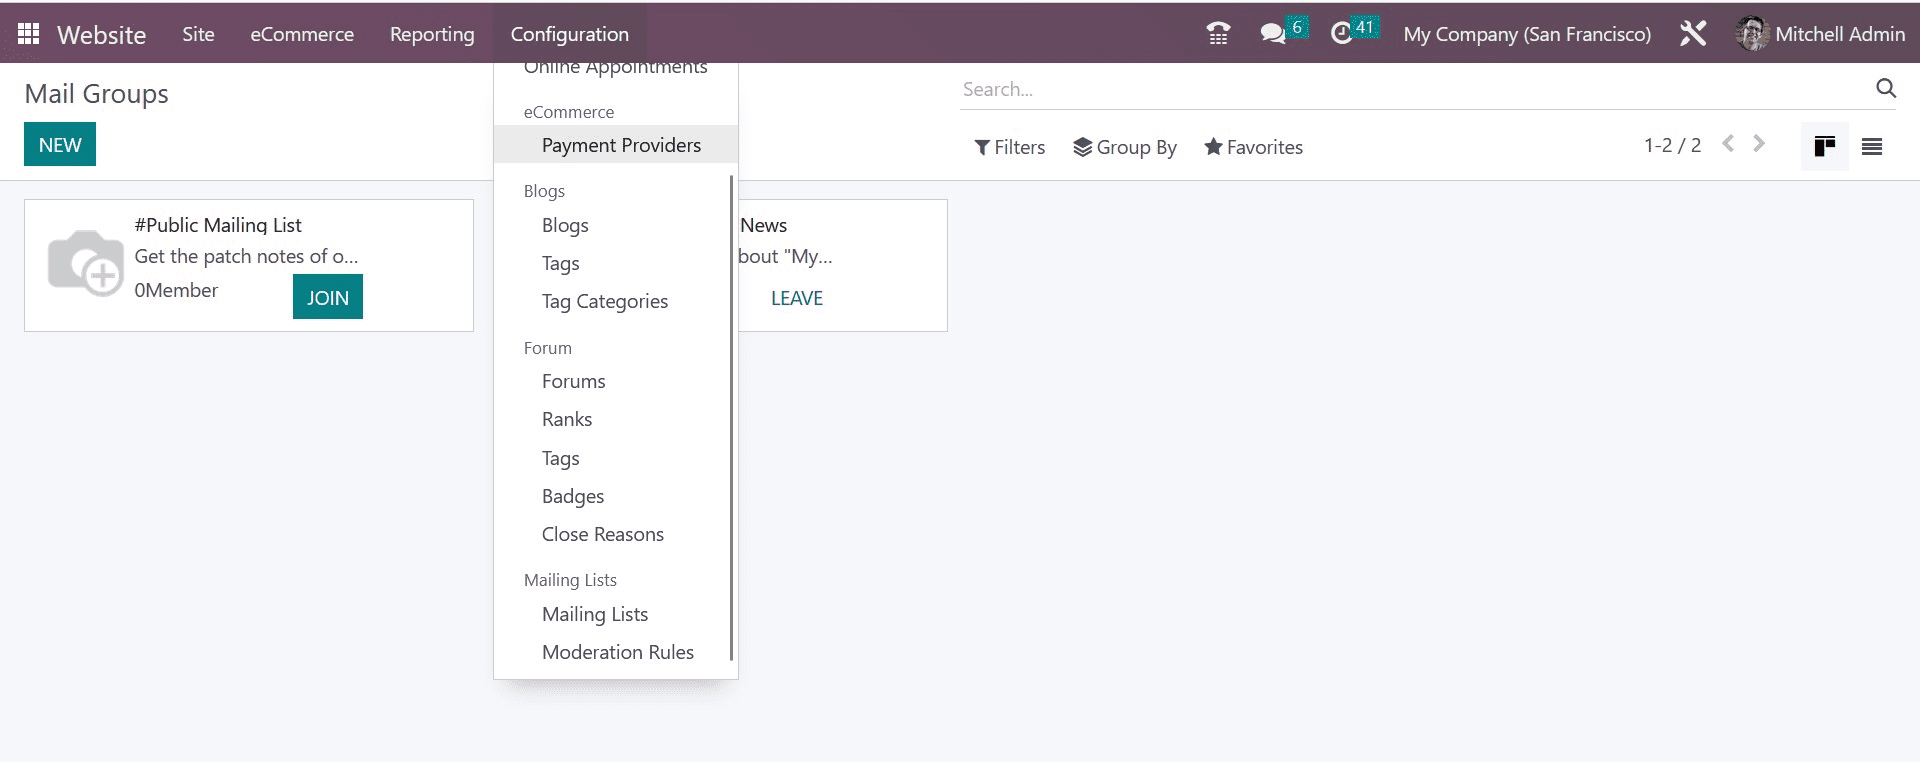
The Mailing List Groups and List Moderation Rules are included in the Groups tab found under the Odoo Website module. You can access the Mail Groups window, as displayed below, by clicking on the Mailing List Groups menu.

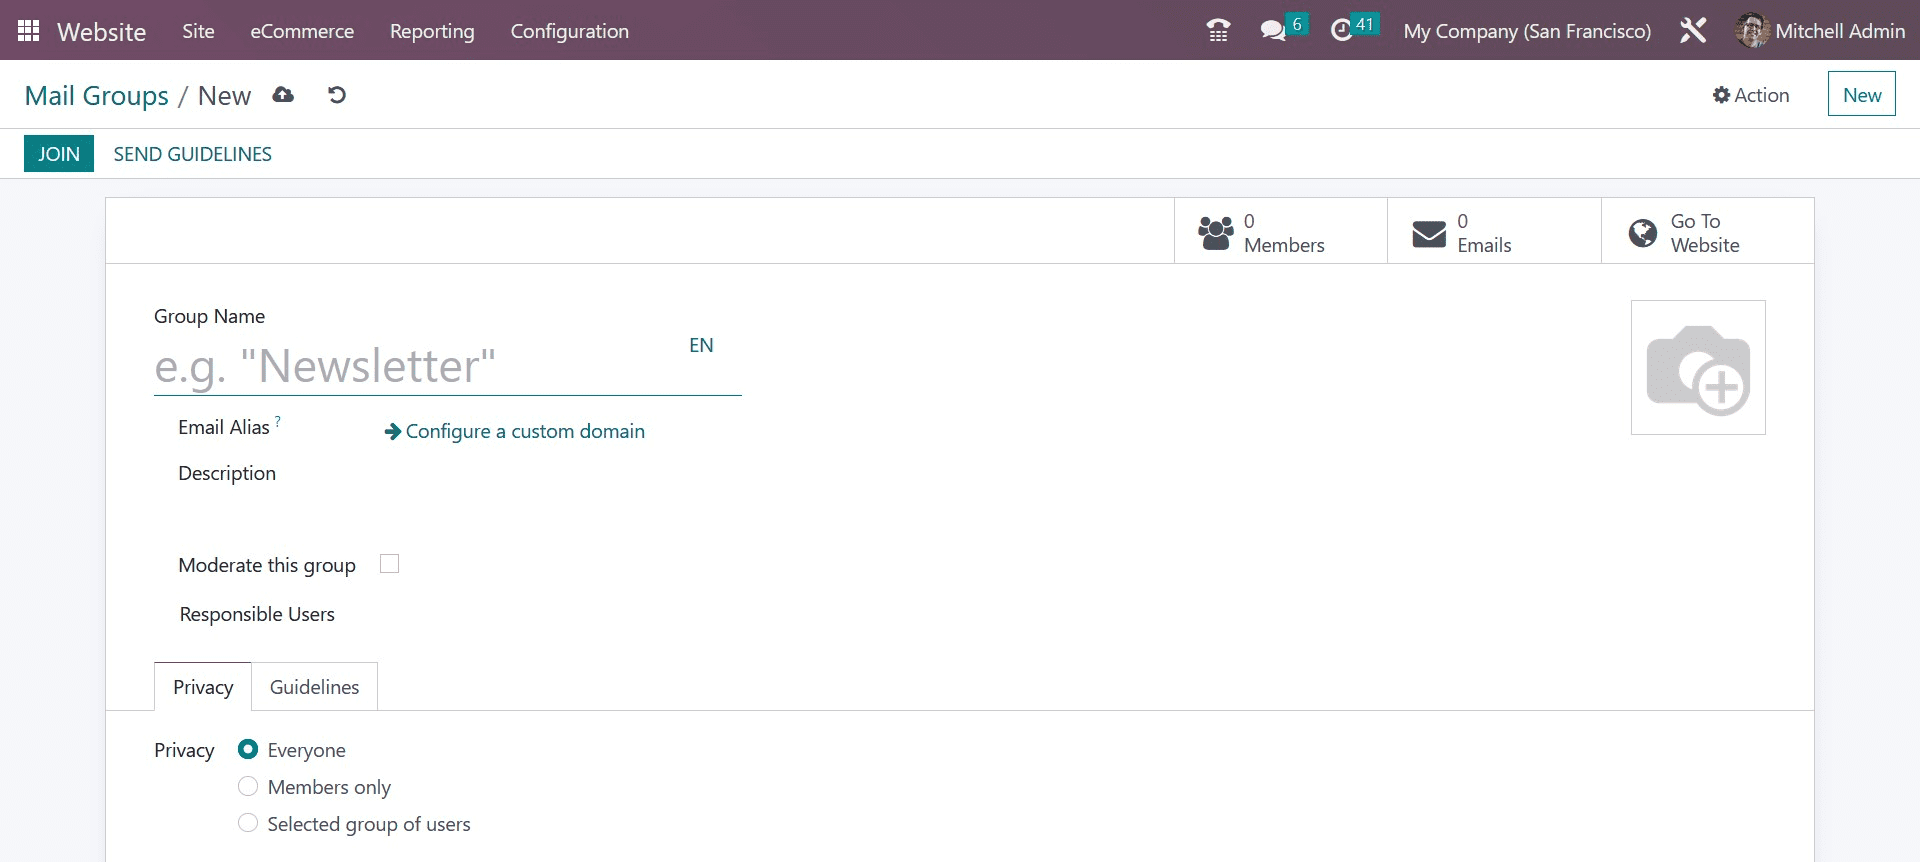
The Mail Groups window will retain every Mail Groups record that was previously configured, as shown in the image above. You can choose any of these records to view it in more detail. Each mail group’s name, membership breakdown, and JOIN/LEAVE button are visible in the Kanban view. The window can also be accessed in list style. You can have the Filters, Group By, and Favorites options accordingly. You can select the NEW button to add a new record. Below is a screenshot of the Mail Groups creation window.

You can start by giving your new Mail Groups a Group Name. Then, in the Description area, you can choose an Email Alias and a succinct description.
Additionally, you can choose the Responsible Users and enable or deactivate the Moderate group area. You should specify the privacy policy under the Privacy tab. You have three choices here: All users, Members Only, and a Selected user group. You may turn on the Send guidelines to new subscribers in the Guidelines area. New members of this moderated group will immediately receive the rules if they do this.
Additionally, the provided box can be used to specify the Guidelines.
Additionally, depending on the modules you added, the window’s top will display a variety of smart buttons. The JOIN and SEND GUIDELINES buttons can be found in the window’s upper left corner.

Moderation Rules
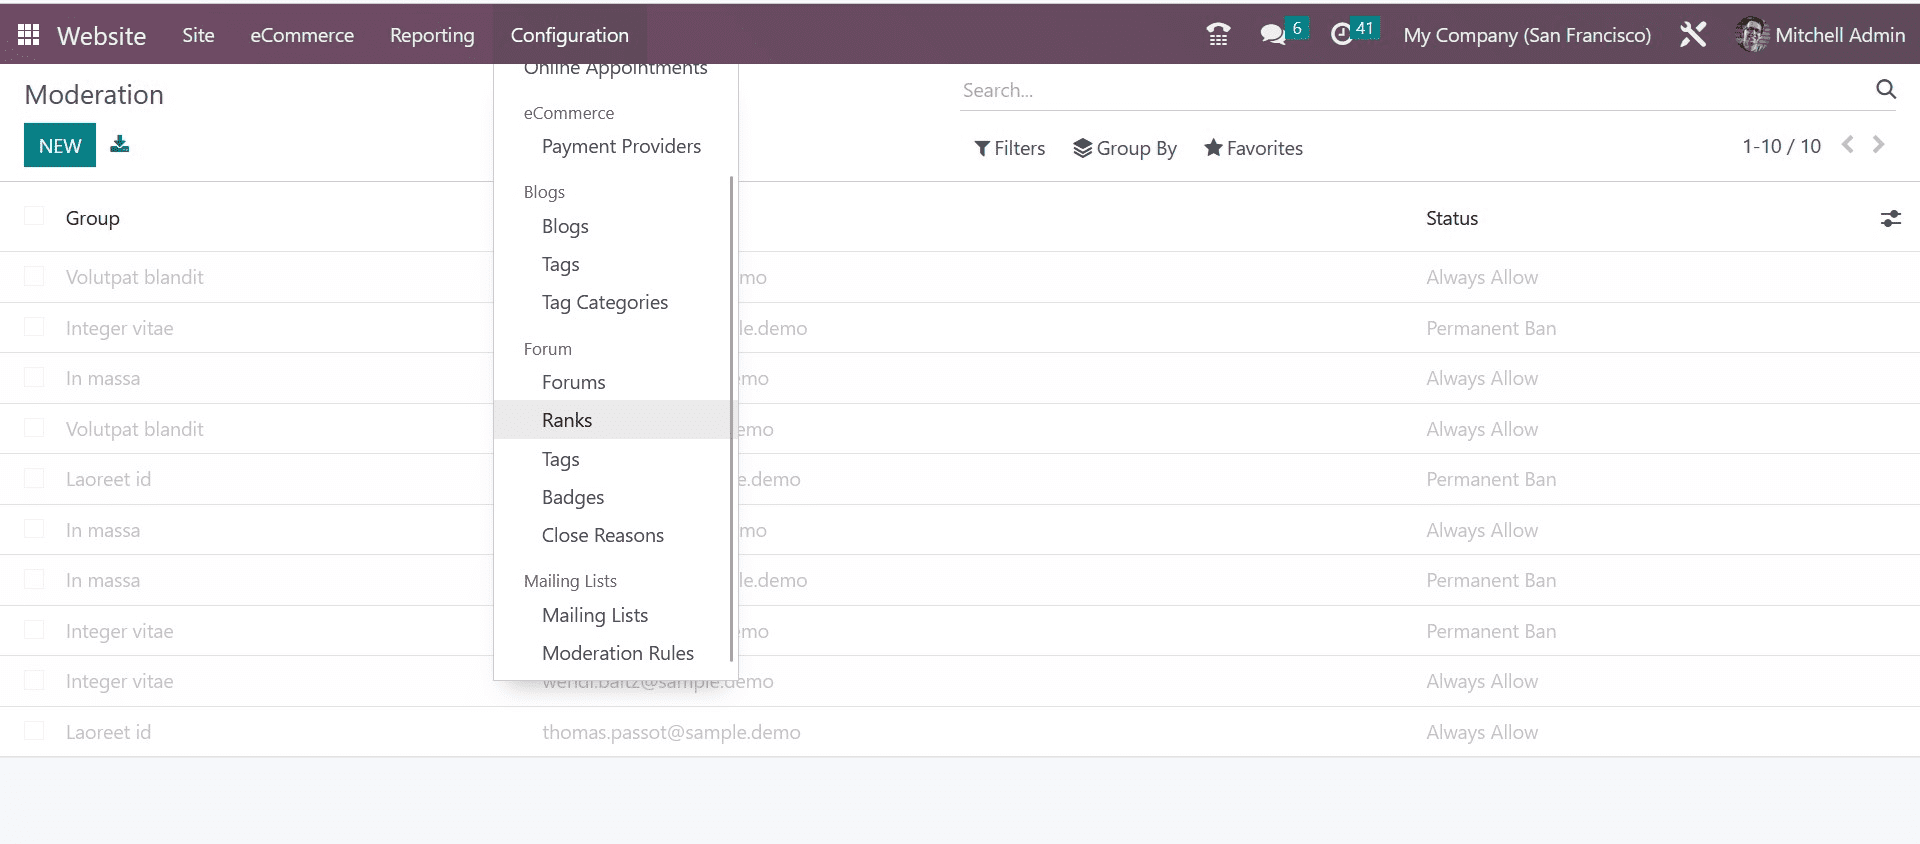
You can enter the Moderation window by selecting the List Moderation Rulings option from the Groups tab, as in the image below.

The Moderation window contains all the Moderation that is specified in the platform. You can click the NEW button to start a new one. A new row will now appear in the window where you may enter the Group, Email, and Status. And thereby create a new moderation rule very easily.


