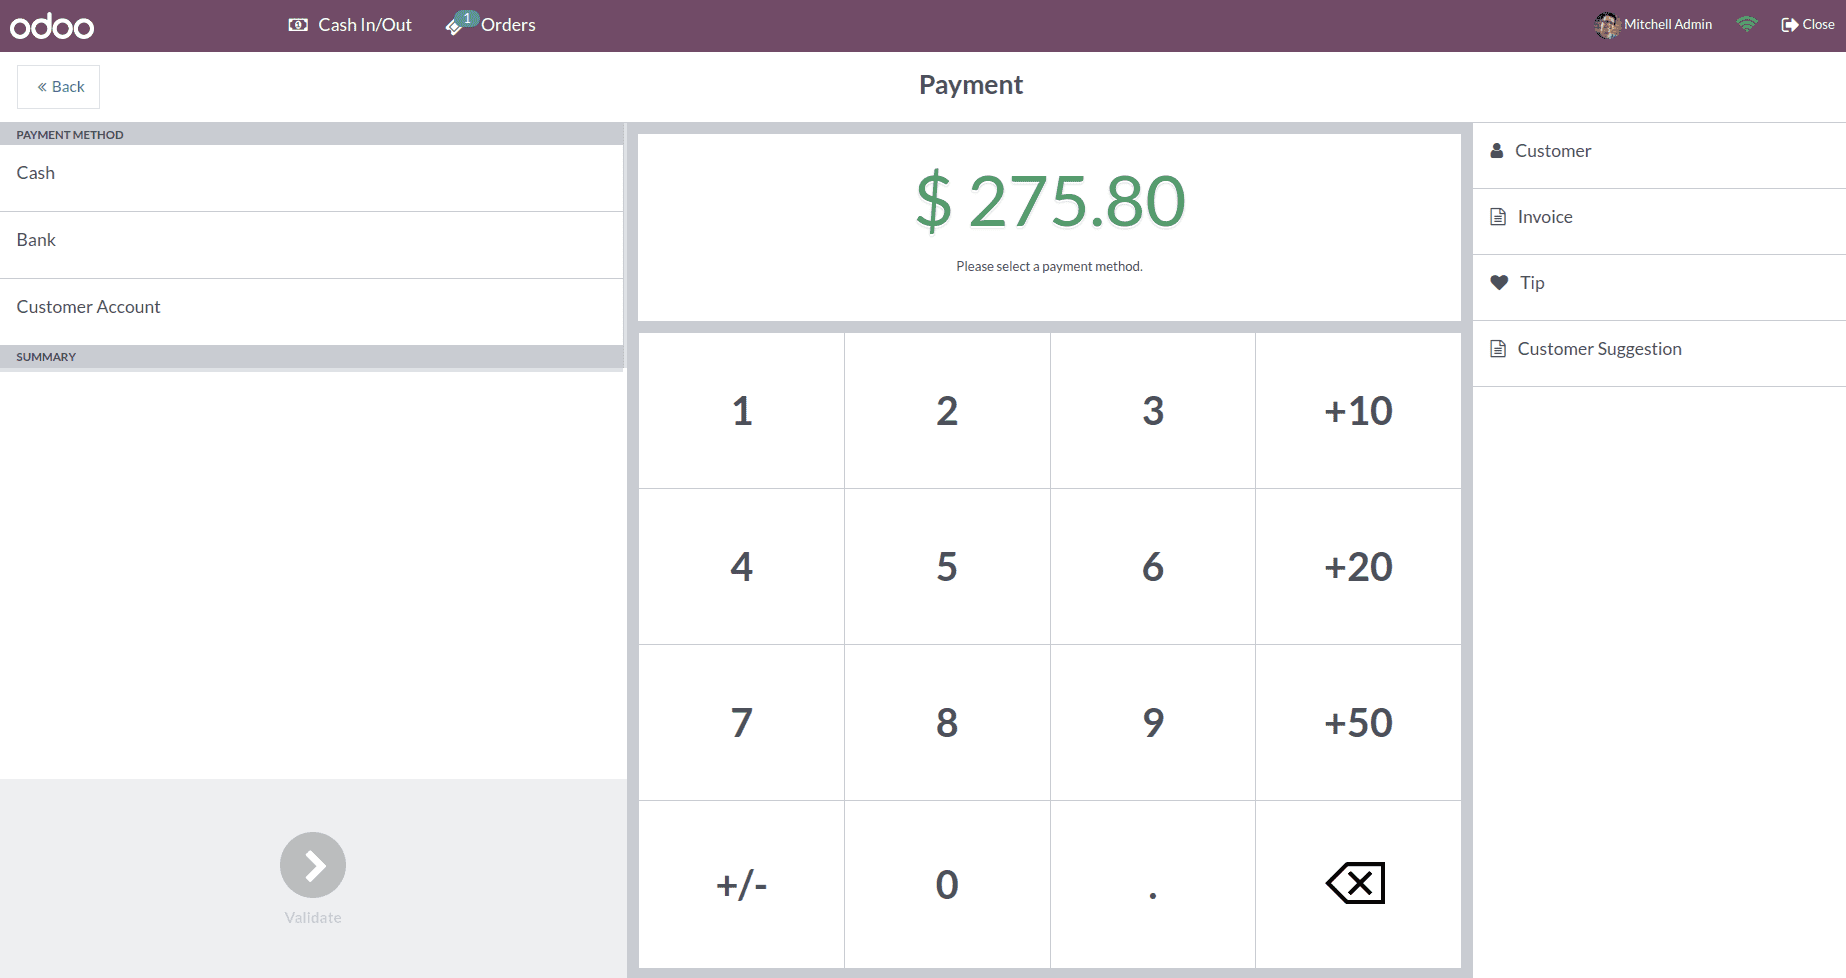
In Odoo 16, we can extend the functionality by adding new fields and modifying the workflows to meet the specific business requirements in POS. Adding custom models and fields was discussed earlier. In this blog, we are loading POS session (front-end) data into POS order (backend). As an example, we want to add customer suggestions to POS orders from the session.
Step 1: Add a new field to the POS order
Add a new custom field to the POS order, there is no need to load this field to the POS session since this field value is set from the front end.
# -*- coding: utf-8 -*-
from odoo import fields, models

class PosOrder(models.Model):
   _inherit = 'pos.order'

   suggestion = fields.Char(string='Customer Suggestion', readonly=True,
                            help='Customer suggestion can see here')
In this code, we can add the field ‘suggestion’ to the POS order. Update the POS order view to include the newly added customer_suggestion field in the extra page of the POS order.
<?xml version="1.0" encoding="UTF-8" ?>
<!--To add new field suggestion to pos order-->
<odoo>
   <record id="view_pos_pos_form" model="ir.ui.view">
       <field name="name">pos.order.pos.order.type</field>
       <field name="model">pos.order</field>
       <field name="inherit_id" ref="point_of_sale.view_pos_pos_form"/>
       <field name="arch" type="xml">
           <xpath expr="//page[@name='extra']" position="inside">
               <group string="Customer Feedback">
                   <field name="suggestion"/>
               </group>
           </xpath>
       </field>
   </record>
</odoo>
Step 2: Add a customer suggestion button to the POS
<?xml version="1.0" encoding="UTF-8"?>
<templates id="template" xml:space="preserve">
   <t t-inherit="point_of_sale.PaymentScreen" t-inherit-mode="extension">
       <!--  Shows the customer suggestion to the payment screen -->
       <xpath expr="//div[hasclass('payment-controls')]" position="inside">
              <div id="suggestion" class="button"
                   t-on-click="customer_suggestion">
                  <i class="fa fa-file-text-o"/>
                  Customer Suggestion
              </div>
      </xpath>
   </t>
</templates>

Step 3: Add a new component suggestion button to the POS
The Odoo16 allows customization of the POS module to meet specific business requirements. We can add custom fields, modify workflows, and extend functionality through Odoo’s flexible app ecosystem. In this example, we can add the click function of user suggestions.
/** @odoo-module **/
import Registries from 'point_of_sale.Registries';
import  PaymentScreen from 'point_of_sale.PaymentScreen';

const ExtraChargeButton = (PaymentScreen) =>
   class extends PaymentScreen {
       setup() {
           super.setup(...arguments);
       }
       async customer_suggestion(){
       const { confirmed, payload } = await this.showPopup('EditListPopup', {
       title: this.env._t('Customer Suggestion'),
       body: this.env._t('This click is successfully done.'),
       });
       if (confirmed) {
         this.currentOrder.set_order_suggestion(payload.newArray[0].text);
       }
       }
   };
Registries.Component.extend(PaymentScreen, ExtraChargeButton);
return ExtraChargeButton;

Step 3: Load customer suggestions from the POS session to the POS order
For this, we have to store the customer suggestion in the browser and send it to the backend when the order is confirmed. To do this, we can add a js file to our custom module. In order to avoid losing of data when refreshing the page, we can add the init_from_JSON (json) function, and we can override the export_as_JSON() function to send the customer suggestion to the server.
/** @odoo-module **/

import models from 'point_of_sale.models';
import {Order} from 'point_of_sale.models';
import  Registries from "point_of_sale.Registries";
const Suggestion = (Order) => class Suggestion extends Order {
     constructor() {
     super(...arguments);
     this.suggestion = this.suggestion || null;
     }
     set_order_suggestion(suggestion){
     this.suggestion = suggestion
     }
     //send order data to send to the server
     export_as_JSON() {
     const json = super.export_as_JSON(...arguments)
     json.suggestion = this.suggestion ;
     return json;
     }
     init_from_JSON(json) {
     super.init_from_JSON(...arguments);
      this.suggestion = json.suggestion;
      }
     };
     Registries.Model.extend(Order, Suggestion);
def _order_fields(self, ui_order):
   """ Prepare dictionary for create method """
   result = super()._order_fields(ui_order)
   result['suggestion'] = ui_order.get('suggestion')
   return result
Now we can go to the POS order and see the customer suggestion in POS order.

By extending the method ‘export_as_JSON’, we can send any custom field value to the server, and that can be loaded into the backend POS order by using the ‘_order_fields()’ method.


