Live Chat supports are common in all businesses. Most of the clients are interested in digital communication methods. Of all methods, Live chat support is more prominent rather than email or other social media. Because live chat provides a real-time platform to communicate with the service providers. Also, this will reduce time consumption and the clients get an immediate reply from them to solve the issues. Also, the record of the chat is saved. The clients can also inform their satisfactory level on the spot itself.
Odoo 13 website enables live chat which will interact with clients on the website to give support. An on-screen dialogue box lets them keep in touch with the sales team very quickly, transforming leads into future business opportunities in no time. Using different channels Odoo can handle the live chat service. We can set different messages to handle the welcome message, bye message and taking feedback. Customers can send feedback and their responses and rating will be recorded in the back end.
Firstly, install the website live chat and live chat modules from odoo Apps.

The dashboard of live chat is as follows.

Create a new channel by clicking on the CREATE button
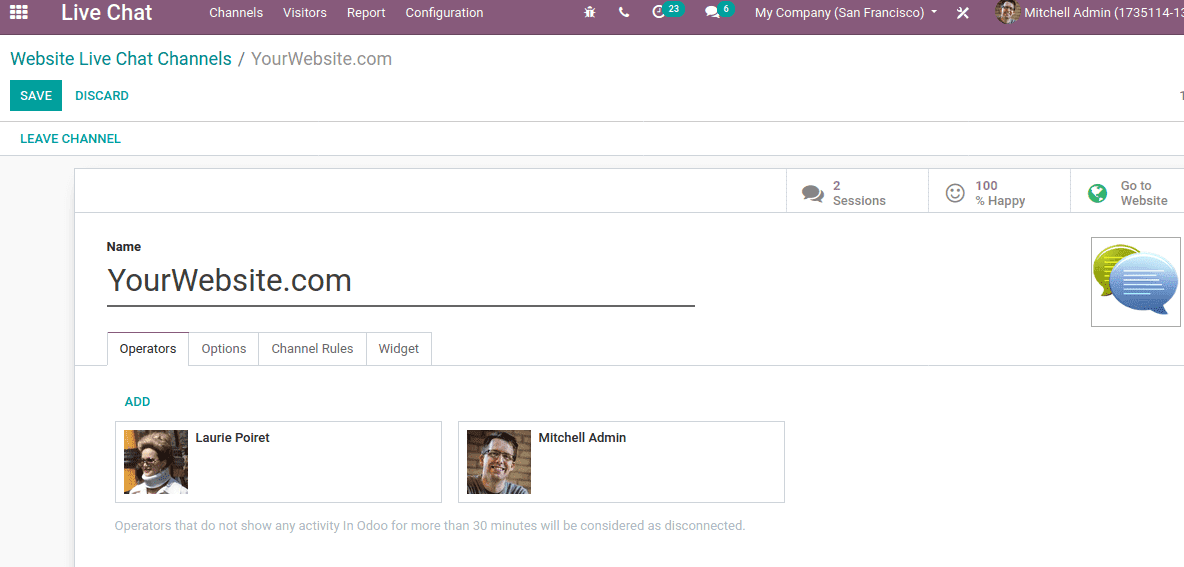
Add the channel name and under the ‘Operators’ tab, we can add operators who provide customer support to clients through live chat facility.
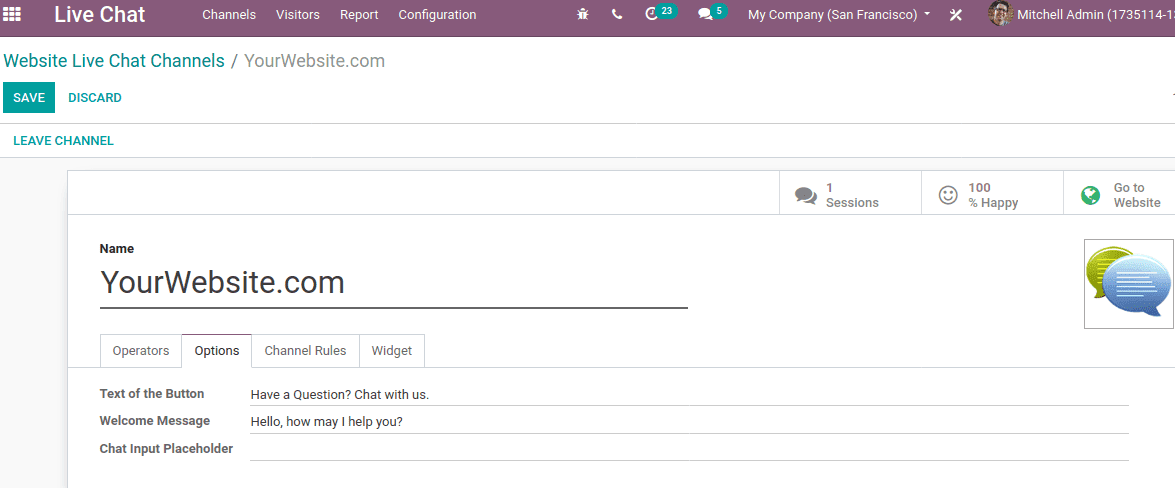
One can set chatter welcome script and end script under the ‘Options’ tab.
Under the ‘channel Rules’ tab, you can define rules for your live support channel.
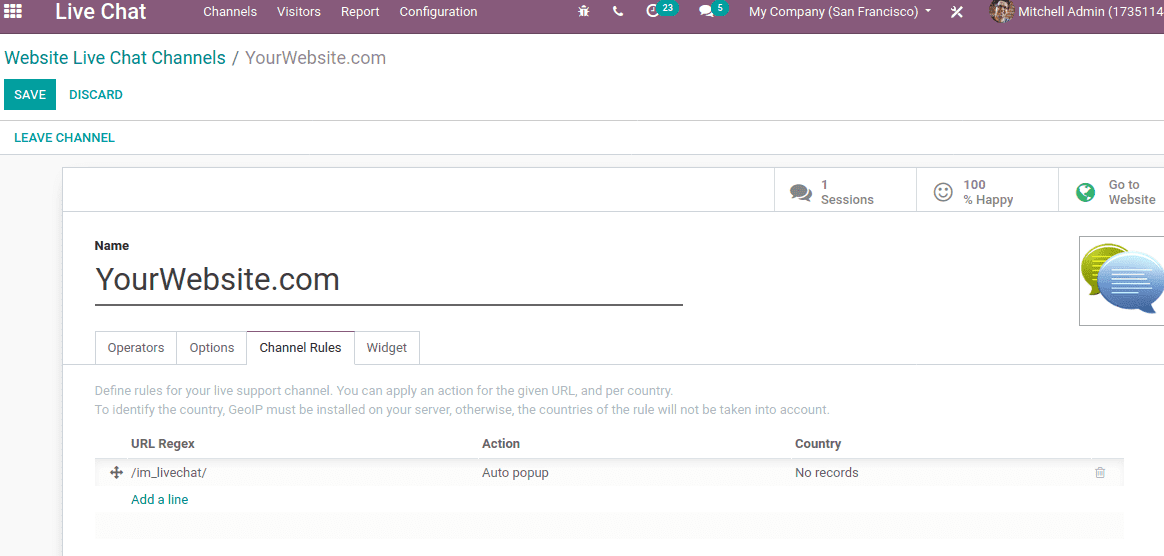
To add a channel rule click on Add a line. Here you can set rules in such a way that show the chat in those countries where you have language proficiency to communicate. You can hide chats in countries where you don’t know the language or where your company doesn’t sell them.

Add the particulars and save. You can apply an action for the given URL, and per country. To identify the country, GeoIP must be installed on your server, otherwise, the countries of the rule will not be taken into account.
Save changes when all particulars are correctly entered. We have three smart buttons in the channel sessions, Happy and Go to the website. At the initial stage, ‘Go-To website’ smart button is in an unpublished stage. So we have to publish it first. Click on Go To Website.
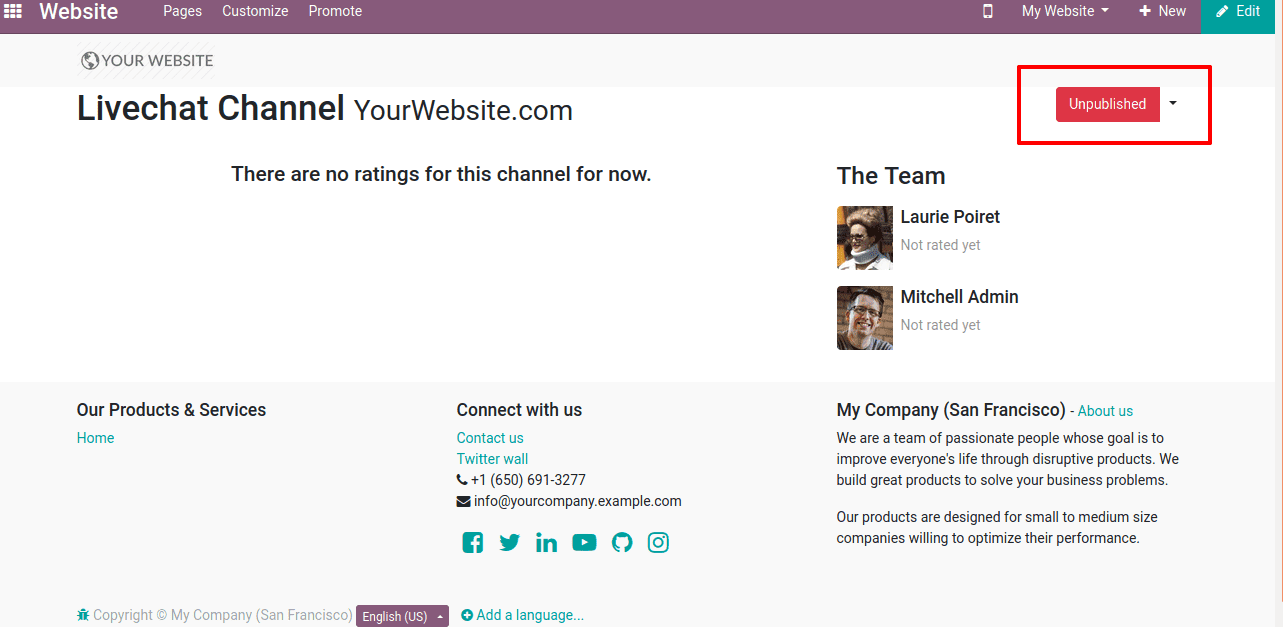
Publish the website by clicking on ‘Unpublished’.
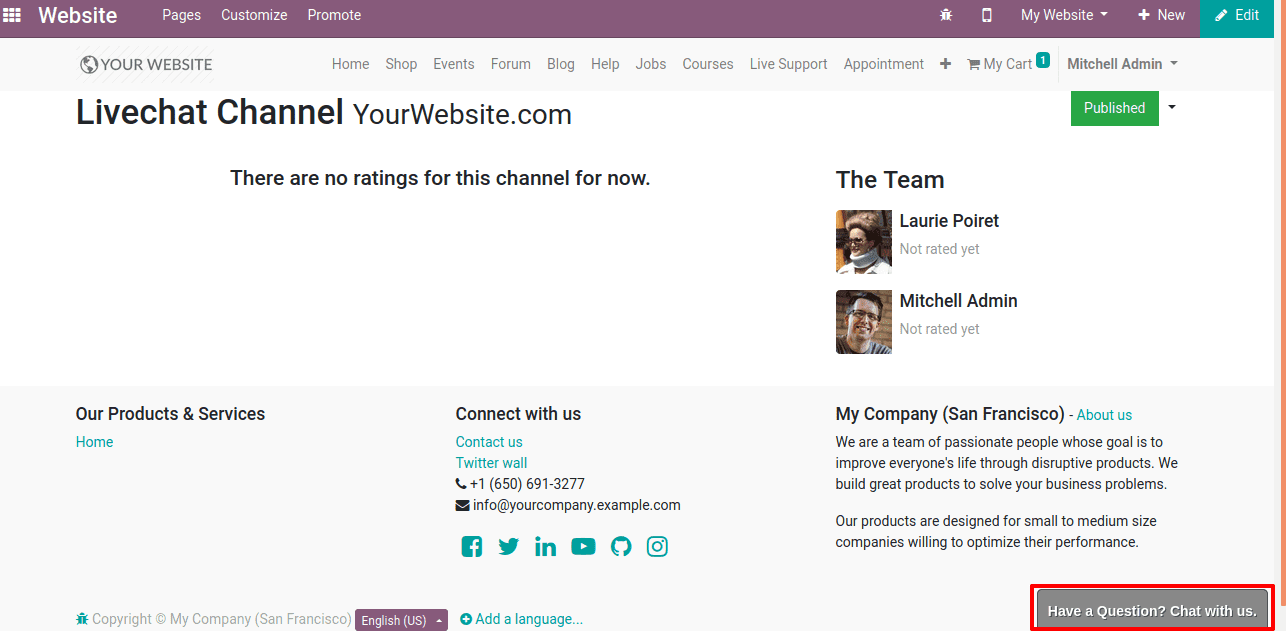
So the website is published and below you can find a button having text, click on that and So that chat box opens.
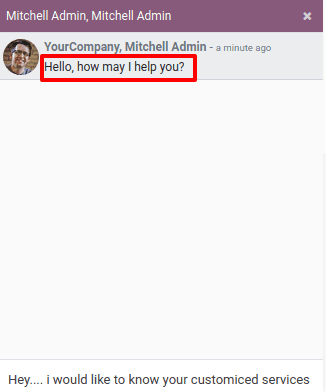
Here you can see the default welcome message as we set in the ‘Options’ tab of the channel. Insert the query inside the chat box provided. All these chat messages will be saved in the back end.
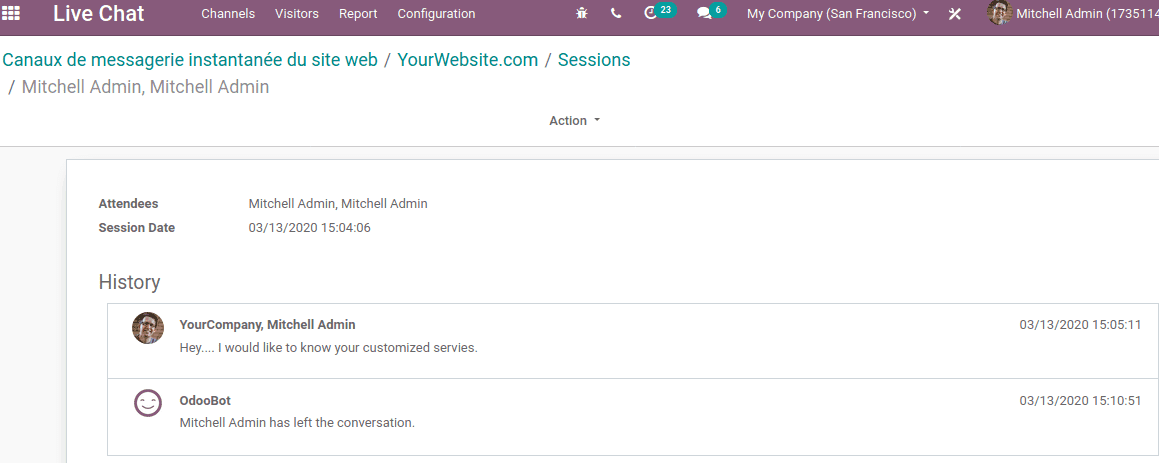
One can see menus like Channels, visitors, reports and configuration. On clicking ‘Channels’ we can find all the existing channels and when you open any of the sessions in the channel you can view the records of your chat.
Also when the chat is closed it will ask the visitors to send feedback.
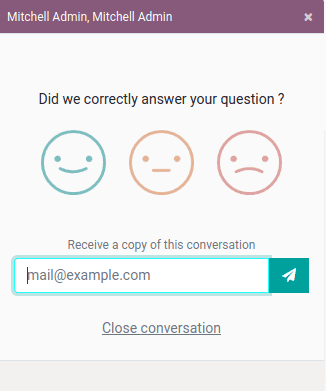
Give the rating by clicking on the smiley. You can receive a copy of the chat conversation to your mail-id. For that give mail id in the space provided and click on the close conversation.
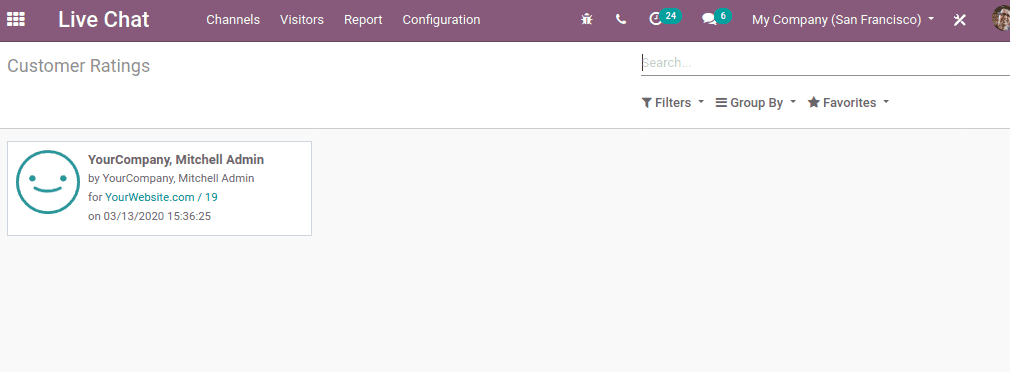
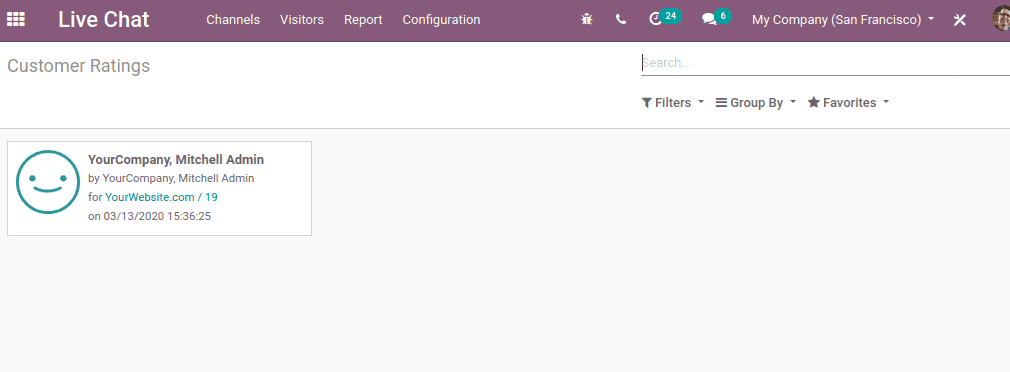
The customer rating is also recorded in the backend. Go to Live chat -> Reporting -> Customer Rating.
Canned responses
Canned responses allow you to make substitutes for common phrases that you often use. Composing a word rather than a whole phrase is going to save your time. You can find and create canned responses through Live Chat -> Configuration -> Canned Responses.
Live chat Configuration in Odoo 13
Now we are going to have a look at how we can make a Live Chat widget o a web page.
1. Open the channel form and copy the script provided under ‘Widget’ tab of the channel form

2. Then Go To Settings -> User Interface -> Views. Search ‘Main Layout’ using the search field.

3. Paste the copied code inside the header tag and save the changes.

4. Now refresh the webpage. So you can see the chatter button.


