Scalable Vector Graphics (SVG) is a versatile and flexible format for creating two-dimensional vector graphics. In the context of Odoo, SVG can be a valuable tool for generating dynamic and customizable visuals. This article explores the application of the svgwrite package in Odoo, showcasing its capabilities and providing a practical example of creating SVG graphics within the Odoo framework.
Understanding the svgwrite Package
The svgwrite package is a Python library that simplifies the generation of SVG images. It allows developers to programmatically create SVG files by defining various shapes, text, and styles, making it an ideal choice for custom reports, charts, and graphics within Odoo.
Integrating svgwrite with Odoo
To utilize svgwrite in Odoo, you can start by creating a custom module. Here’s how to proceed:
1. Create a Custom Module: Start by creating a new Odoo module to store your records. Ensure this model contains the necessary fields like “height,” “width,” and “color.”
2. Generate SVG with svgwrite: Within your Odoo module, write a function that generates an SVG image using the svgwrite library. You can create images based on the records you provide.
python.
from odoo import models, fields
import base64
import svgwrite
class SvgImage(models.Model):
   _name = "svg.image"
   # Fields and model definition here...
   def generate_svg(self):
       self.ensure_one()
       # Create an SVG drawing
       dwg = svgwrite.Drawing(profile='tiny', size=(400, 200))
       # Create a rectangle with the specified color
       dwg.add(dwg.rect(insert=(0, 0), size=(self.width, self.height), fill=self.color))
       circle = dwg.circle(center=(self.width, self.height), r=50, fill='red', stroke='black')
       dwg.add(circle)
       # Generate the SVG code as a string
       svg_code = dwg.tostring()
       # Encode the SVG code in base64
       svg_base64 = base64.b64encode(svg_code.encode()).decode()
       self.image_svg = svg_base64
       return {
           'type': 'ir.actions.client',
           'tag': 'reload',
       }
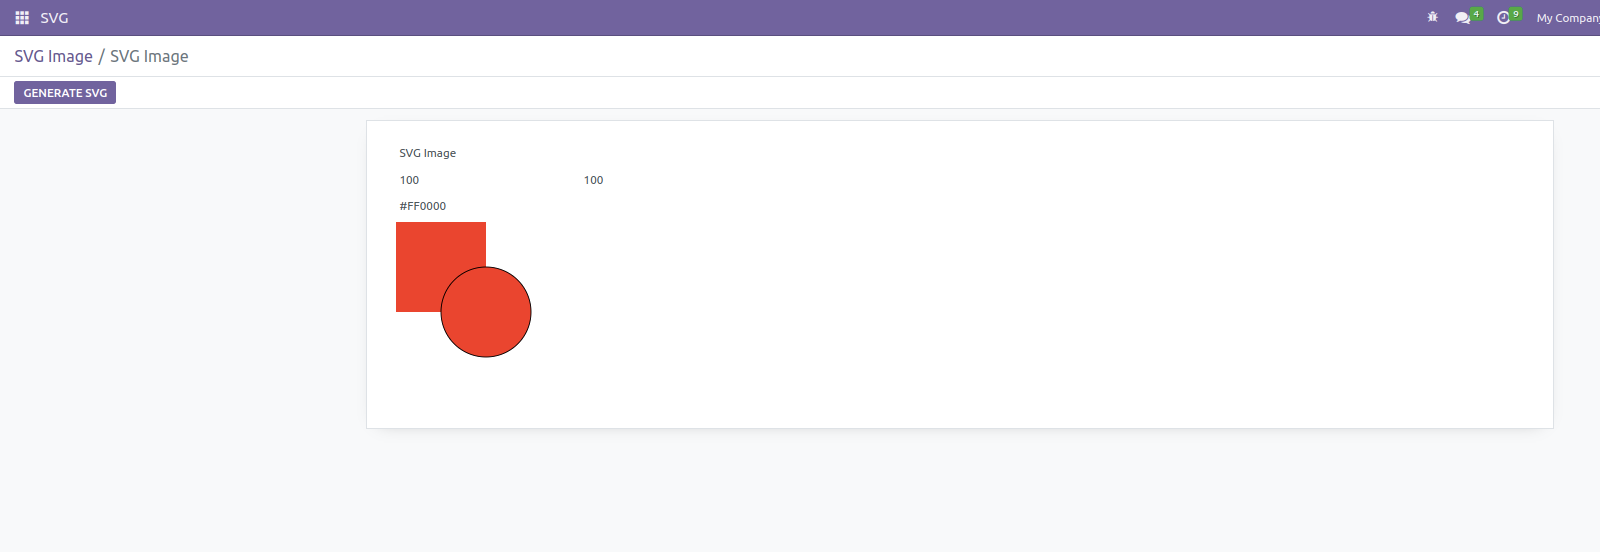
In this code, the generate_svg function creates SVG drawings dynamically based on your data, such as width, height, and color. The generated SVG code is encoded in base64 and stored.
3. Render SVG in Odoo Views: In your Odoo view, add a field to display the SVG content. You can render the SVG by storing it as text in the database and displaying it as an image field or a widget specifically designed for SVG rendering.
xml
<record model="ir.ui.view" id="c_o_c_5.svg_image_form">
   <field name="name">SVG Image</field>
   <field name="model">svg.image</field>
   <field name="arch" type="xml">
       <form string="SVG Image">
           <header>
               <button string="Generate SVG" type="object" name="generate_svg" class="oe_highlight"/>
           </header>
           <sheet>
               <field name="name"/>
               <field name="width"/>
               <field name="height"/>
               <field name="color"/>
               <field name="image_svg" widget="image"/>
           </sheet>
       </form>
   </field>
</record>
Output:
The output included image showcases the dynamic SVG image created using the svgwrite package in Odoo. This image is a testament to the flexibility and versatility of SVG graphics, providing a visual representation of how data visualization in Odoo can be taken to the next level.

Benefits of Using svgwrite in Odoo
1. Dynamic Visuals: With svgwrite, you can generate dynamic SVG images based on your data. This is incredibly useful for custom reports, graphs, and dashboards.
2. Customization: You have full control over the design and style of your SVG graphics, allowing you to tailor them to your specific needs.
3. Integration: SVG graphics created with svgwrite can be seamlessly integrated into Odoo views and reports, enhancing data visualization.
4. Scalability: SVG images are vector-based, ensuring that your graphics look crisp and clear at any scale.
The svgwrite package in Odoo opens up exciting possibilities for dynamic and customizable data visualization. Whether you’re creating sales charts, custom reports, or interactive dashboards, svgwrite empowers you to harness the potential of SVG graphics, providing valuable insights and enhancing the user experience in Odoo.


