Views typically expose the models to the users. We can arrange the fields in the best way to understand data. We have different types of views. We can modify the models with the help of views and make the views more valuable. Other types of views and how to write codes are given below.
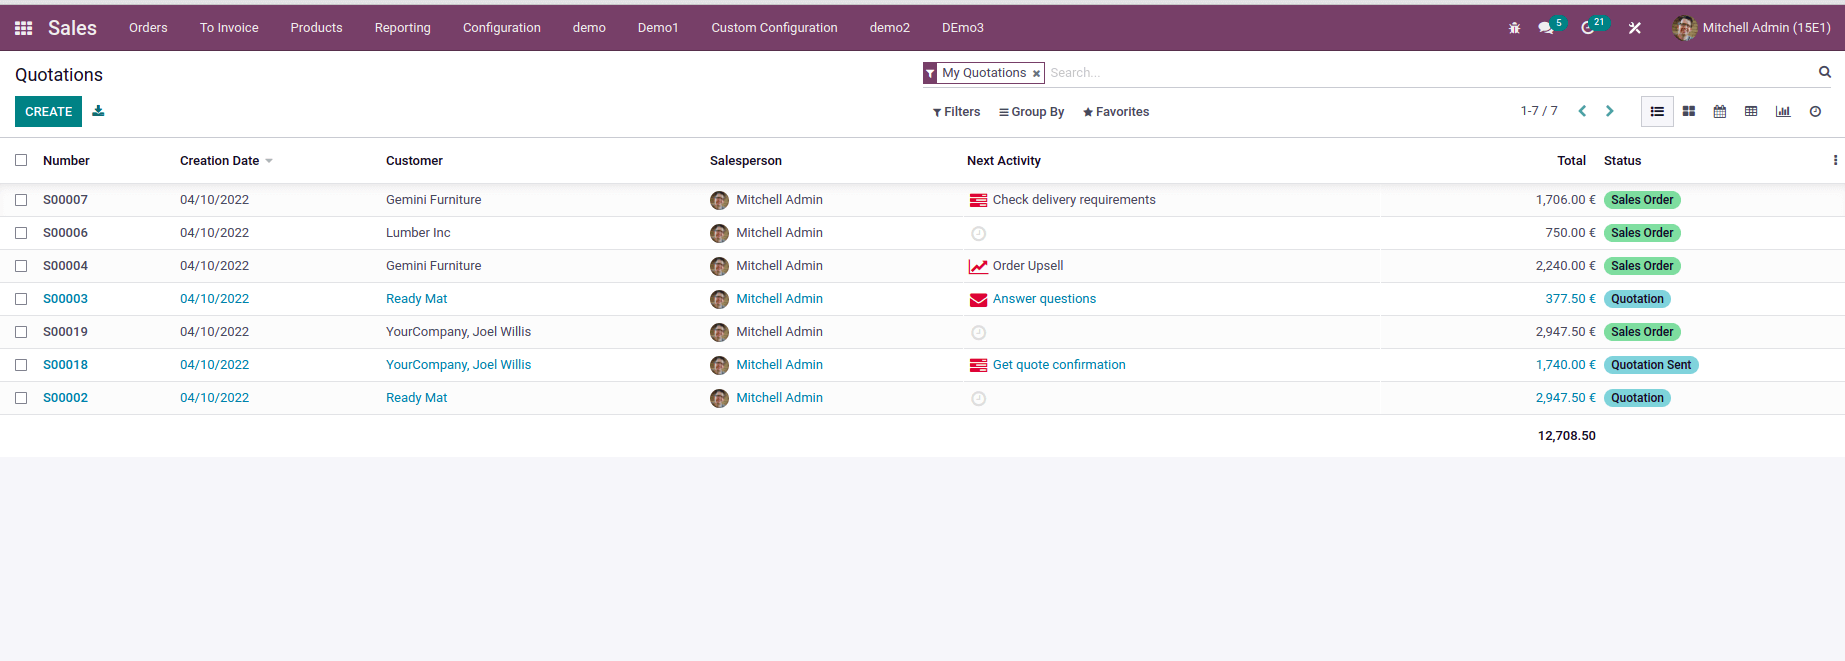
Tree or List:
We can see the multiple records in a single view. We can sort the data available in the view.
<record id="account_tag_view_tree" model="ir.ui.view">
   <field name="name">Tags</field>
   <field name="model">account.account.tag</field>
   <field name="arch" type="xml">
       <tree string="Tags">
           <field name="name"/>
           <field name="applicability"/>
       </tree>
   </field>
</record>
Form:
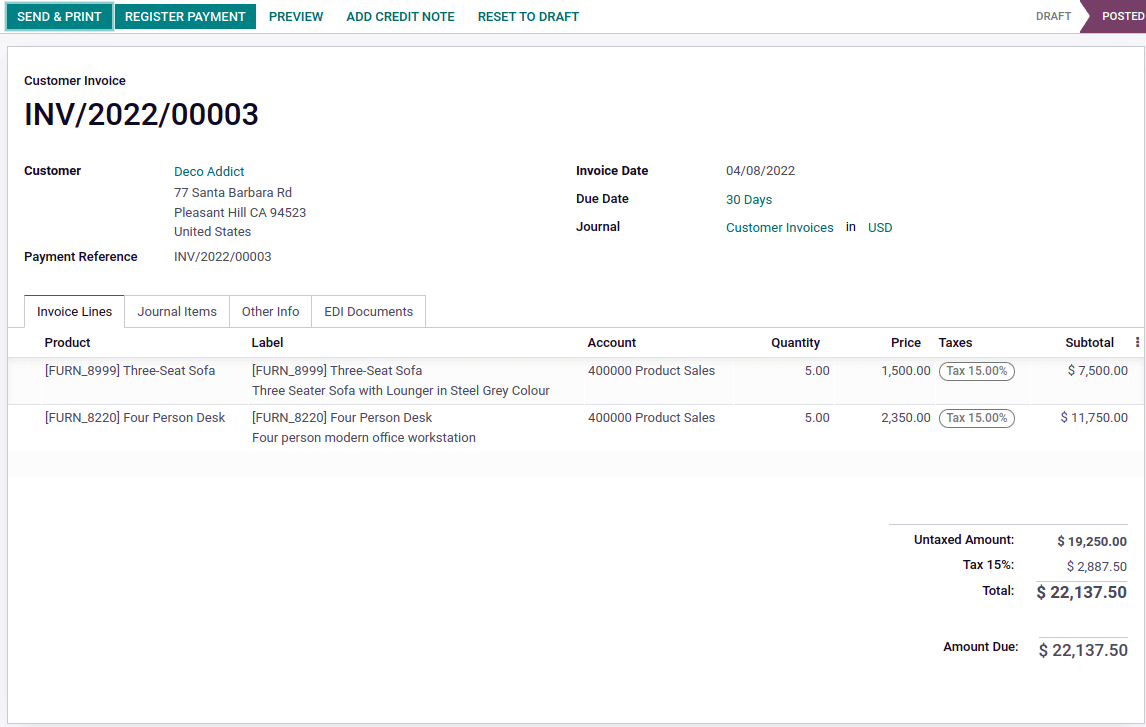
We can see the detailed information of each data in this view. In related fields, we will get the other model data also. This view will help us to collect more information.
<record id="account_tag_view_form" model="ir.ui.view">
    <field name="name">Tags</field>
    <field name="model">account.account.tag</field>
    <field name="arch" type="xml">
       <form string="Tags">
           <sheet>
               <widget name="web_ribbon" title="Archived"
bg_color="bg-danger” attrs="{'invisible': [('active', '=', True)]}"/>
                <group>
                       <field name="active" invisible="1"/>
                       <field name="name"/>
                       <field name="applicability"/>
                       <field name="tax_negate" readonly="1"
attrs="{'invisible': [('applicability',
'!=', 'taxes')]}"/>
<field name="country_id"options="{'no_open':
True, 'no_create': True}"
attrs="{'invisible': [('applicability',
'!=', 'taxes')],
'readonly': [('tax_report_line_ids', '!=', [])]}"/>
                      <field name="tax_report_line_ids" readonly="1"
attrs="{'invisible': [('applicability',
'!=', 'taxes')]}"/>
                  </group>
               </sheet>
          </form>
      </field>
</record>
Kanban :
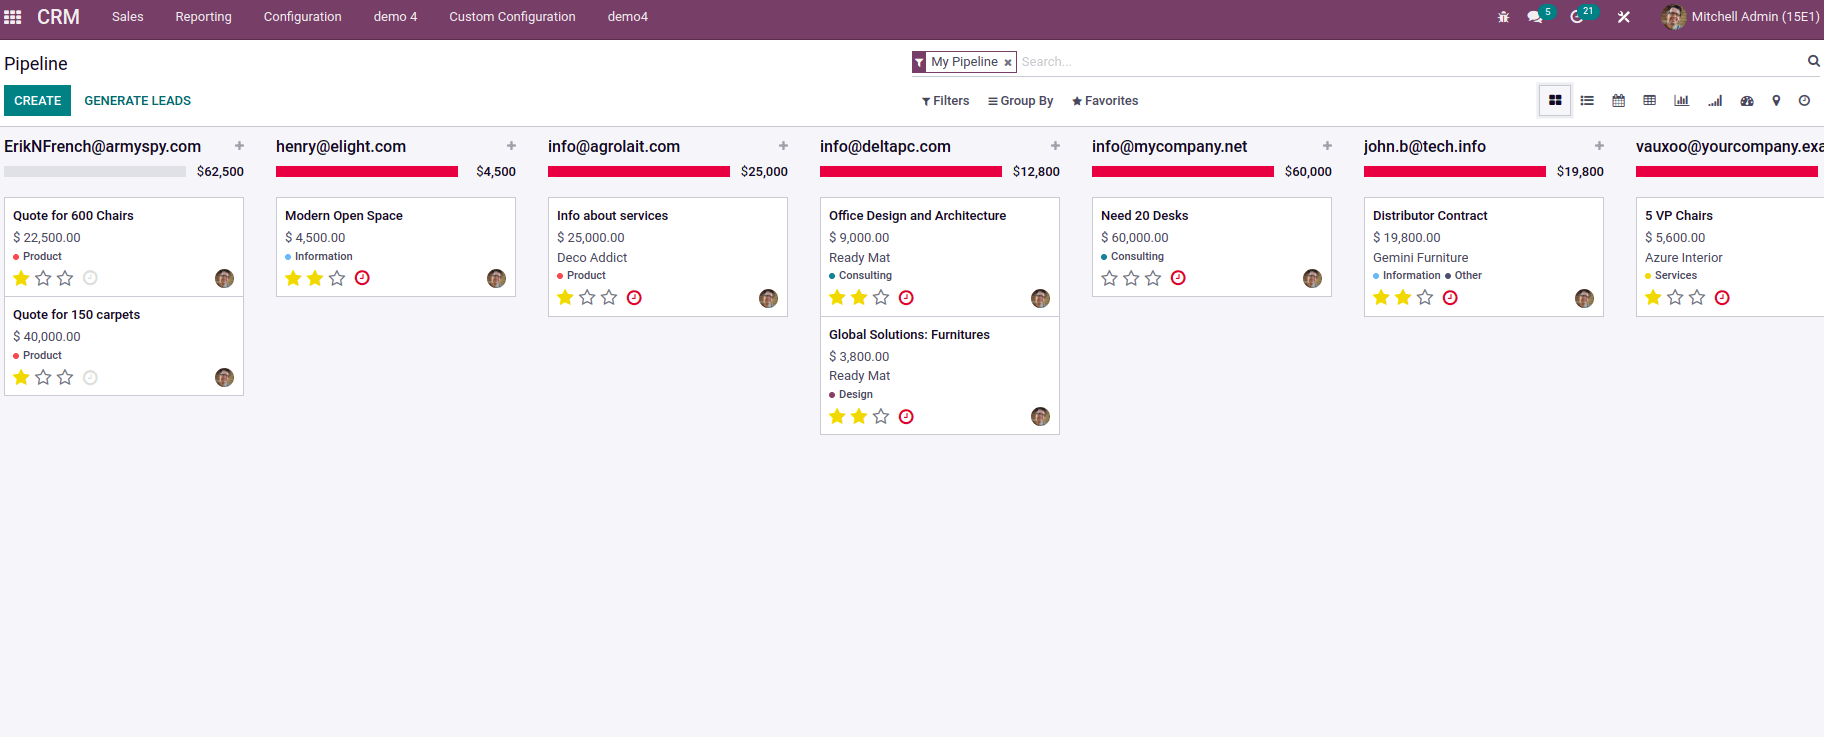
This view is also another way of showing multiple data. We can add only limited details in this view.
<record id="view_account_payment_term_kanban" model="ir.ui.view">
<field name="name">account.payment.term.kanban</field>
<field name="model">account.payment.term</field>
<field name="arch" type="xml">
<kanban class="o_kanban_mobile">
<field name="name"/>
<field name="note"/>
<templates>
<t t-name="kanban-box">
                           <div t-attf-class="oe_kanban_global_click">
<strong class="o_kanban_record">
<t t-esc="record.name.value"/>
</strong>
</div>
</t>
</templates>
</kanban>
</field>
 </record>
Search:
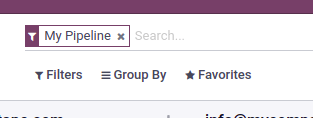
Search view always shows with other views. It will work as a search function.
<record id="ir_filters_view_search" model="ir.ui.view">
<field name="model">ir.filters</field>
<field name="arch" type="xml">
<search string="Filters">
<field name="name" string="Filter Name"/>
<filter string="User"domain="[('user_id','!=',False)]"
name="user" help="Filters visible only for one user"/>
<filter string="Share"domain="[('user_id','=',False)]"
name="shared" help="Filters shared with all users"/>
<filter string="Myfilters"
domain="[('user_id','=',uid)]" name="my_filters"
help="Filters created by myself"/>
<separator/>
<filter string="Archived" name="inactive"
domain="[('active', '=', False)]"/>
<group expand="0" string="Group By">
<filter string="User" name="user" domain="[]"
context="{'group_by':'user_id'}"/>
<filter string="Model" name="model" domain="[]"
context="{'group_by':'model_id'}"/>
</group>
<field name="model_id"/>
<field name="user_id"/>
</search>
</field>
</record>
Activity:
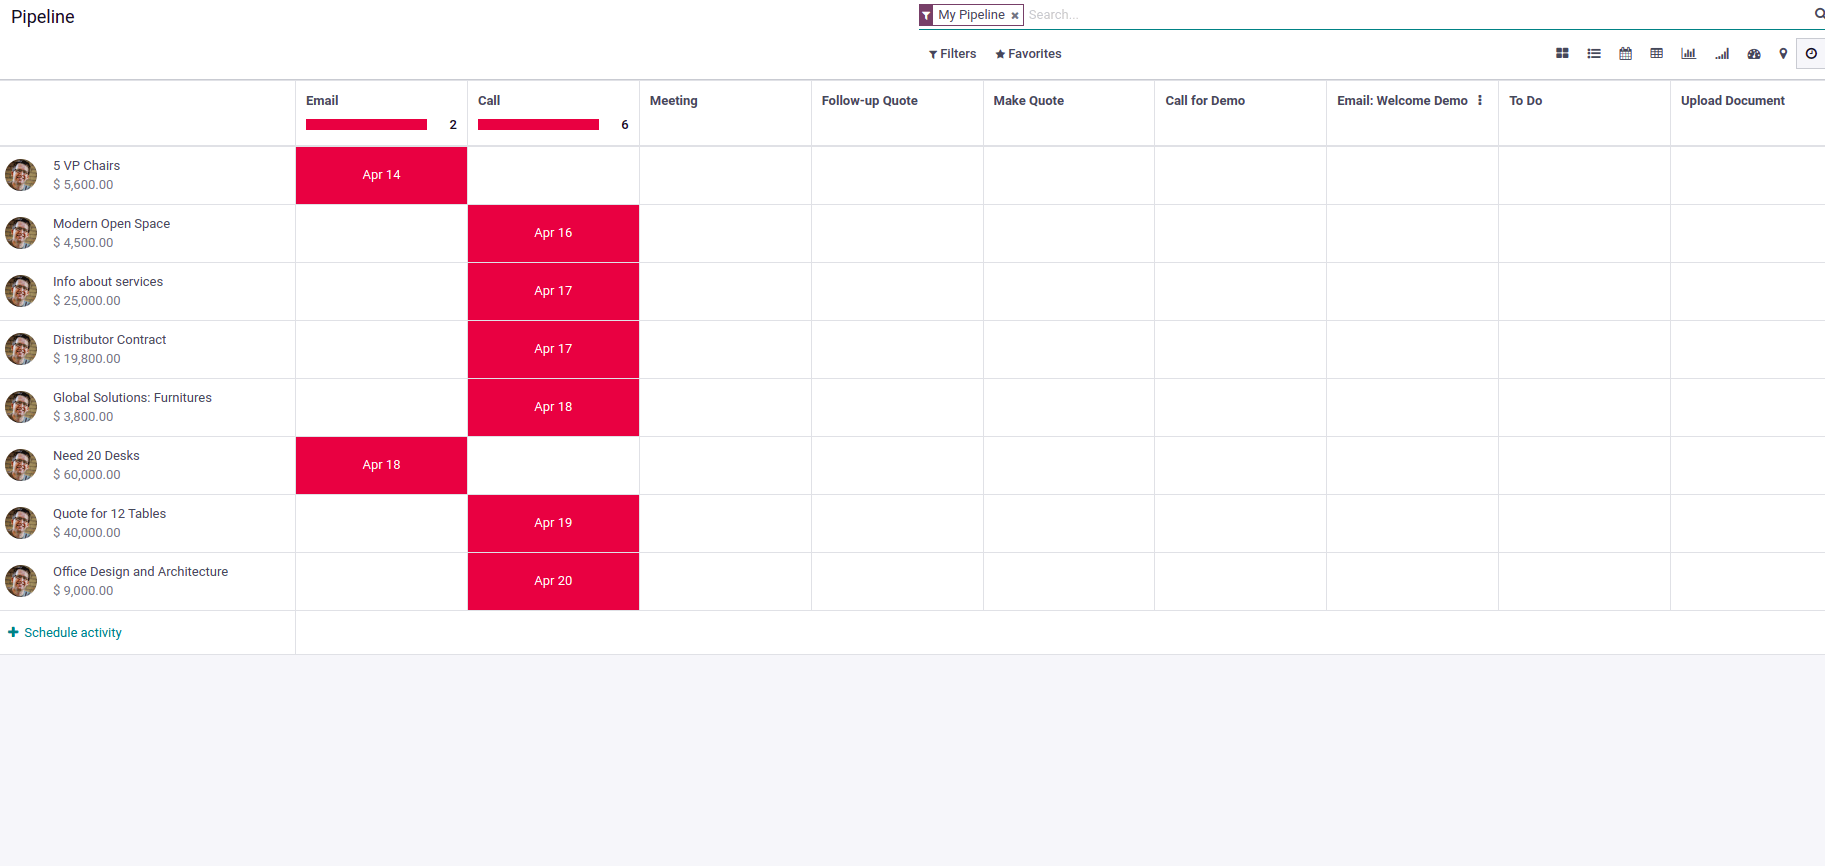
This view helps us know the activities linked to the records, shown in a grid view.
<record id="sale_subscription_view_activity" model="ir.ui.view">
        <field name="name">sale.subscription.activity</field>
        <field name="model">sale.subscription</field>
        <field name="arch" type="xml">
            <activity string="Subscriptions">
                <templates>
                    <div t-name="activity-box">
                        <div>
                            <field name="code" display="full"/>
                            <field name="partner_id" muted="1"
display="full"/>
                        </div>
                    </div>
                </templates>
            </activity>
        </field>
</record>
Calendar:
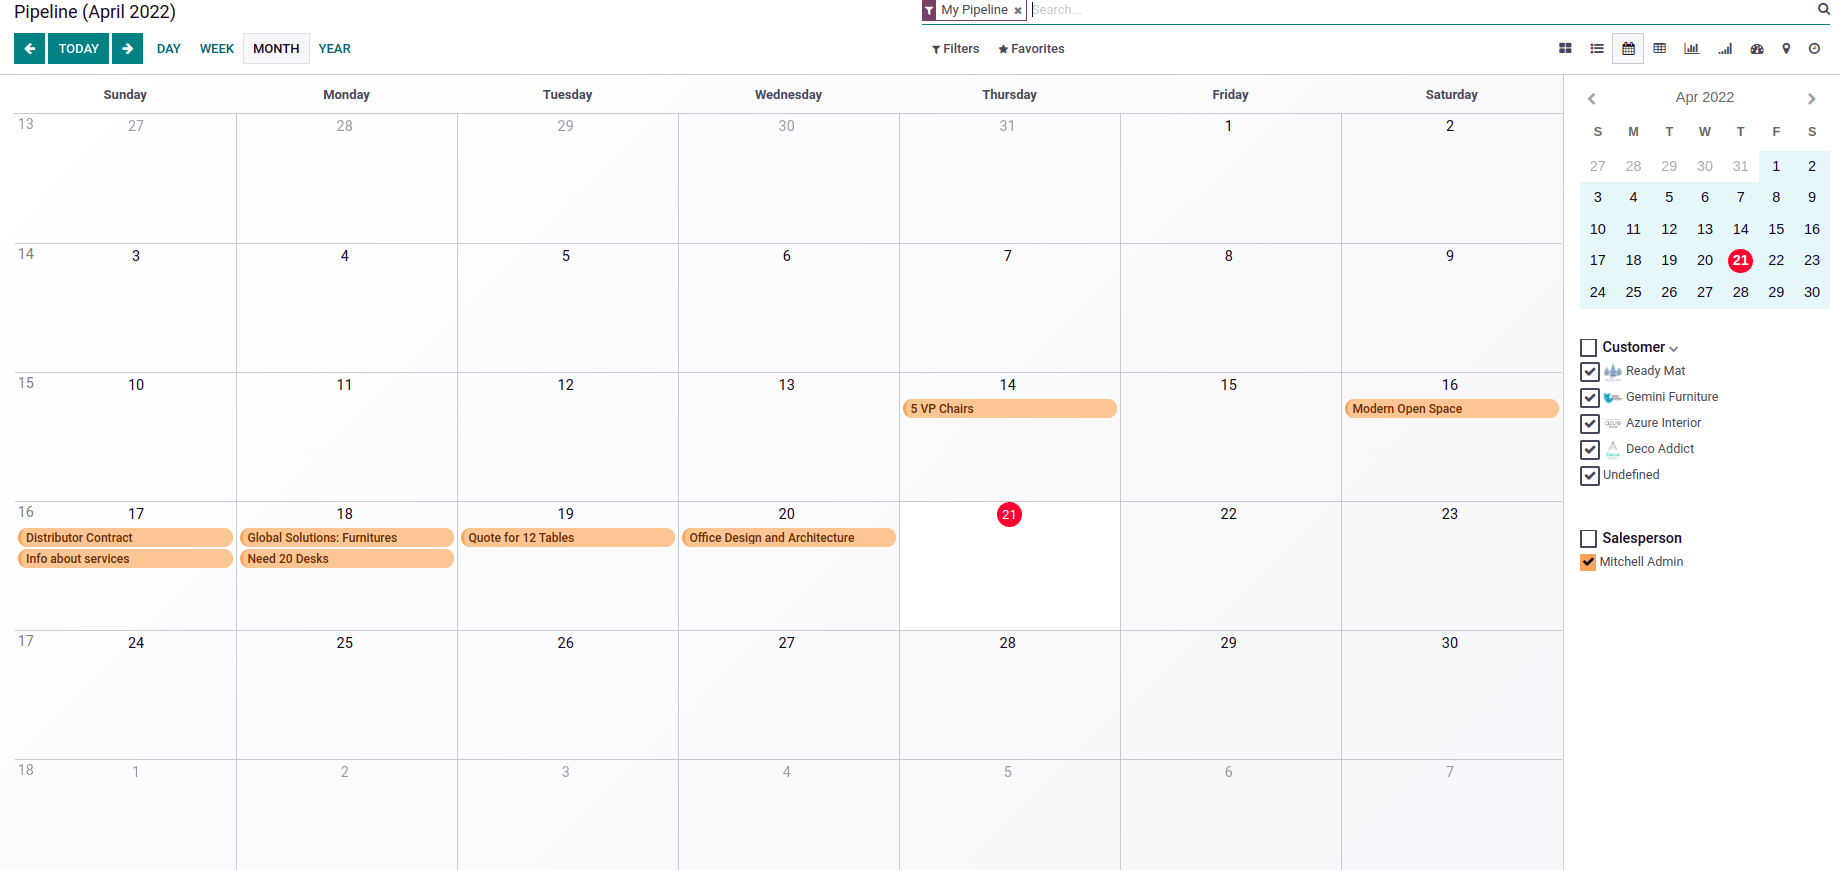
All records are marked in the calendar as events. This view is arranged in days, weeks or months. The creation of a calendar view is given below.
<record model="ir.ui.view" id="ir_cron_view_calendar">
            <field name="model">ir.cron</field>
            <field name="priority" eval="2"/>
            <field name="arch" type="xml">
                <calendar string="Scheduled Actions">
                    <field name="name"/>
                    <field name="user_id" filters="1" invisible="1"/>
                </calendar>
            </field>
        </record>
Pivot:
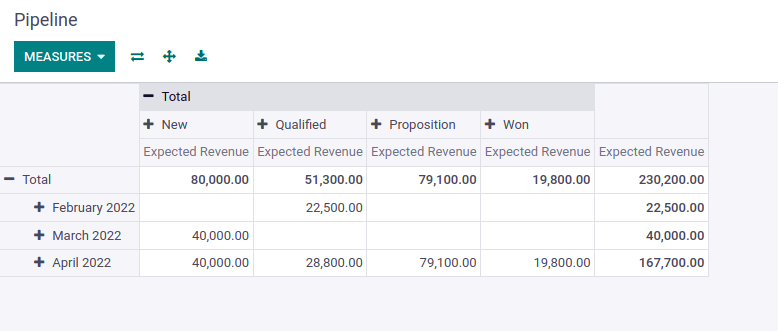
Pivot view is shown as table form. We will get a count of records based on the fields in measure.
<record id="crm_activity_report_view_pivot" model="ir.ui.view">
      <field name="name">crm.activity.report.pivot</field>
      <field name="model">crm.activity.report</field>
      <field name="arch" type="xml">
           <pivot string="Activities Analysis" sample="1">
               <field name="mail_activity_type_id" type="col"/>
               <field name="date" interval="month" type="row"/>
           </pivot>
      </field>
</record>
Graph:
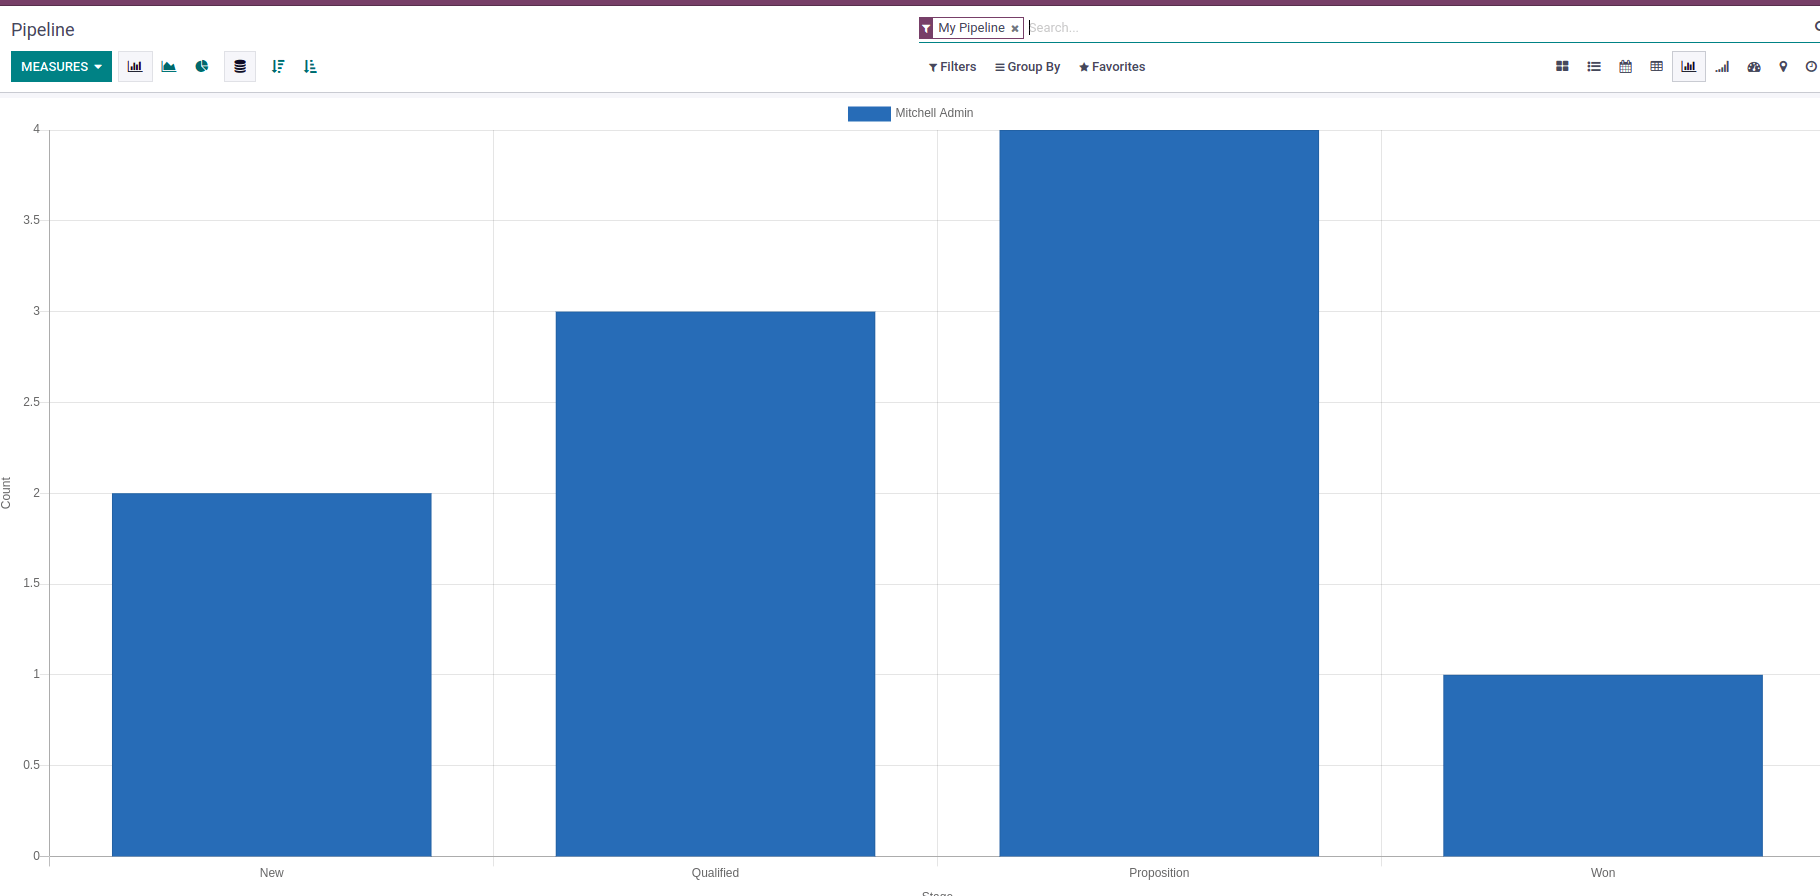
This view shows the graphical representation of records. Different types of graphs are available in Odoo. e.g., pie chart, line chart, bar chart, stacked, ascending Graph: descending.
<record id="view_evaluation_report_graph" model="ir.ui.view">
        <field name="name">hr.holidays.graph</field>
        <field name="model">hr.leave</field>
        <field name="arch" type="xml">
            <graph string="Appraisal Analysis" sample="1">
                <field name="employee_id"/>
                <field name="holiday_status_id"/>
                <field name="date_from"/>
                <field name="number_of_days" type="measure"/>
            </graph>
         </field>
</record>
Map :
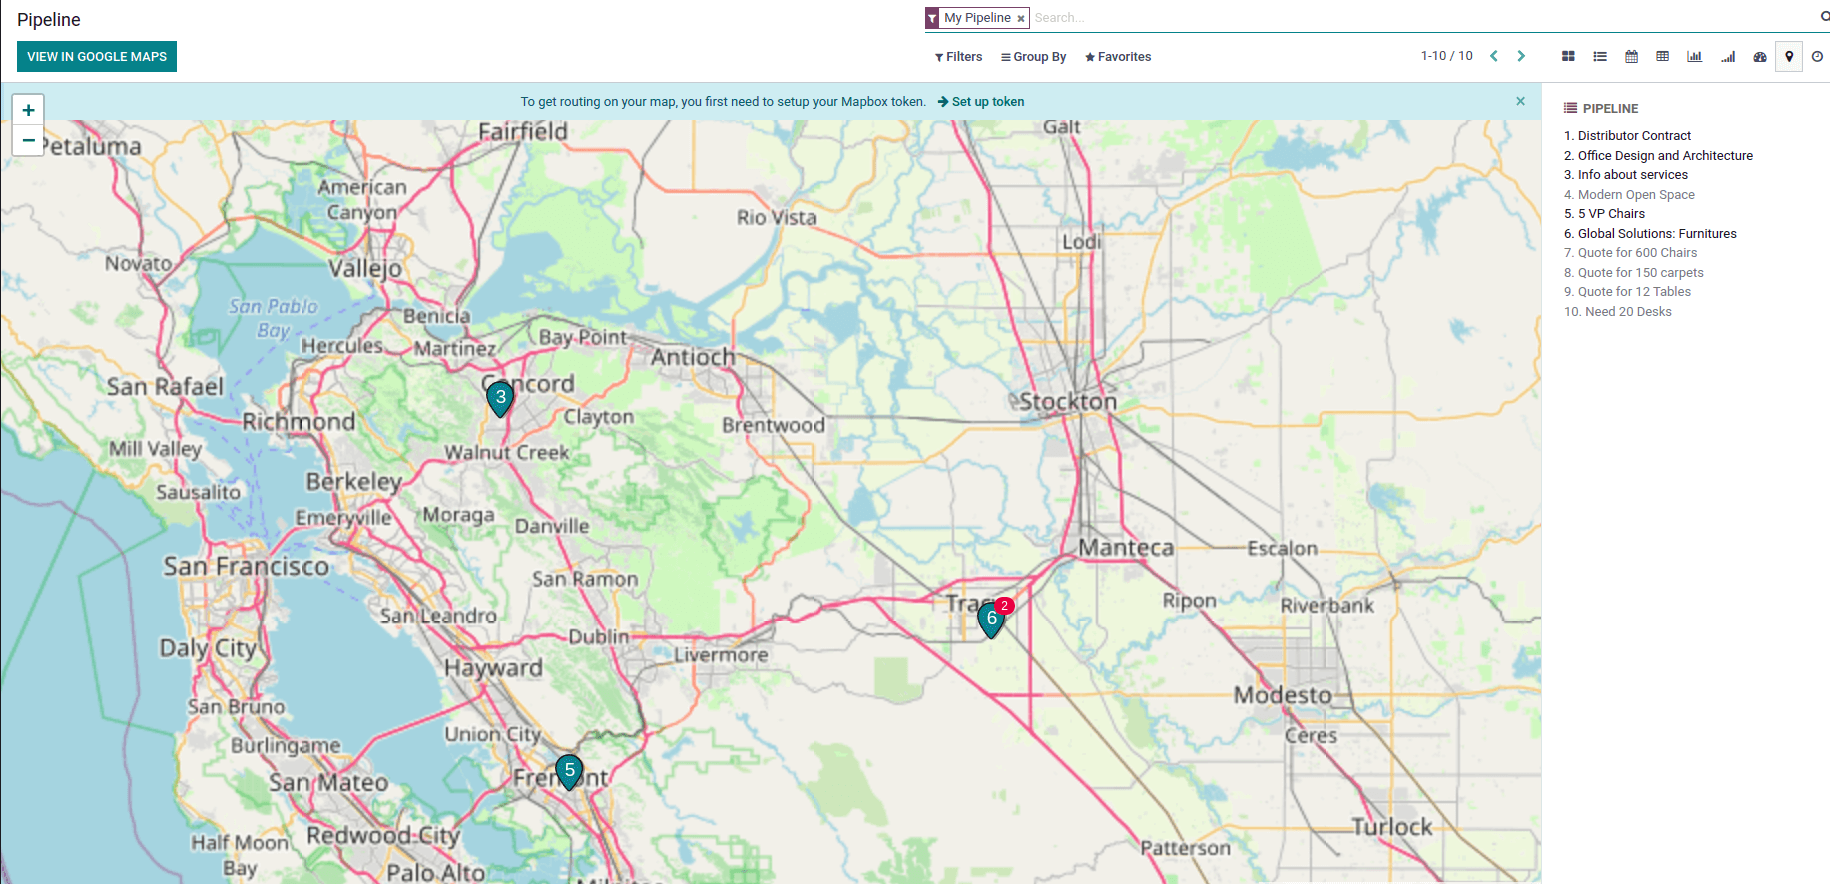
Records are marked based on location fields, marked as pins in map view.
 <record id="crm_lead_view_map" model="ir.ui.view">
       <field name="name">crm.lead.view.map</field>
       <field name="model">crm.lead</field>
       <field name="arch" type="xml">
            <map res_partner="partner_id">
                 <field name="partner_id" string="Customer"/>
            </map>
       </field>
 </record>
Cohort:
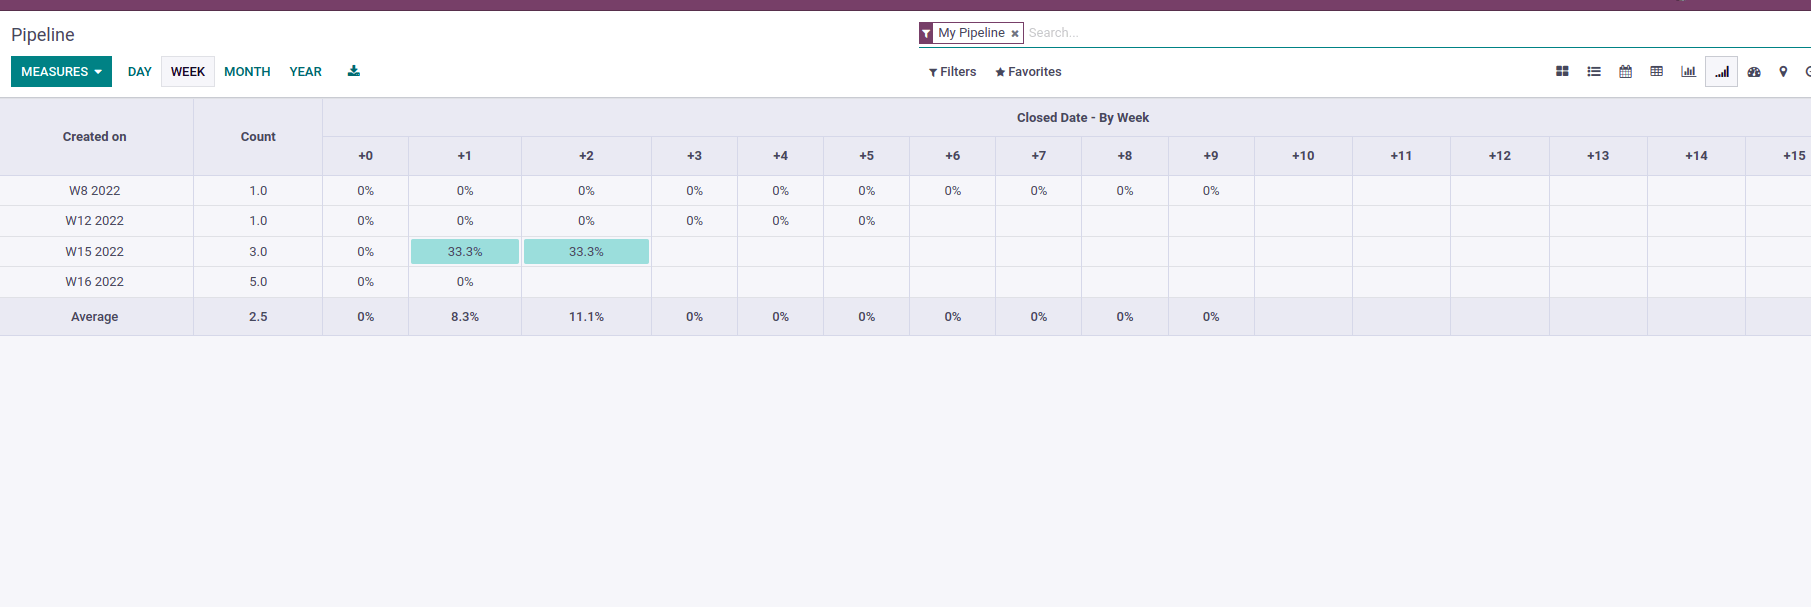
We will get the details of records over a period like we can find the probability of a period.
 <record id="crm_lead_view_cohort" model="ir.ui.view">
        <field name="name">crm.lead.view.cohort</field>
        <field name="model">crm.lead</field>
        <field name="arch" type="xml">
           <cohort string="Opportunities" date_start="create_date"
date_stop="date_closed" interval="week" mode="churn">
                <field name="color" invisible="1"/>
          </cohort>
       </field>
</record>
Dashboard:
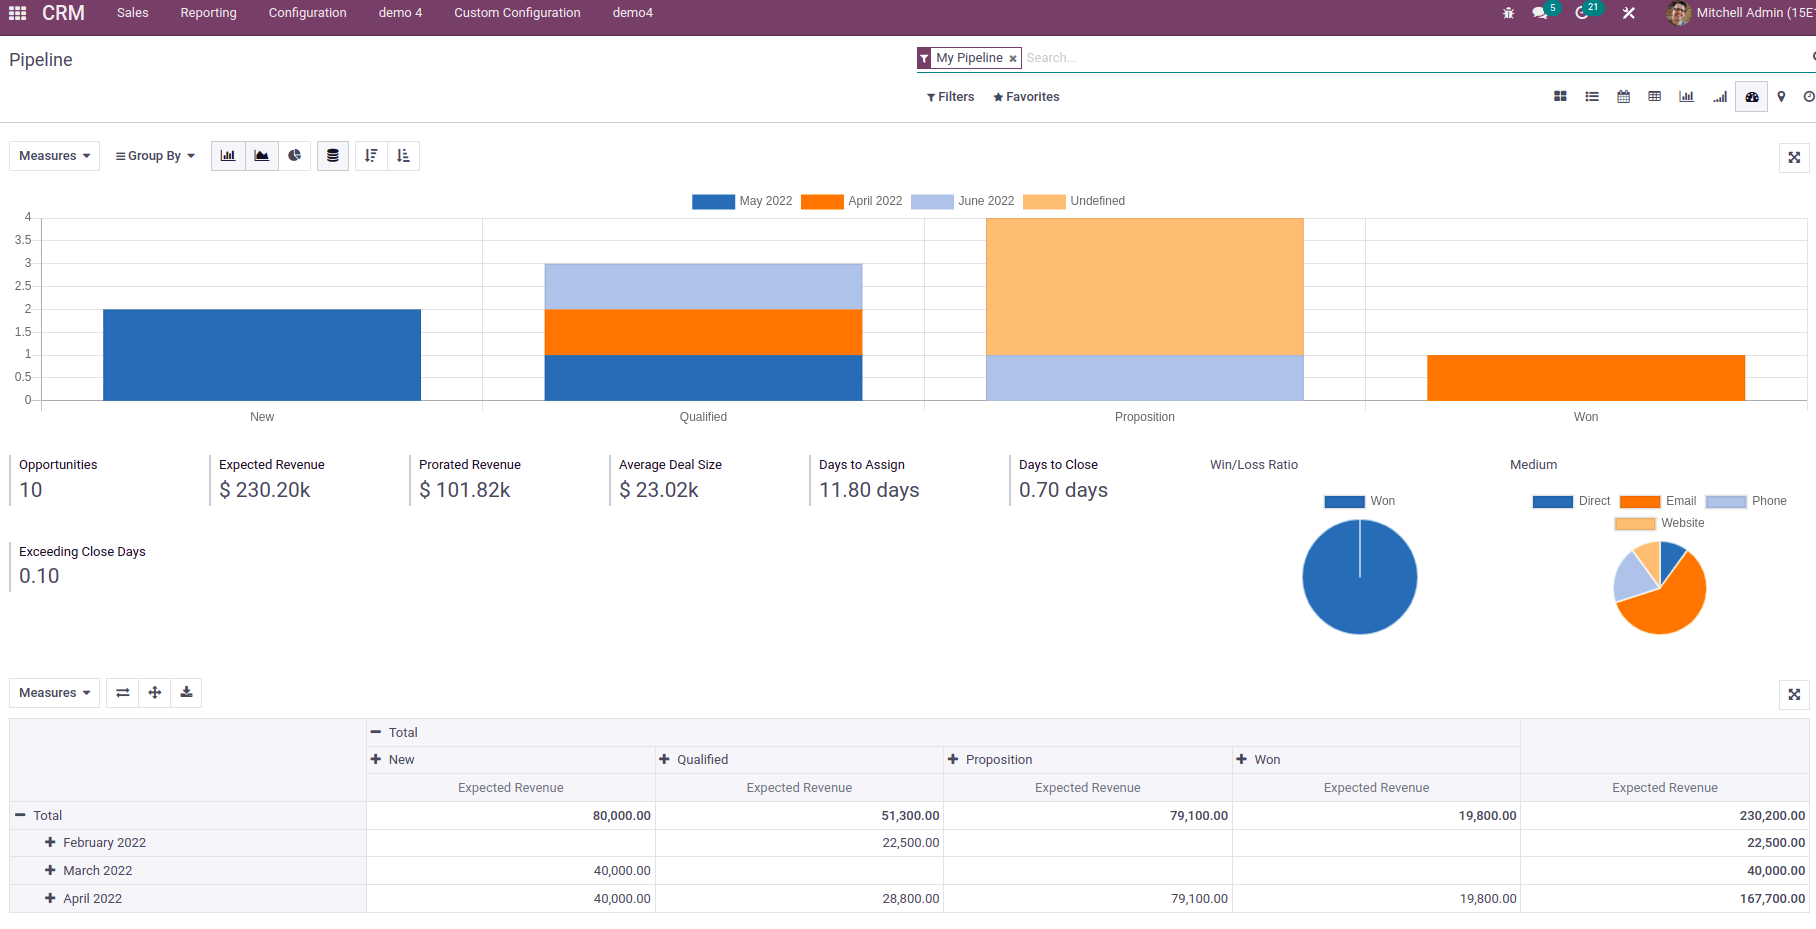
The dashboard is an effective data monitoring tool.
<record id="crm_lead_dashboard_view" model="ir.ui.view">
      <field name="name">crm.lead.view.dashboard.lead</field>
      <field name="model">crm.lead</field>
      <field name="mode">primary</field>
      <field name="arch" type="xml">
          <dashboard sample="1">
              <view
type="graph"ref="crm_enterprise.crm_lead_view_graph"/>
               <group>
                    <group>
                         <aggregate name="leads" string="Leads"
group_operator="count_distinct"
field="id" measure="__count__"/>
                         <aggregate name="days_to_convert"
string="Days To Opportunity"
group_operator="avg" field="days_to_convert"/>
                         <aggregate name="days_to_assign" string="Days
to Assign" field="day_open" group_operator="avg" value_label="days"/>
                         <formula name="opportunity_percent" string="%
Opportunities"value="record.opportunities / record.leads" widget="percentage"/>
   <aggregate name="expected_revenue"
string="Expected Revenue" f
field="expected_revenue group_operator="sum"
 widget="monetary"/>
</group>
                </group>
          		<view type="pivot”
ref="crm_enterprise.crm_lead_view_pivot"/>
    		</dashboard>
 	</field>
</record>
Inheritance view:
If you want to add a new field or button to an existing model, you can use the inheritance view. We can override the current view and create a new view if possible. We can use it in addons or custom apps. When you inherit the existing view, you must add the existing view ID as inherit_id. We can inherit any type of view, and we have to add the path for adding new fields.
<record id="view_crm_meeting_search" model="ir.ui.view">
        <field name="name">calendar.event.form.inherit</field>
        <field name="model">calendar.event</field>
        <field name="inherit_id"
ref="calendar.view_calendar_event_search"/>
        <field name="arch" type="xml">
            <xpath expr="//field[@name='description']"
position="after">
                <field name="opportunity_id"/>
            </xpath>
        </field>
    </record>
This is the basic structure of inherited XML code. Here you can see the XPath depends on the field. You can add inside of buttons status based on the requirement.
<xpath expr="//div[hasclass('settings')]" position="inside">
<xpath expr="//button[@name='%(base.res_lang_act_window)d']"
position="attributes">
<xpath expr="//filter[@name='activities_today']" position="replace">
Here we can add different types of positions also possible.
position=”after” :To display field after parent form view mentioned in “expr”
position=”before” :To display field before parent form view mentioned in “expr”
position=”inside” :To display field inside notebook of parent form view”
position=”attributes” :To change field attributes such as read-only and visibility of a field
position=”replace” :To replace the parent form view field with your newly created field


