The project management module in Odoo helps to handle all developments in the project scenario. It may be accomplished step by step, like adding tasks, sub-tasks, etc. So along with managing those improvements of the project, invoicing the project is an important thing that will help to club all the expenses together.
In this blog let’s discuss the invoicing of a project in Odoo 13.
Mainly there are three types of invoicing policy mentioned under the Project module – Ordered quantities, Timesheets on tasks and Milestones ( manually set quantities on order ).
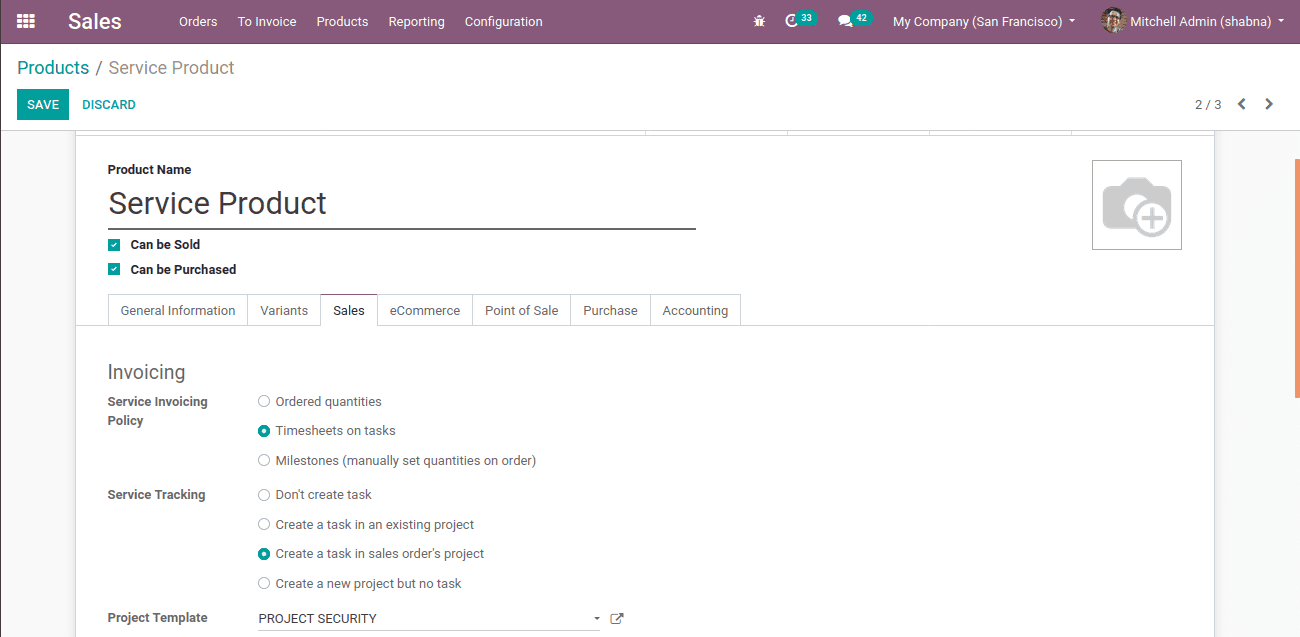
Suppose you are creating a service product in the sales module, Select product type as Service.
Under the General Information tab. Also in the sales tab, you can see different Service invoicing policies.
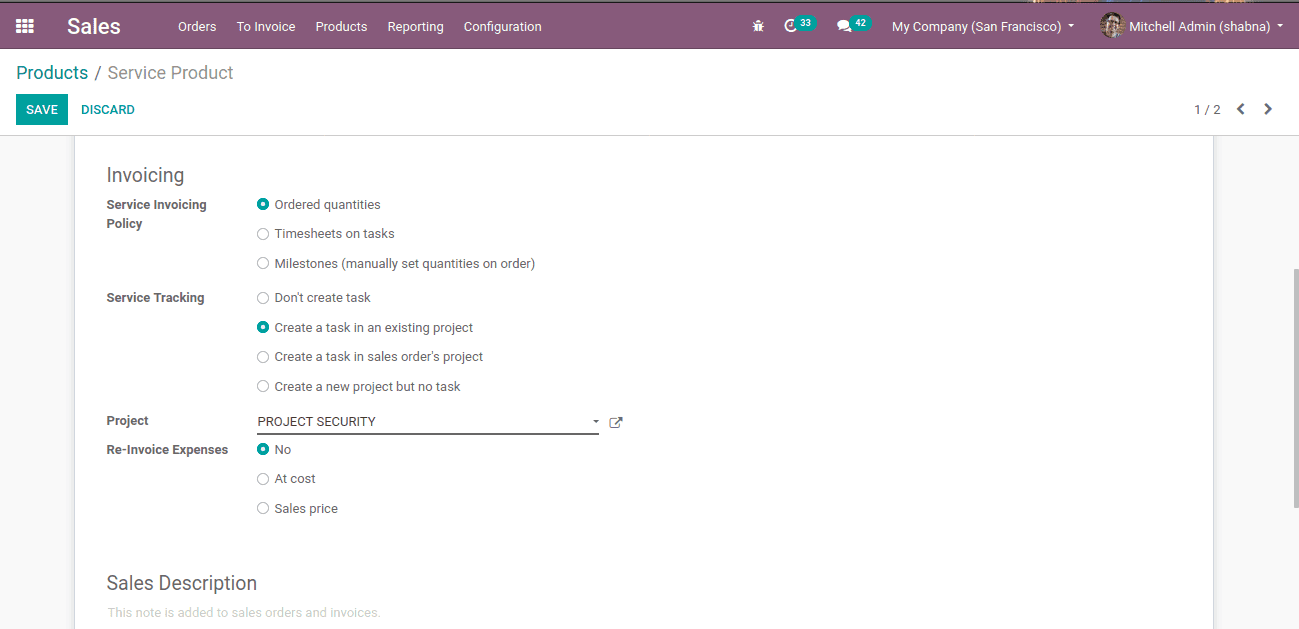
Have a look at each of the service invoicing policies.
1. Ordered Quantities
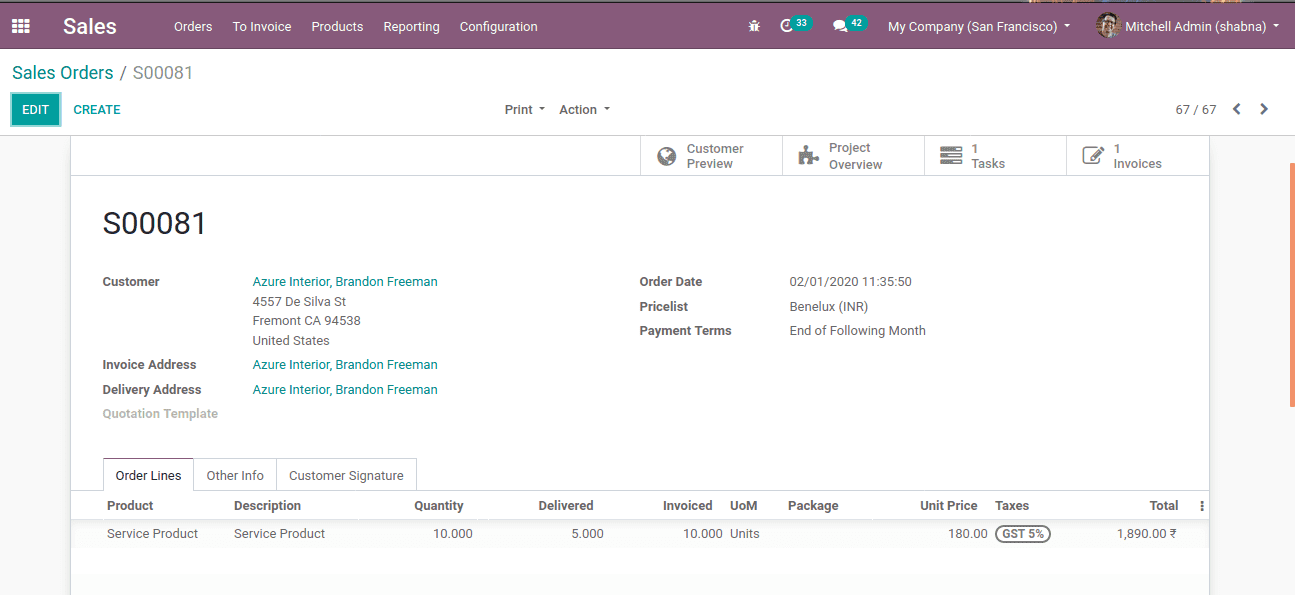
The invoicing policy ‘Ordered quantities’ is selected while creating a service product, then invoice generated will be on the basis of ordered quantity, no matter how much delivered. Suppose the order is 10 units of the product and delivered only 5 quantities, the invoice will generate for 10 units of the product itself.
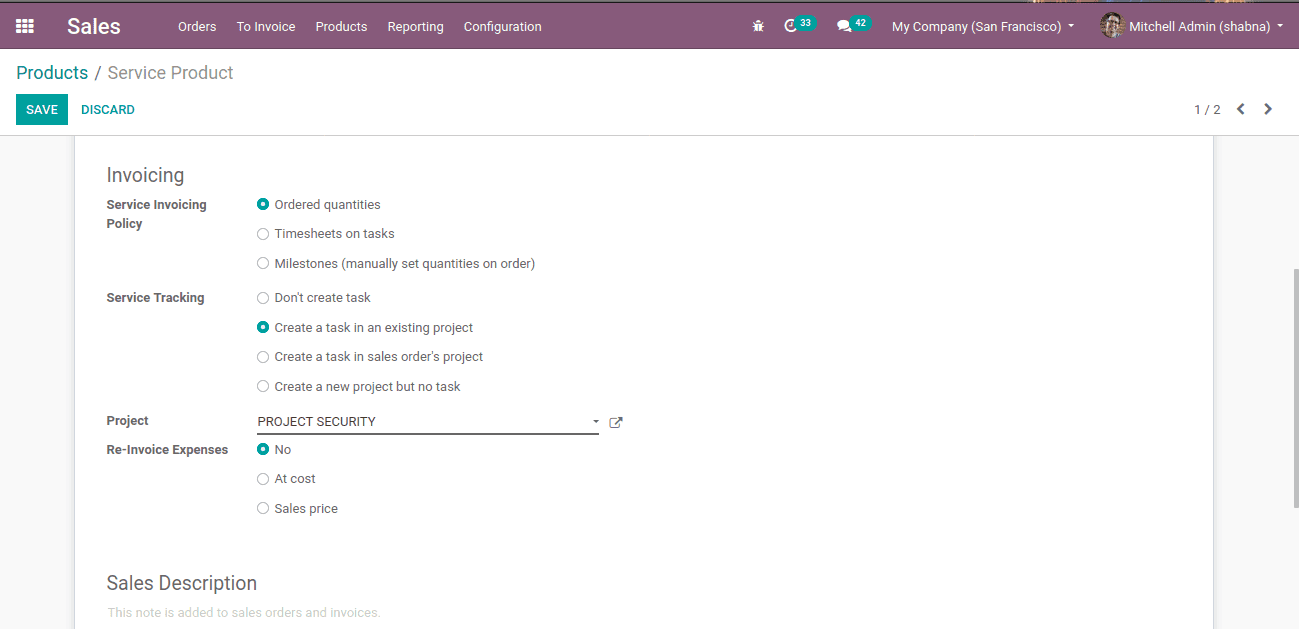
Before creating sale order one must set service invoicing policy as ordered quantity in the product, Products -> sales tab -> service invoicing policy-ordered quantities.
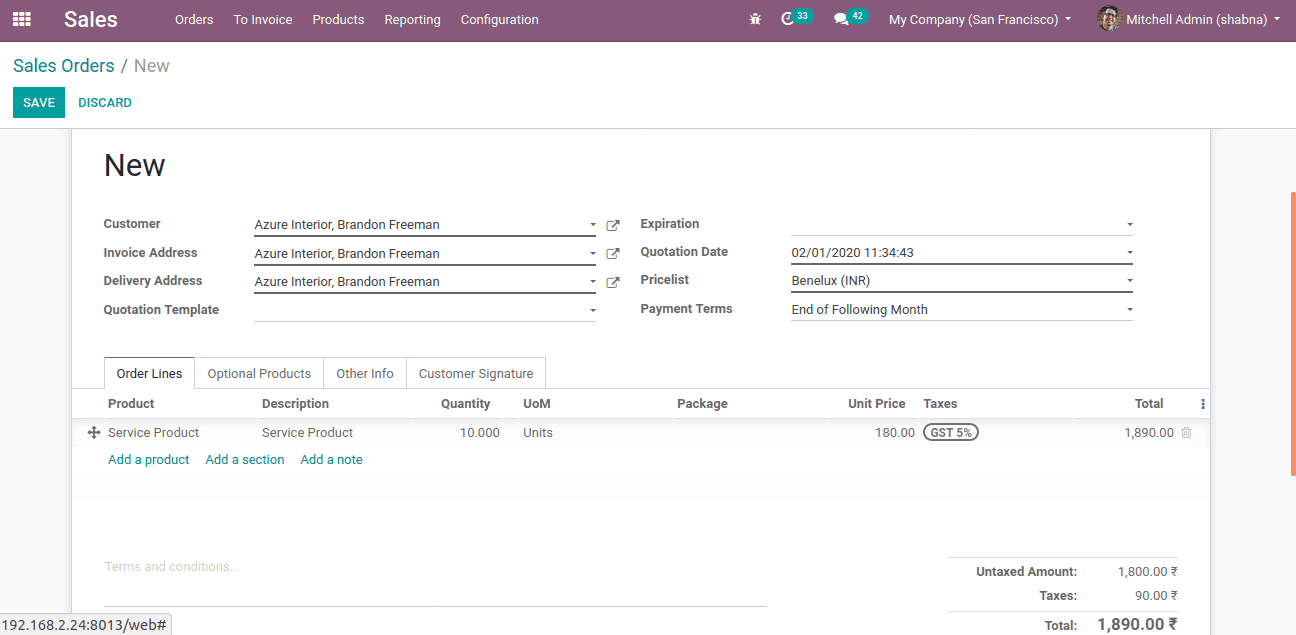
Now create a sales order of 10 units for this service product and confirm.
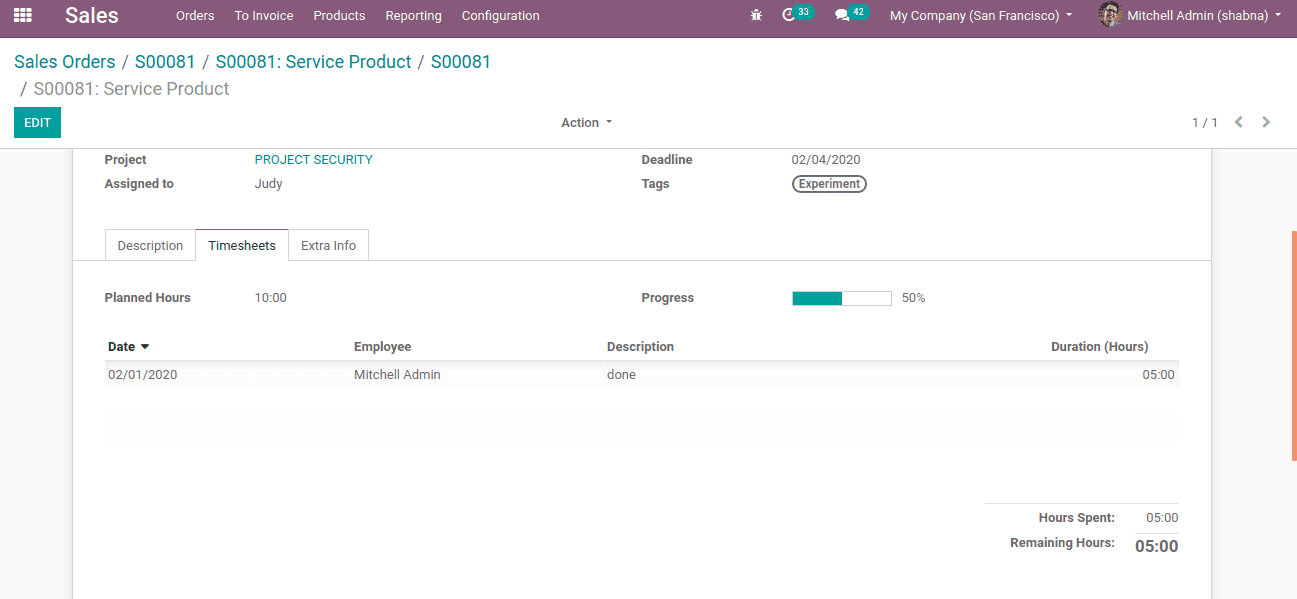
Change the timesheet cost as 5, hence the delivered quantity changes to 5 units.
Now create the invoice, it will create an invoice for 10 quantities itself even though only 5 is delivered.
2.Timesheet on Tasks
Different employees are assigned to each of the projects as every project may have multiple tasks. In the invoicing policy ‘Timesheets on Tasks’, the invoice will generate on the basis of timesheet costs of individual employees. Each employee’s timesheets cost is different. So, this helps to invoice the exact working hours of the employees on a project.
In order to create an invoice, based on the timesheet, select-Timesheets on Tasks in the ‘Service invoicing Policy’ tab.
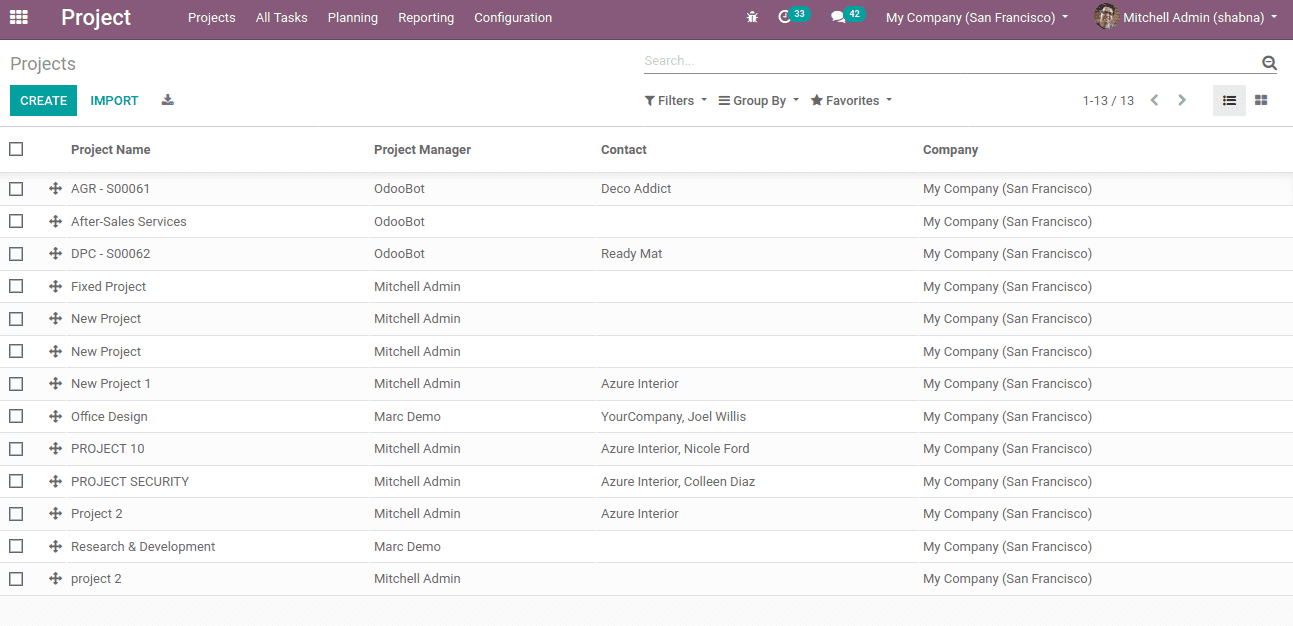
One can see all projects, the project manager of each project along with valid contact under, configuration -> projects.
Click CREATE after opening the project for generating sales orders. Add the project name, project manager, customer, visibility and the company. When saving you can see the ‘sub-task project’ as the project name itself. Visibility refers to how many employees or users can see or work on the project. It can be selected depending on the need. Thus a project is created with a given name.
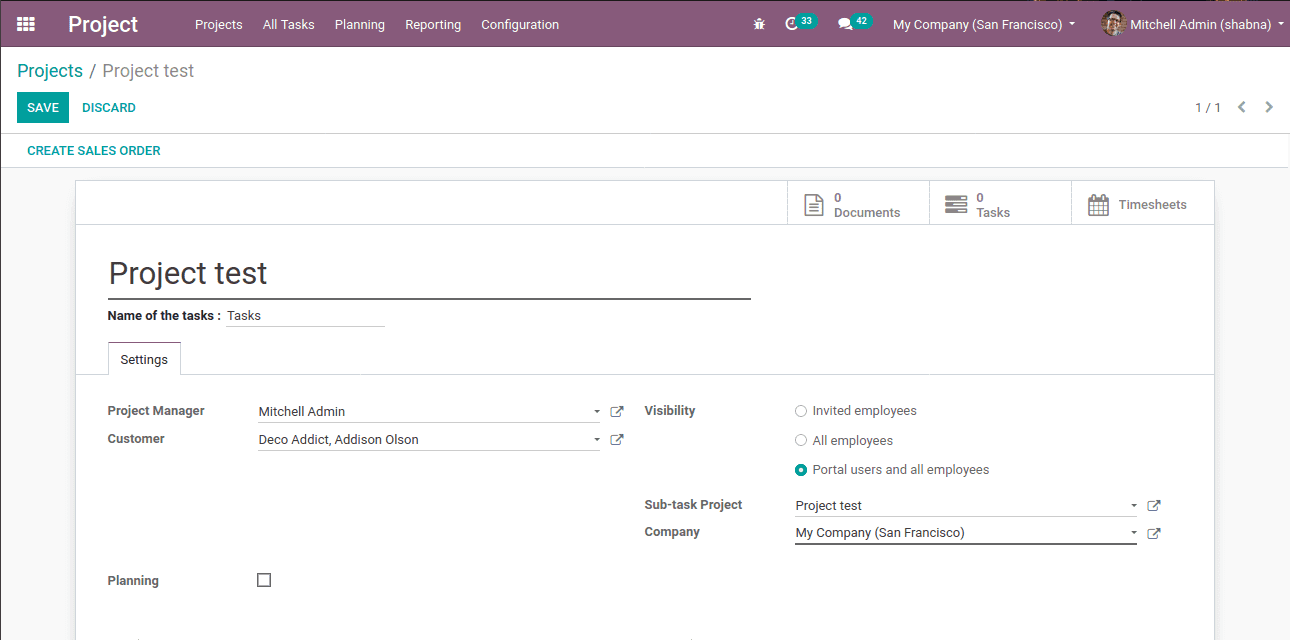
A button for creating sales orders has now appeared. Click on that, now another pop-up window opens for creating sales orders as shown below.
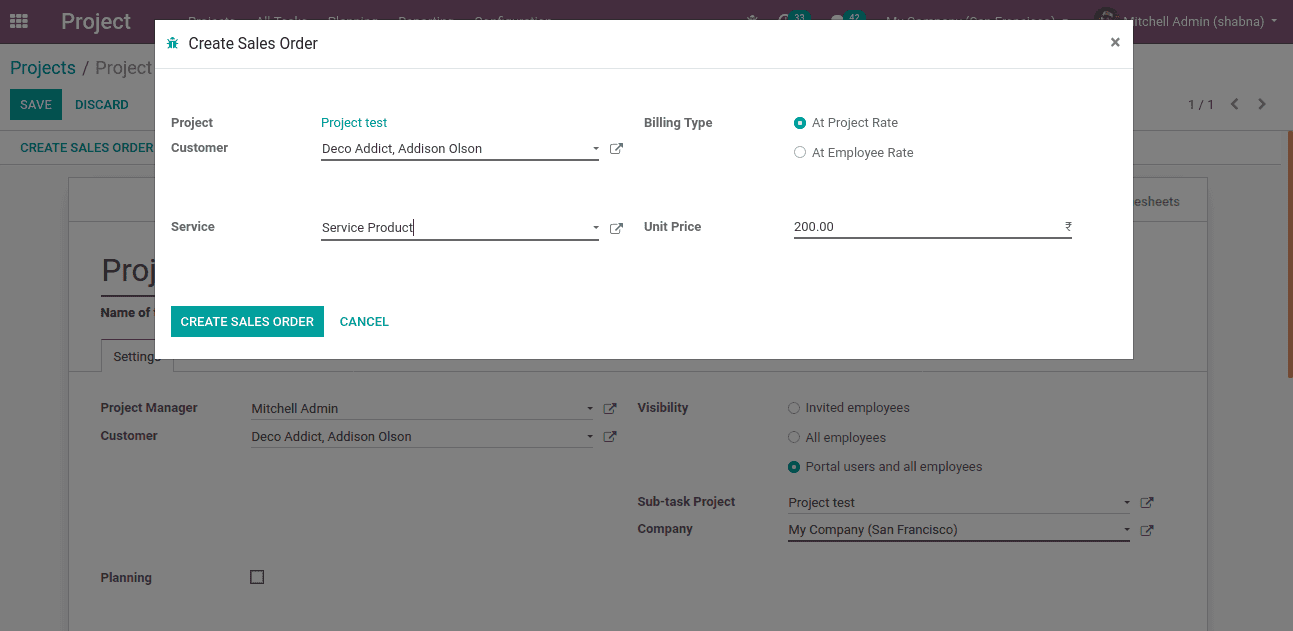
Here one can select the service, unit price, and billing type. By default there are two billing types:
At Project Rate: Under the project rate, the cost would be the project’s fixed amount.
At Employee Rate: Bills are calculated on the basis of timesheet cost of employees.
Now the timesheet updated for 2 hours.
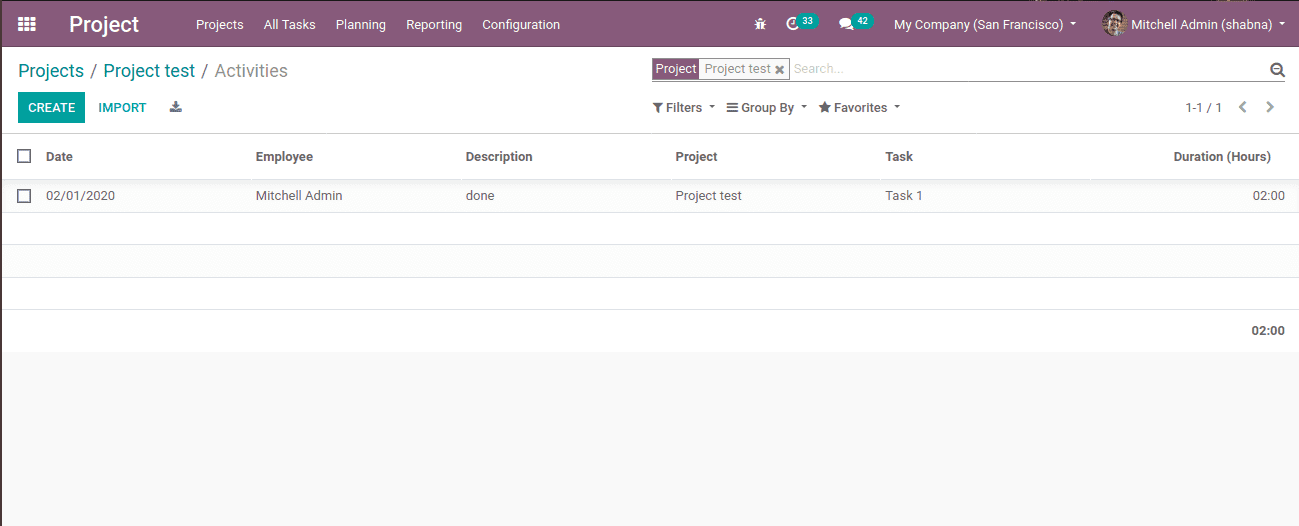
Thus the invoice generated for a delivered quantity of 2 hours.
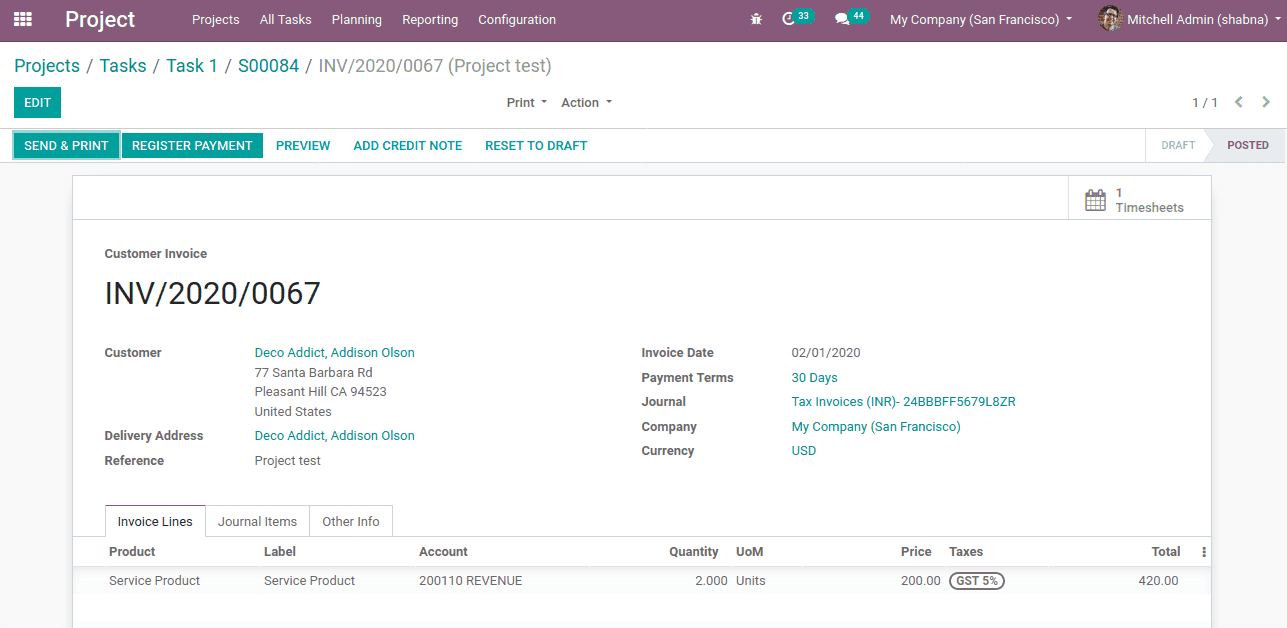
That the invoice generated is on the basis of the working hours of the employee with unit price. One can add more products according to the need.
3. Based on Milestones
Under this invoicing policy, invoicing for the project can be done for the delivered quantity or for the different completed stages. If a project has multiple stages like stage one for requirement analysis, stage two for design and stage three for testing. Upon the completion of each stage, the option for milestone service invoicing policy. So individual stages can be invoiced.
For that, create a service product with invoicing policy based on milestones.
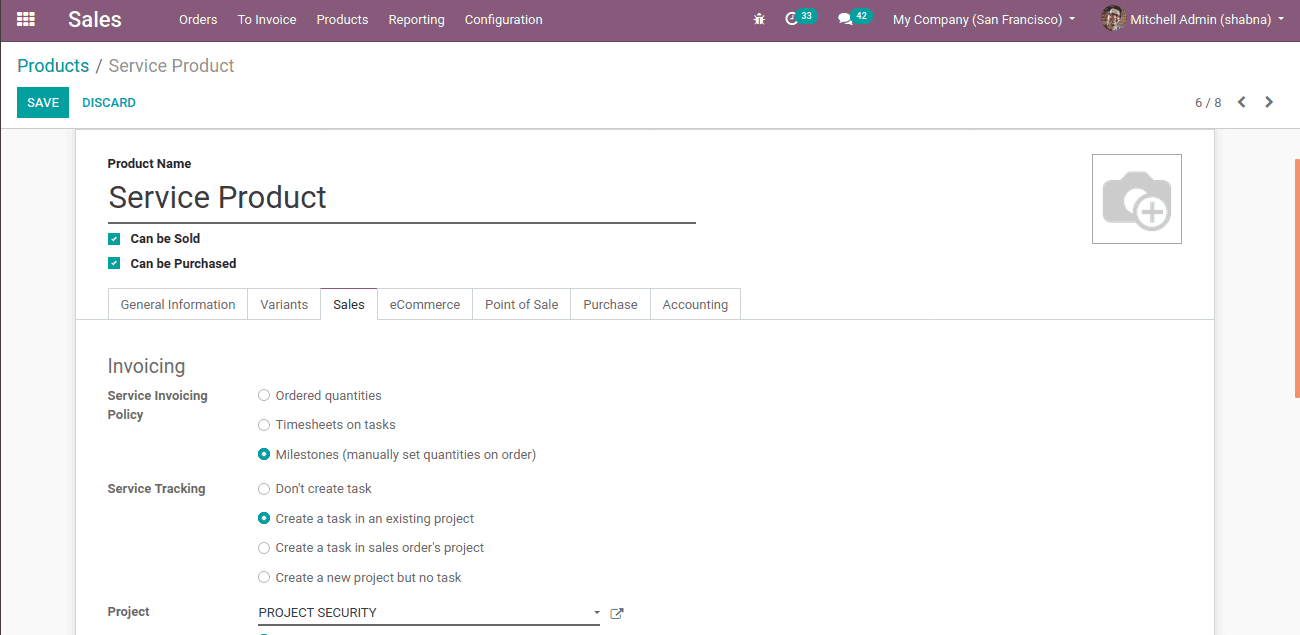
The delivered quantity can be changed to 5 units while creating a sale order.
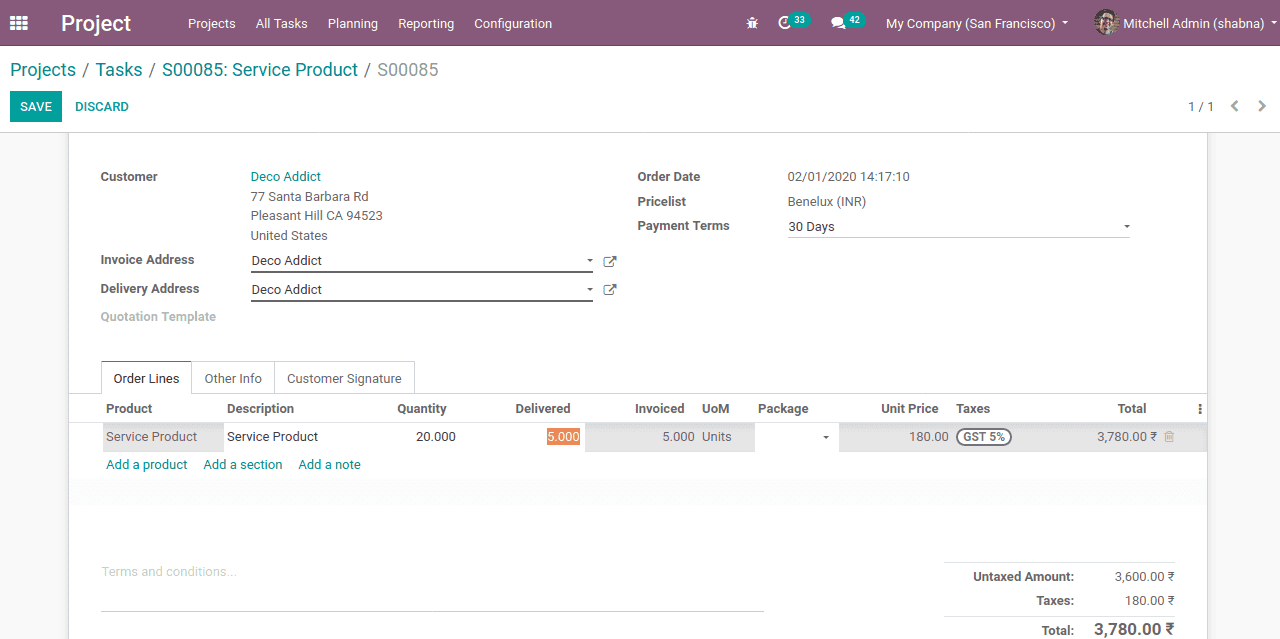
After saving the sales order, generate an invoice. Upon validating you can find the invoice generated for the manually entered quantity ( delivered quantity ).
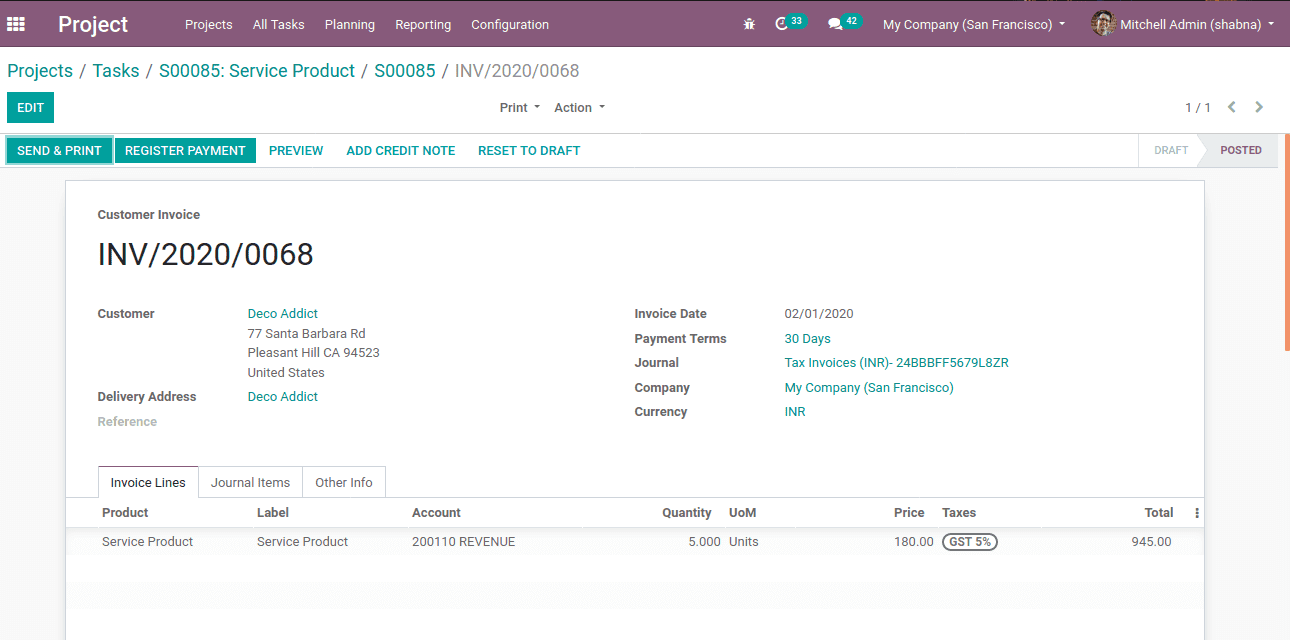
One can find the invoice summary like the product, delivered quantity, amount of delivered quantity, etc and button to validate and register payment.


