The growth and profit of a business rely on customers, and they are of primary importance to a firm. Customer requirements and their deals with your company boost the business. The management works flexibly for company operations to meet customer satisfaction with products or services. One example is delivering customer products in a correct location within an accurate time. Most customers demand product delivery in a remote location far from the company. To meet customers’ demands, business organizations partner up with courier services to receive products for individuals. Sometimes, it isn’t easy to handle different customer addresses simultaneously. We can solve the multiple address management issue with the help of Odoo 15.
This blog gives an overview of managing different addresses to a customer in Odoo 15.
We can easily configure multiple address operations for product delivery using Odoo 15 Sales module. Users can efficiently formulate orders and quotations for customer products with the Odoo database. Now, let’s see how we can manage different customer addresses in Odoo 15.
To Activate Customer Addresses in Odoo 15
Users need to enable customer addresses from the Settings window of the Odoo 15 Sales module. Choose the Settings menu in the Configuration tab, and you can view the Quotations & Orders section. Activate the Customer Addresses field inside the Quotations & Orders section, as shown below.
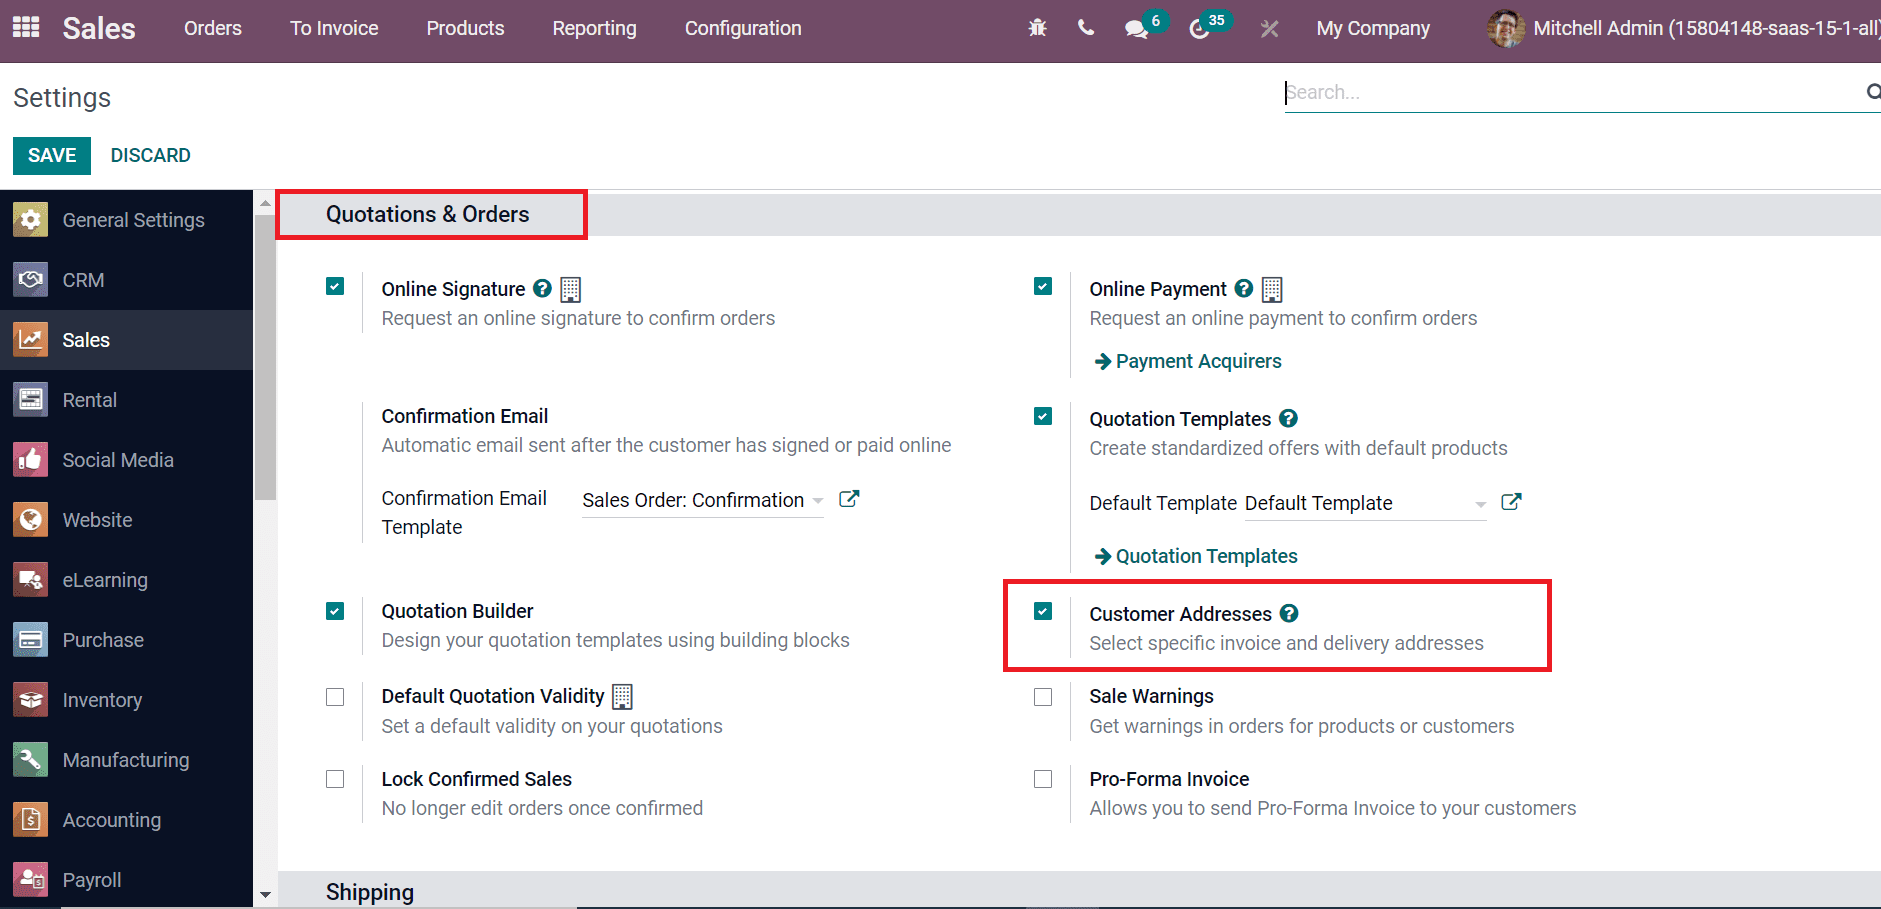
After saving the changes, we can move to the Customer’s window to develop new data. Choose the Customers menu in the Orders tab, and all created customer lists are visible here, as in the screenshot below.
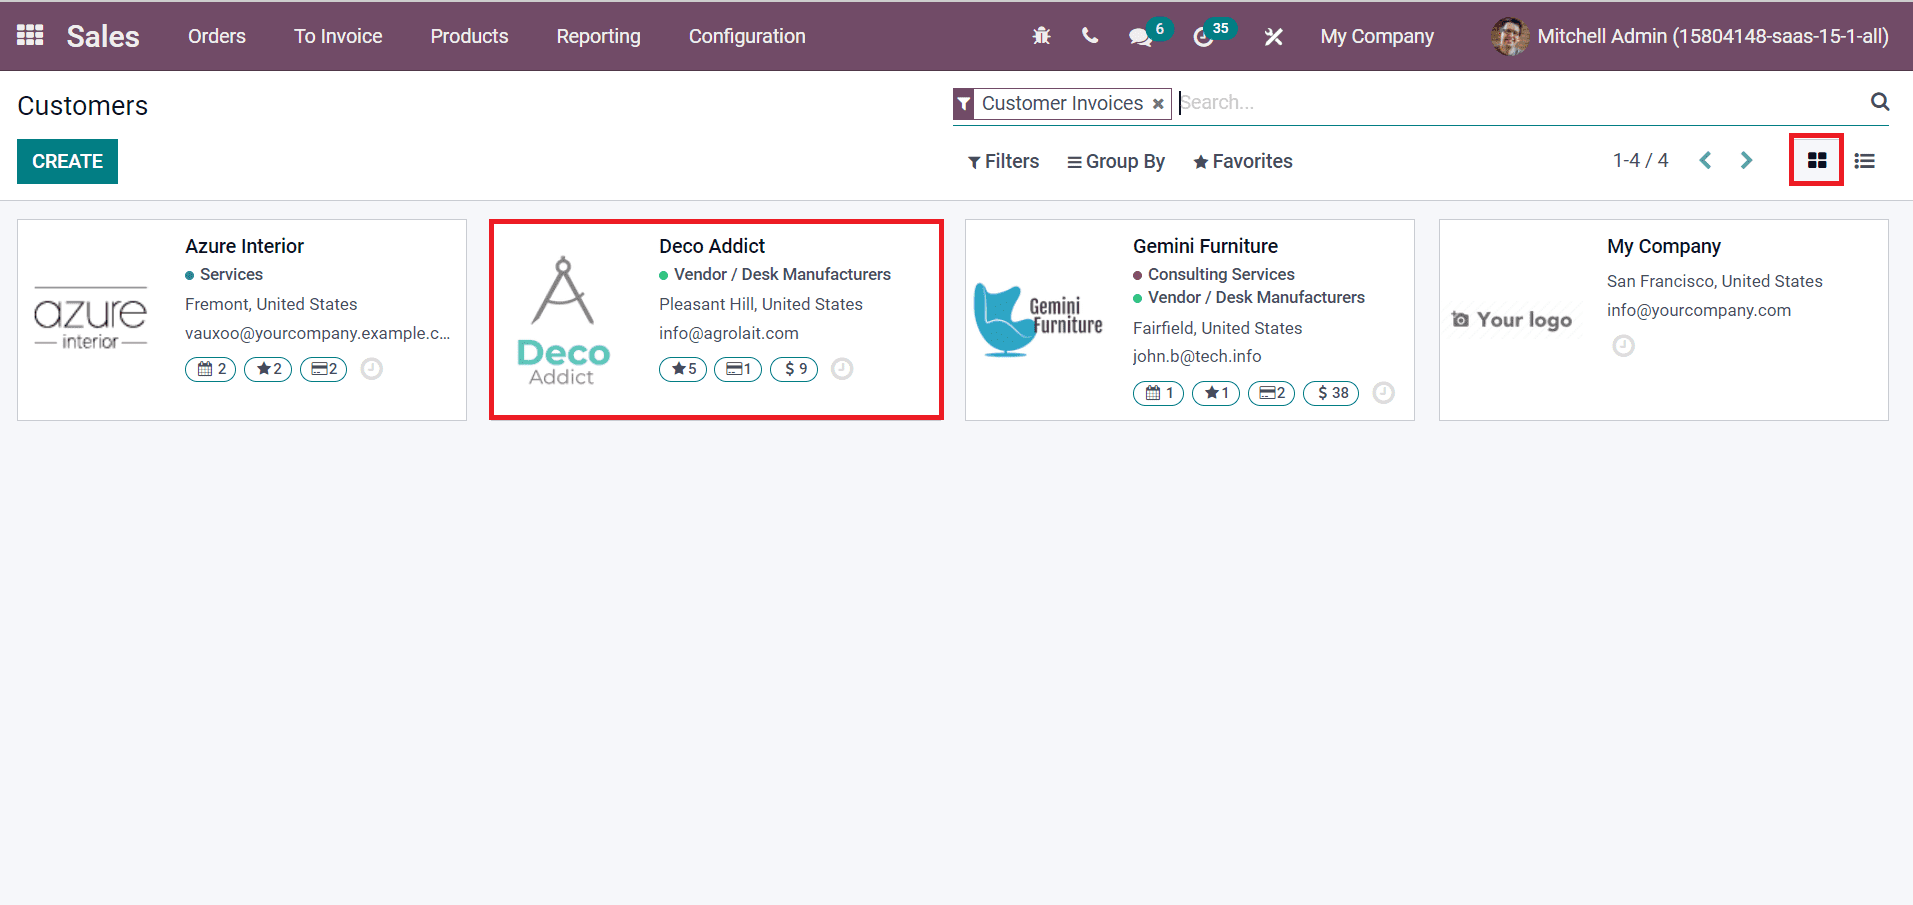
In the Kanban view, you can view customer name, address, number of opportunities, sales, company logo, and more, as in the above screenshot. List view of Customers window denotes Name, Email, City, Phone, Country, Salesperson, and other data of each Customer as in the screenshot below.
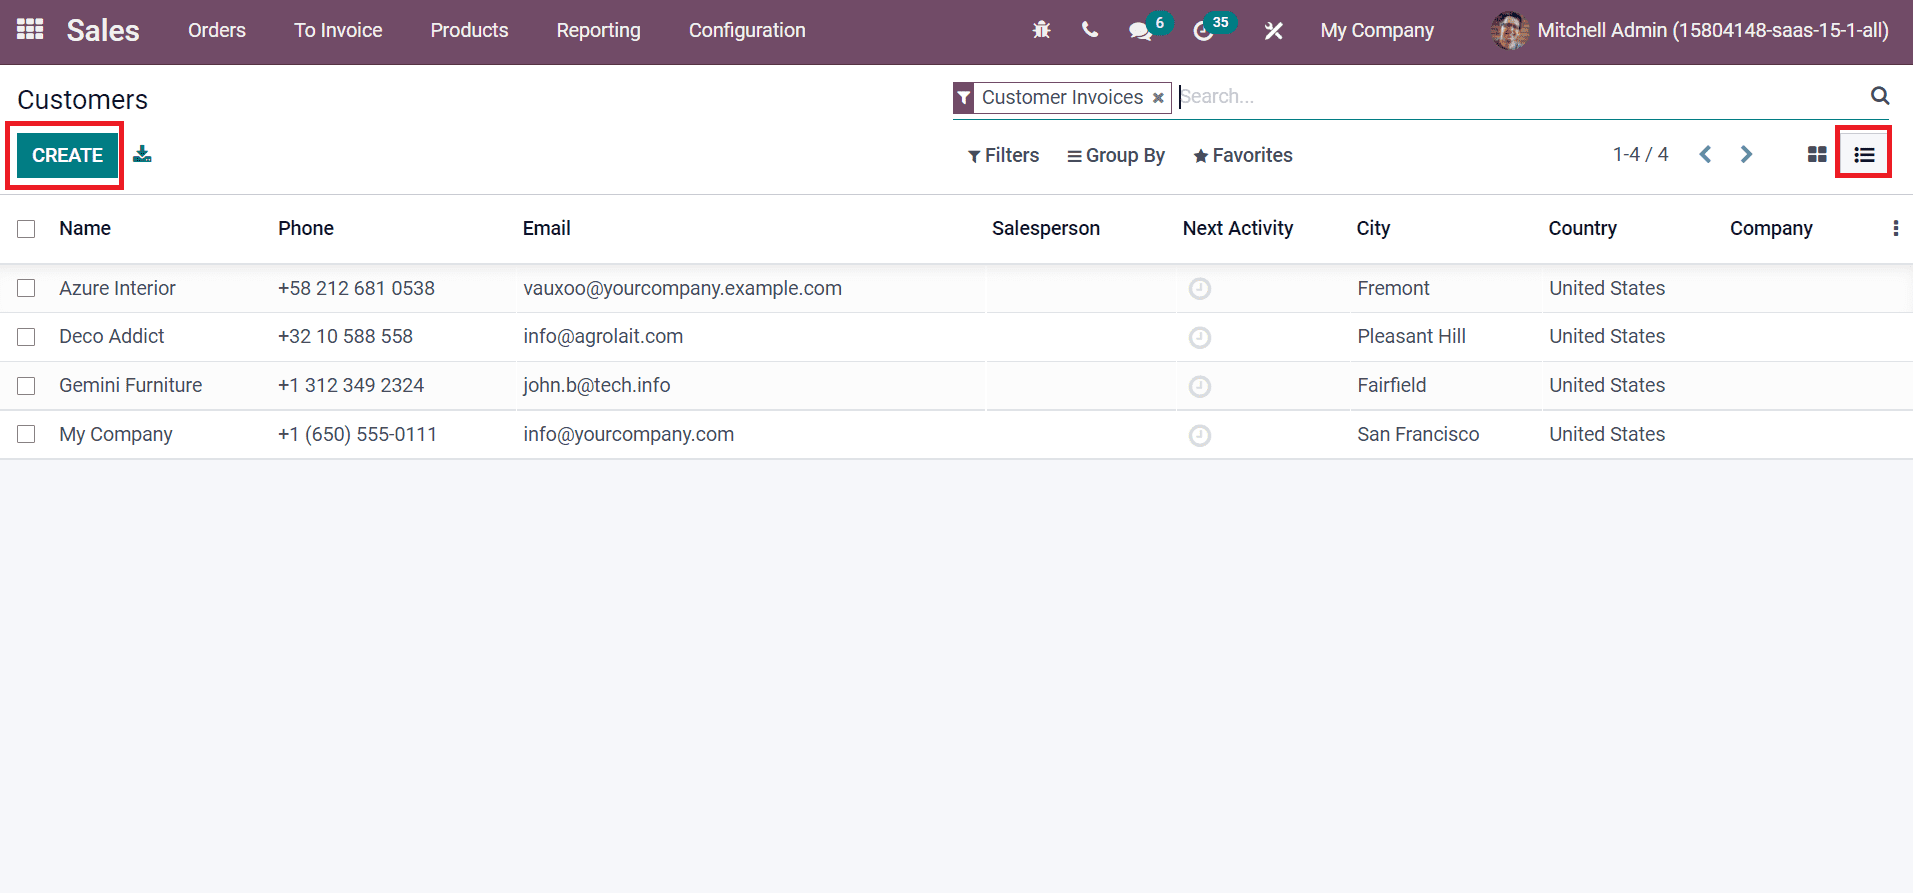
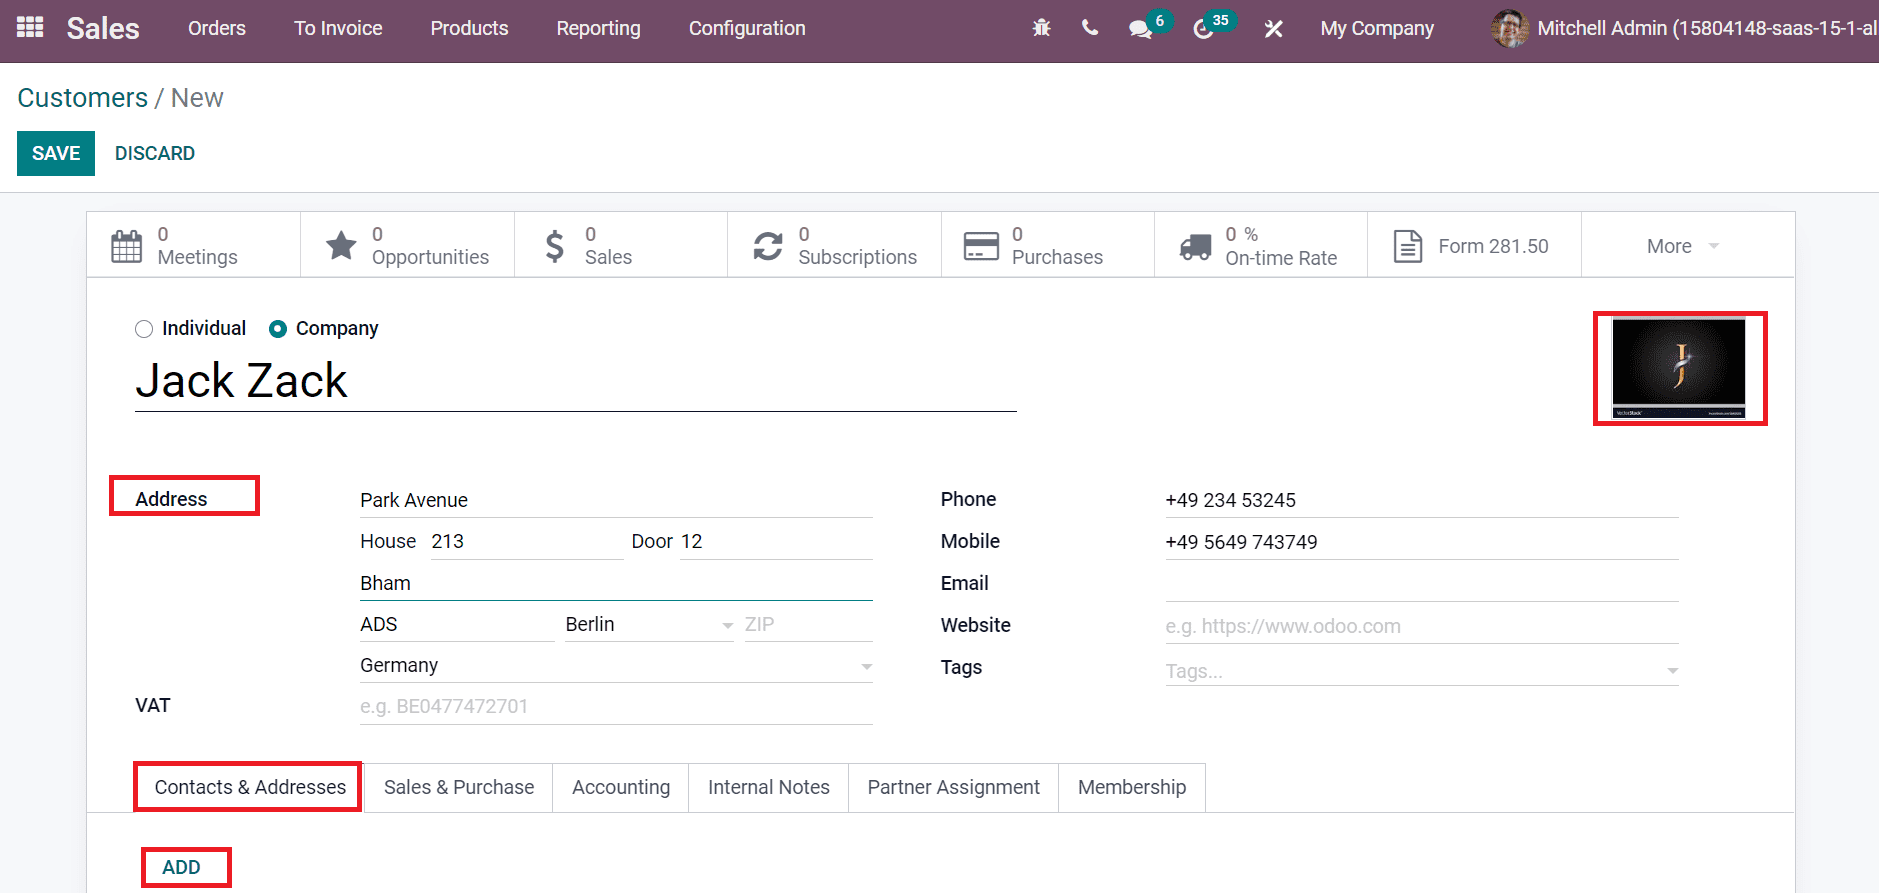
Select the CREATE icon to formulate new customer details. In the new window, add the customer name, company city, state, country, and more inside the Address field as portrayed in the screenshot below.
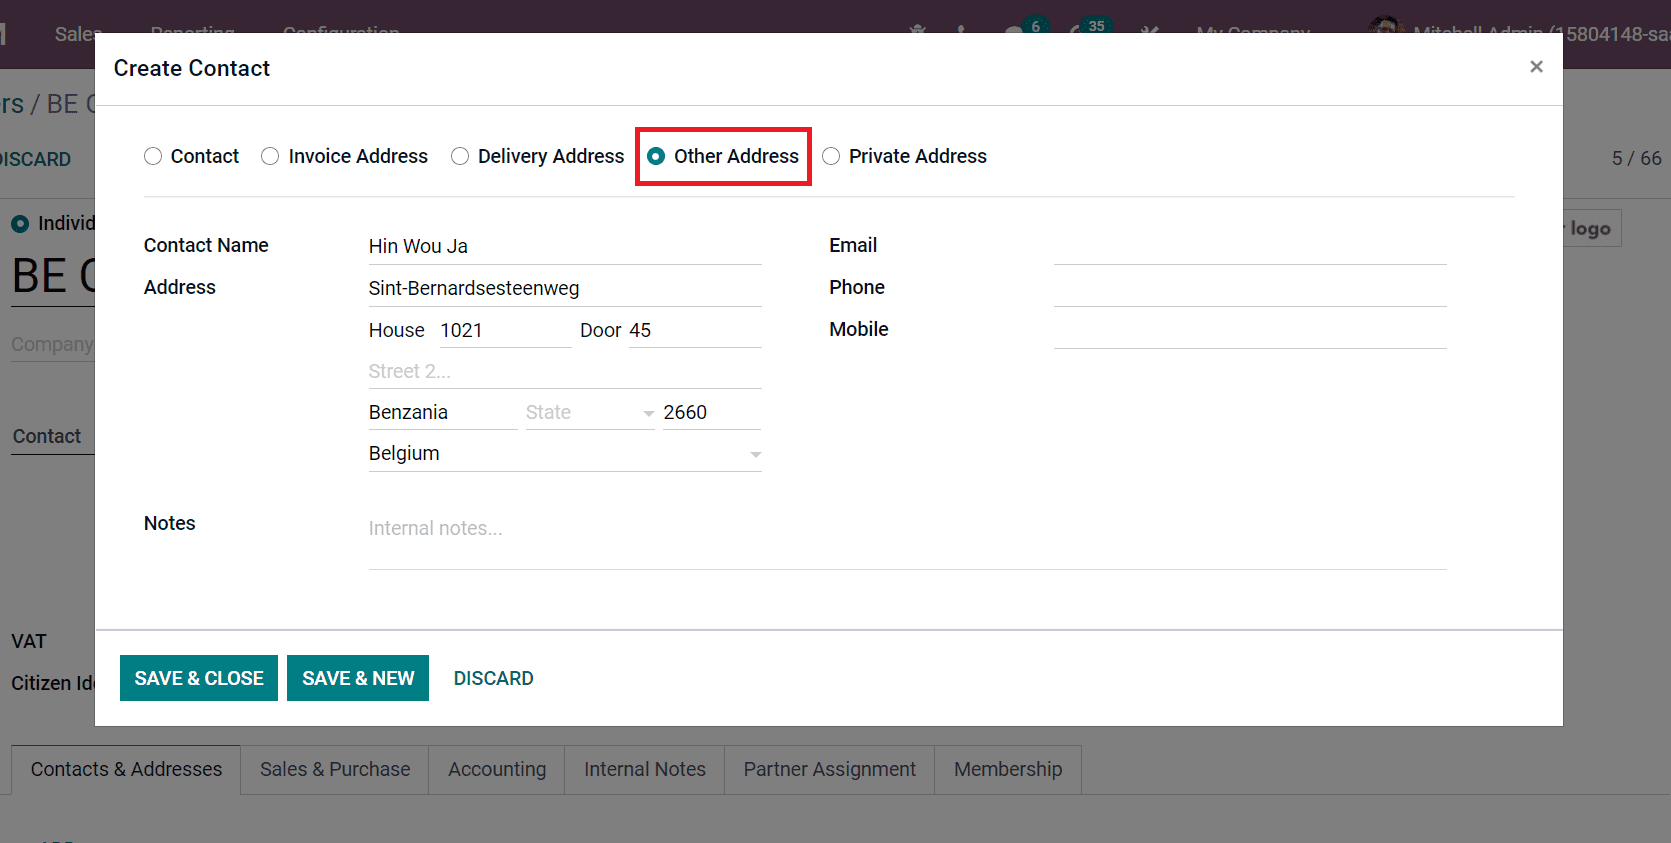
Users can set the address type as Contact, Delivery Address, Private Address, Invoice Address, and Other Address. We can use Invoices and Delivery Addresses for Sales orders. Authorized users can see private addresses. We set the Address Type as Other Address, as illustarted in the screenshot below.
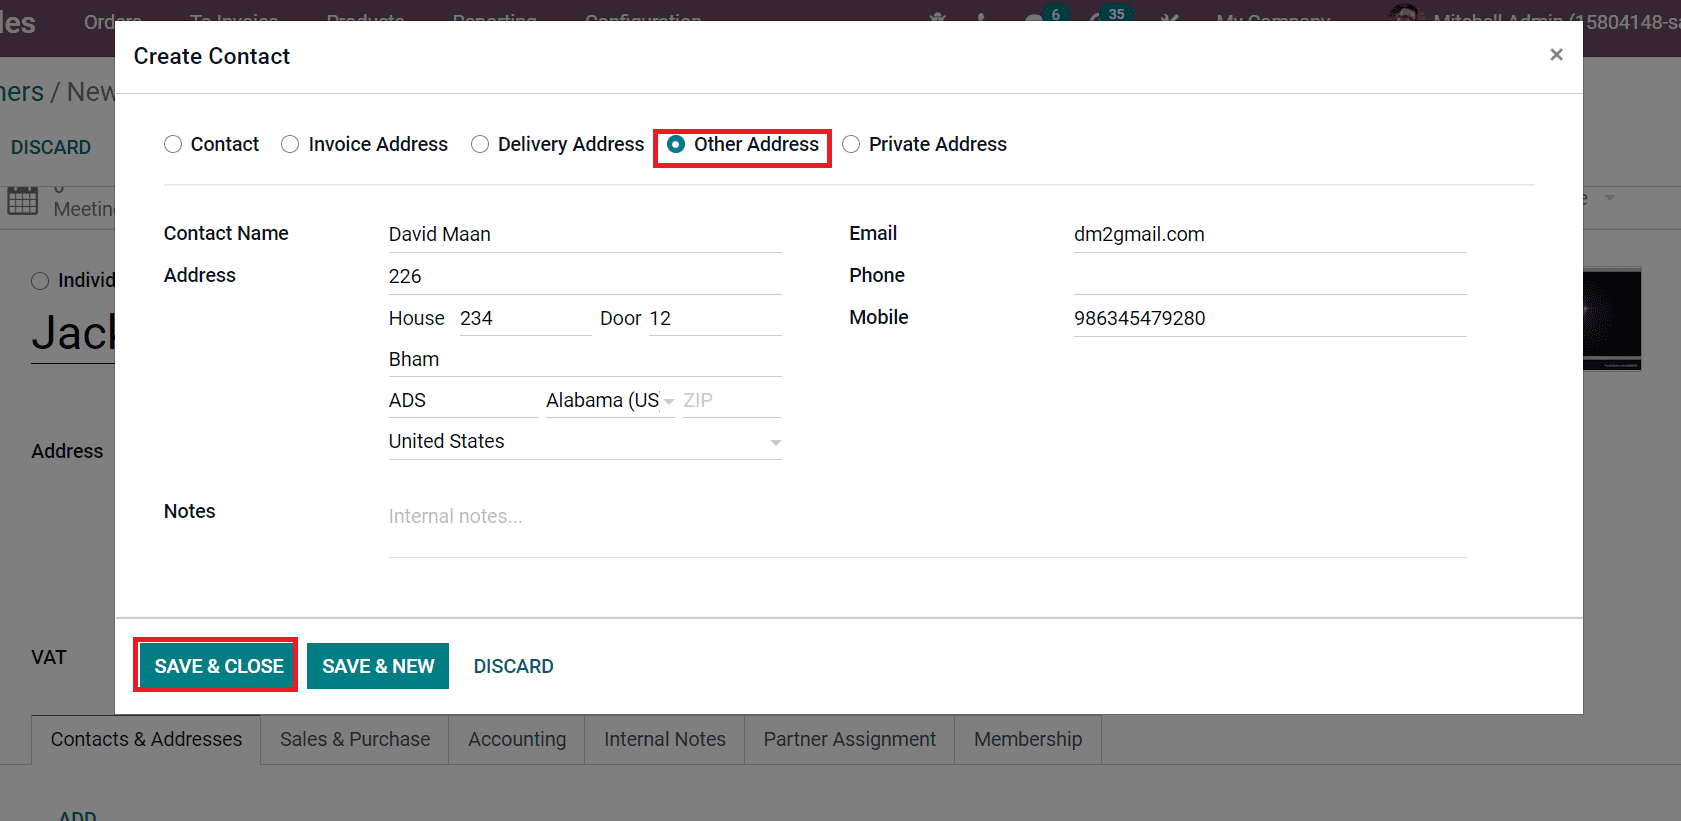
You can add Contact Name, Email, Mobile, Address, and internal notes inside the Notes field. After applying all details, select SAVE & CLOSE icon as in the screenshot above. We can see the created address inside Contacts & Addresses tab, as portrayed in the screenshot below.
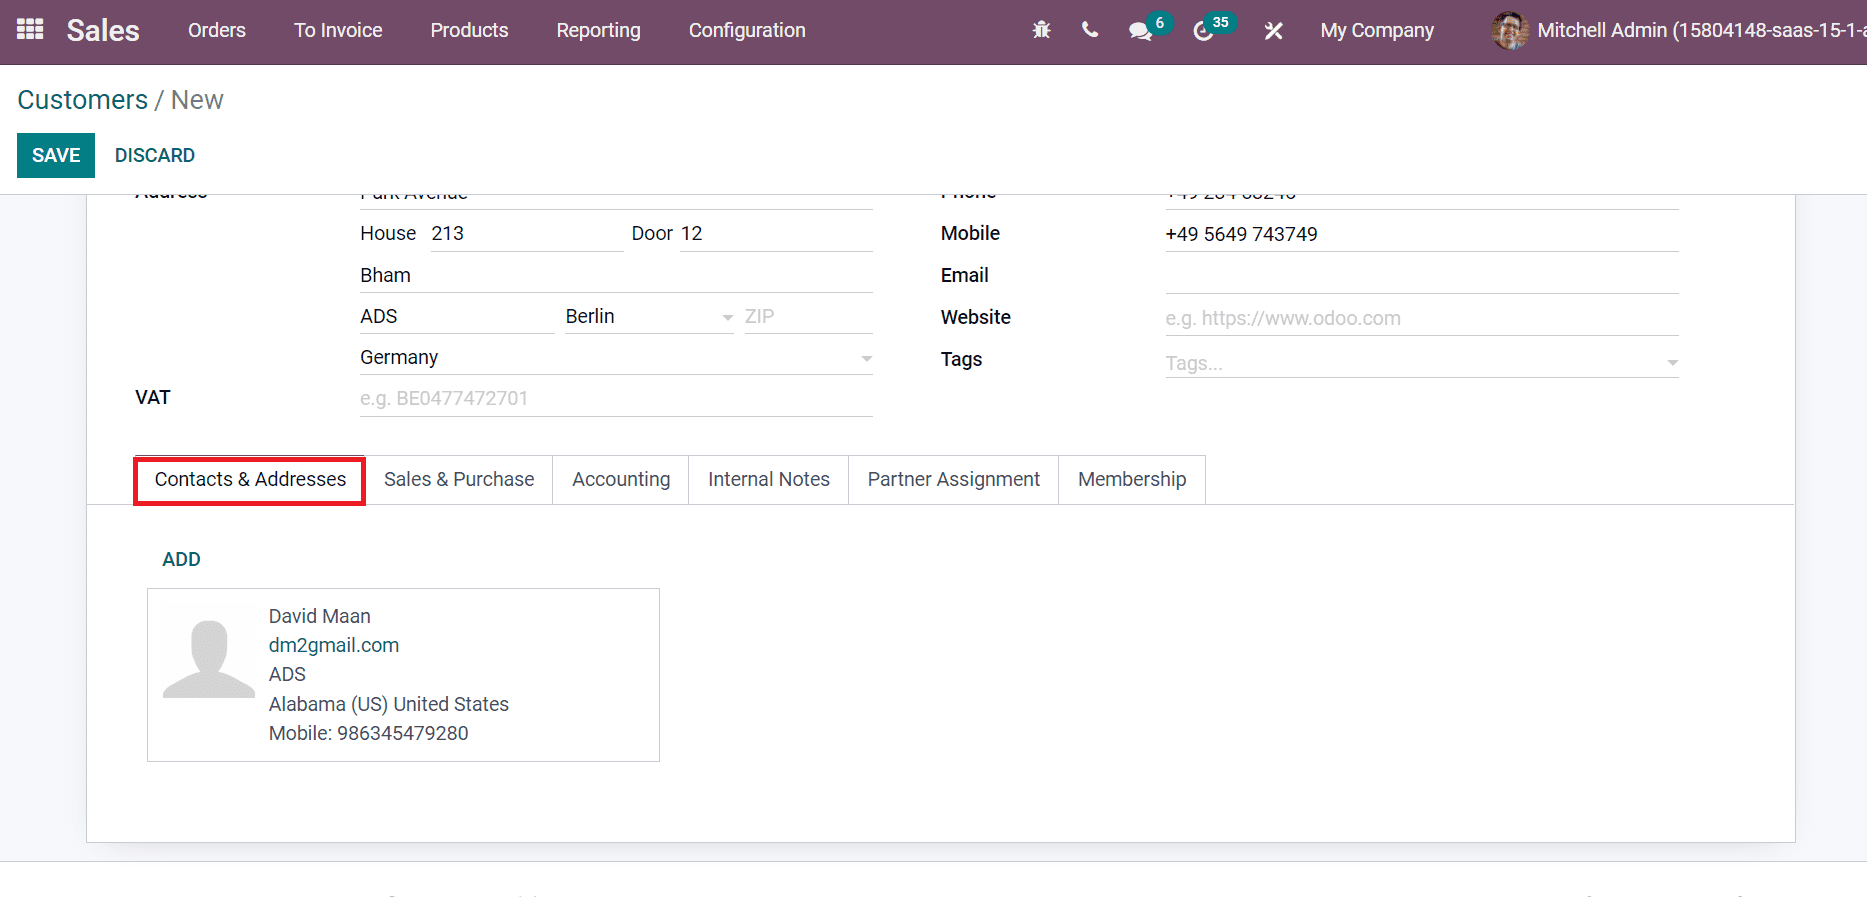
We can add more than one address for a customer from the ADD icon inside Contacts & Addresses tab. When creating a new quotation order, the user can choose the respective Customer, and the address is automatically visible here, as in the screenshot below.
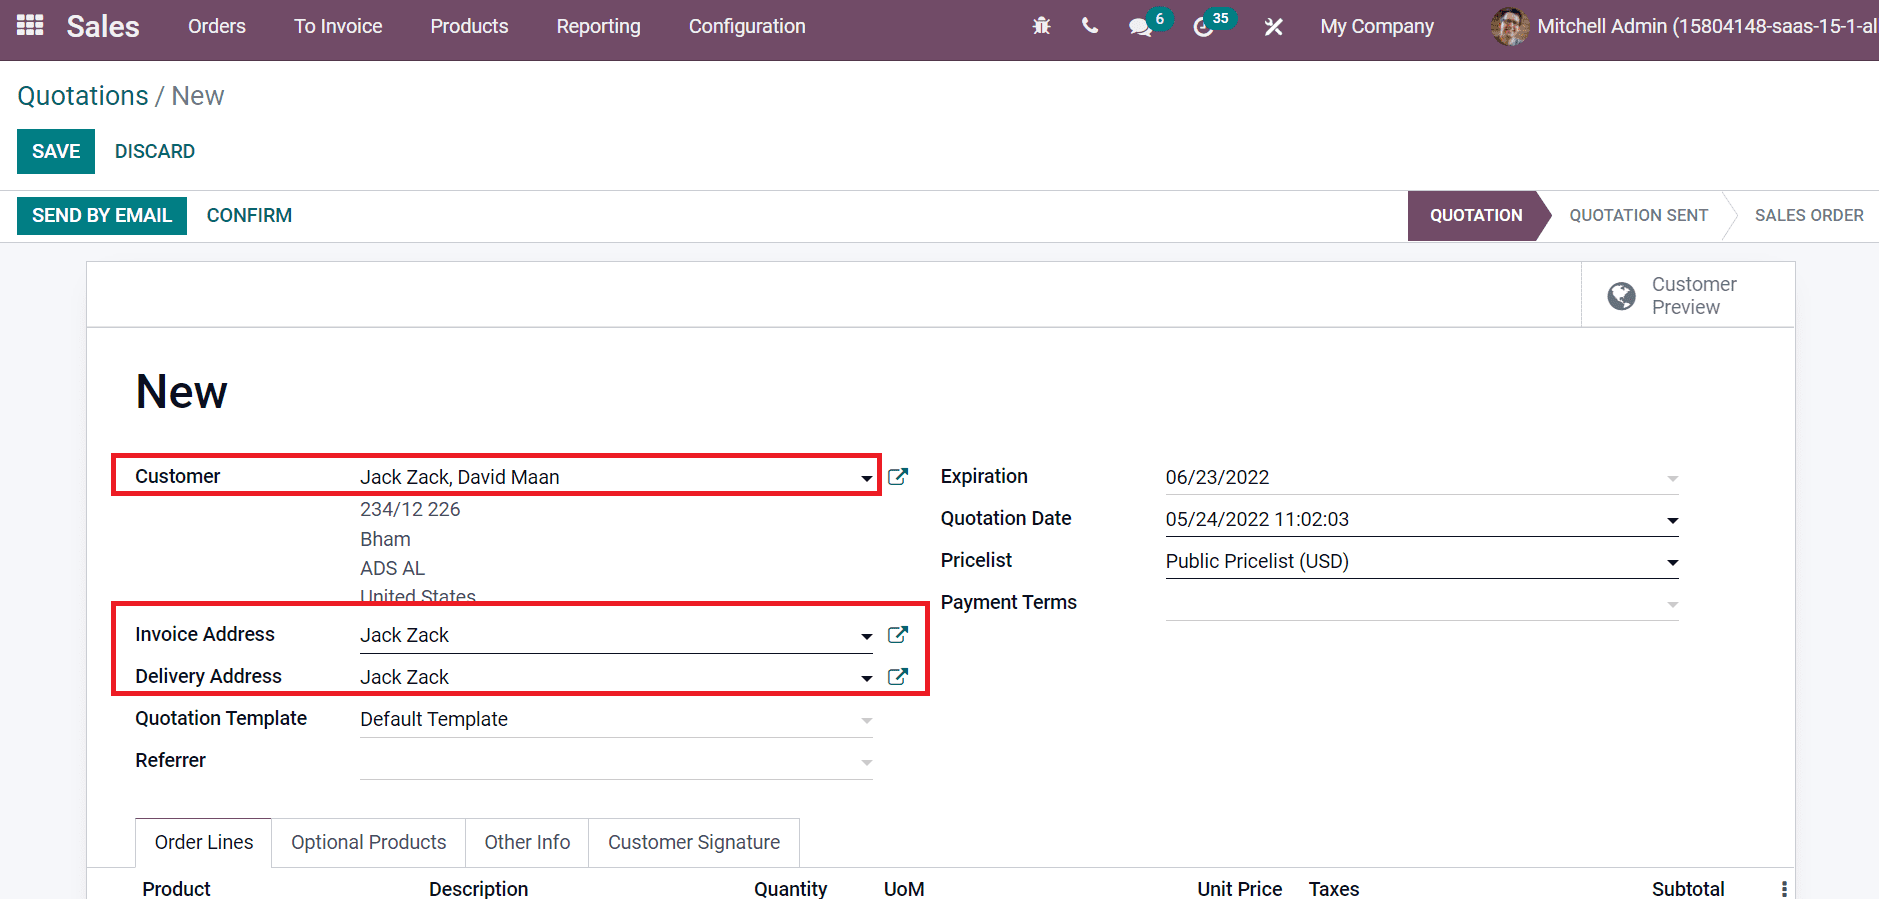
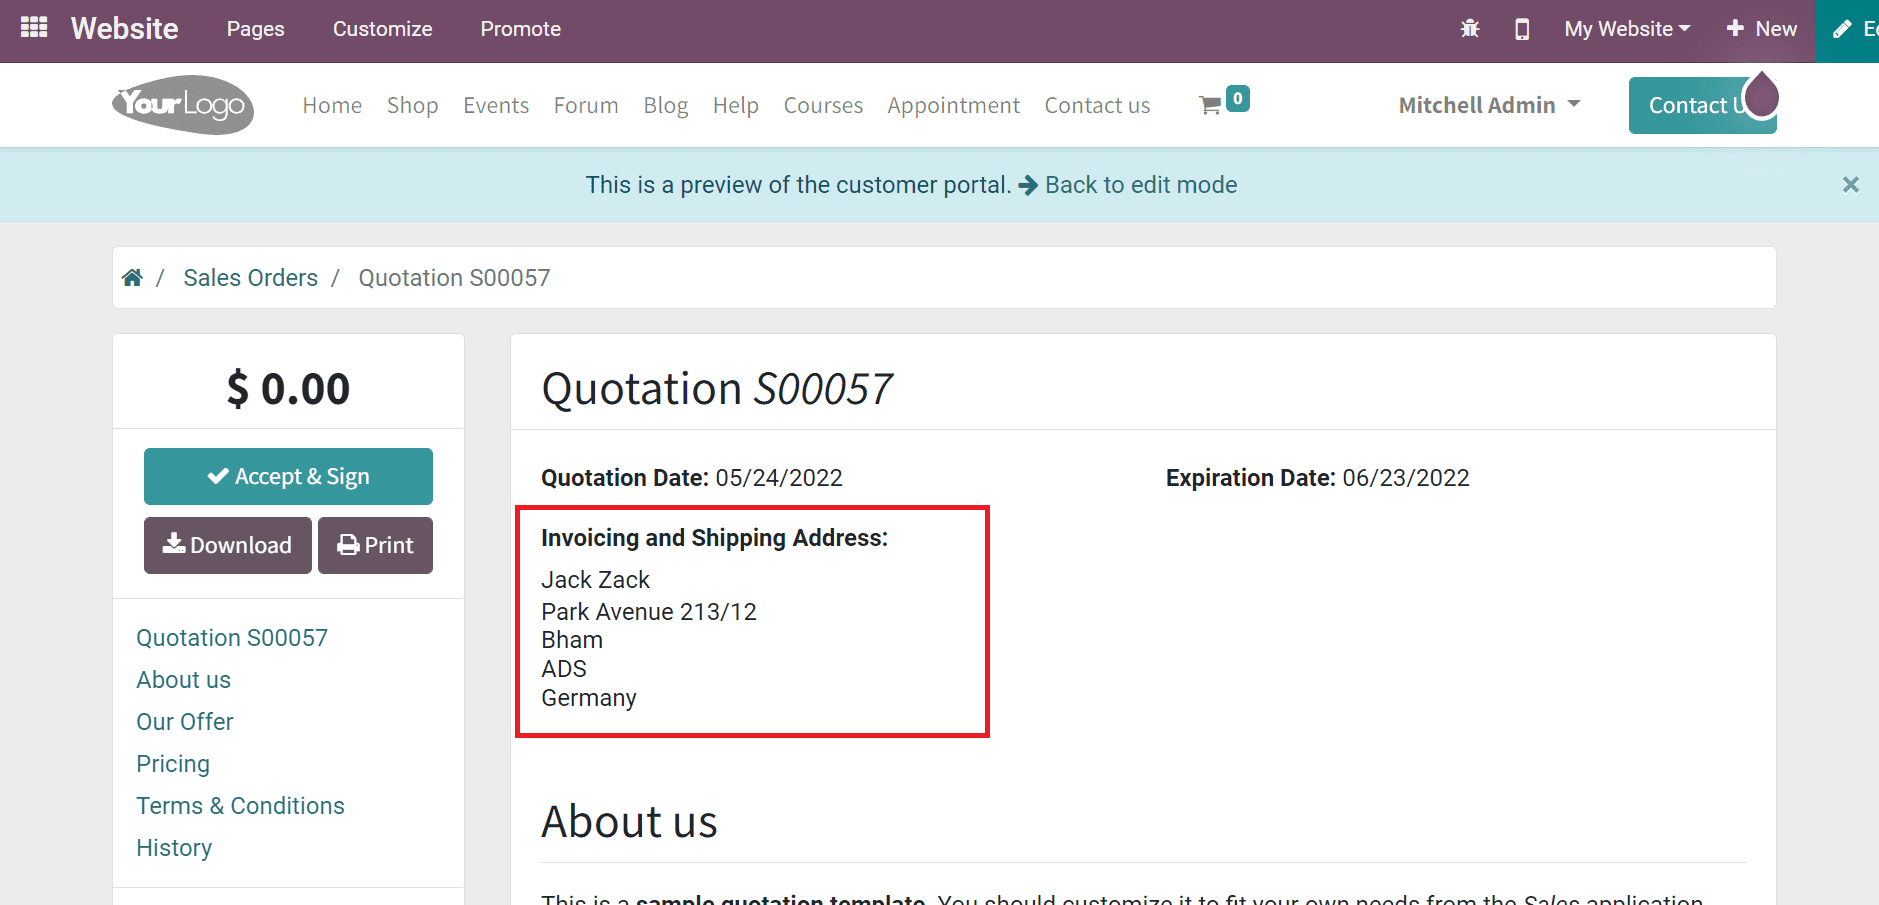
In the above screenshot, we can view the address created for Jack Zack inside the Customer field, and the Invoice or Delivery Address is also visible before you. Hence, developing a sales quotation for a specific customer becomes easy. On the customer preview page, the user can see Invoicing and Shipping addresses of a customer with the Expiration date as denoted in the screenshot below.
To Add Multiple Addresses for a Customer in CRM
Choose one of your customers from the Odoo 15 CRM module. For this purpose, go back to the Customers menu in the Sales tab of the CRM module. All the customers’ lists are visible inside the Customers window, as specified in the screenshot below.
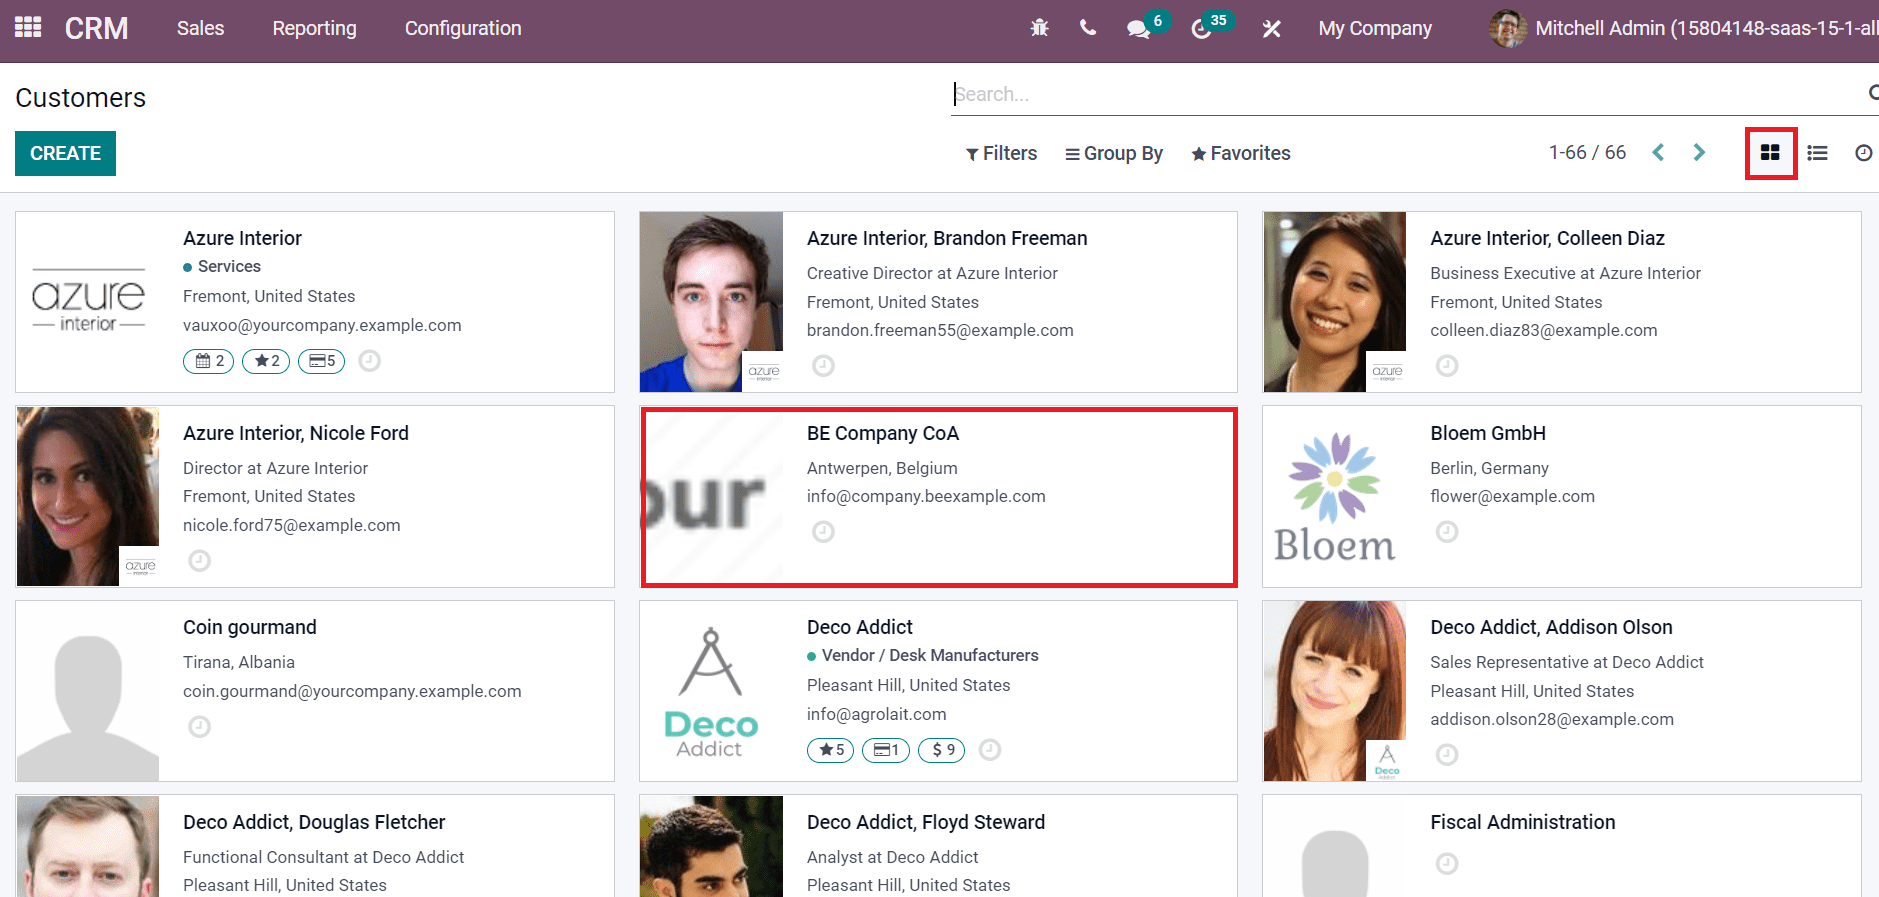
Here, we choose the Customer BE Company CoA and click on ADD icon below Contacts & Addresses tab.
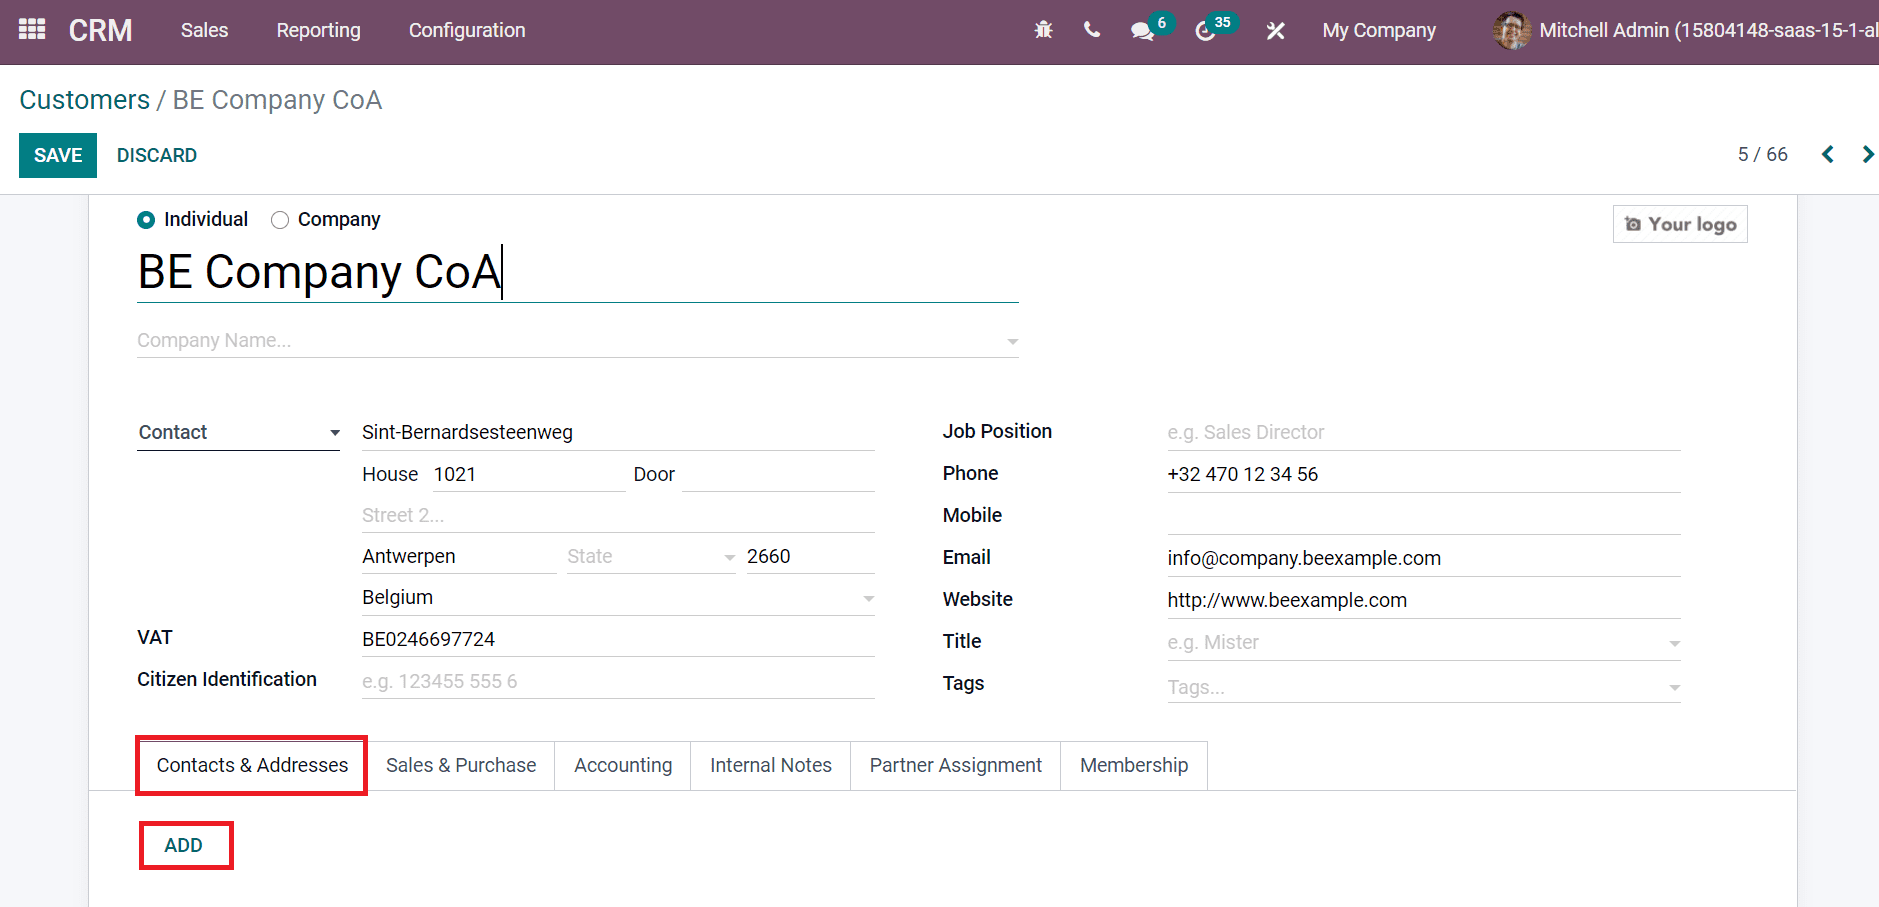
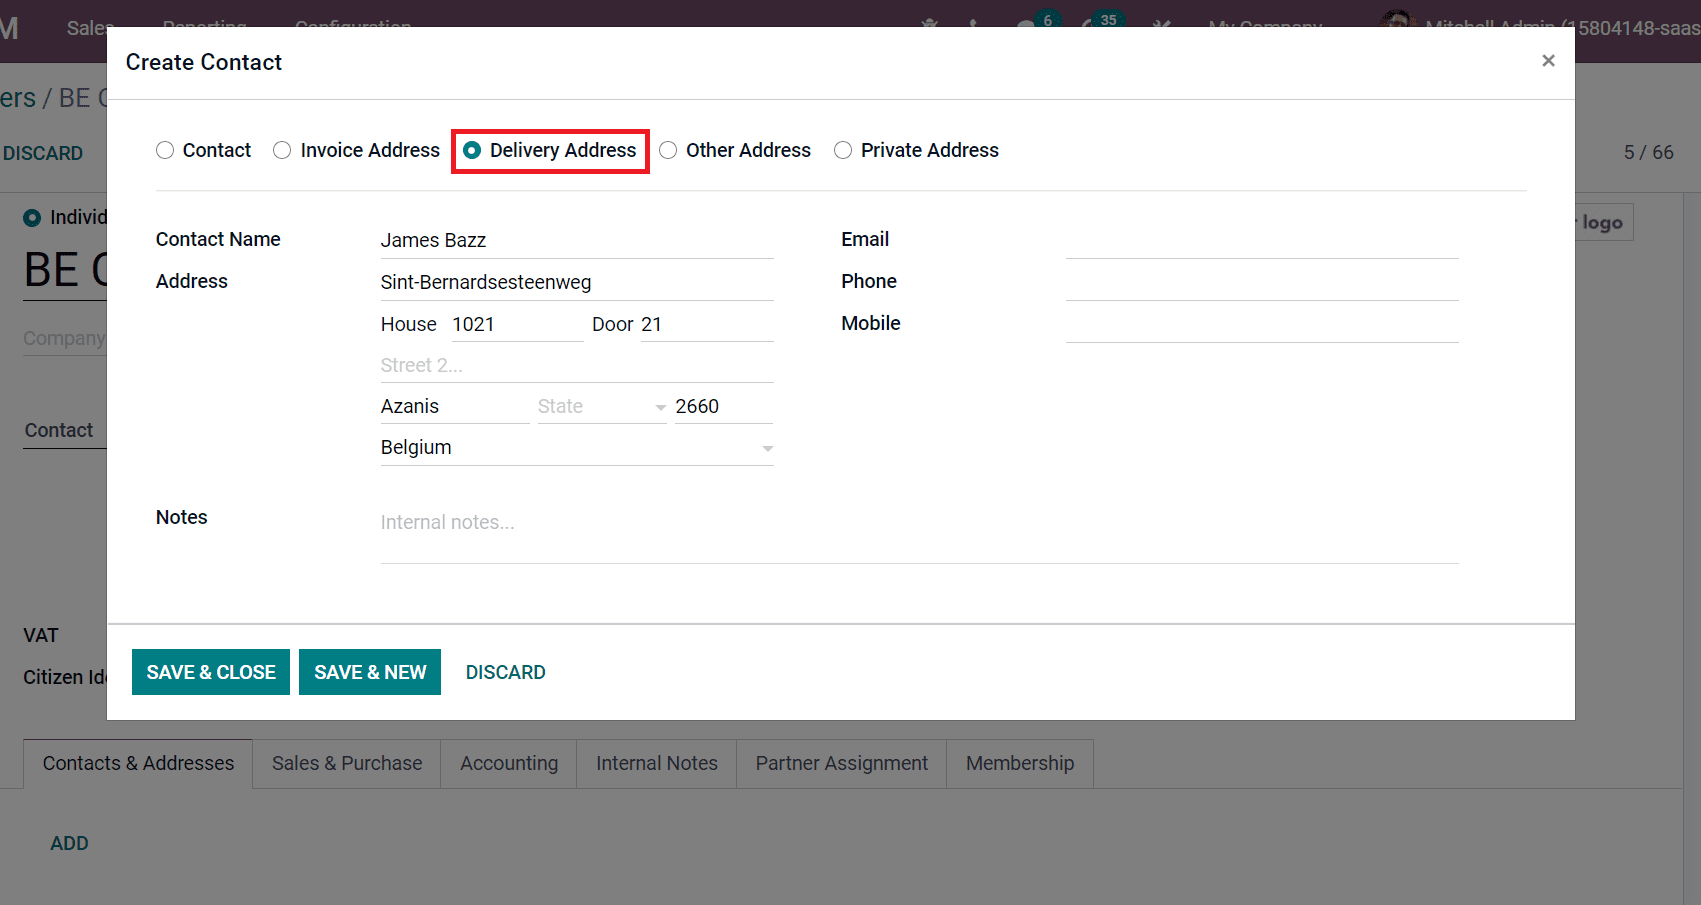
We set a delivery address for the Customer in the next window consisting of the Address and Contact name as in the screenshot below.
After clicking on SAVE & NEW icon, we can develop a new one as the Other Address.
All these address types are entered inside the Contact & Addresses tab of your Customer, as portrayed in the screenshot below.
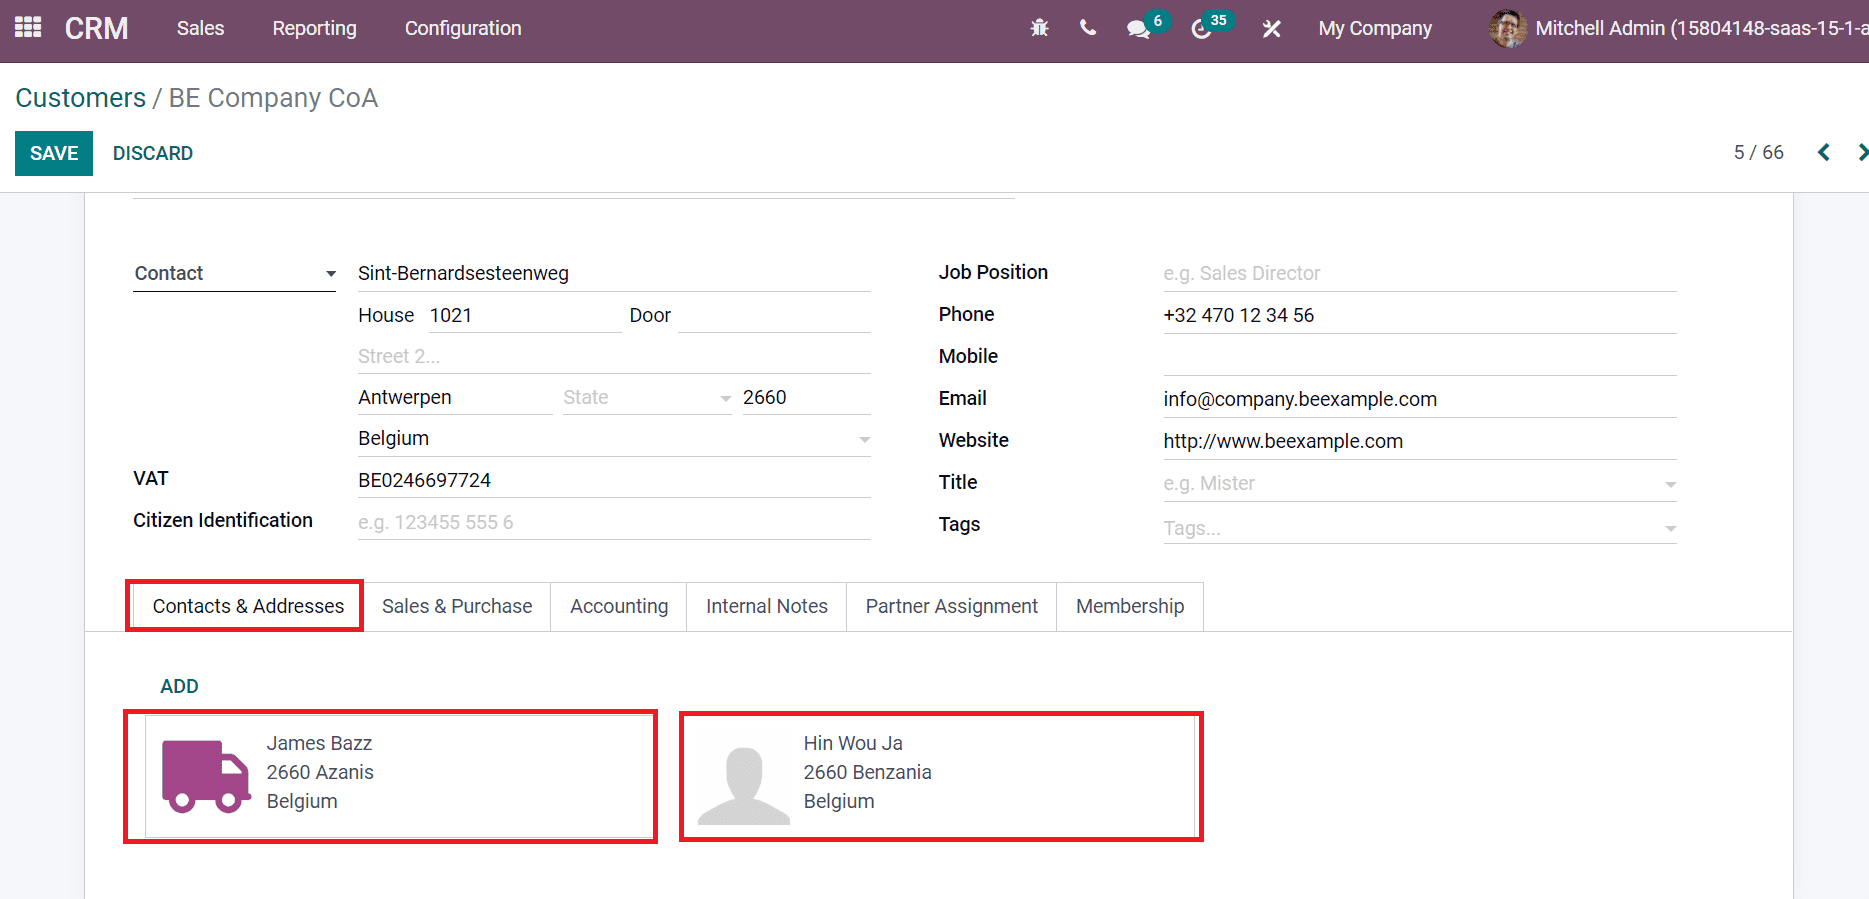
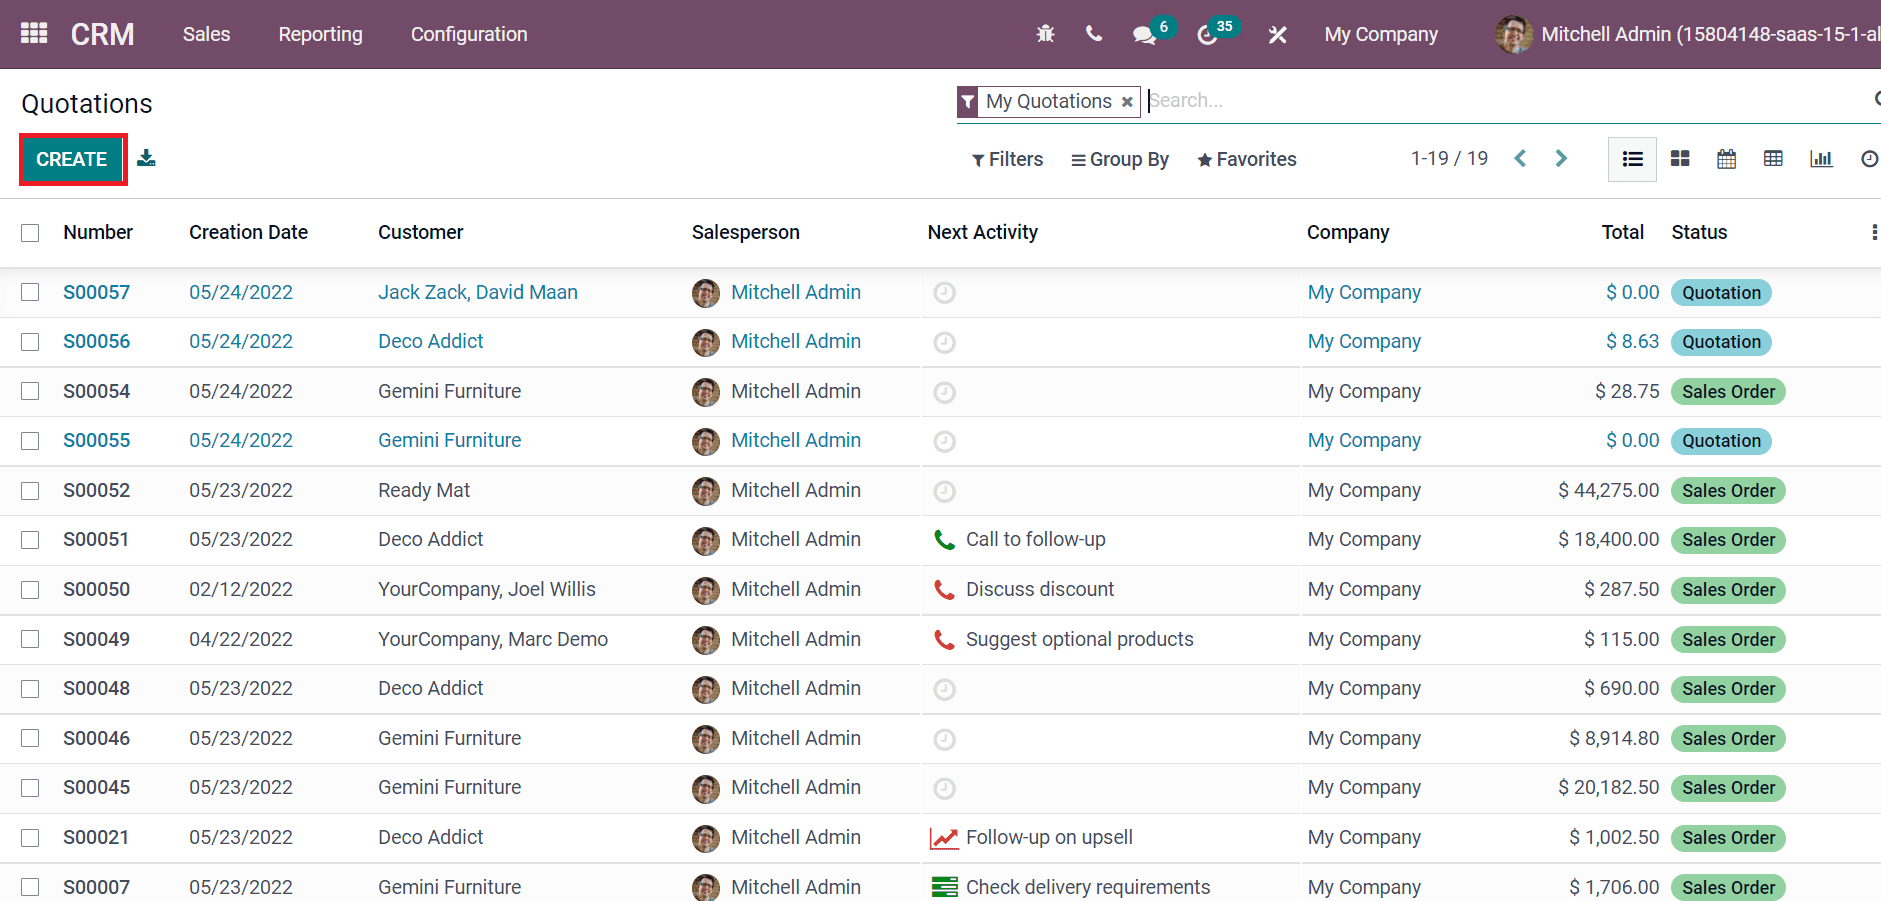
Created two address types are shown in the above image. Now, we can see what happens when generating a new quotation for BE Company CoA in Odoo 15 CRM module. Select the My Quotations menu in the Sales tab and click on CREATE icon as represented in the screenshot below.
On the next page, choose your Customer as ‘BE Company CoA,’ and the delivery address is automatically visible before you, as depicted in the screenshot below.
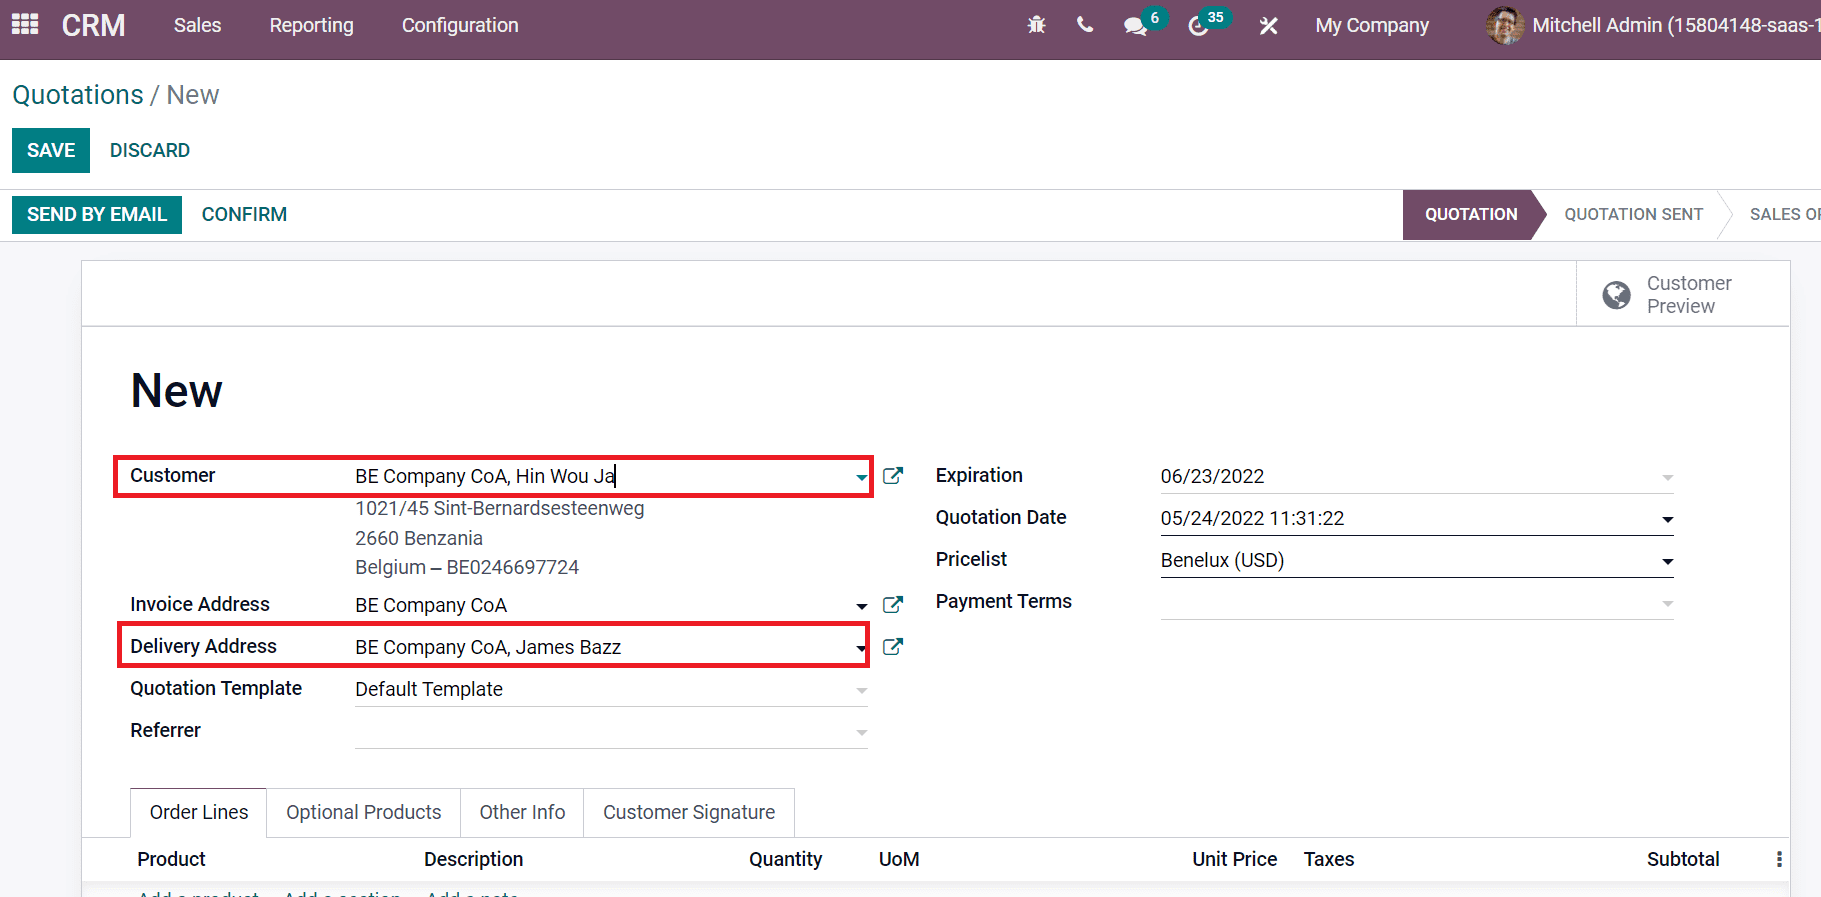
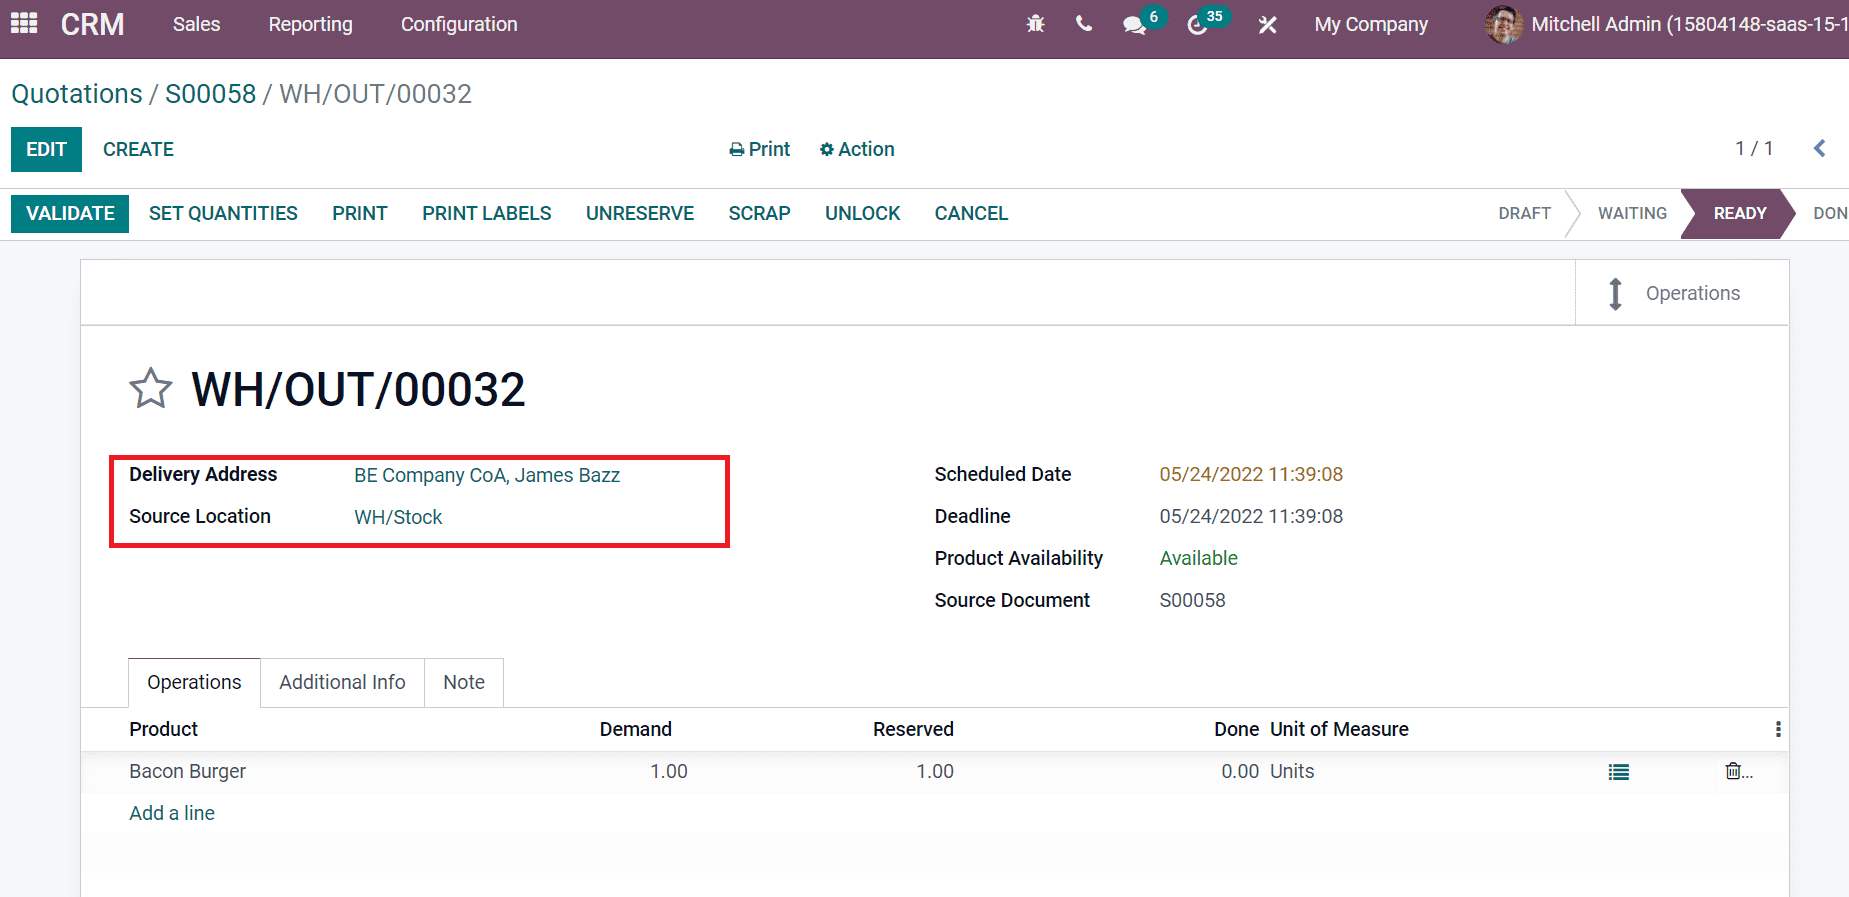
The Delivery Address displayed here is ‘BE Company CoA, James Bazz.’ That means, we already created a delivery address for James Bazz inside the Customer BE Company CoA. It is added along with your customer name in the Delivery Address field, as in the above screenshot.
After confirming your order, you can access the delivery address by selecting a Delivery smart icon in the Quotation window, as illustrated in the screenshot below.
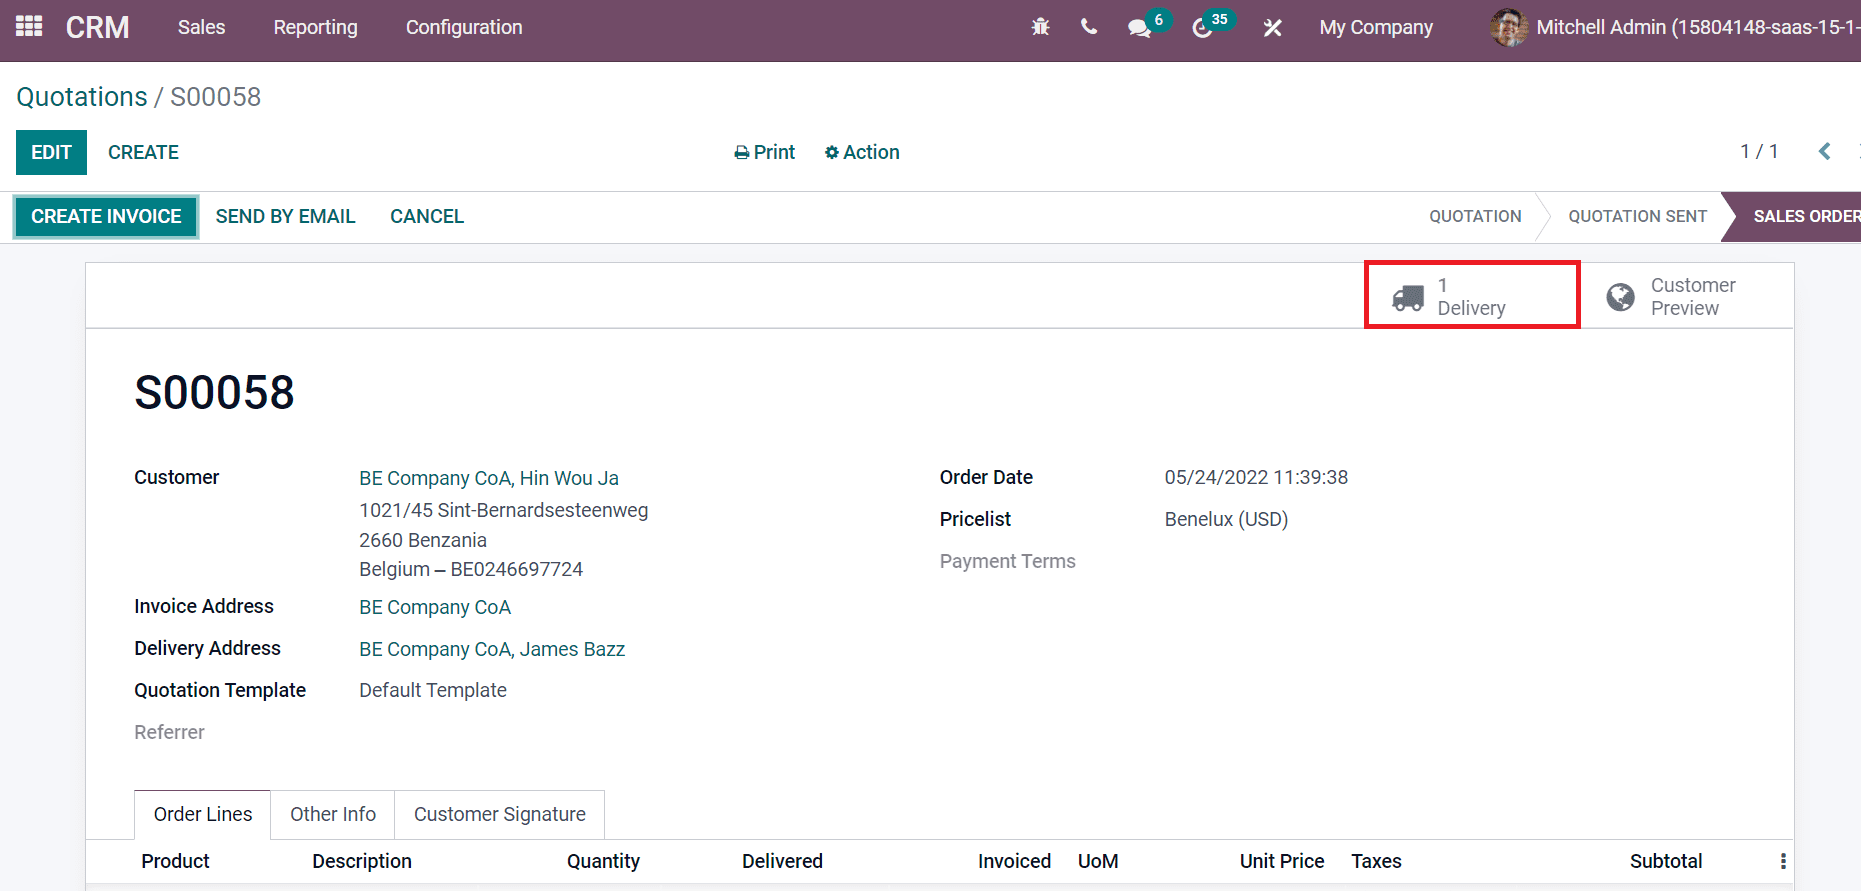
By clicking on the Delivery smart icon, you can view the Delivery Address and Source Location in the next window.
Multiple Addresses for Vendors in Odoo 15 Accounting
The individual or a company that offers some products and services for sale is a vendor. Users can add multiple addresses for vendors using the Odoo 15 Accounting module. Select the Vendors menu in Odoo 15 Accounting dashboard and choose your vendor, as displayed in the screenshot below.
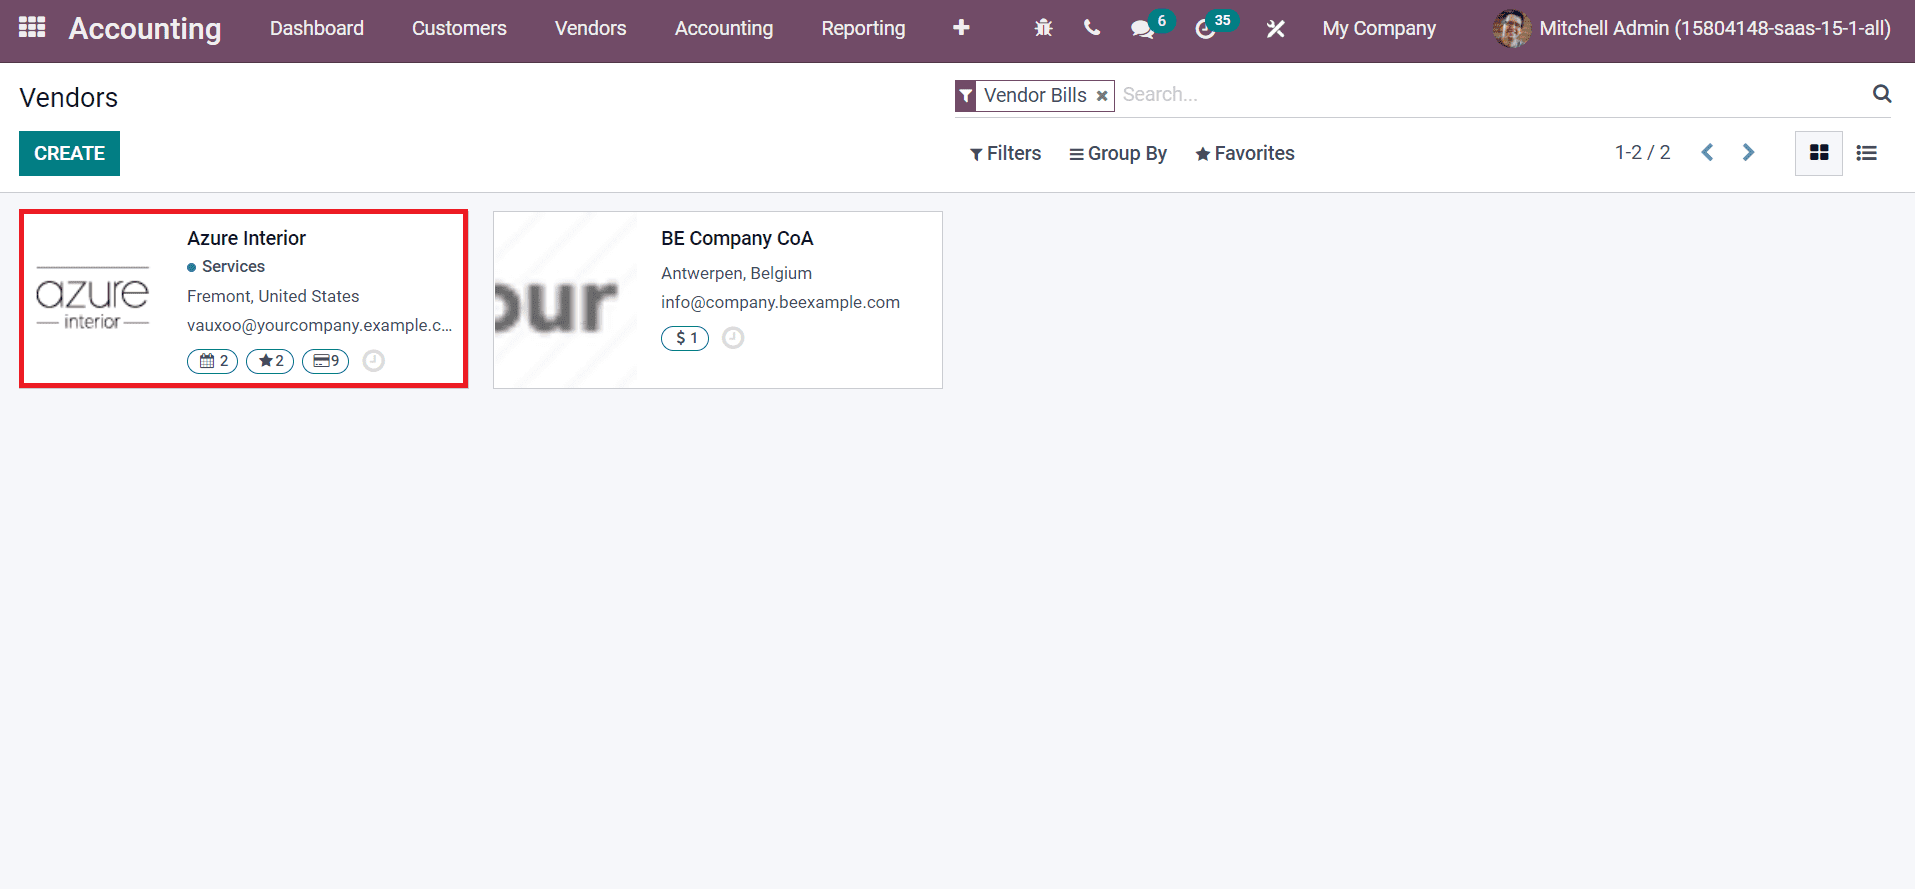
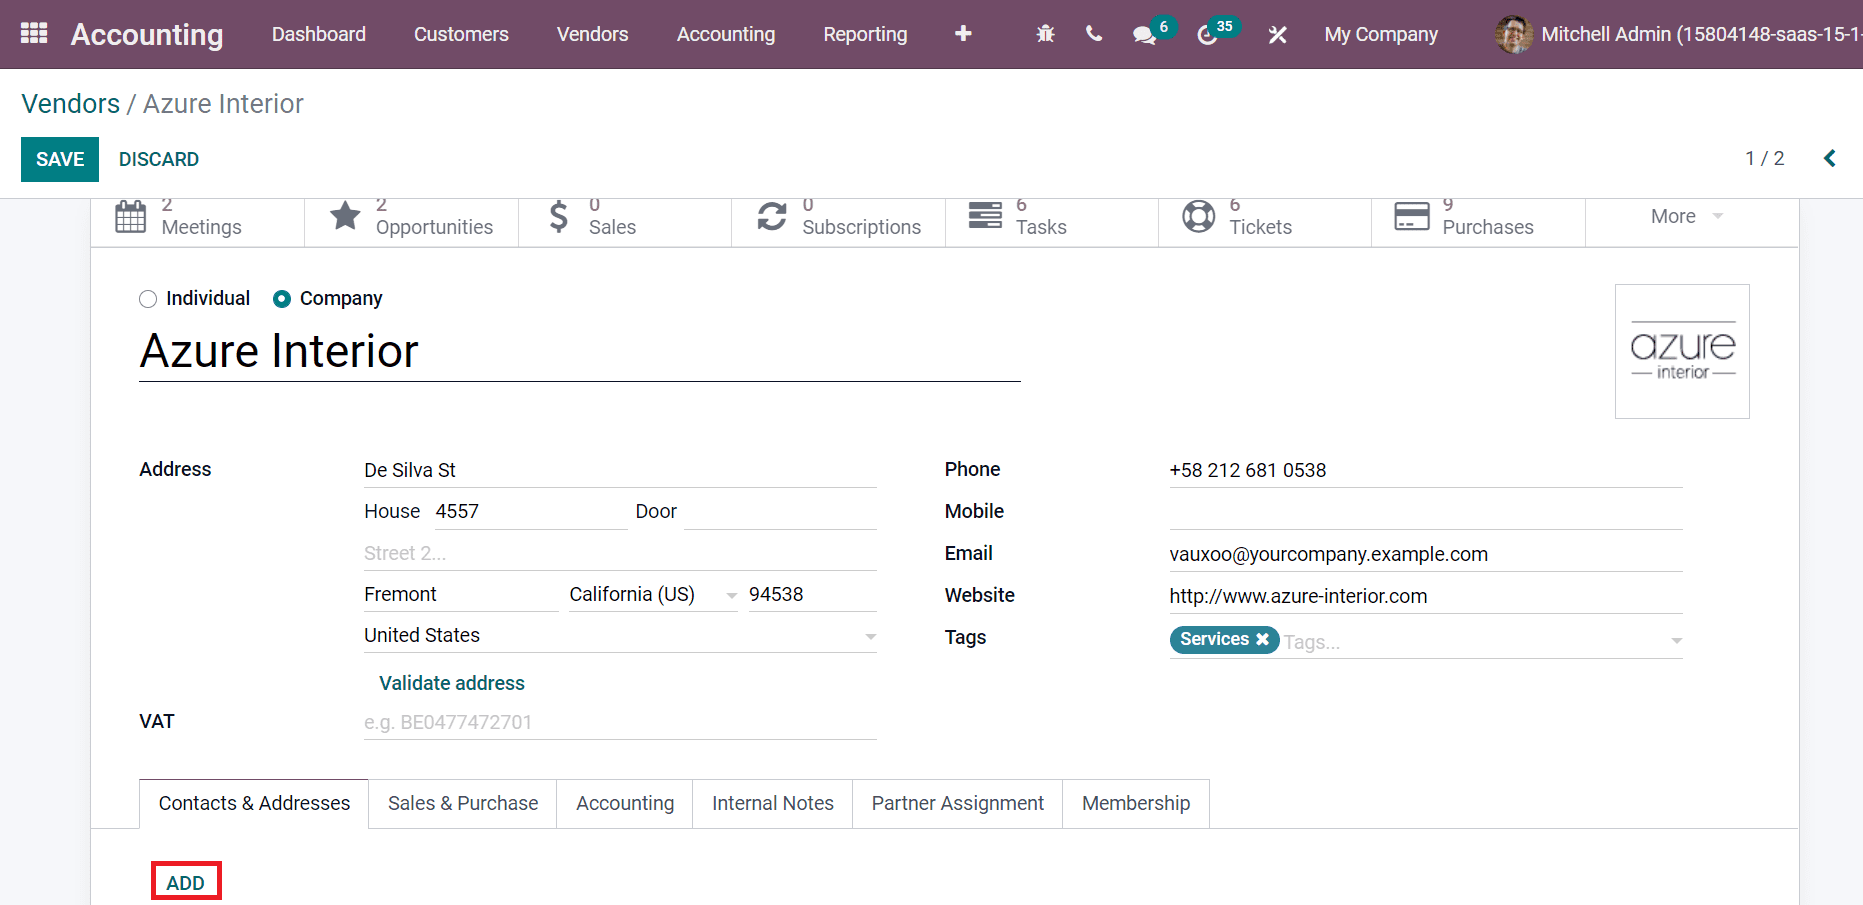
Let’s select the Vendor Azure Interior, and the user can view ADD icon here, same as other odoo 15 modules before. By choosing ADD icon, you can insert new address types for vendors, as illustrated in the screenshot below.
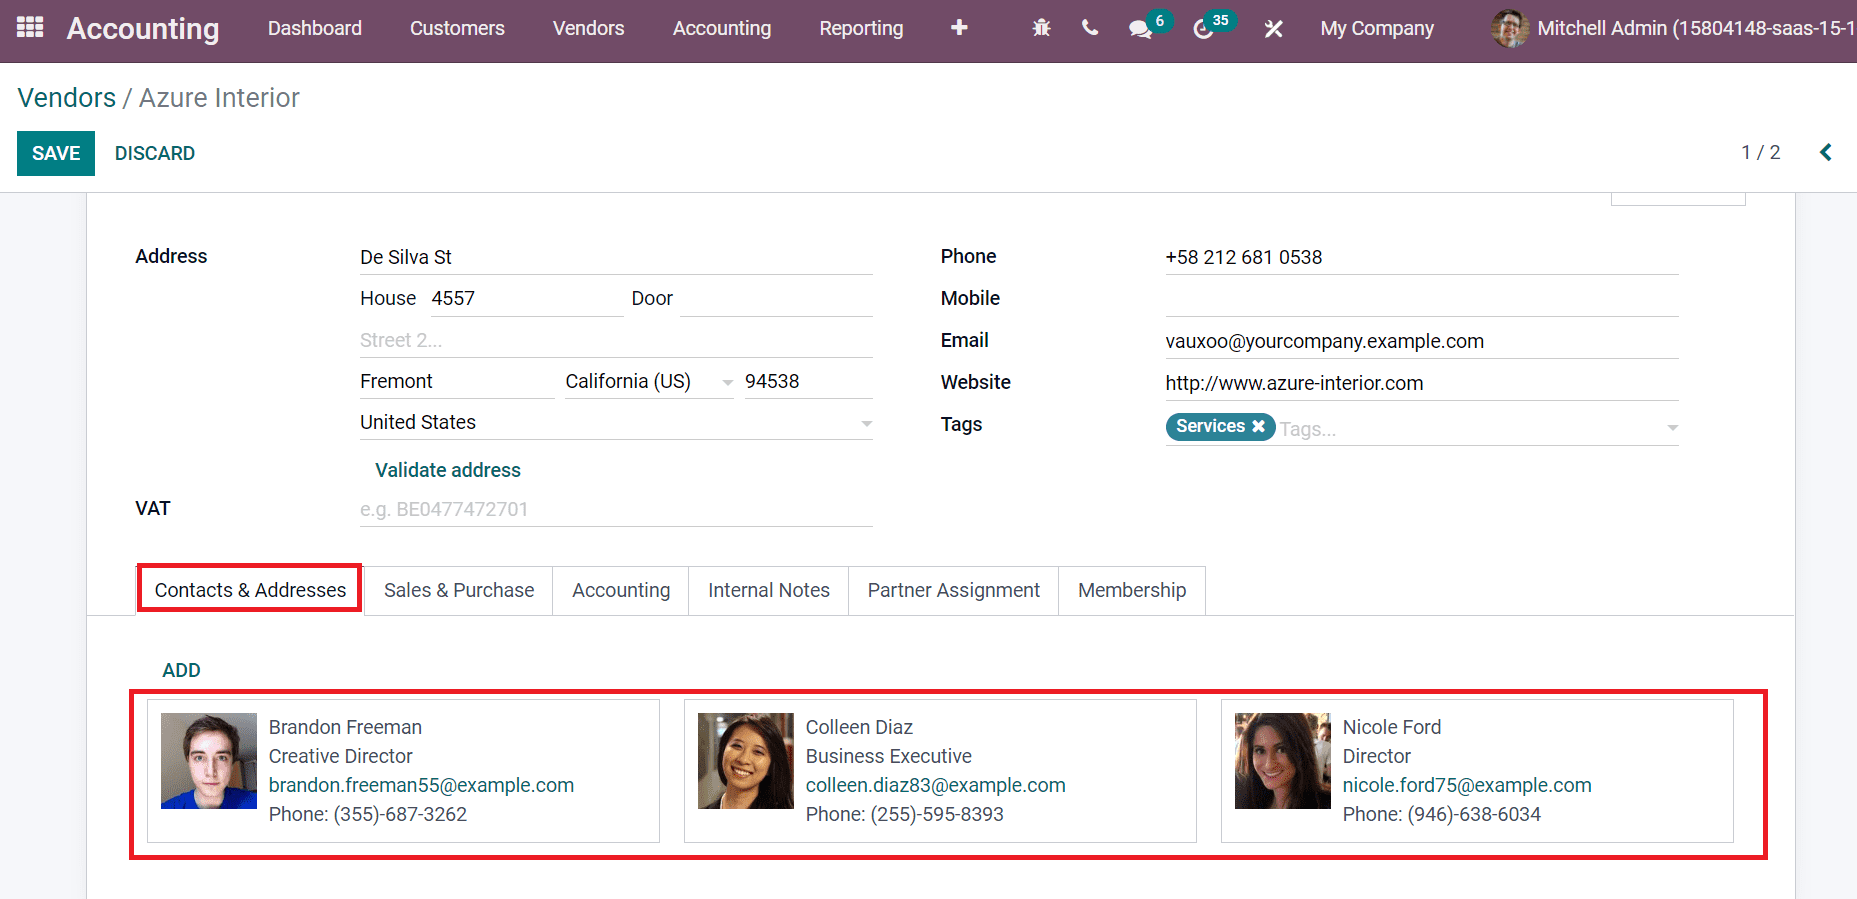
The respective customers’ address created is visible inside Contacts & Addresses tab.
It is easy to manage various addresses for customers with the support of Odoo 15. Users can quickly add different addresses such as delivery, invoice, private, and others for a customer using the Odoo database. We can configure multiple addresses for vendors using Odoo 15 Accounting module. Refer to the given below link to know about the Invoice and Deliver it to various addresses in Odoo 15.


